Saturday, June 28, 2014

Neat & Tangled June Blog Hop

Hi everyone! I hope you're having an awesome weekend!


Some of the Neat & Tangled designers and guests are having a blog hop to showcase the Photo Booth and Sunday School Songs sets. If you're hopping along, you should be coming from my friend Miriam's blog.

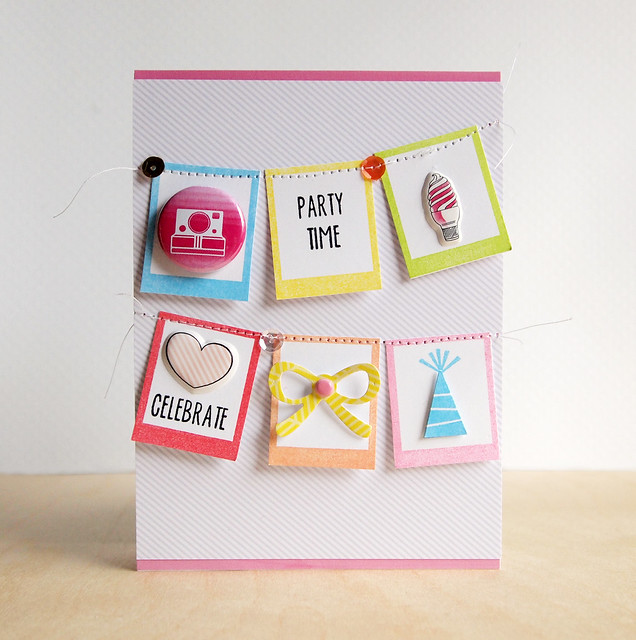
I made a card using the new Photo Booth stamps:

Party Time

I was going to use the photo strips, but when I was playing around with the stamps, I realized the end boxes looked like Polaroids. So, I stamped then ends in the six colors and added little doo-dads to each box. The cute party hat and sentiments come from the Photo Booth set--this set has a great variety of sentiments.

When I was done with the boxes, I stitched them (with a few Neat and Tangled sequins) to some digital Paislee Press paper. Here's a close-up:
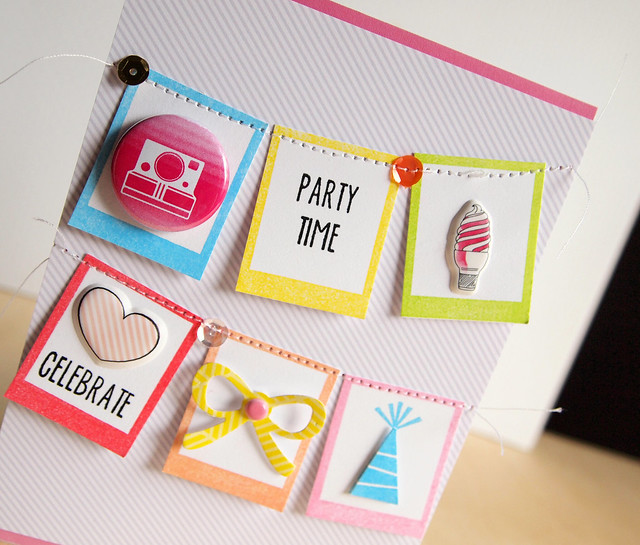

Party Time

Since it's a hop, there are some prizes! :) Two winners will be chosen from all of the hop comments, and the winners will have their choice of Photo Booth or Sunday School Songs. The winners will be announced on the Neat & Tangled blog on Saturday, July 5th.

Here's the full order of the hop:

Danielle Walls (Neat and Tangled)
Jocelyn Olson <--You are here.

Your next stop is the fabulous Anna! Thanks for stopping by!


Supplies
Cardstock: (white) PTI
Patterned paper: (digital stripe paper from From Where I Stand) Paislee Press; (pink ombre) Alison Kreft for Echo Park; (yellow from #Summer) American Crafts
Stamps: (Photo Booth) Neat & Tangled
Ink: (Versafine Onyx Black) Tsukineko; (Strawberry, Lake, Peach, Pink Lemonade, Grass) Fresh Ink; (yellow) Mama Elephant
Embellishments: (gold, Crystal Clear, Peach sequins) Neat & Tangled; (flair from June kit Best Day of My Life) Scraptastic Club; (ice cream Plus One Puffy Stickers; Dear Lizzy puffy heart) American Crafts)
Die: (bow) American Crafts

Thursday, June 26, 2014

Paper Smooches July DT Blog Hop

Hi everyone!

It's Pep Rally week and we are here today to share a sampling of the NEW Paper Smooches July/August release with you!  FIVE new stamps and EIGHT new dies are releasing soon.  Our new stamps and dies will release at midnight (eastern time) on June 30 (12:01am on July 1st EST). You will find our new releases HERE.

To add extra fun to our blog hop...we are offering up a prize! The prize - a $25 gift code to choose what you like at the PS online store. [Details are below.]


Here's the order of the hop:
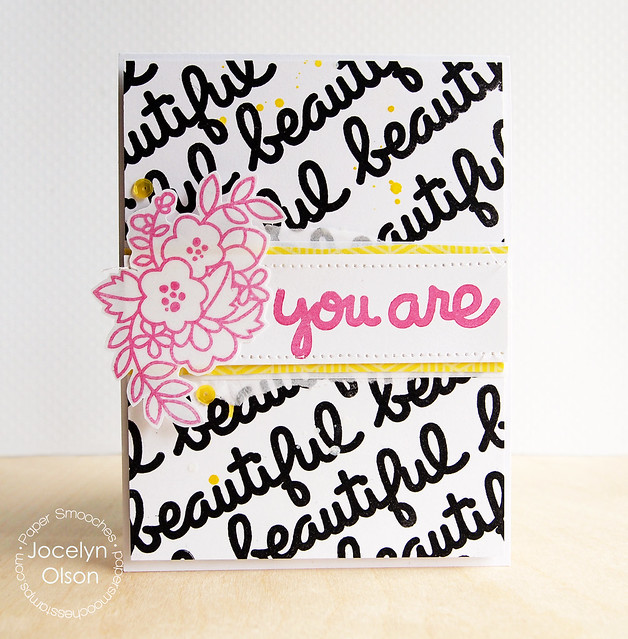
Here's my card using the Kudos stamps:


You Are Beautiful

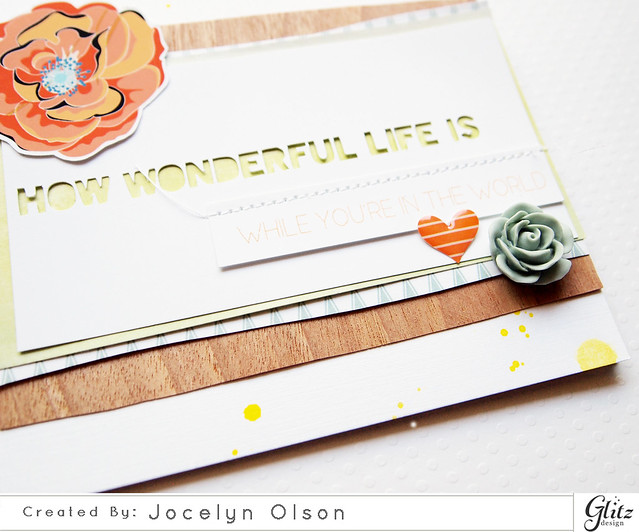
I was inspired by Taheerah's awesome card for the background. I stamped the "beautiful" from the Kudos set repeatedly...it's not perfect, which I like. I actually made one that was a little neater and opted to not use it. ;)  I added the "you are" from the Kudos set. I love the bold look of these stamps! They are slightly smaller than Bold Buzzwords, but they would work together. 

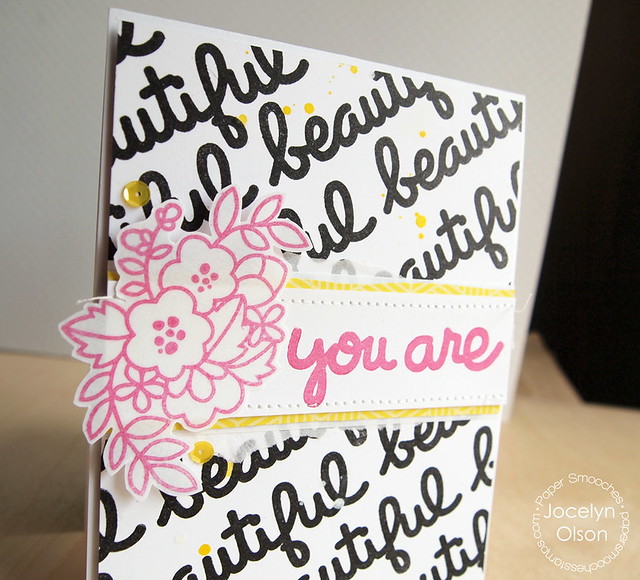
I added the super sweet flowers from the new Blossoming Buds set on vellum. I layered the panel over some American Crafts paper, vellum, and tissue. Here's a close-up:

You Are Beautiful

Want a chance to win a prize? Here are the details:
  • FOUR winners will be chosen at RANDOM from any of the design team blogs and the PS Blog to win the $25 prize.
  • Just leave a comment on any of the design team blogs listed below or the PS blog for your chance to win!  (you do not need to comment on all blogs to qualify but it increases your changes) 
  • Deadline: You have until midnight MT on Sunday, June 29th to leave a comment. 
  • Please check the Paper Smooches blog on Monday, June 30th to see if you are one of the FOUR lucky winners.  
To increase your chances of winning:
  • Tell us that you Facebooked about our blog hop
  • Tell us that you Tweeted about our hop
  • Tell us that you posted on your blog about our blog hop
That means that you can comment up to THREE times on each blog! 

Thanks for stopping by! Next up is my sweet and very talented friend Kalyn!


Supplies
Stamps: (beautiful and you are from Kudos; flowers from Blossoming Buds) Paper Smooches (available 7/1)
Cardstock: (white, Linen Vellum) PTI
Patterned paper: (#Summer) American Crafts
Ink: (Versafine Black Onyx; Rose Bud Luxe) Tsukineko; (Taxi and Opaque White Mister Huey's) Studio Calico

Wednesday, June 25, 2014

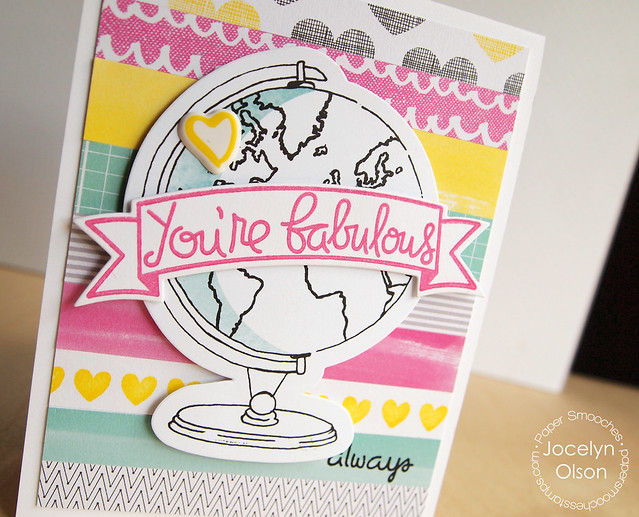
You're Fabulous

Hi everyone! It's a busy week on the 'ole blog.

wed-designerspotlight-header

It's my last week as the guest for the Simon Says Stamp Wednesday Challenge. It's been a great month, and Lols and the team have been so nice and supportive. A big thank you for having me!


wed-newchallenge-header
This week, the challenge is "Anything Goes." The Design Team is using American Crafts, too.

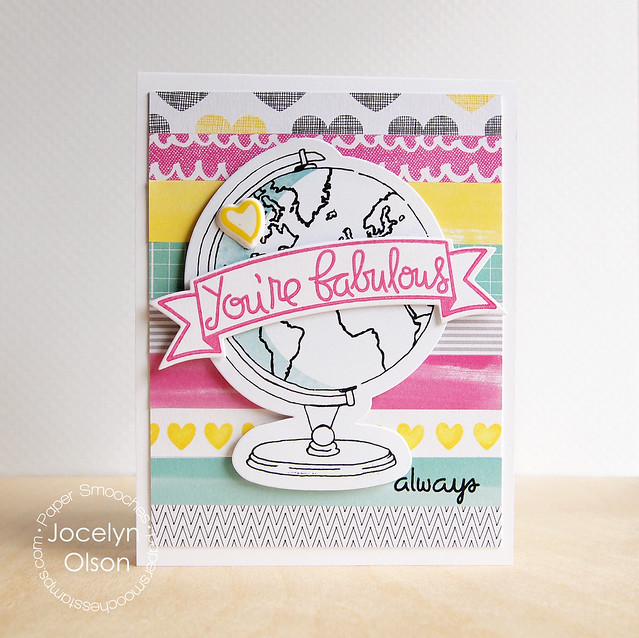
Here's what I came up with:

You're Fabulous


I cut up strips of American Crafts' Plus One papers to make the stripes. I stamped the tiny heart from the Paper Smooches' Blissful Banners in yellow to make another stripe and the "always" from Paper Smooches' Group Hugs below.

For the giant banner, I die-cut one of the Paper Smooches Streamers banners and stamped a sentiment from Blissful Banners. I was thinking it would work for a globe-trotting friend. :) Here's a close-up:

You're Fabulous


I finished the card with a tiny Plus One Puffy Sticker.

If you want to join the Anything Goes with Stripes, you can link up your projects HERE. You have a chance to win a $50 gift certificate to Simon Says Stamp!

50dollar_voucher_600px
Simon Says Stamp

Thanks for stopping by! Have a great week!


Supplies
Cardstock: (white linen)
Patterned paper: (Amy Tangerine's Plus One) American Crafts
Stamps: (banner from Blissful Banners; "always" from Group Hugs) Paper Smooches
Ink: (yellow Brilliance; Versafine Onyx Black) Tsukineko
Dies: (banner from Streamers) Paper Smooches
Embellishments: (globe die-cut from Plus One Bits; heart sticker from Plus One Puffy Stickers) American Crafts
Tuesday, June 24, 2014

Oh Happy Day Mini Album (& Some News!)

Hi everyone! I hope you're having a great day. :)

My project is on the Glitz Design blog today. It's my first post as a member of the Glitz Creative Team. Yeah! I've been on the Glitz Digital DT for almost a year, but Lea asked me to start sharing hybrid projects as a member of the Traditional Team. [Insert big smile here.]

Here's the project I'm sharing on the blog (sorry for the number of photos!). I think it might be my favorite project I've ever made. :)


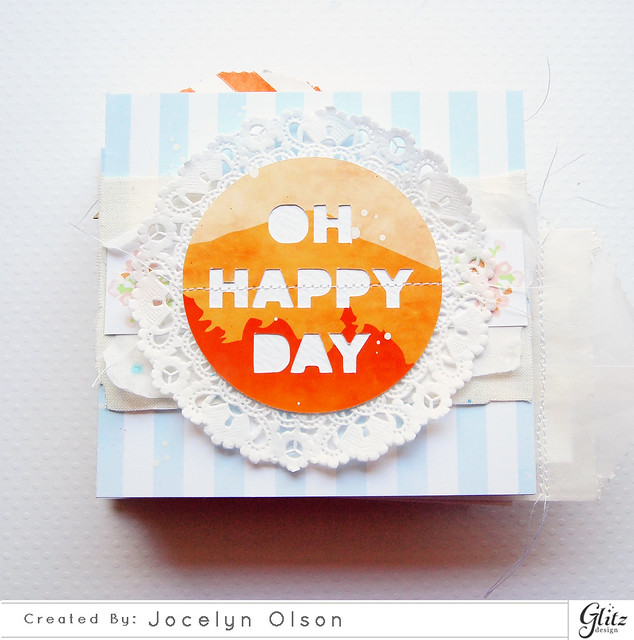
Oh Happy Day Mini Album


I made a hybrid mini album--about 75% digital and 25% physical products. I used two Glitz collections: Brightside and 77. They mixed very well together!

For the "Oh Happy Day" on the cover, I turned a digital element into a die-cut using my Silhouette. The sentiment is a digital version of a giant rhinestone (enlarged) from the 77 collection, which I traced in my Silhouette program and die-cut on an enlarged digital 77 journaling card.

The blue and white stripe and the little flowers under the doily are both from the Brightside digital collection--I did lighten them before I printed them.

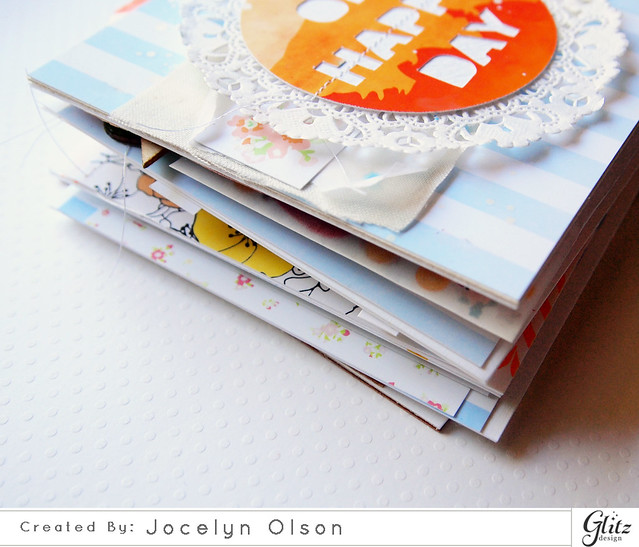
You'll notice that I don't have binding on the book. Here's why:


Oh Happy Day Mini Album

I didn't mean for the album to get so large, but it's well over 2" thick. I need to track down some 3" O-rings.

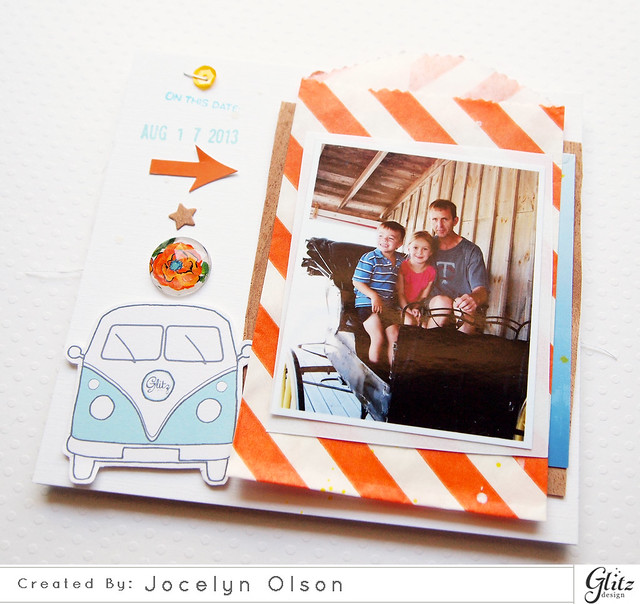
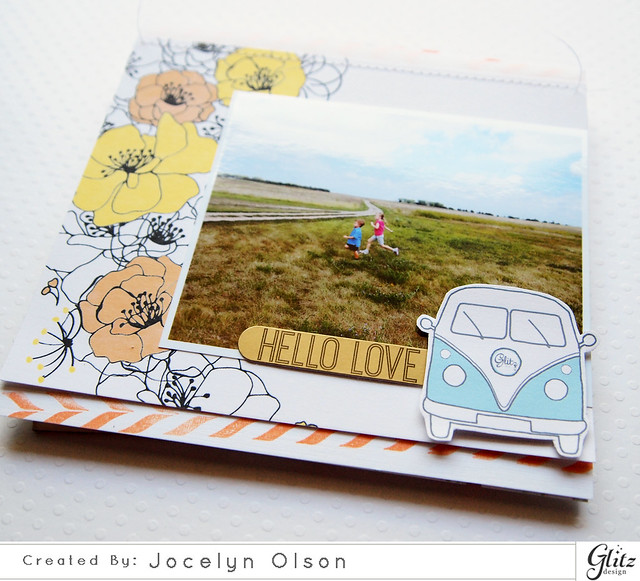
I wanted to share the pages in order. We went to the Laura Ingalls Wilder Homestead in DeSmet, SD last year:

Oh Happy Day Mini Album


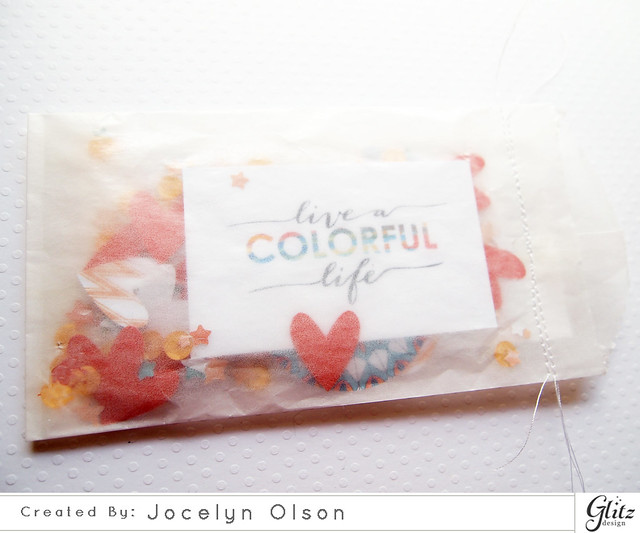
I made a confetti pocket. The fact that it's half-sized means you can see the "HAPPY" page with my son, too (three photos down).

Oh Happy Day Mini Album


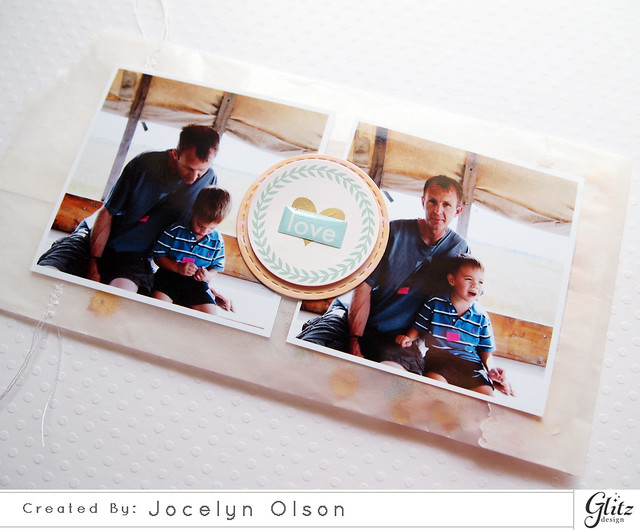
I love these pictures of my son and husband. We were riding on a covered wagon to the old schoolhouse:

Oh Happy Day Mini Album


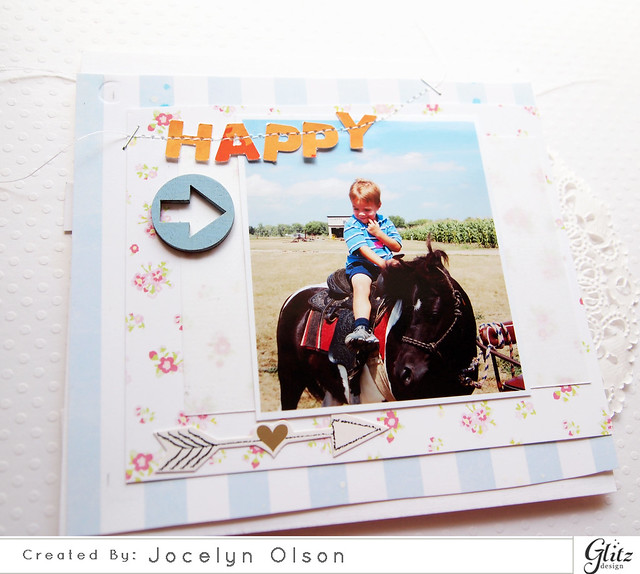
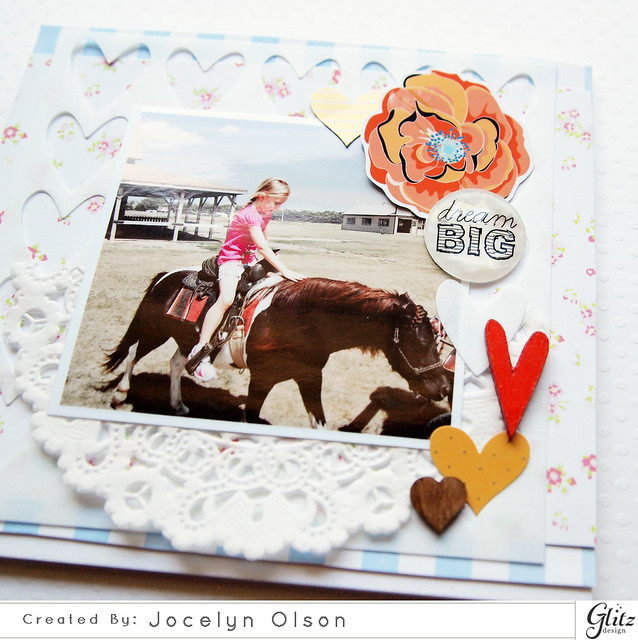
Both of my kids got to ride on a pony. It was my son's first time on a horse. The "HAPPY" letters are the positive die-cuts from the cover:

Oh Happy Day Mini Album


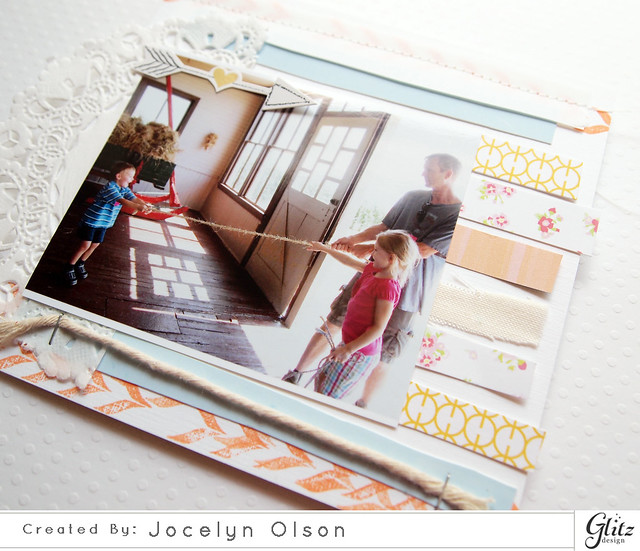
We made jump ropes. My son really liked the pulling part. :) For the borders, I used the Glitz Chevron Roller Doodle--so much fun!

Oh Happy Day Mini Album

You can really see the prairie in this shot. I enlarged a digital journaling card for the background:

Oh Happy Day Mini Album


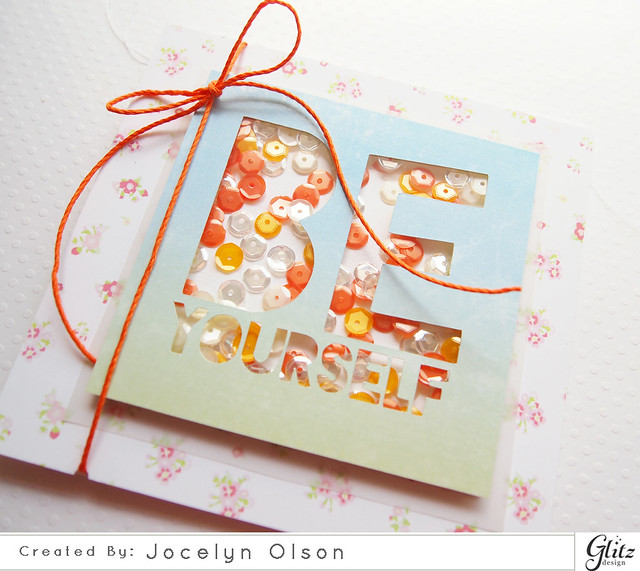
Like the cover, I made another digital element-turned-die-cut using the Glitz digital Wild and Free Element Pack 2. I filled it with Neat & Tangled sequins:

Oh Happy Day Mini Album


I think this page with my daughter is my favorite. I love the mix of the Glitz 77 heart stickers and giant rhinestone with the digital flower and wood veneers:

Oh Happy Day Mini Album 


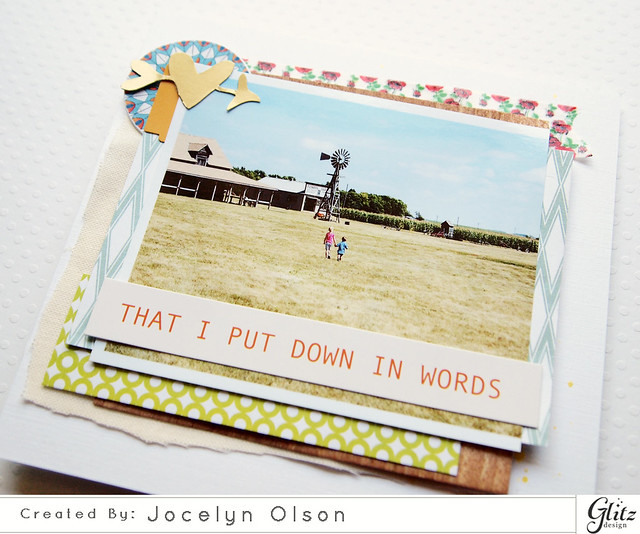
I adore that my kids are holding hands in this picture. It makes me so happy. :) I did a lot of layering on this page, including the Floral washi and another awesome gold sticker:

Oh Happy Day Mini Album


This page was originally going to be the cover, but I'm glad I moved it to the last page. I die-cut the digital sentiment from the collection. The lyric is from my all-time favorite song. :)

Oh Happy Day Mini Album


Thanks for making it to the end. :) I would love it if you would pop over to the Glitz Design blog and leave a comment. 

Have a great day!!

Monday, June 23, 2014

Shine Bright

Hi everyone!


Each day this week, the Neat and Tangled and Scrapbook Adhesives by 3L teams are sharing projects. Today, Joni and I are sharing projects on the Neat & Tangled blog.

Here's my project:

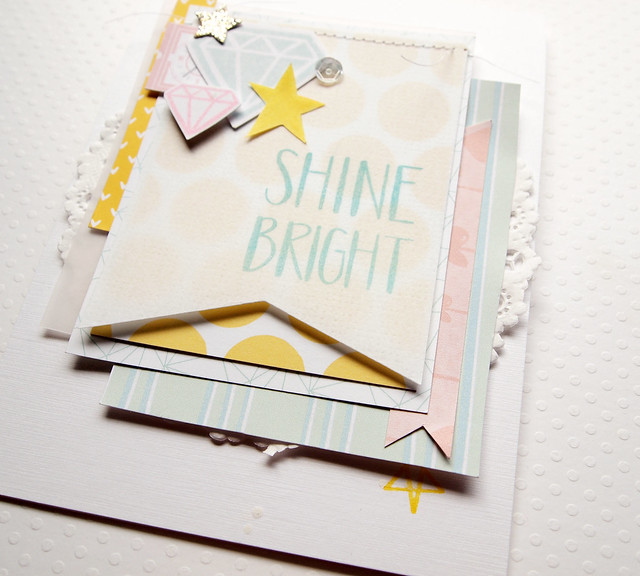
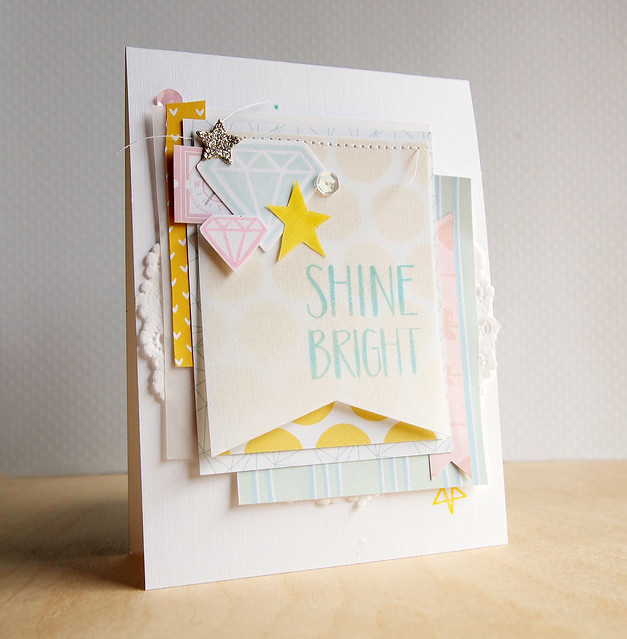
Shine Bright


I started by stamping some stars and diamonds from the Neat & Tangled Sparkle and Shine set on cardstock and linen vellum. I clustered them on the banner using the Scrapbook Adhesives EZ Foam Dots and  Dodz Medium. 

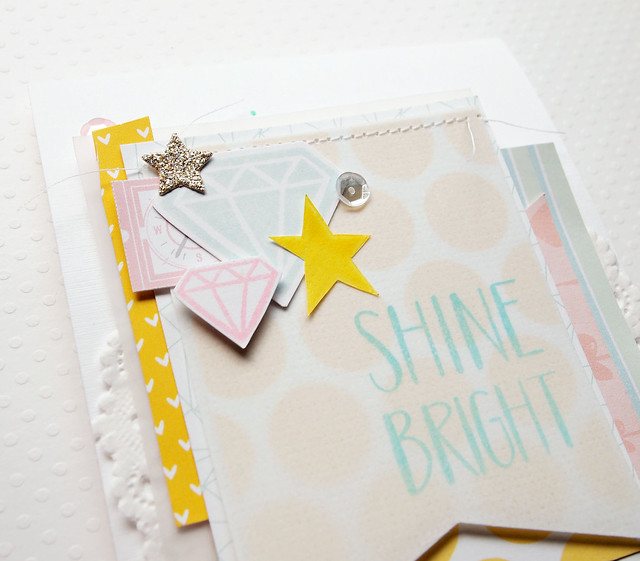
I thought I needed one more element, so I used the Adhesive Transfer sheets and die-cut the glitterstock from it. That is one cool adhesive...it didn't get globby around the edges (yes, that's a technical term ;). I finished off the panel with a sentiment from Sparkle and Shine and a Neat & Tangled Crystal Clear sequin. Here's a close-up:

Shine Bright


I layered some American Crafts, Webster's Pages, and Studio Calico papers and a Freckled Fawn doily. I also stamped one little star from the Sparkle and Shine set on the card base. Here's another angle:


Shine Bright

What's a hop without prizes? There are two prize packs each containing a selection of Neat & Tangled stamps and sequins and Scrapbook Adhesives by 3L products. That's two prizes worth over $50 each! One winner will be chosen from Neat & Tangled blog comments and one by Scrapbook Adhesive blog comments.

Thanks for stopping by! Have a great day. 


Supplies
Cardstock: (white linen) Ellen Hutson; (linen vellum) PTI; (glitter cardstock) Best Creations
Stamps: (Sparkle & Shine) Neat & Tangled
Ink: (yellow Brilliance; Pink Angel Luxe) Tsukineko; (Pool) Fresh Ink
Embellishments: (doily) Freckled Fawn; (ticket from Daydreamer) American Crafts
Friday, June 20, 2014

Celebrate!

Hi everyone! Ready for the weekend? Any plans?

I'm up on the Neat & Tangled blog today. It's my first post on the N&T blog (yeah!). :)

Here's a sneak of my card:

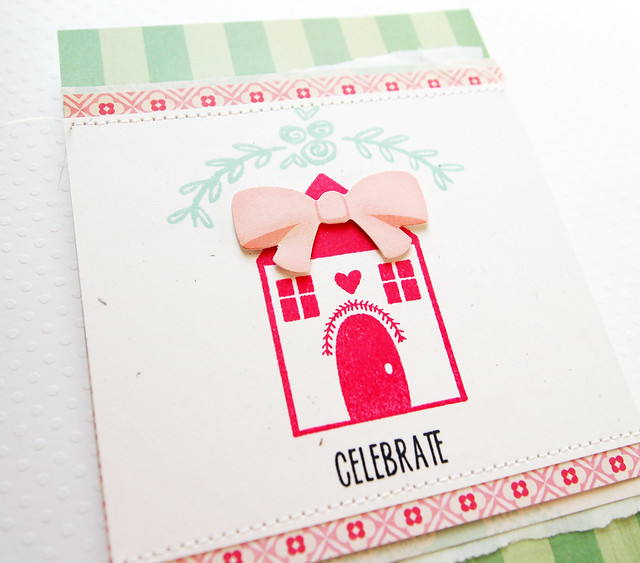
Celebrate Home


I used three different Neat & Tangled sets and some Oh Darling papers from Crate Paper. You can check out the full card HERE.
Have a great weekend!


Wednesday, June 18, 2014

Best Friends

Hi everyone! I hope you're having a great week. We've been having crazy weather and flooding this week--I have my fingers crossed that we won't have any more rain this month!

wed-designerspotlight-header
I'm guesting with the Simon Says Stamp Wednesday Challenge again. :)


wed-newchallenge-header

This week's challenge is "You've gotta have friends." The team is using stamps by Art Impressions, although you don't have to use AI stamps to play along. 

Here's my card:

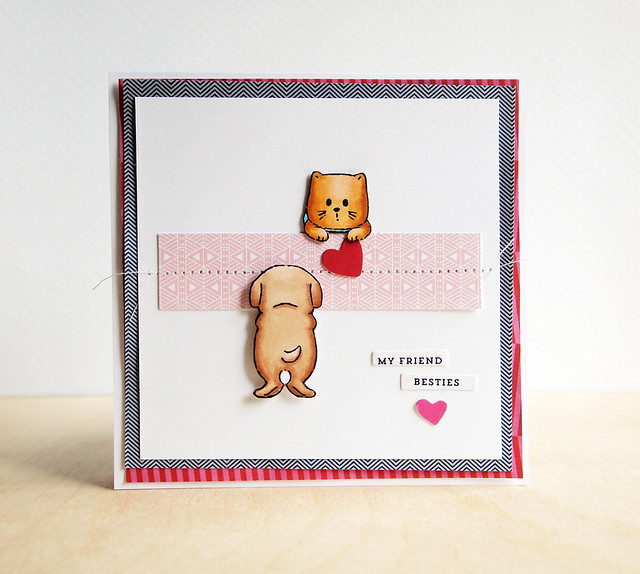
Best Friends

I used the Art Impressions Cat and Dog Mini stamp set for my card. The set has heads and arms for a cat and a dog and stamps for their backsides. They're made for a window card, but instead, I made a ledge out of pp.

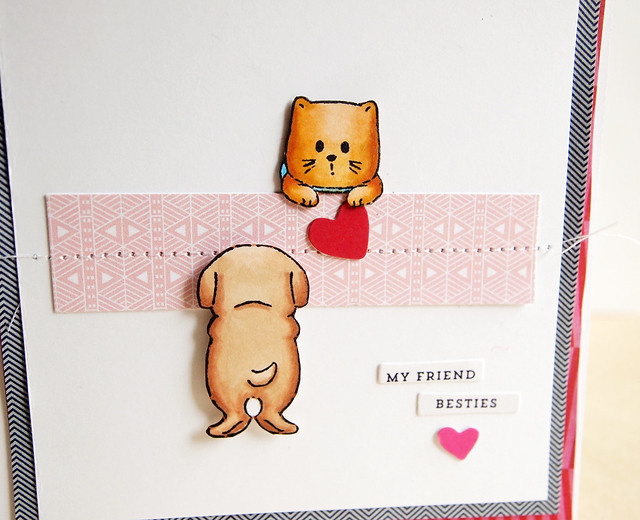
I colored and fussy cut the cat and dog and used some hearts and sentiments from the Pen Pals Die-Cuts (and yes, that pink heart is wonky). I layered some Pen Pal papers underneath.

Here's a close-up:

Best Friends


Want to see the inspiration for my scene?


This picture was taken 10 years ago, and while Marma (the cat) didn't like other animals, after five years together, she could peacefully co-exist with the dog. ;)

If you would like to join in on the challenge, you can link up your projects HEREIn addition to our fabulous $50 Simon Says Stamp Gift Voucher, Art Impressions Stamps is offering a wonderful prize opportunity for those who participate in the challenge! To enter, simply link up your creation (like you usually do) and then use the Rafflecopter Widget on the challenge blog to enter to win! 

50dollar_voucher_600px

Simon Says Stamp


Thanks for stopping by! Have a great week!


Supplies
Cardstock: (white) PTI
Patterned paper: (Pen Pals) Pink Paislee; (pink from Camelot) Studio Calico
Stamps: (Cat & Dog Mini Stamp Set) Art Impressions
Die-cuts: (Pen Pals Die-Cuts) Pink Paislee
Copics

Monday, June 16, 2014

Neat & Tangled Dies Blog Hop

Hi everyone! Happy Monday!


Today is my first Neat & Tangled DT post. Woo hoo! We're having a blog hop to showcase the new dies. Yep, Neat & Tangled is now selling steel, wafer-thin dies.

If you're joining in the blog hop, you should be coming from Taheerah's blog, or if you can start at the beginning at the Neat & Tangled blog.

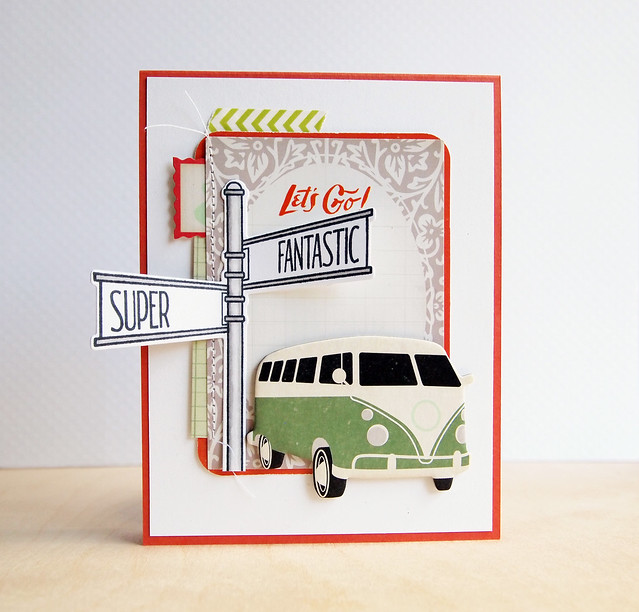
Here's my card using the new On the Corner dies:

Super Fantastic

I used the On the Corner stamps for the street sign and colored it with Copics. I layered it over some Open Road die-cuts and journaling cards. I wanted to keep the card pretty masculine, so I didn't add too much. ;)

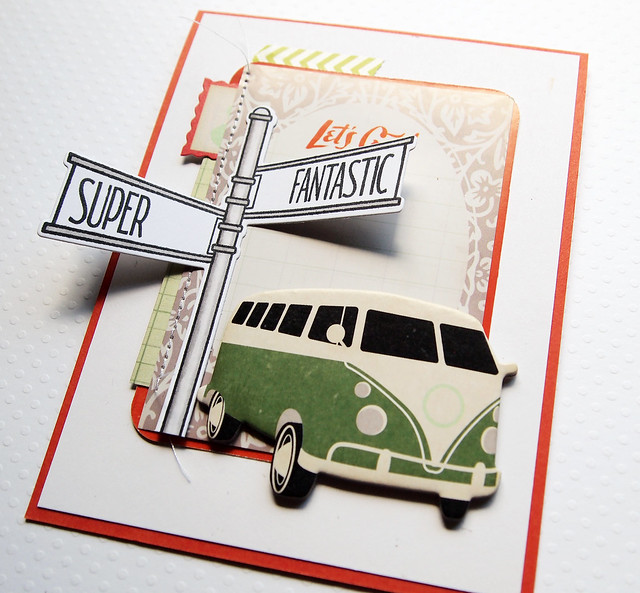
The dies make the On the Corner set so easy to use! Here's a close-up:


Super Fantastic


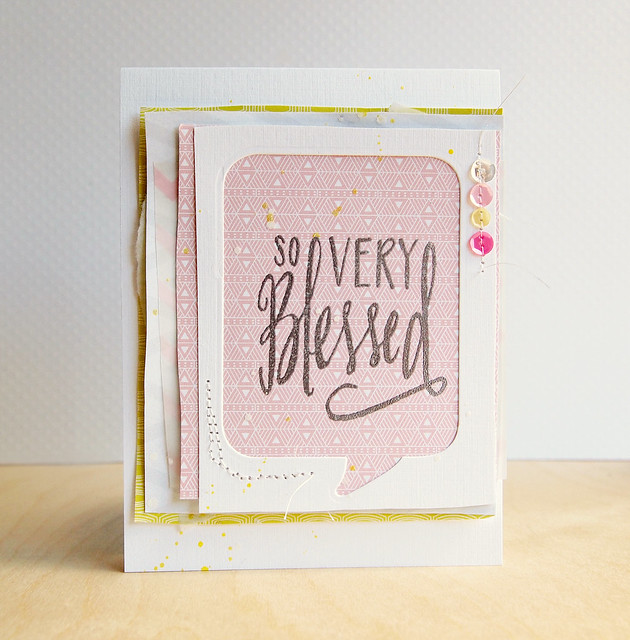
Next up is my card using the A Lot to Say die:


So Very Blessed


I heat embossed the So Very Blessed stamp in silver on Studio Calico's Hello, Hello paper. I die cut the A Lot to Say die and hand-cut the edges for a scrappy look. I layered that over five other layers (that's a lot of layers!).

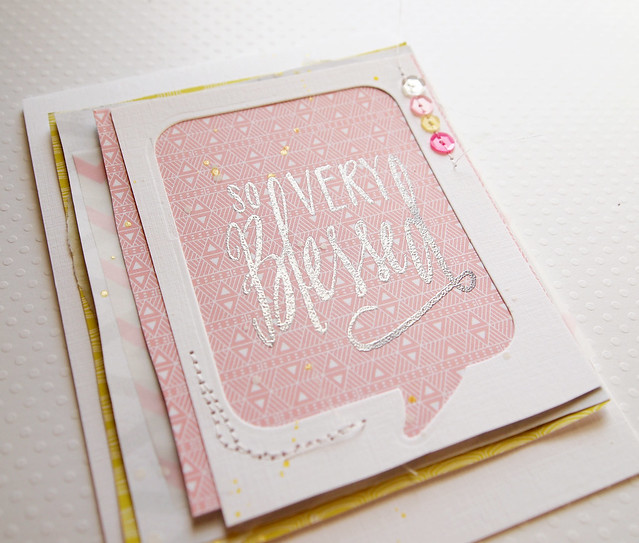
I finished the card off with some stitching. I stitched through the Neat & Tangled sequins (I'm once again CASE-ing that technique of Maggie Holmes). Here's a close-up of the embossing and frame:

So Very Blessed


Giveaway! One lucky person will win his/her choice of either the A Lot to Say stamp and die or On the Corner stamp and die. The winner will be chosen from all of the comments on the hop, so please be sure to hop along. The winner will be announced on the N&T blog next Saturday.

Here are pictures of the dies:


Here's a complete list of the hop:


Jocelyn Olson <--You are here.

So next up is the amazing Joni! Thanks for stopping by!


Supplies
Super Fantastic
Stamps: (On the Corner) Neat & Tangled
Dies: (On the Corner dies) Neat & Tangled
Cardstock: (white) PTI
Embellishments: (van chipboard, journaling cards, die-cuts from Open Road collection) Crate Paper
Washi: (Bella Blvd)
Copics

So Very Blessed
Stamps: (So Very Blessed) Neat & Tangled
Dies: (A Lot to Say) Neat & Tangled
Cardstock: (White Linen) Ellen Hutson
Patterned papers: (from the Camelot June '14 kits) Studio Calico; (vellum from Vellumptuous) Cosmo Cricket
Ink: Versamark; (Opaque White mist) Studio Calico; (Dandelion Fireworks mist) Tsukineko
Sequins: (Clear, Cotton Candy, Buttercream, Rosie Posie) Neat & Tangled


Friday, June 13, 2014

Confetti Pockets

Hi everyone! I hope you had a great week! I finally got the draft of a big grant done, and I'm playing catch-up. Phew!

Kim shared my project using the Pocket Dies on the Paper Smooches blog today. I wanted to share how I made the pockets, so let's get down to it. :)

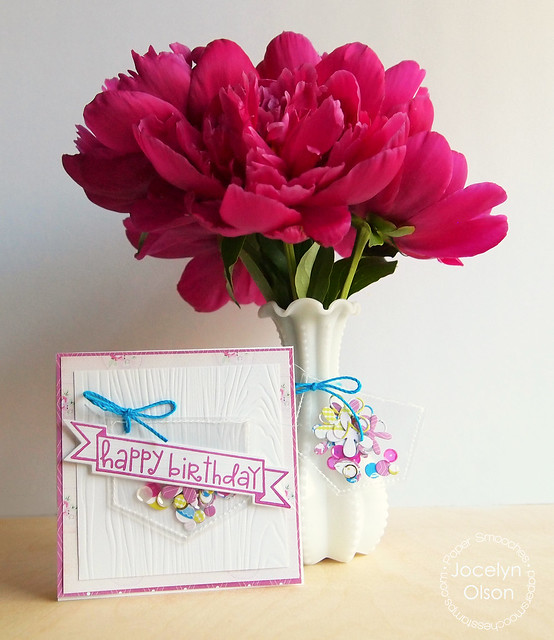
Here is the final project:

  Birthday Confetti Pockets

*sigh* Aren't the peonies pretty? They're from my mother-in-law's garden, and in reality, they look about the color of the violet papers.

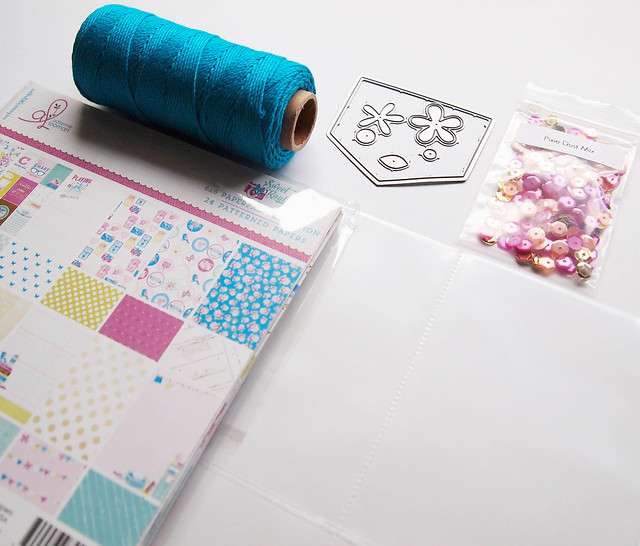
To make the project, I first gathered my supplies:

Confetti Pockets


Paper Smooches Pocket Dies, Neat and Tangled Pixie Dust sequins, Project Life page protectors, Webster's Pages Sweet Routine papers, and Hemptique cord.

Next, I started on the pockets:

Confetti Pockets

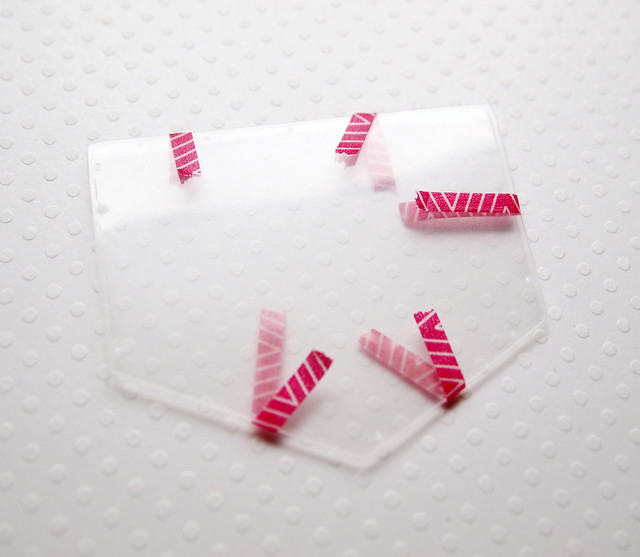
I die-cut each side one at a time....I wasn't getting great results cutting both sides of the pocket at one time, even with a shim.

I then taped up three of the sides with washi tape. This step is important for stitching! Don't ask me how I know that. ;)

Confetti Pockets


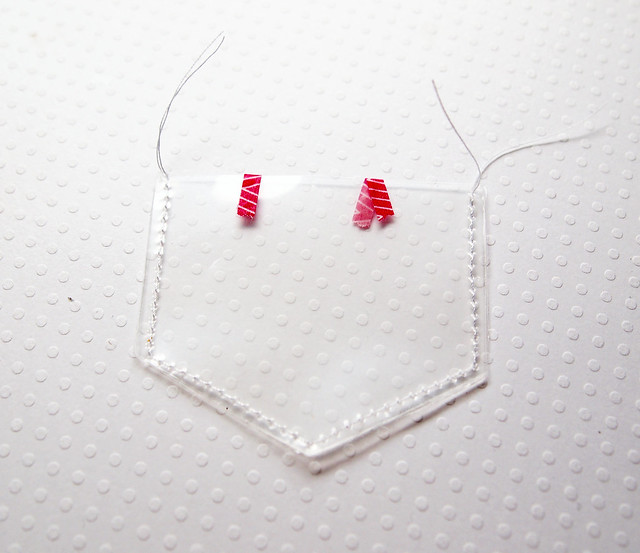
I had to set my sewing machine tension very low and stitch slowly. I removed the washi tape along the way.


Next, I die-cut and stamped:

Confetti Pockets


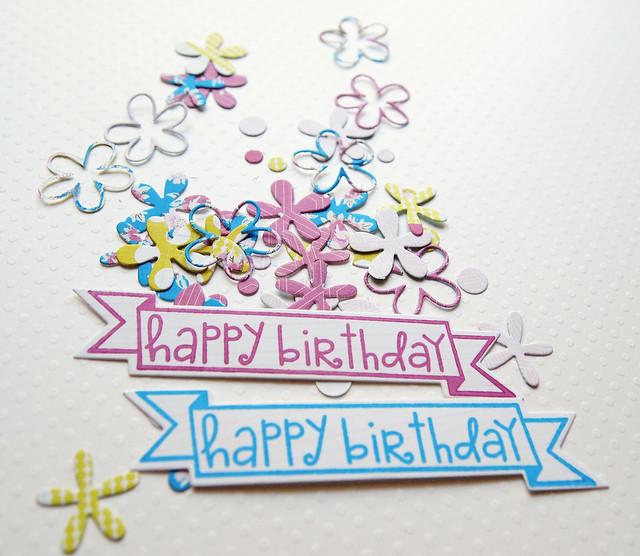
I picked a few paper colors and ran all of the dies through at once to save time. I didn't use the largest flower in the Pocket Dies. I also die-cut and stamped two sentiments with the new Blissful Banners stamps and matching Streamers dies. That set is super cool!

The final steps for the pocket:

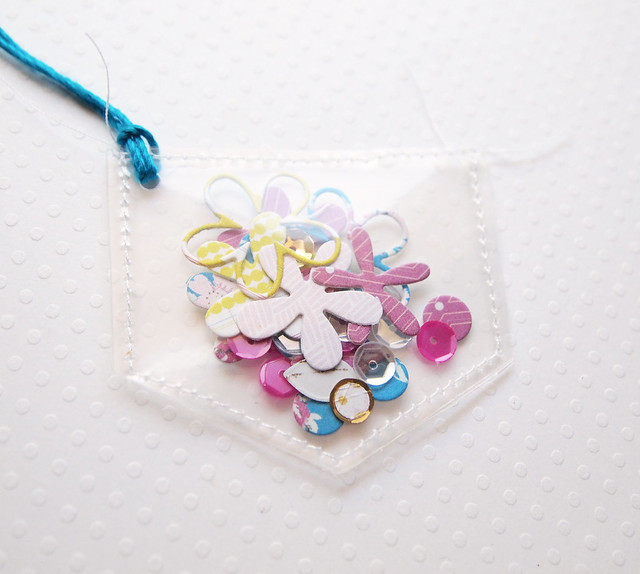
Confetti Pockets


I filled each pocket with die-cuts and a mix of sequins and then stitched it closed. As a tip, don't clump the flowers together for stitching. I did that and had to take out the stitching on one to loosen the flowers. They aren't really shakers, though.

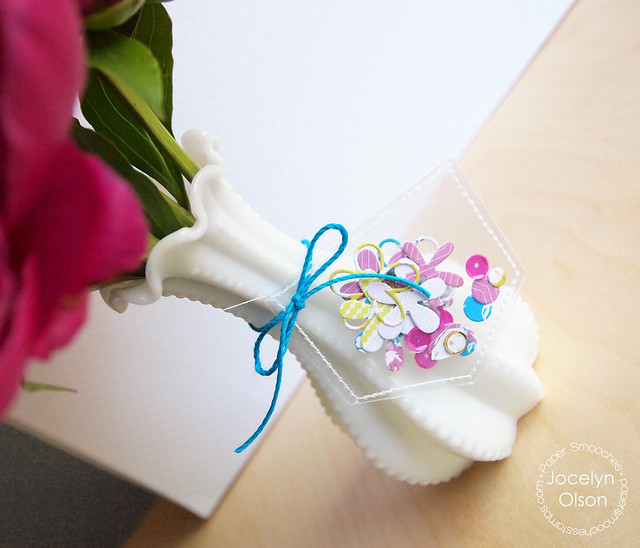
I punched a hole at the top for the cord and tied the cord bow. Isn't it fun?

Here is one on a vase:

Confetti Pockets


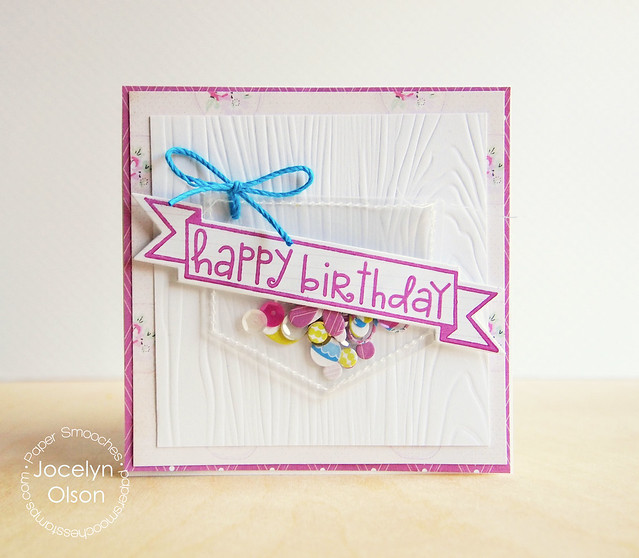
I made a quick matching card:

Birthday Confetti Pockets

I attached the Streamers die-cut with foam tape onto one of the pockets, and layered some of the matching papers from the same Sweet Routine collection.

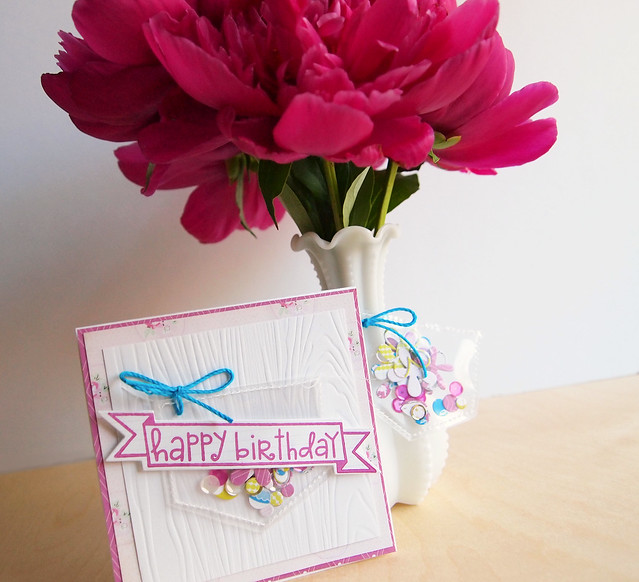
Here is a final shot:

Birthday Confetti Pockets

Thanks for making it through this *long* post!

Have a great weekend!


Supplies
Cardstock: (white) PTI
Patterned paper: (Sweet Routine) Webster's Pages
Stamps: (Blissful Banners) Paper Smooches
Dies: (Pocket Dies, Streamers) Paper Smooches
Impression plate: (Woodgrain) PTI
Sequins: (Pixie Dust) Neat & Tangled
Cord: Hemptique

Blog Design by Caked Designs