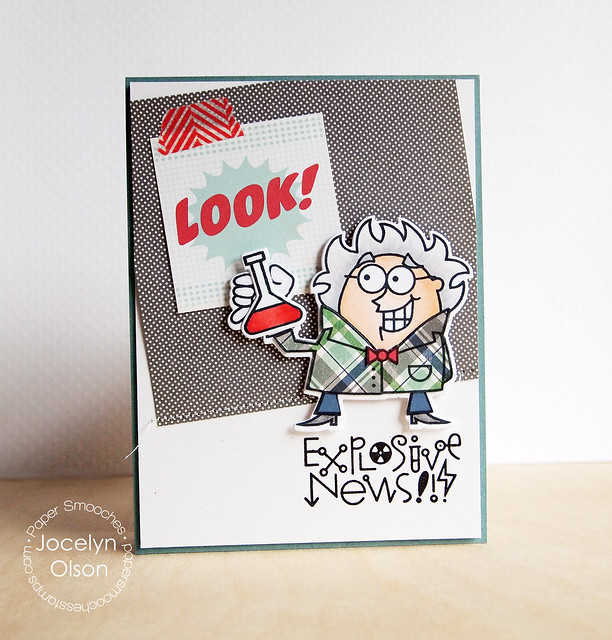
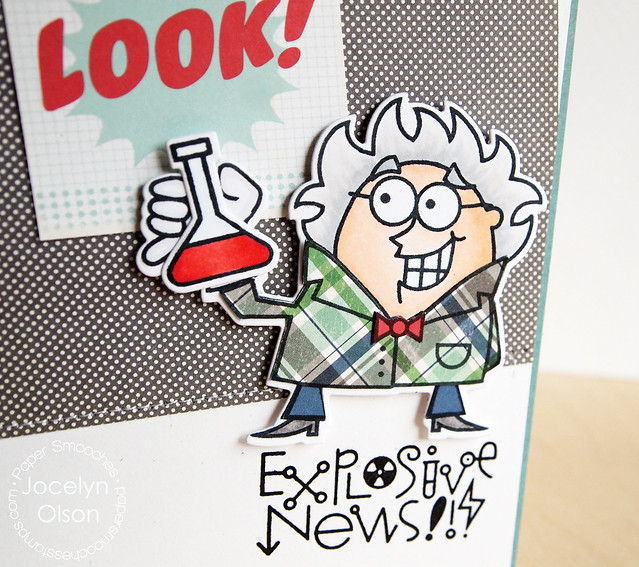
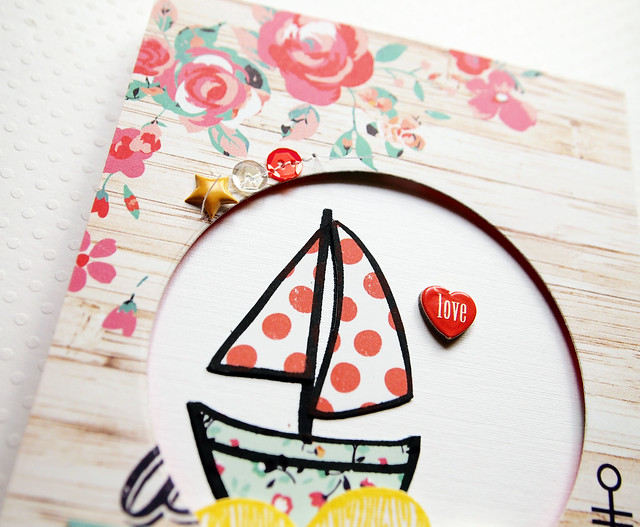
It's Pep Rally week and we are here today to share a sampling of the NEW Paper Smooches September release with you! FOUR new stamps and EIGHT new dies will be available to purchase on September 1st. You will find our new releases HERE.
To add extra fun to our blog hop...we are offering up a prize! The prize - a $25 gift code to choose what you like at the PS online store. Want a chance to win a prize? Here are the details:
- FOUR winners will be chosen at random from any of the design team blogs and the PS Blog to win the $25 prize.
- Just leave a comment on any of the design team blogs listed above or the PS blog for your chance to win (you do not need to comment on all blogs to qualify, but it increases your chances)!
- Deadline: You have until midnight MT on Sunday, August 31st to leave a comment.
- Please check the Paper Smooches blog on Monday, September 1st to see if you are one of the FOUR lucky winners.
Ashley Marcu
Betsy Veldman
Emily Leiphart
Erin Lincoln
JJ Bolton
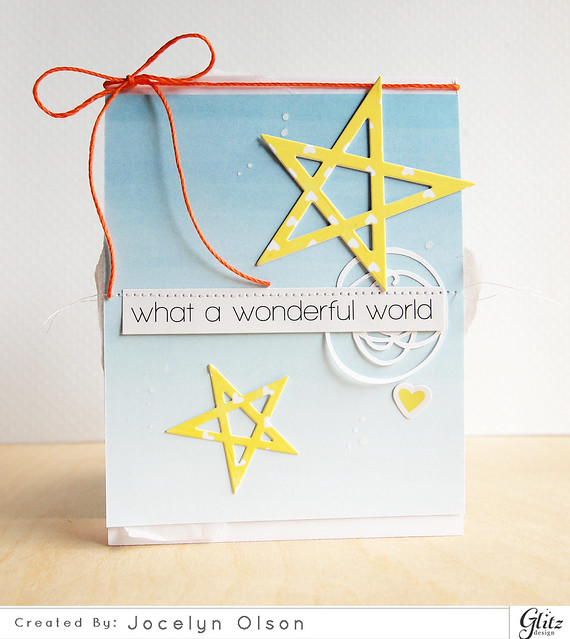
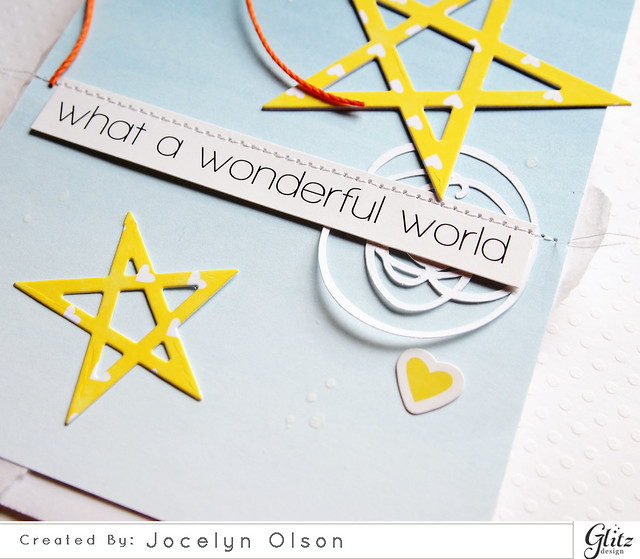
Jocelyn Olson <--You are here
Kalyn Kepner
Laura Bassen
Laurie Schmidlin
Michele Boyer
Pamela Ho
Teri Anderson
To increase your chance of winning:Betsy Veldman
Emily Leiphart
Erin Lincoln
JJ Bolton
Jocelyn Olson <--You are here
Kalyn Kepner
Laura Bassen
Laurie Schmidlin
Michele Boyer
Pamela Ho
Teri Anderson
- Tell us that you Facebooked about our blog hop (leave another comment)
- Tell us that you Tweeted about the hop (leave another comment)
- Tell us that you posted on your blog about our blog hop (leave another comment)
Here's my card using A Blessed Christmas:
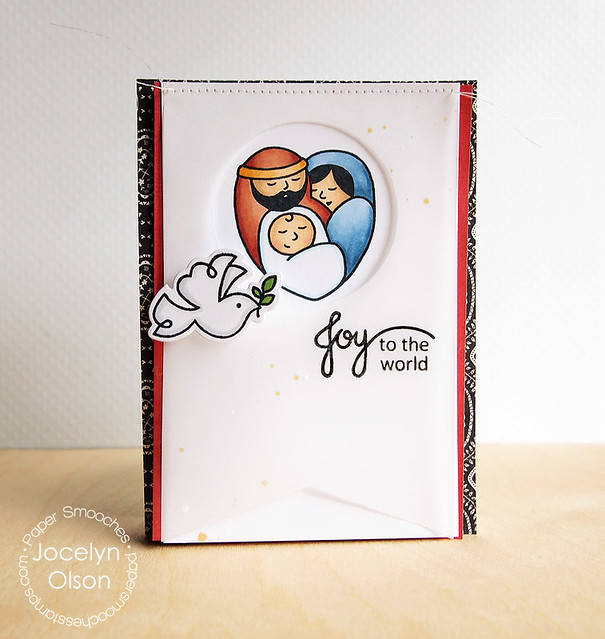
Isn't that image so sweet? I love that it's a cute religious, Christmas image. This set has so many fabulous images!
Isn't that image so sweet? I love that it's a cute religious, Christmas image. This set has so many fabulous images!
For my card, I simply stamped and colored it with Copics. To add a soft layer, I die-cut a the window out of vellum and stamped the sentiment from A Blessed Christmas directly on the vellum (got to love the Brilliance inks). Finally, I used the matching Blessed Icons dies to die-cut the dove. When I think of Christmas, I don't typically think of rust and black colors. ;) But, as soon as I saw these BasicGrey papers with the image, I had to go with the non-traditional colors.
Here's a close-up:
Supplies
Here's a close-up:

Supplies
Stamps: (sentiment, holy family, dove from A Blessed Christmas) Paper Smooches
Dies: (dove from Blessed Icons); (banner, circle) Silhouette America
Cardstock: (white) PTI; (vellum) Hobby Lobby
Patterned papers: (Spice Market) BasicGrey
Ink: (Graphite Black Brilliance; Tuxedo Black Memento) Tsukineko; (Gold and Opaque White Mister Huey's spray mist) Studio Calico
Copics