Showing posts with label thank you. Show all posts

Friday, September 25, 2015

Miss You

Hi everyone! Ready for the weekend? :)


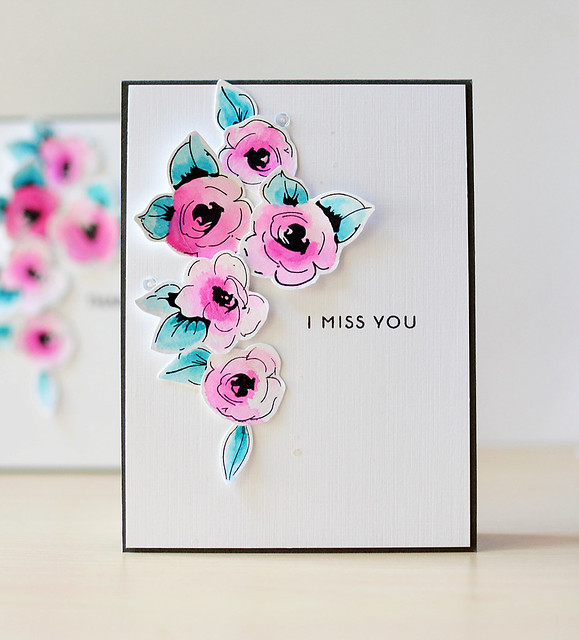
I Miss You

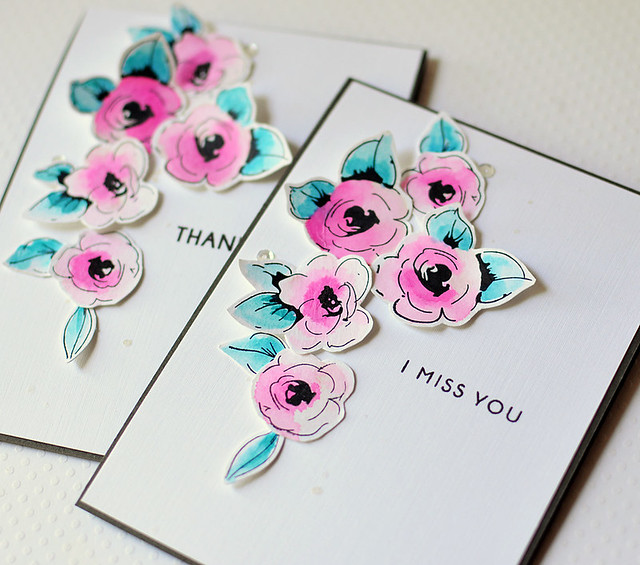
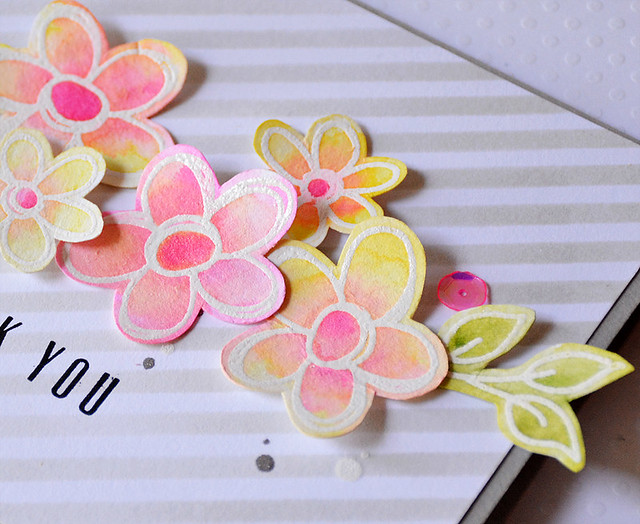
I'm on the Altenew blog sharing a couple of cards. I used the beautiful Painted Flowers set and watercolored them. It was the first time I had ever used this set (why??), but I loved it! I went pretty CAS with these cards. :)

Here's a close-up:

I Miss You

There is a picture of the other card and more details on the Altenew blog. I hope you check it out!

Thanks so much for stopping by! Have a great weekend!


Wednesday, July 29, 2015

Wild Hibiscus

Hi everyone! Can you believe it's the end of July? I'm glad we still have six more weeks before school starts, but time is flying!

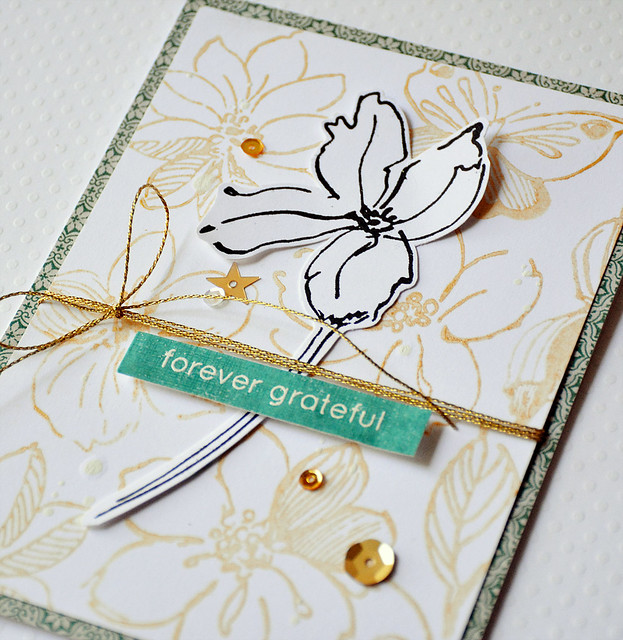
Forever Grateful

I'm up on the Altenew blog showing three different projects using the new Wild Hibiscus set. It's one of the prettiest stamp sets I've seen! I hope you'll check out the post!

Have a great day. Thanks for stopping by!!

Friday, July 24, 2015

Altenew July Release Blog Hop

Hi everyone! It's Friday--woo hoo!


Today, Altenew is having a blog hop to celebrate its July Stamp Release! Yeah! The July release includes nine new sets, which are available now in the Altenew store. If you're hopping along, you should be coming from May's blog. Here's the complete list:


I made two projects with the new stamps:

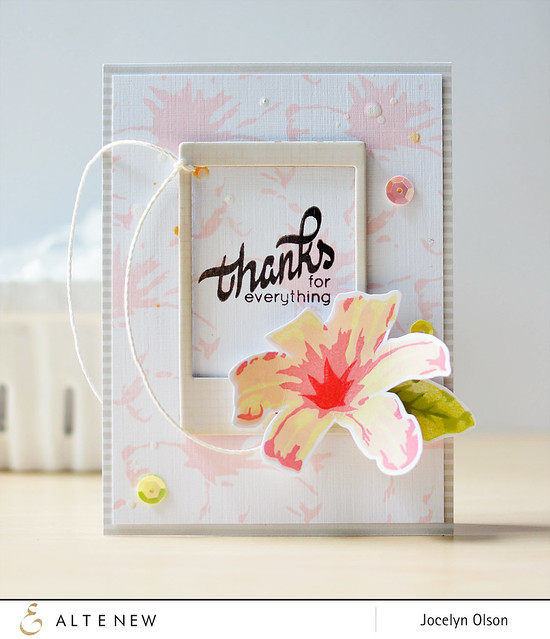
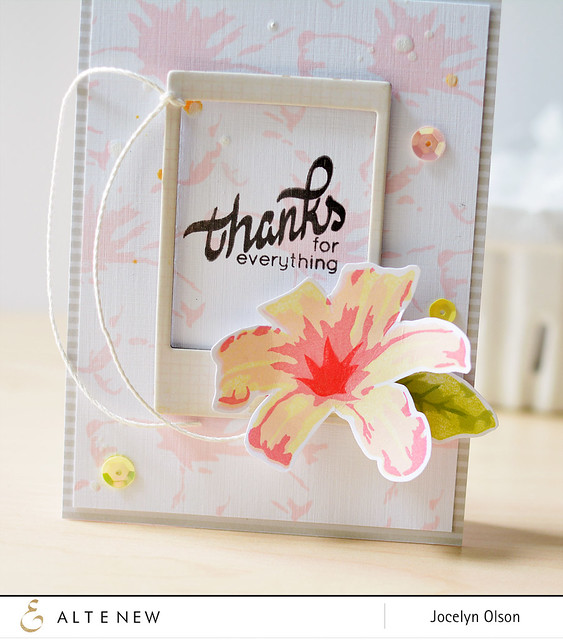
Lily Thanks

First up, I used the new Layered Lily set. This gorgeous flower has a whopping five layers (I only used four). Taking inspiration from Aga's card, I inked up the layers in lighter Altenew inks. I fussy cut the flower and inked up the leaf in the set.

I stewed over what to do with the background, but it dawned on me to stamp one of the lily layers in Frosty Pink. It made a cool background! I finished the card off with the sentiment from the same Layered Lily set. Here's a close-up:

Lily Thanks


For my second card, I went cute:

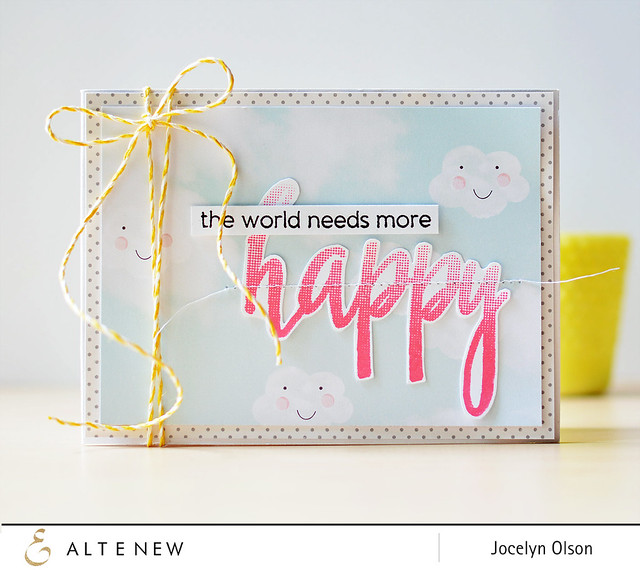
Happy World

Seriously, folks, I think I would buy the set just for this sentiment. :) I used the new Halftone Happy set, which is full of fantastic and different sentiments (like the one I used in my card).

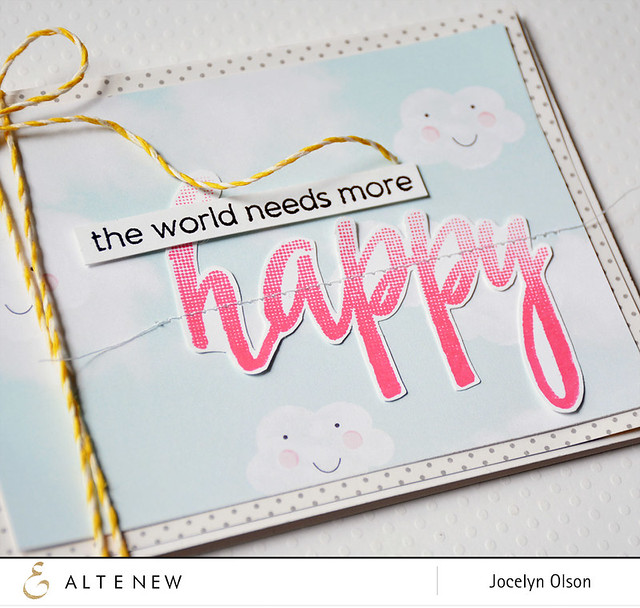
I stamped the "happy" in Coral Berry, fussy cut the word, and stitched it to the Studio Calico patterned paper. Next, I stamped the second sentiment (also from Halftone Happy) and layered it with foam tape. Here's a close-up:

Happy World

I used two of the nine new sets, so be sure to hop along and see the other sets. :)

Prizes: There are two ways to win!

To celebrate this release, Altenew will draw three winners who will each receive a $50 gift certificate to their online store. Please leave a comment on the Altenew blog by Friday, July 31st 11:59pm EST for a chance to win. The winners will be announced on Saturday, August 1st.

Altenew is also offering a $30 gift certificate for comments on this blog post. For a chance to win this extra gift certificate, please leave a comment on my post by Friday, July 31st at 11:59pm.

Thanks so much for stopping by! Next up on the hop is the fabulous Aga. I'm sure you're in for a treat!


Supplies
Lily Thanks
Stamps: (sentiment, flower, leaf from Layered Lily) Altenew
Ink: (Frosty Pink, Coral Berry, Buttercream, Jet Black) Altenew; (Coral Brilliance) Tsukineko; (white Mister Huey's) Studio Calico; (gold mist) Lindy's Stamp Gang
Embellishments: (chipboard frame) Crate Paper; (sequins) Studio Calico; (white cord) Hemptique

Happy World
Stamps: (sentiments from Halftone Happy) Altenew
Ink: (Coral Berry, Jet Black) Altenew
Patterned paper: (cloud from a Studio Calico kit); (polka dot from Summertime) October Afternoon
Embellishments: (yellow and white cord) Lawn Fawn

Wednesday, June 3, 2015

Many Thanks

Hi everyone! I hope you're having a great week!

Doodle Thank You


I'm up on the Altenew blog today sharing a card using the Doodle Blooms set. I stenciled the background of the card, which may be my new favorite way to make a background. ;) Anyhoo, I hope you check out the post (HERE).

Thanks for stopping by!

Friday, May 15, 2015

Altenew Ink Pad Blog Hop

Hi everyone! It's Friday--yeah!


It's also the release of the new Altenew Dye inks. Yeah! To celebrate, we're having a special blog hop. If you're hopping along, you should be coming from May's blog. Here's the complete list:

Jocelyn Olson <-- You are here.

I made two projects showing the inks. First up, a card:

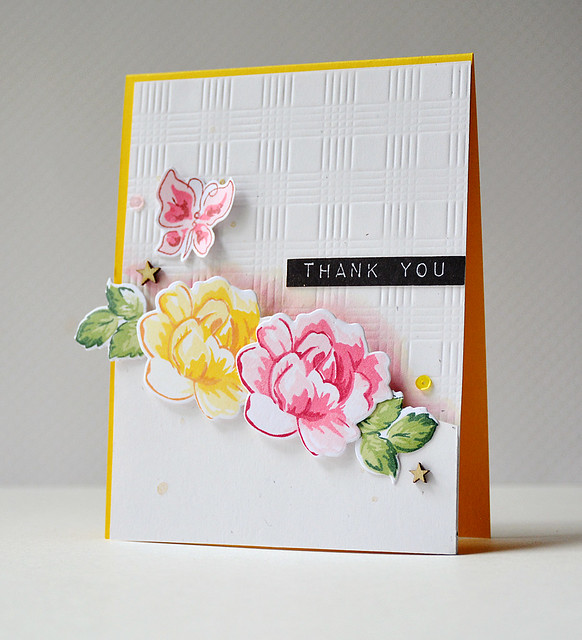
Vintage Flowers Thank You


I used the Vintage Flowers Stamps and Vintage Flowers Dies for the flowers and leaves. The new inks are made to work with multi-step flowers--there are four coordinating red inks and four yellow. Plus, there are three coordinating green inks that are perfect for leaves and a black. I've used 11 of the 12 inks on this card.

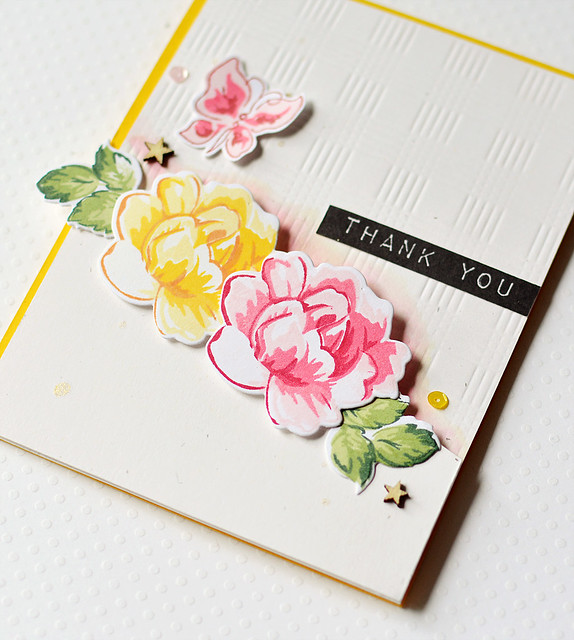
Vintage Flowers Thank You

For the pink flower, I used Ruby Red, Coral Berry, and Frosty Pink. For the yellow flower, I used Caramel Toffee, Warm Sunshine, and Buttercream. On both cards, I stamped off the final (fourth) layer (Frosty Pink and Buttercream). The Jet Black I used for the Label Love sentiment is very dark and has great coverage.

Here's another close-up:

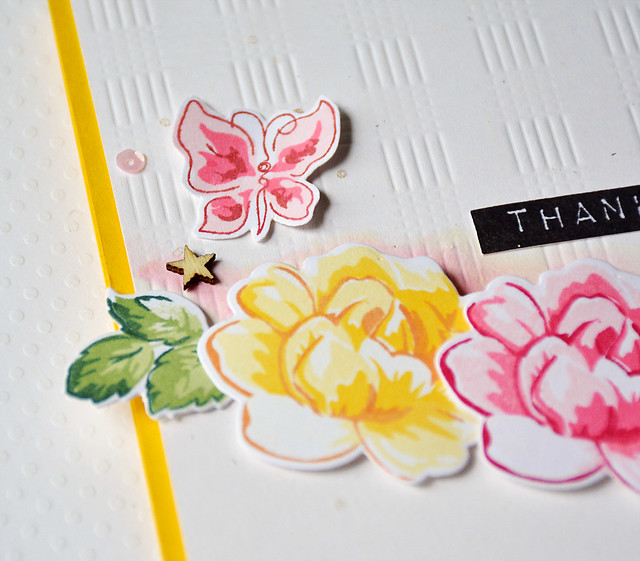
Vintage Flowers Thank You

I also stamped and fussy cut a butterfly from the Painted Butterflies set. For the outline, I used the Grapevine ink. It's a gorgeous color and unlike any other I have. Behind the panel, I did a little watercoloring using the Coral Berry and Buttercream inks to look like a shadow.

Next, I have a CAS tag:

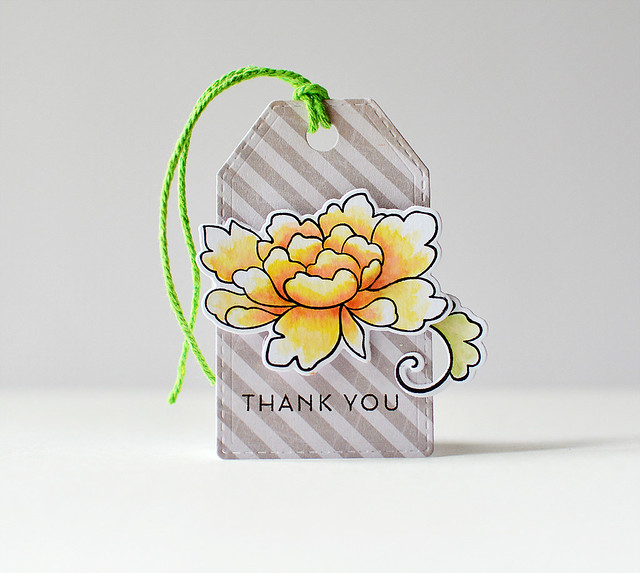
Thank You Tag

I used the dye inks to watercolor the Peony Scrolls flower. I used all three of the yellow inks (Buttercream, Warm Sunshine, and Caramel Toffee) and a small amount of Coral Berry. Now I'm not a stellar watercolorer, but I wanted to show how well the colors blend together.

I have to say, these inks are fantastic! They are very crisp, dry quickly, and I only had light staining from the darkest reds. Something that drives me nuts about some dye inks is ink transfer between colors (even after cleaning). Fortunately, I didn't have any problems with discoloration with the Altenew inks. The coverage is fantastic, even on solid stamps. I typically use pigment inks, but I would definitely buy all of the Altenew inks.

Prizes: There are two ways to win!

To celebrate this release, Altenew will draw three winners who will each receive a $30 gift certificate to their online store. Please leave a comment on the Altenew blog by Friday, May 22nd 11:59pm EST for a chance to win. The winners will be announced on Saturday, May 23rd.

Altenew is also offering a $30 gift certificate for comments on this blog post. For a chance to win this extra gift certificate, please leave a comment on my post by Friday, March 22nd at 11:59pm.

Thanks so much for stopping by! Next up on the hop is the incredible Marika. I'm sure you're in for a treat!


Thursday, February 26, 2015

February Paper Smooches DT Blog Hop

Hi everyone!

It's Pep Rally week and we are here today to share a sampling of the NEW Paper Smooches March release with you! TWO new stamps and TEN new dies will be available to purchase on February 28th at 8:00pm PT. Once our release goes live, you will find our new products HERE.

To add extra fun to our blog hop...we are offering up a prize! 
The prize - a $25 gift code to choose what you like at the PS online store. Here are the details:
  • FOUR winners will be chosen at random from any of the design team blogs and the PS Blog to win the $25 prize. 
  • Just leave a comment on any of the design team blogs listed above or the PS blog for your chance to win (you do not need to comment on all blogs to qualify, but it increases your chances). 
  • Deadline: You have until midnight PT on Sunday, March 1st to leave a comment. 
  • Please check the Paper Smooches blog on Monday, March 2nd to see if you are one of the FOUR lucky winners. 
Here's the order of the hop:
To increase your chance of winning:
  • Tell us that you Facebooked about our blog hop (leave another comment) 
  • Tell us that you Tweeted about the hop (leave another comment) 
  • Tell us that you posted on your blog about our blog hop (leave another comment) 
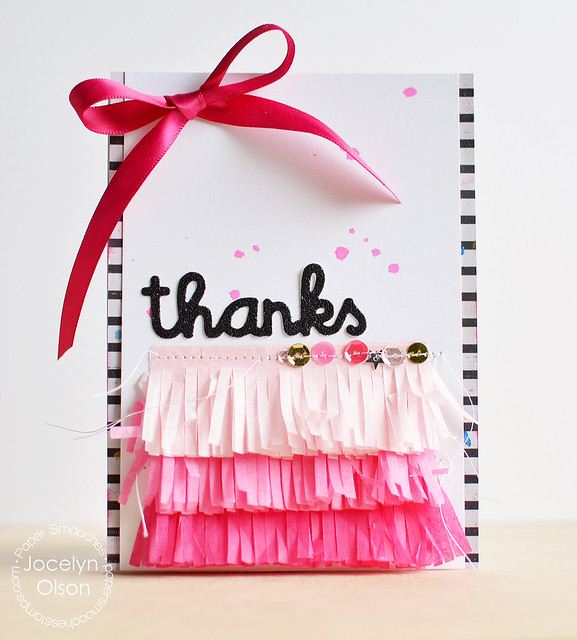
Here's how I used the Fringe die:


Fringe Thanks

I have been waiting for a fringe die, and I am in love with this new Fringe die! Yes, I know you can cut it by hand, but if you're like me, the fringe looks more like uneven triangles. ;) This die makes the process much easier and faster.

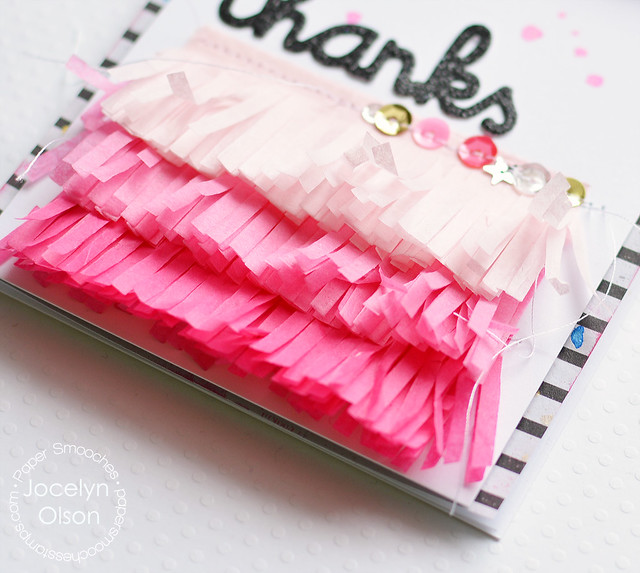
I cut 5-6 layers of tissue paper in the three shades of pink. To speed up the die-cutting, I fan-folded the tissue paper and cut all of the layers at once. In between each layer, I stitched it to the base...it helped to keep the layers together. It was very easy!

Here's a close-up:


Fringe Thanks


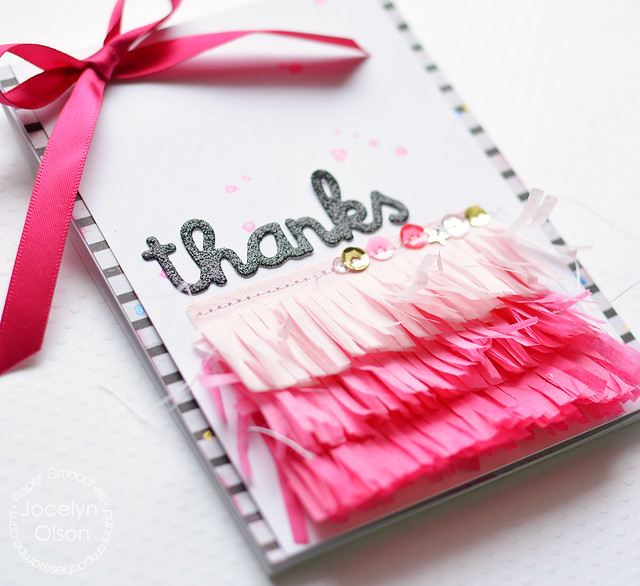
I also used the new Thank Word 2 die, which will also be available March 1st. I die-cut the "thanks" out of black glitter cardstock. The satin ribbon was a freebie from Ellen Hutson. :)

Here's another close-up:

Fringe Thanks


Thanks for stopping by! Next up is my sweet and very talented friend Kalyn!


Supplies
Dies: (Fringe die; sentiment from Thanks Word 2 die) Paper Smooches
Cardstock: (White) PTI; (black glitter cardstock) Best Creations
Patterned papers: (stripes) My Mind's Eye
Ink: (Apple Blossom, Egyptian Gold Luminarte mists) Creative Imagination; (Fuchsia) Fresh Ink
Sequins: (pink, Gold Confetti, 4mm Clear) Pretty Pink Posh; (Watermelon, Crystal Clear, Gold) Neat & Tangled

Monday, January 19, 2015

Flowers and Flowers (and Winners!)

Hi everyone! I'm sorry for dropping off the planet for a few weeks. I've been in the middle of writing a grant for a state that has been pretty all-consuming.

I thought I would share some Paper Smooches projects, and the Season's Givings winners are below. :)

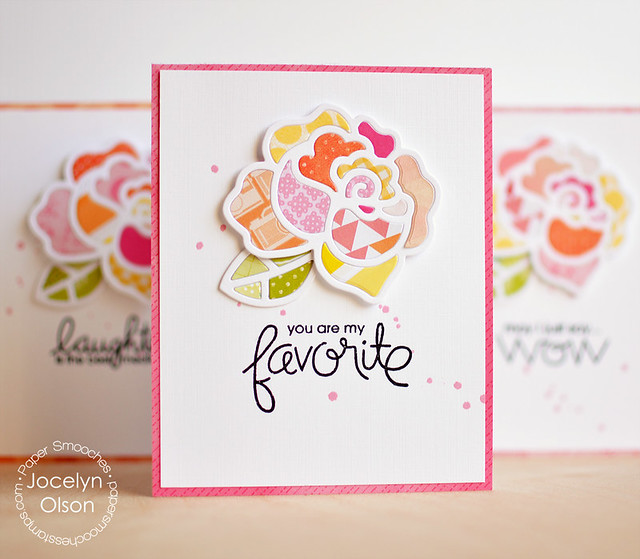
First up, a rose card set:

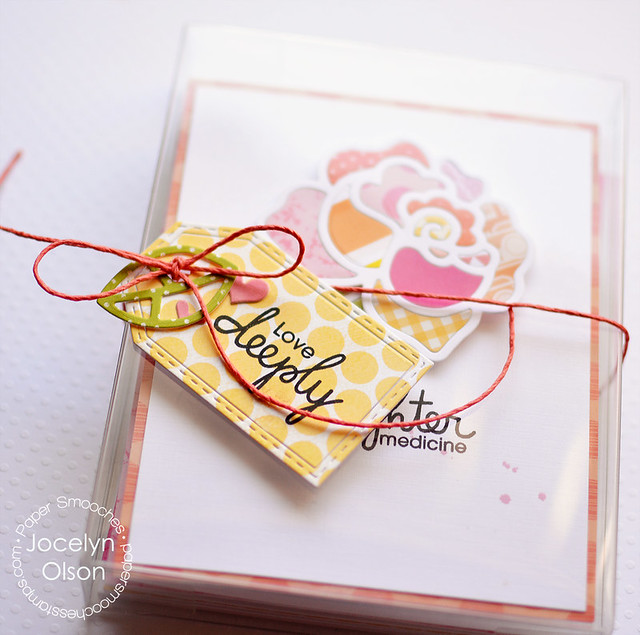
Roses Card Set

This card required *a lot* of die-cutting. ;) But once I made 17 passes through the die-cutter, I had enough pieces to make more than one card set and the process moved quickly. This technique was a great way to use up scraps of patterned paper.

I used the gorgeous Paper Smooches Roses Dies and in-laid patterned paper die-cuts--mostly American Crafts papers. For the sentiments, I stamped four different sentiments from the Uplifters set.

Here's a close-up:

Roses Card Set

I packaged the set of four cards for my mother-in-law. For the tag, I used the Paper Smooches Gift Tags 2 die, the Tiny Hearts Die [Aren't those hearts cute? They're only $1.99!], and one of the leaves from the Roses Dies. The sentiment is from Group Hugs.

Roses Card Set


Next up, I have a second floral card:

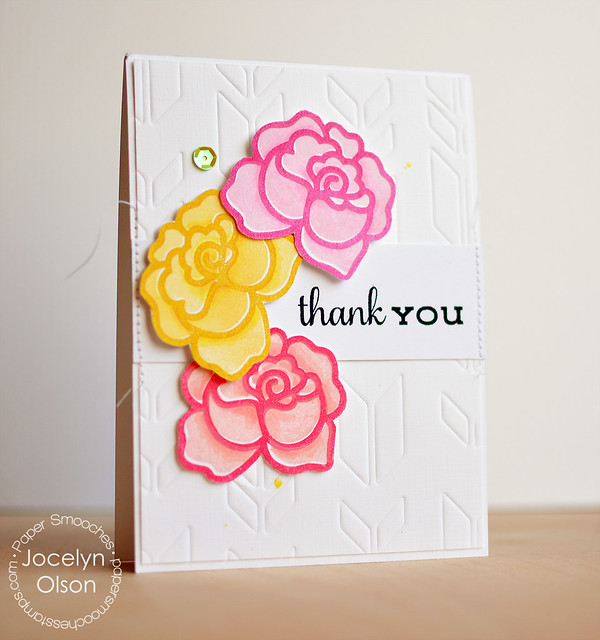
Roses Thank You

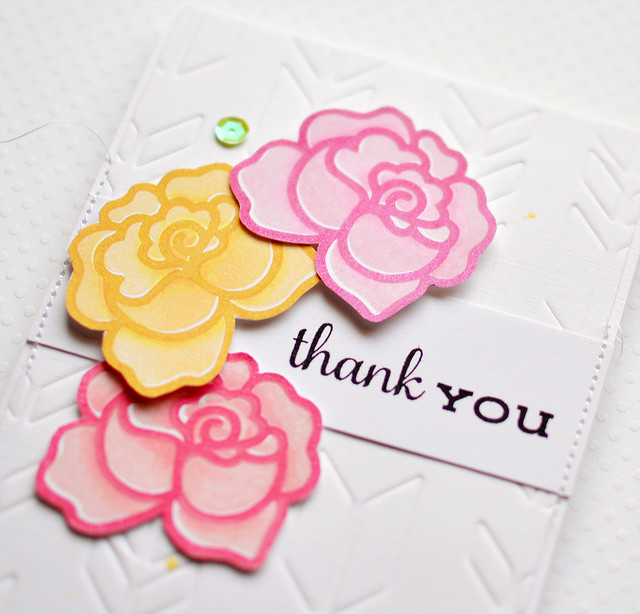
The roses are from the Paper Smooches Lovely Thoughts stamp set. I did some two-step stamping and added a bit of shading using Copics (although if I redid the card, I would have used colored pencils).

See the cool background? It's embossed using the Retro Arrow die. Here's a close-up:

Roses Thank You


Want to hear the winners of the Season's Givings blog hop?


[Drumroll....] The winners are:

Prize 1: Rachel

Prize 2: Shona Chambers

Yeah Rachel and Shona! Please drop me an e-mail at my contact information (the tab on the header). Thanks to everyone for your very sweet comments. You all are so nice!

Thanks so much for stopping by! Have a great day! :)


Tuesday, November 25, 2014

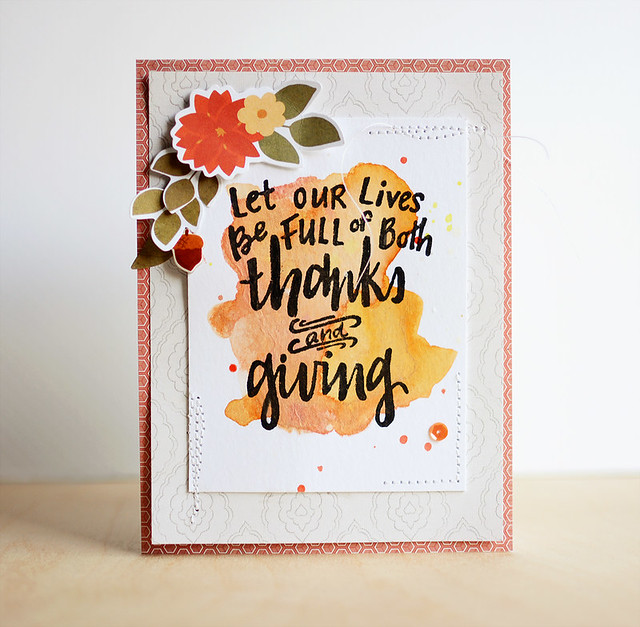
Let Our Lives Be Full

Hi everyone!

I'm up on the Neat & Tangled blog today with a card and step-by-step photos.

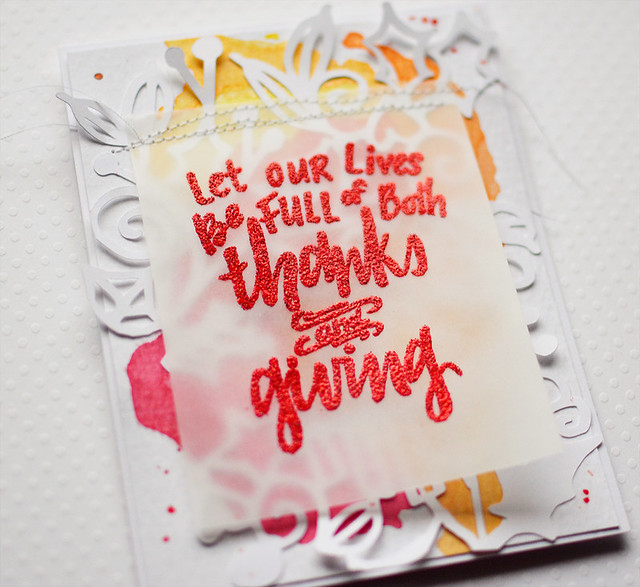
I wanted to use a Thanksgiving set in a (hopefully) non-Thanksgiving way. Here's what I ended up with:

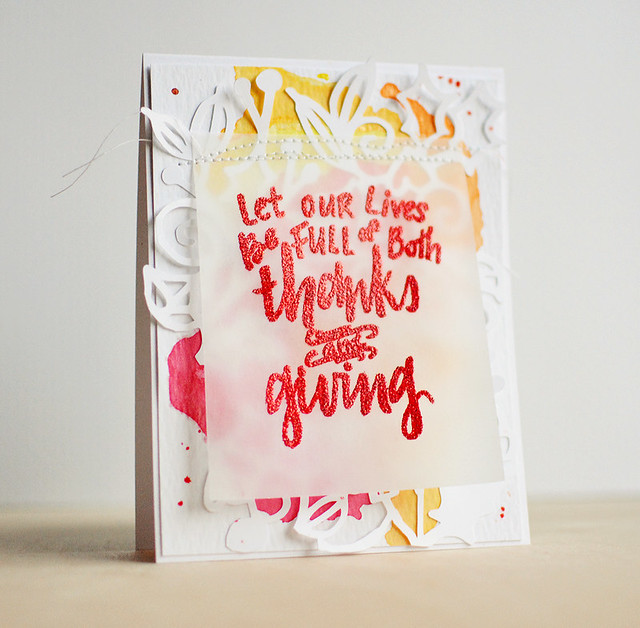
Thanks & Giving


This card has everything but the kitchen sink--layering, die-cutting, stamping, heat embossing, splattering, watercoloring, sewing....I guess I didn't use patterned paper. Ha!

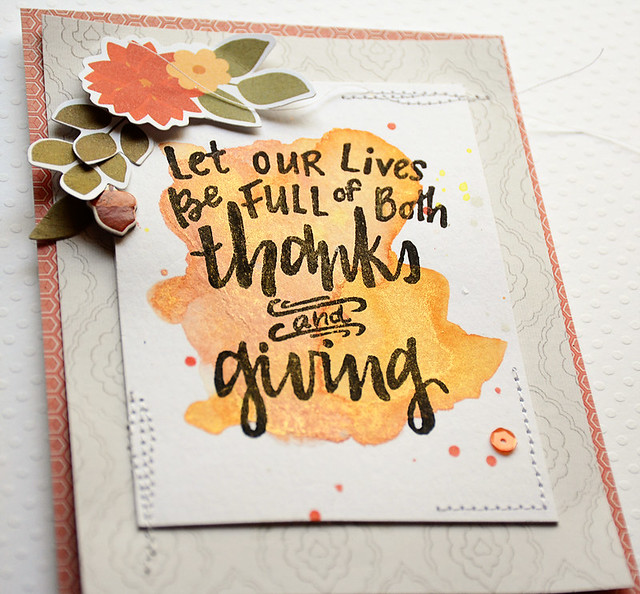
I started with watercoloring and then die-cut part of the Album Cover Lace on my Cameo. On top of that layer, I heat embossed the sentiment from Neat & Tangled's Be Full set. The embossing powder is glittery, which looks a little lumpy in photos (it's not).

Thanks & Giving


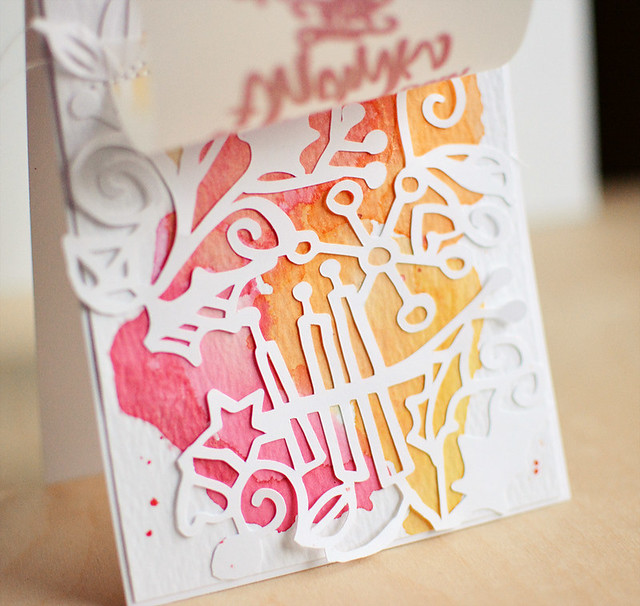
I stitched the panel onto the background to add some lift to the vellum. Here's a final picture of what the card looks like under the sentiment:

Thanks & Giving

To see the steps for making this card, I have the pictures and steps on the Neat & Tangled blog. :)

Also, Danielle is having a Black Friday sale starting at 8am ET on Thursday (11/27) and running until Sunday (11/30)!


Thanks for stopping by! Have a great day!

Supplies
Cardstock: (white) PTI; (Distress Watercolor Paper) Ranger; (vellum) My Favorite Things
Stamps: (Be Full) Neat & Tangled
Die-cutting file: (Album Cover Lace) iHeartStudio.com
Ink: Versamark; (California Poppy) Lindy's Stamp Gang; (Sweet Cherry) Heidi Swapp; (Dandelion Fireworks) Tsukineko; (Rudolph Mister Huey's) Studio Calico
Embossing powder: (Red Glitter Zing!) American Crafts

Wednesday, September 24, 2014

I Love a Different Sentiment

Hi everyone! I hope you're having a great week!

It's day 3 of Neat & Tangled's release week! Today we're sharing projects using the My Plate is Full stamp set and coordinating dies. Danielle is sharing pictures of the set and dies on the Neat & Tangled blog.

Here's what I made:

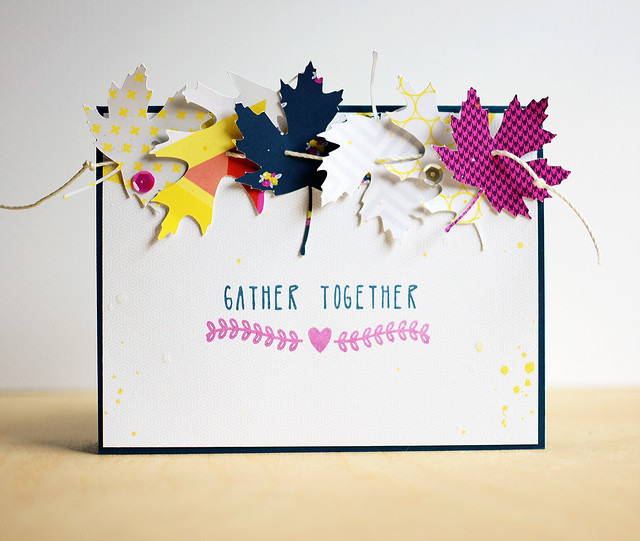
Gather Together


I felt like I haven't been hybriding as much (and yes, I made up that word), so I decided to use my new One Little Bird digital papers for this card. After resizing and printing the papers, I stamped the sentiment, swag, and rings from the new My Plate is Full set on one of the patterned papers. I thought the sentiment would work for an invitation or a hostess thank you. I love that it's a different sentiment!

I die-cut the leaves on my Cameo and strung them together like I did in THIS card and knotted the ends.

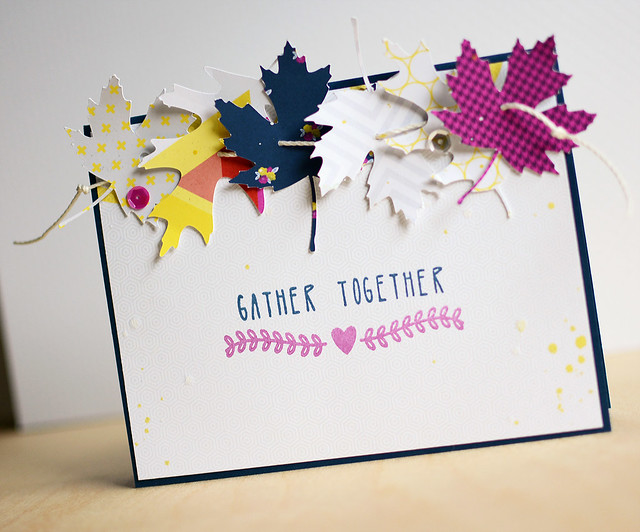
Gather Together

I finished the card with some mist and Neat & Tangled sequins the Orchid Satin sequins matched perfectly.

There's a giveaway! Comment on the Neat & Tangled blog to win the My Plate is Full stamp set.

Thanks for stopping by!


Supplies
Stamps: (sentiment from My Plate is Full) Neat & Tangled
Cardstock: (Nightshift) My Favorite Things; (Premium Matte Photo Paper) OfficeMax
Digital papers: (Who I Am) One Little Bird; (grey stripe from Where I Stand) Paislee Press
Ink: (Nautical Blue, Lilac Posies, Dandelion Luxe) Tsukineko; (Dandelion Fireworks mist) Tsukineko; (Opaque White) Studio Calico
Embellishments: (Orchid Satin, Crystal Clear sequins) Neat & Tangled; (White cord) Hemptique

Tuesday, September 23, 2014

Full of Thanks and Giving

Hi everyone! Uh oh. It's only day two, and I don't have anything to say. Ha! Let's get to it.


It's day 2 of Neat & Tangled's release week! Today we're sharing projects using the Be Full stamp set. Danielle is sharing pictures of the set on the Neat & Tangled blog.

Here's what I made:

Be Full


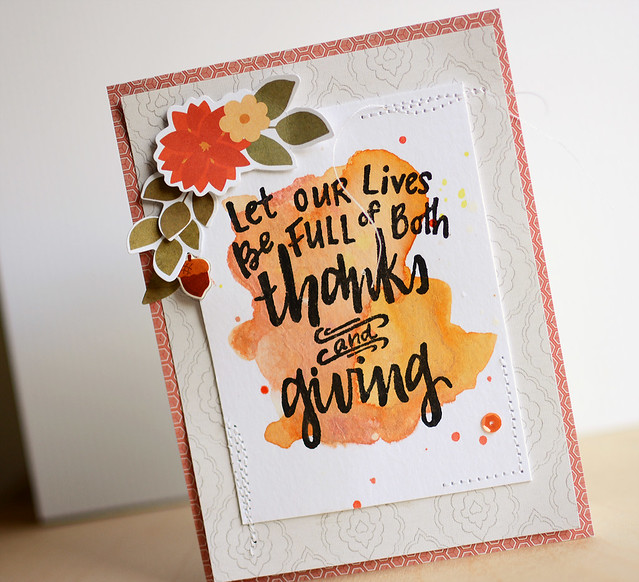
Over a month ago, I watercolored a background using spray mists for another project. It ended up not working, but I kept it in my pile of "maybe I'll use it someday" elements. When I saw the Be Full stamp set, I knew it would work! Yeah!

I stamped the sentiment with Brilliance Black ink, which added some extra shimmer to the already-shimmery misted background:

Be Full 

I had to stitch down that panel, so I added some wonky stitching. The layered elements in the corner are from Simple Stories. I know poinsettias don't grow acorns, but it looked good.

Be Full

There's a giveaway! Comment on the Neat & Tangled blog to win the Be Full stamp set.

Thanks for stopping by!


Supplies
Stamps: (sentiment from Be Full) Neat & Tangled
Cardstock: (Distress Watercolor Cardstock) Ranger
Patterned paper: (hexagon from Hipster) BasicGrey; (ivory paper from Life Emporium) Teresa Collins
Ink: (Brilliance Black) Tsukineko
Embellishments: (Spooktacular sequins) Neat & Tangled; (chipboard and ephemera from Sweater Weather) Simple Stories

Monday, August 11, 2014

Scribbles and Doodles

Hi everyone! I hope you had a great weekend. We went to the county fair this weekend, and the kids had fun on the rides and playing the games. I even got to pet a 4-day-old pig, who was pretty darn cute. :)

I'm up on the Glitz blog today sharing projects related to a trend. I've got to tell you, I thought a lot about different trends (I'm so geeky, I even made a spreadsheet). Finally, I settled on scribbles and doodles, which I am suddenly seeing everywhere.

I made a trio of cards with a mix of Glitz lines incorporating the scribble trend. Here's the first card:

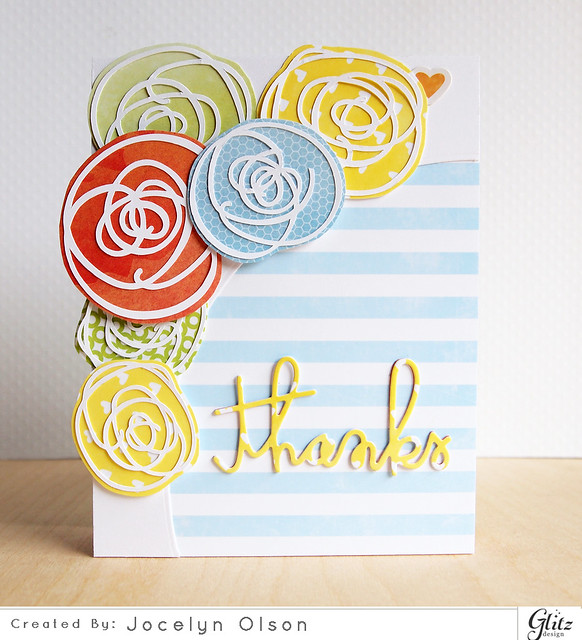
Thanks

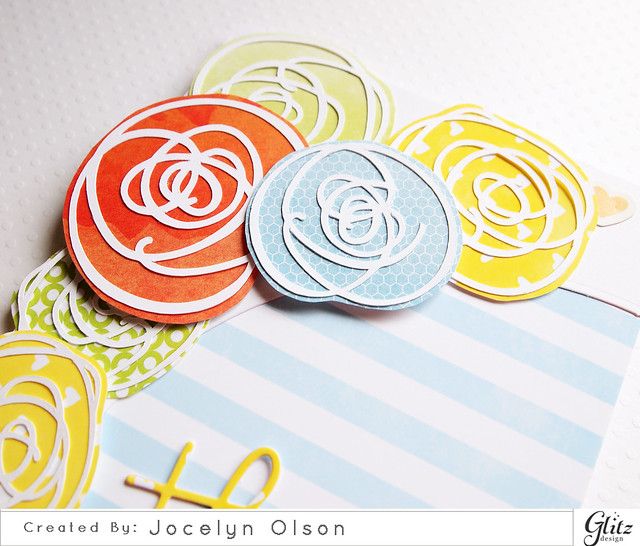
Using my Silhouette, I die-cut the scribbles in white. I fussy-cut around the die-cuts with papers from Glitz's Brightside, Felicity, and 77 collections. I finished the card with the Thanks Word die from Paper Smooches.

I used the Avery Elle Custom Panels die to cut the arc and then popped up some of the scribble flowers for a little dimension:

Thanks


The next card is a little softer, and I used some hybrid elements:

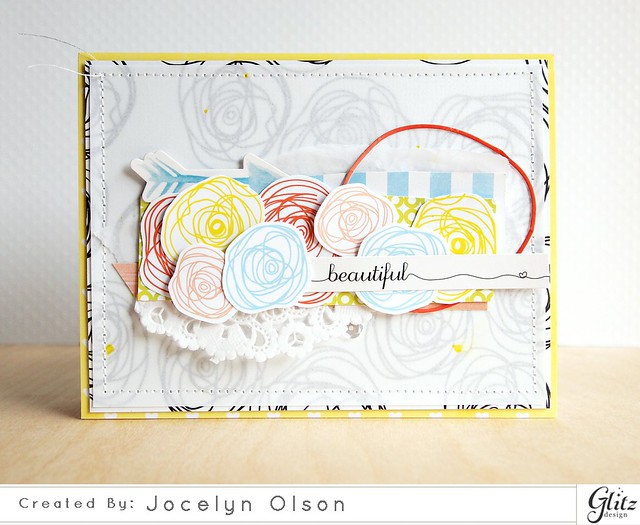
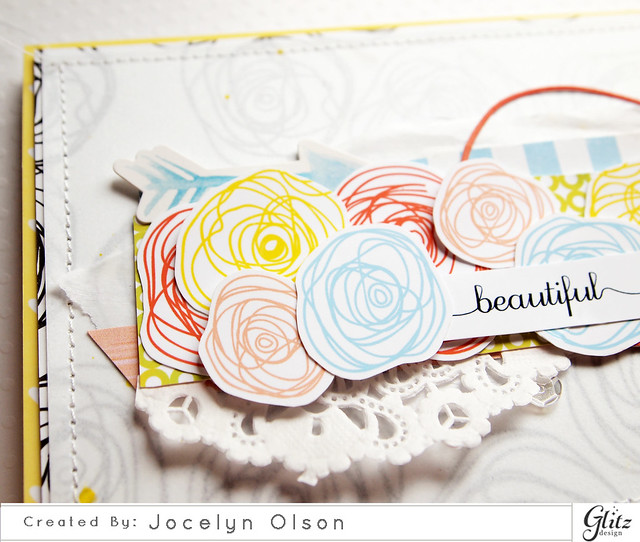
Beautiful

The Glitz Black and White collection has an awesome scribble Floral paper. Using the digital version of the paper, I recolored a few of the scribbles, resized them, and fussy-cut them. The black and white paper competed with the colored flowers, so I added some vellum.

The sentiment sticker from the Felicity collection has a cute little heart doodle. Love it!

Beautiful


I went CAS for the last card:

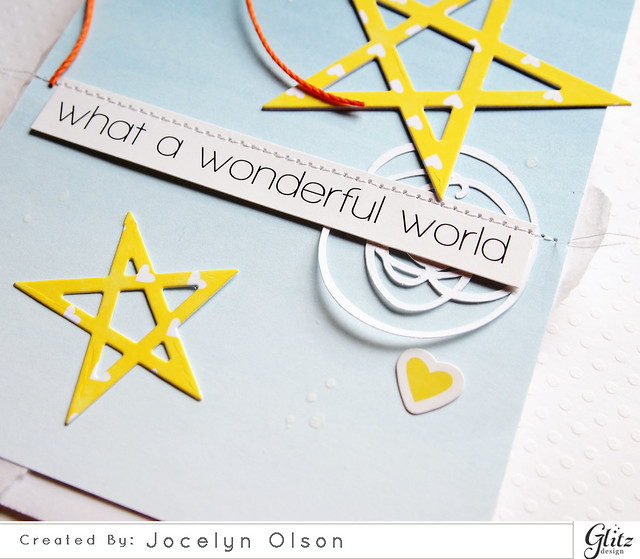
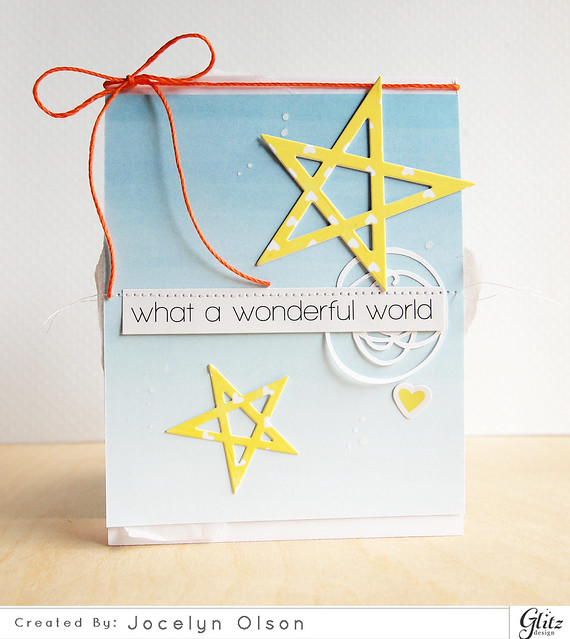
What a Wonderful World


I die-cut the Sketched Stars from Brightside papers and layered it over Felicity paper. I had a left-over die-cut scribble and added it under the sentiment sticker from Carpe Diem.

What a Wonderful World


You can see the project (and others!) on the Glitz blog.

Thanks for stopping by! Have a great day. :)

Supplies
Cardstock: (white, linen vellum) PTI
Patterned paper: (Floral 12x12 from Black and White collection; 6x6 Brightside papers; 6x6 Felicity papers; 6x6 77 papers) Glitz Design
Stickers: (Felicity Stickers Titles and Accents; Carpe Diem Stickers Titles and Accents; Brightside Stickers Titles and Accents) Glitz Design
Digital elements: (Black and White paper pack 2; Brightside paper pack 1) Glitz Design
Dies: (Thanks Word die) Paper Smooches; (Sketched Stars) Papertrey Ink; (Custom Panel die) Avery Elle
Embellishments: (doily) Freckled Fawn; (Crystal Clear sequins)  Neat & Tangled; (Neon Orange twin) Hemptique twine
Ink: (Opaque White Mr. Huey's) Studio Calico

Monday, July 28, 2014

You Are Wonderful

Hi everyone! I hope you're having a good Monday. :)

I'm catching up with some Paper Smooches cards. These cards are made using the stamps and dies from the July release, but there also will be a small release August 1st. Be sure to check out the Paper Smooches blog later this week to see the previews.

First up, I made a very summery card:

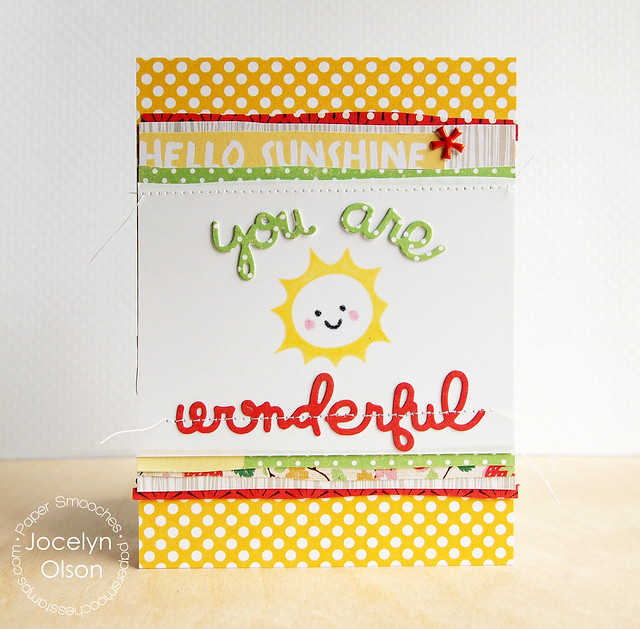
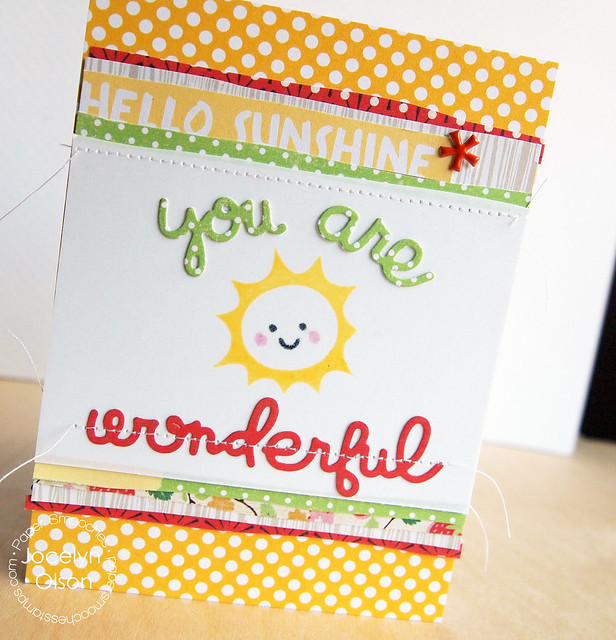
You Are Wonderful

I used the Kudos Words dies for the sentiment...aren't those dies cool? The cute sun is from the Spectrum set. I stamped the sun and face on vellum and added in some rosy cheeks. I layered papers from a Studio Calico kit. I fussy cut the "hello sunshine" from one of the Bluegrass Farm journaling cards to complete the sentiment.

Here's a close-up:

You-Are-Wonderful-J.-Olson FCU-


Next up, I made a more fall-ish card:

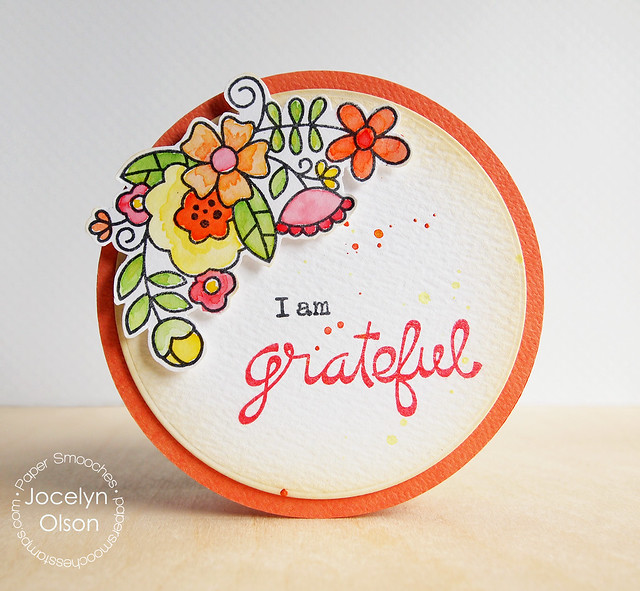
I Am Grateful

I used the gorgeous Blossoming Buds set for this card. I stamped the flowers, watercolored them with Distress Inks, and then fussy cut them. Paper Smooches will be releasing matching dies for the flowers--woo hoo! I stamped the sentiments from the set and added a few flicks of spray mists.

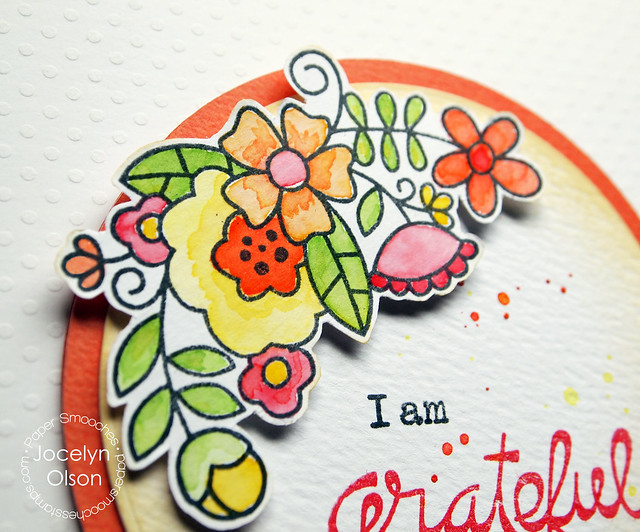
Here's a close-up:

I Am Grateful

Thanks for stopping by! Have a great day!


Supplies
You Are Wonderful
Stamps: (sun, face from Spectrum) Paper Smooches
Dies: (Kudos Words) Paper Smooches
Cardstock: (white, vellum) PTI
Patterned paper: (Bluegrass Farm paper pad, Project Life kit) Studio Calico
Inks: (yellow Brilliance, Graphite Black Brilliance) Tsukineko

I Am Grateful
Stamps: (flowers, sentiment from Blossoming Buds) Paper Smooches
Inks: (Versafine Red, Tuxedo Black) Tsukineko; (Distress Markers, Distress Inks) Ranger
Cardstock: (Distress Watercolor paper) Ranger; (Tangy Orange) Stamp School
Silhouette America


Friday, June 6, 2014

A Pocketful of Thanks

Hi everyone! It's time for the weekend. Yeah!!

Just a quick post to share a card Kim shared on the Paper Smooches blog using the Denim & Daisies set.

Here's my card:

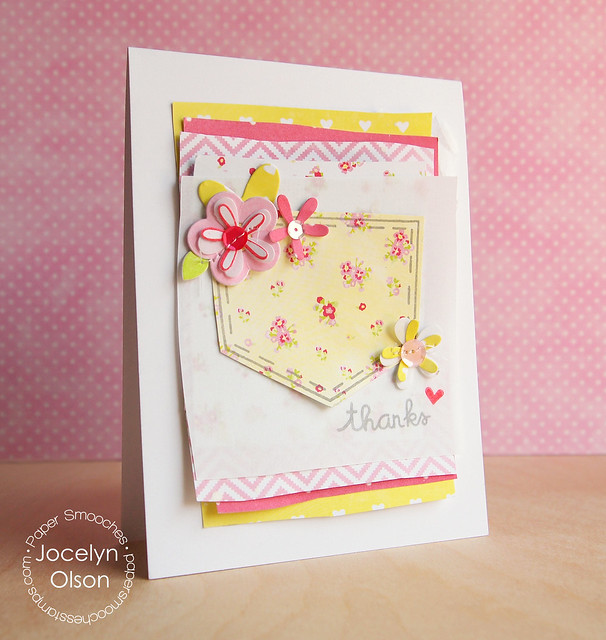
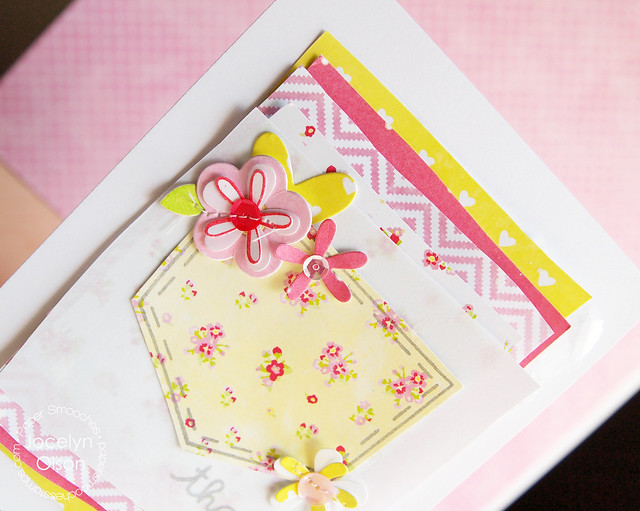
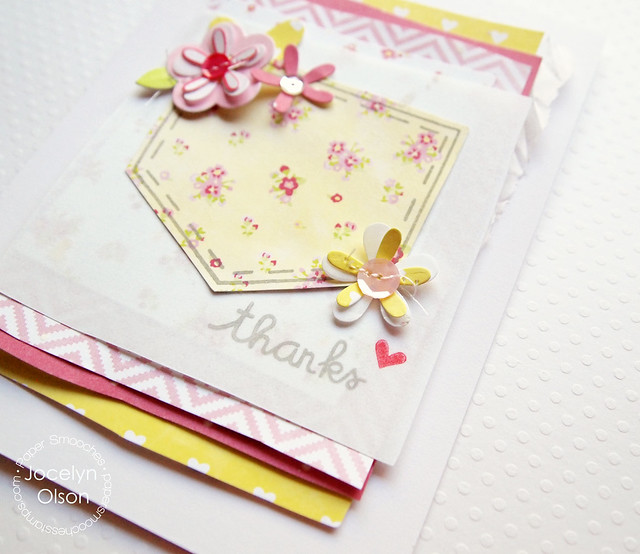
A Pocketful of Thanks

I used the new Paper Smooches Denim & Daisies stamps for the pocket, flowers, leaf, sentiment, and heart. I stamped the pocket on Glitz Design's Brightside paper and fussy cut the pocket (the die cuts to the edge of the stamp, and I wanted a little border). For the smaller flowers, I used the Pocket dies. These dies are awesome!

Here's a close-up of the flowers and heart:

A Pocketful of Thanks


I layered papers underneath from the Glitz Brightside and Felicity collections. I hand-cut the papers...while I could trim them with a paper cutter, it's kind of nice to cut them loosely with scissors. It reminds me of being five. Ha!

Here's another close-up:

A Pocketful of Thanks

Thanks for stopping by! Have a great weekend!


Supplies
Cardstock: (white, Linen Vellum) PTI
Patterned papers: (florals, yellow heart, coral from Brightside; pink and pink zigzag from Felicity) Glitz Design
Stamps: (pocket, flowers, leaf, sentiment, heart from Denim & Daisies) Paper Smooches
Ink: (Provincial Grey, Strawberry) Fresh Ink
Dies: (Pocket Dies, Hearts Dies) Paper Smooches
Sequins: (Neat and Tangled, craft supply)

Thursday, November 21, 2013

It's a Jumbo Thank You

Hi everyone! Ready for the weekend? Getting ready for Thanksgiving? We had snow today, which made it feel a little more like the holidays. :)

It's time for a new CAS-ual Fridays challenge:


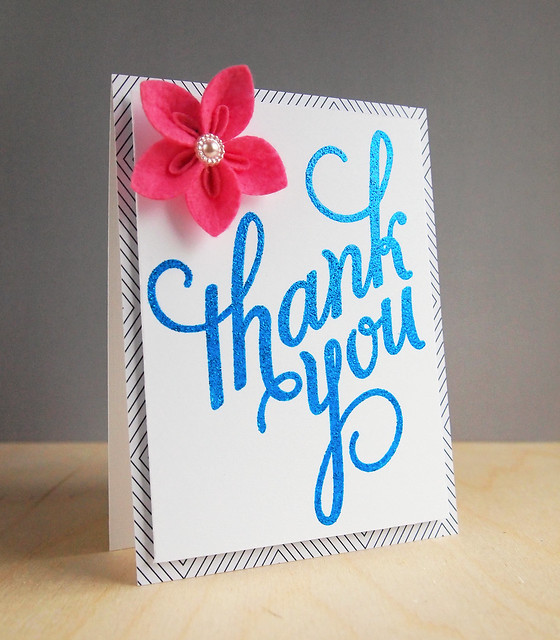
The challenge is to create a project with eight of one item (e.g., sequins, colors, papers, etc.). I went with eight letters on my card:


CFC-121-J.-Olson-B01

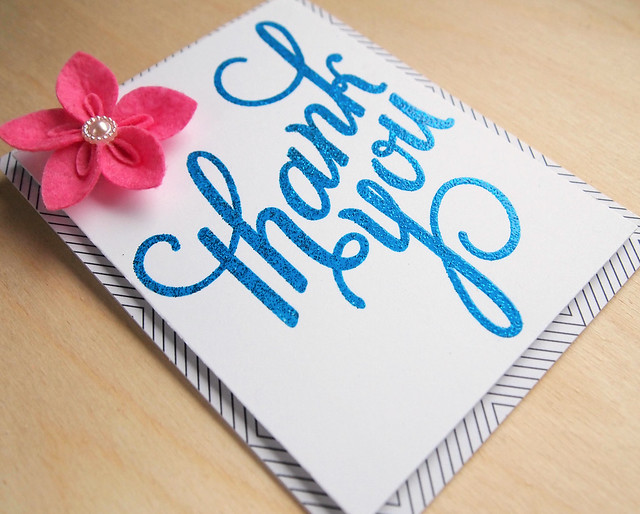
I used a sentiment from Another Thank You and heat embossed it with some glittery blue embossing powder. I love how the color shifts with the embossing (and by the way, I love this embossing powder--I've had it for 5 years and it still embosses without stray flecks). I simply layered the image over some patterned paper.

I still had the felt flowers on my desk that I used from my last post. ;) Ha ha. Do you do that, too?

Here's a close-up:


CFC-121-J.-Olson Thank You CU


ETA: I'm linking up my card in the Runway Inspired Challenge. I think the background, pink flower, and pattern work with the gorgeous image:


If you would like to link up to this week's CAS-ual Fridays challenge, the winner will receive a gift certificate to Simon Says Stamp:


You can link up your projects HERE. I hope you'll play along. Eight is great! (yuck, yuck, I couldn't resist.)
Thanks so much for stopping by!

Supplies
Cardstock: (white) PTI
Patterned paper: (black and white from Simple Surfaces) Cosmo Cricket
Clear stamps: (Another Thank You) Stampin' Up
Ink: (Versamark)
Embossing Powder: (Firecracker Blue) Sparkle and Sprinkle
Flower: (felt flower) Prima

Blog Design by Caked Designs