Hi everyone! I hope you had a great (long) weekend. Where on earth did summer go?? I always love fall, though. :)
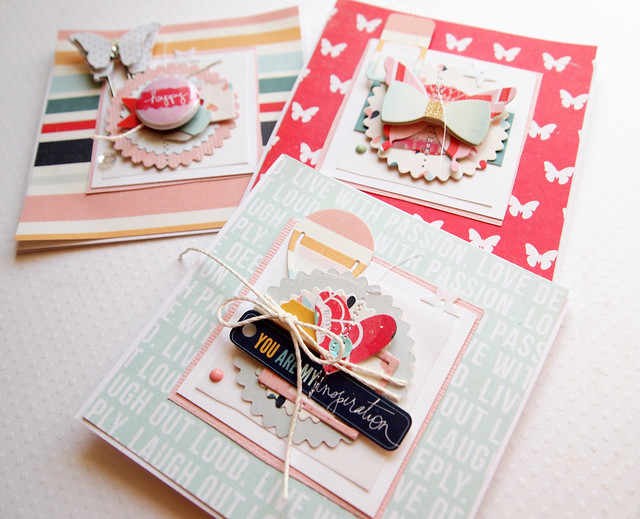
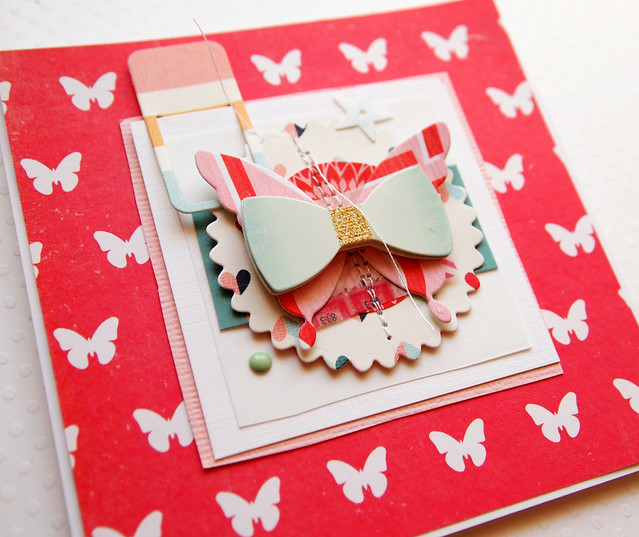
I'm up on the Scraptastic Club blog today, and I'm sharing a card set with layered embellishments using one of the September kits:
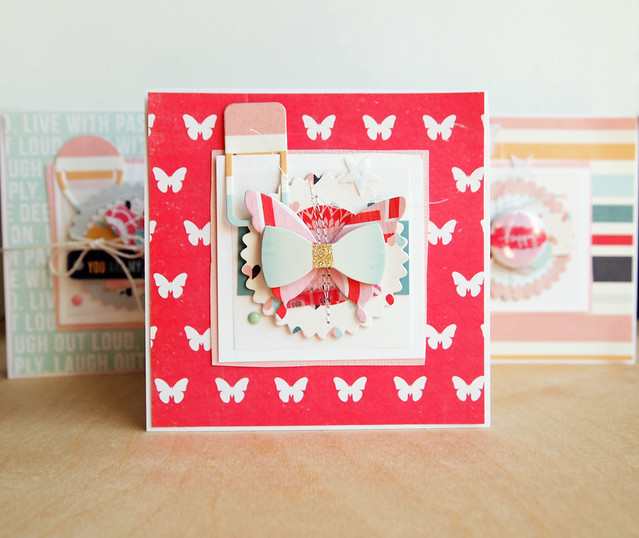
I started by picking the Teresa Collins and Pink Paislee background papers and then die-cutting various papers from the kit with several different dies (scalloped circles, hearts, butterflies, Polaroids, envelopes, tabs). I die-cut enough for about 10 cards. Ha!
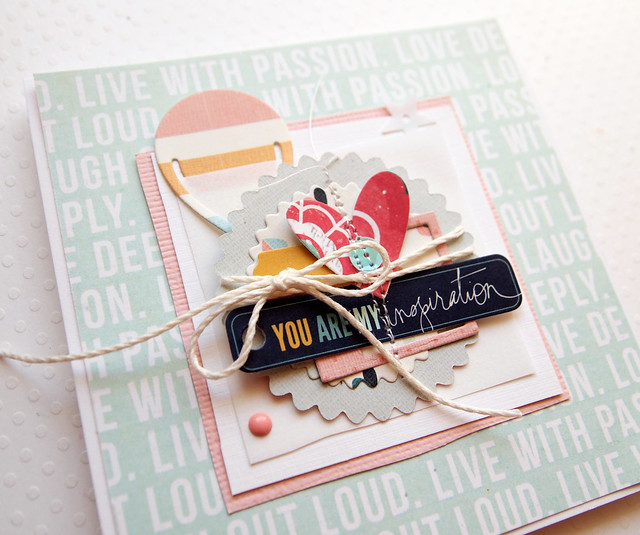
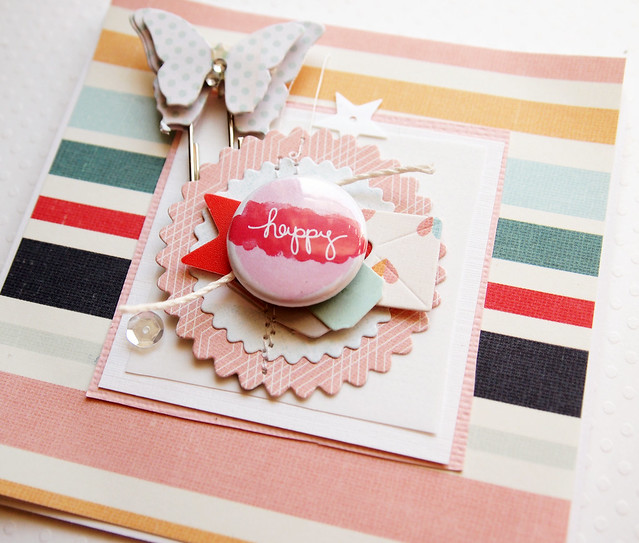
The Girl kit and Add-on have some fabulous embellishments, and I was able to layer those with the papers. Their kits have a ton of product--I'm always amazed!
To simplify the cards, I kept the layouts almost identical for all three cards. Here are some close-ups:
If you get a chance, please check out the Scraptastic blog and kits. The September kits went live yesterday, and you can check them out HERE.
Thanks for stopping by! Have a great day! :)
Showing posts with label Teresa Collins. Show all posts
Wednesday, September 3, 2014
Friday, August 15, 2014
Here We Go, Love
Hi everyone! Ready for the weekend? We start school on Monday--ack! I'm sad!
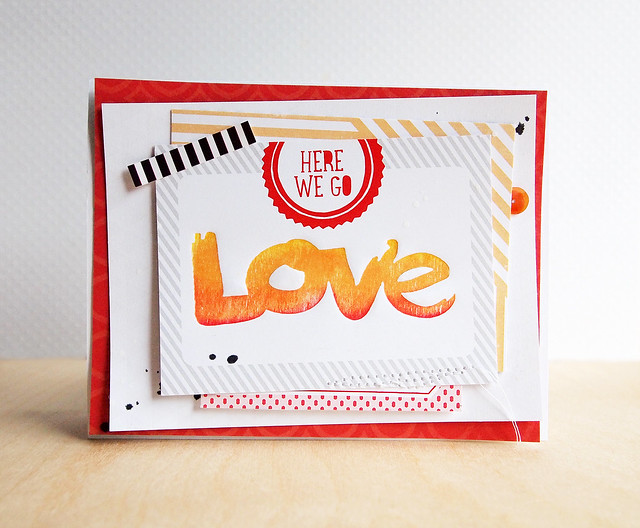
Nancy and I are on the Scraptastic blog today. We're both sharing projects using Scraptastic Club's August This Life Noted kit. Not long ago, I watched THIS awesome video by Jennifer McGuire. In it, she showed how to use wood veneer for faux letterpress, and I've been wanting to try that technique.
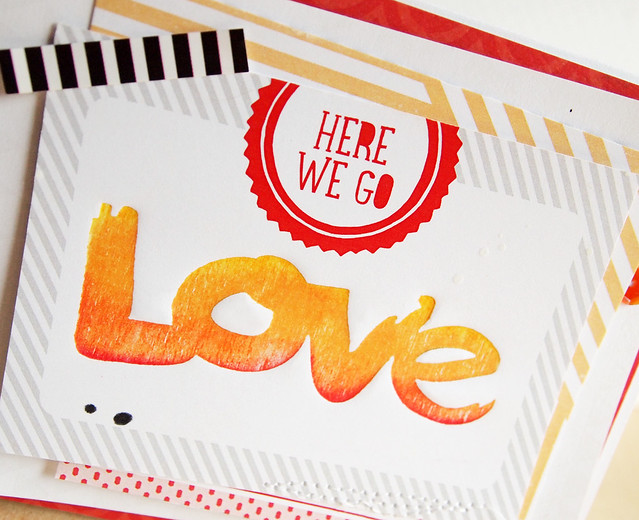
Here's a close-up:
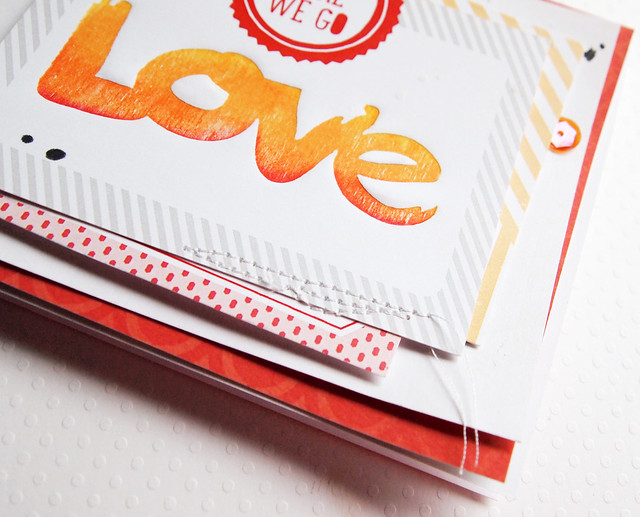
I layered two of the journaling cards and added one of the Cut-Aparts and the black-and-white sticker from the kit. The red patterned paper layered underneath is from the Boys of Summer kit.
Here's a close-up of the layers:
The August This Life Noted kit is sold out, but you can still get the August Wood Veneers to try this technique. Be sure to check out Nancy's take on the kit (it's cool!) on the Scraptastic blog.
Thanks so much for stopping by. Have a great weekend!
Supplies
Cardstock: (white) PTI
Kit: (August This Life Noted kit) Scraptastic Kit Club
Ink: (Mango) Fresh Ink; (Fizz) Avery Elle; (Apple) Mama Elephant; (Black, Opaque White Mister Huey's) Studio Calico
Nancy and I are on the Scraptastic blog today. We're both sharing projects using Scraptastic Club's August This Life Noted kit. Not long ago, I watched THIS awesome video by Jennifer McGuire. In it, she showed how to use wood veneer for faux letterpress, and I've been wanting to try that technique.
Here's the card I made using the LOVE wood veneer in the This Life Noted kit:
You'll want to check out Jennifer's video to see the tutorial. I shared a few pictures on the Scraptastic blog, too. I did some gradient inking on the back of the wood veneer and ran it through my Big Shot. Usually when I try new techniques, they look pretty rough compared to the demo. This time, the technique worked easily. Yeah!
Here's a close-up:
I layered two of the journaling cards and added one of the Cut-Aparts and the black-and-white sticker from the kit. The red patterned paper layered underneath is from the Boys of Summer kit.
Here's a close-up of the layers:
The August This Life Noted kit is sold out, but you can still get the August Wood Veneers to try this technique. Be sure to check out Nancy's take on the kit (it's cool!) on the Scraptastic blog.
Thanks so much for stopping by. Have a great weekend!
Supplies
Cardstock: (white) PTI
Kit: (August This Life Noted kit) Scraptastic Kit Club
Ink: (Mango) Fresh Ink; (Fizz) Avery Elle; (Apple) Mama Elephant; (Black, Opaque White Mister Huey's) Studio Calico
Thursday, July 17, 2014
Happy Birthday (and a Cool New Product!)
Hi everyone! Aloha from Hawaii!
It's the last day of the Neat & Tangled release week. All of the sets are available now in the Neat & Tangled store! Today, we're sharing projects using the new Punchinella stamp set and the new punchinella. I've got to say, this product is so cool--I can't wait to get more! You can see the images on the Neat & Tangled blog.
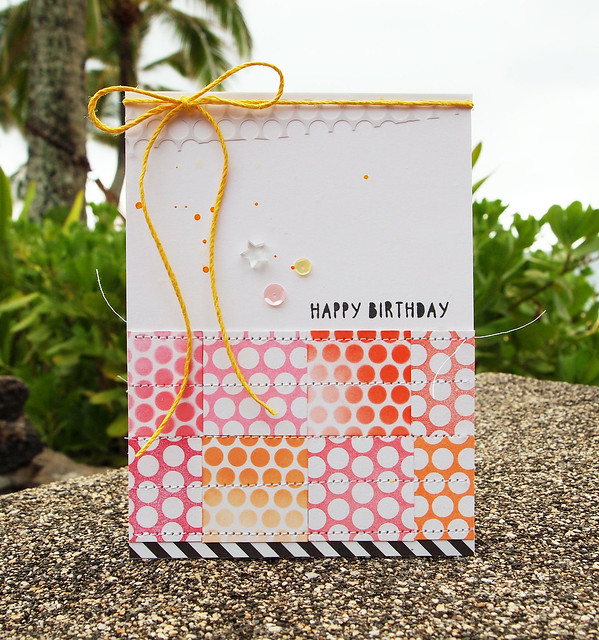
Here's my project:
I photographed my cards on vacation. ;)
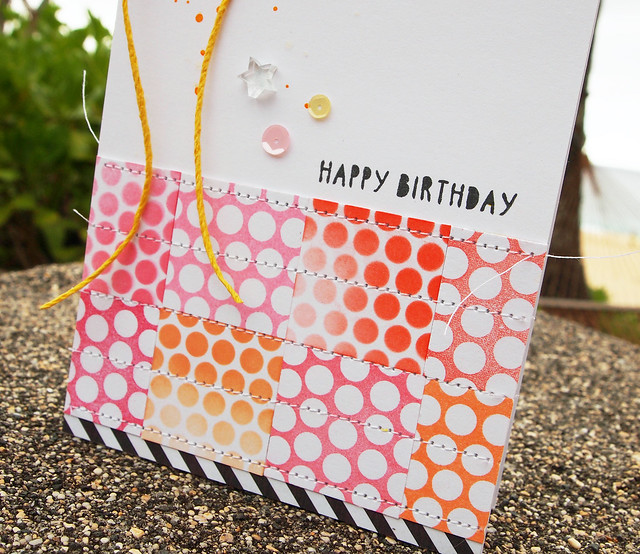
I cut up small squares and stamped on some with the Punchinella stamp. On others, I used the punchinella as a mask and blended over it with Distress Inks. Above the squares, I stamped a sentiment from the new Gifts for You set.
Here's a close-up:
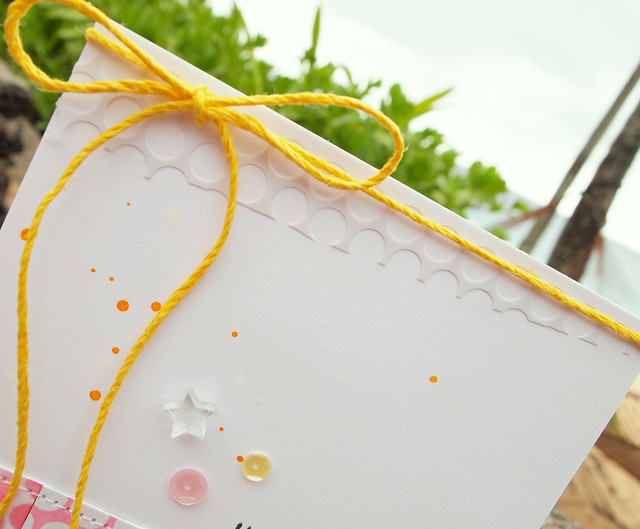
I finished the card with a couple of the new Pink Lemonade sequins and some of the punchinella. After I used it as a mask, I wiped it off and cut it at an angle. I love how it adds something to the card without adding a lot of weight.
Here's a close-up:
If you would like a chance to win the Punchinella stamp, please hop over to the Neat & Tangled blog and leave a comment.
Also, there's a moving sale at Neat & Tangled! Select sets and dies are on sale, and prices are marked (no coupon code is needed).
Thanks for stopping by!
Supplies
Stamps: (Punchinella, Gifts for You) Neat & Tangled
Cardstock: (white) PTI
Patterned paper: (Something Wonderful) Teresa Collins
Ink: Fresh Ink; (Distress Inks) Ranger; (Mister Huey's) Studio Calico
Embellishments: (yellow twine) Hemptique; (Pink Lemonade sequins) Neat & Tangled; (punchinella) Neat & Tangled; (acrylic star from Studio Calico kit) Studio Calico
It's the last day of the Neat & Tangled release week. All of the sets are available now in the Neat & Tangled store! Today, we're sharing projects using the new Punchinella stamp set and the new punchinella. I've got to say, this product is so cool--I can't wait to get more! You can see the images on the Neat & Tangled blog.
Here's my project:
I photographed my cards on vacation. ;)
I cut up small squares and stamped on some with the Punchinella stamp. On others, I used the punchinella as a mask and blended over it with Distress Inks. Above the squares, I stamped a sentiment from the new Gifts for You set.
Here's a close-up:
I finished the card with a couple of the new Pink Lemonade sequins and some of the punchinella. After I used it as a mask, I wiped it off and cut it at an angle. I love how it adds something to the card without adding a lot of weight.
Here's a close-up:
If you would like a chance to win the Punchinella stamp, please hop over to the Neat & Tangled blog and leave a comment.
Also, there's a moving sale at Neat & Tangled! Select sets and dies are on sale, and prices are marked (no coupon code is needed).
Thanks for stopping by!
Supplies
Stamps: (Punchinella, Gifts for You) Neat & Tangled
Cardstock: (white) PTI
Patterned paper: (Something Wonderful) Teresa Collins
Ink: Fresh Ink; (Distress Inks) Ranger; (Mister Huey's) Studio Calico
Embellishments: (yellow twine) Hemptique; (Pink Lemonade sequins) Neat & Tangled; (punchinella) Neat & Tangled; (acrylic star from Studio Calico kit) Studio Calico
Saturday, May 24, 2014
I Dig You + a Tutorial
Hi everyone! I hope you're having a great weekend (and long weekend if you have one).
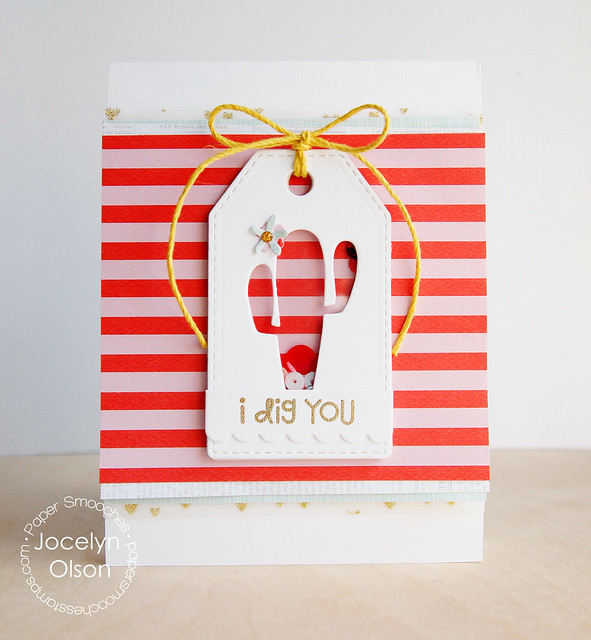
I'm sharing my Paper Smooches card that Kim shared on the Paper Smooches blog. I used the new Desert Icons dies. Since I went to Saguaro High School, I really like the Saguaro icon. :)
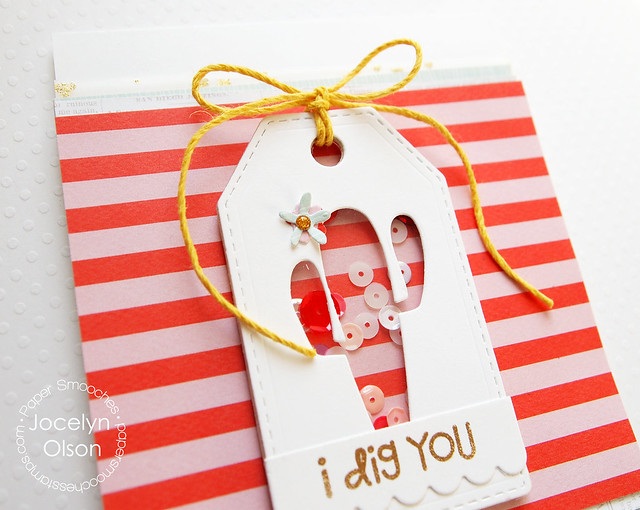
Here's my card:
I'm sharing my Paper Smooches card that Kim shared on the Paper Smooches blog. I used the new Desert Icons dies. Since I went to Saguaro High School, I really like the Saguaro icon. :)
Here's my card:
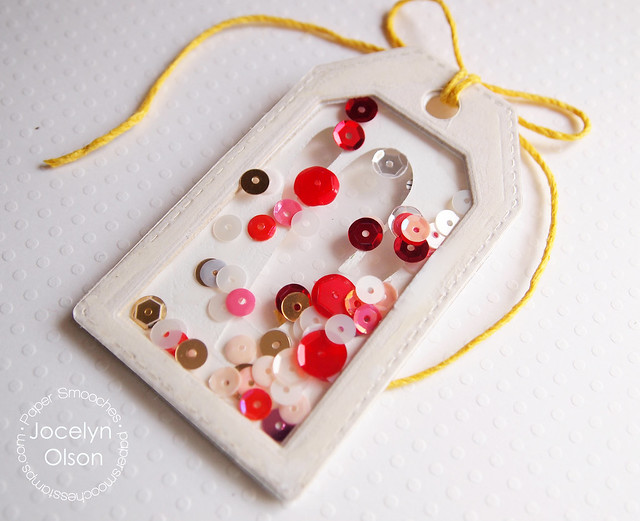
I was originally going to make a clear shaker tag, and ended up attaching it to the card. To make the tag, I wanted to be able to see all the way through and still have extra room for the sequins to shake.
Here's how I made the see-through shaker tag:
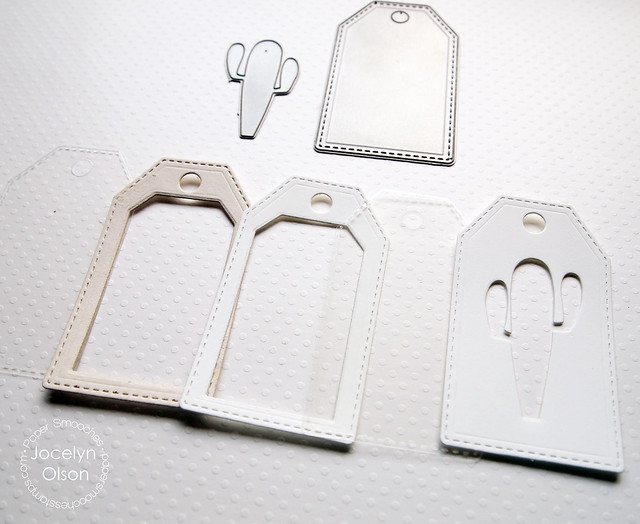
1. Die-cut the Paper Smooches Stitched Tag. Die-cut the Desert Icons cactus in the tag.
2. Die-cut the tag out of acetate twice.
3. Die-cut two tags out of Craft-a-Board (or a coaster). Die-cut a rectangle or larger-than-the-cactus shape out of the center of the craft board tags. This area will allow the sequins to move.
4. Optional: Die-cut the tag out of cardstock or patterned paper. I used the Craft-a-Board and a coaster, but it's nice to have a finished layer under the acetate.
5. Glue the layers--cactus tag, acetate, Craft-a-Board (two layers), cardstock/patterned paper, and acetate.
Here's what the finished tag looks like from underneath:
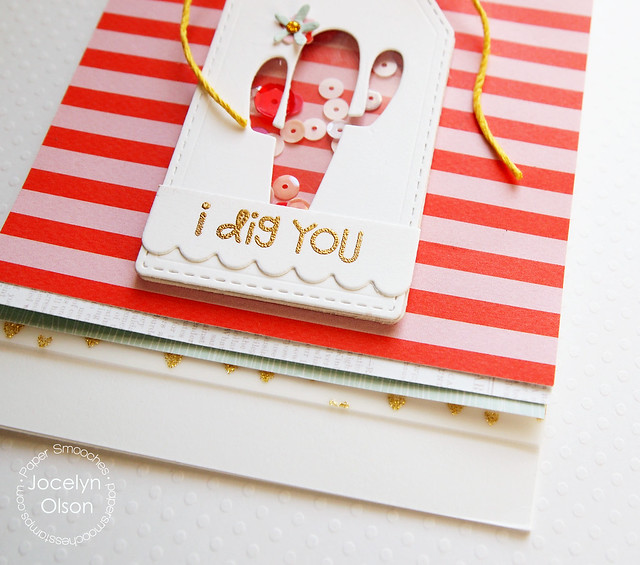
I attached the tag to the card, but I like how the tag would work well alone on a gift. I layered some Teresa Collins papers. The papers just arrived at i {heart} papers (along with the Paper Smooches dies).
Here's a close-up:
Since I used a layer of Cosmo Cricket gold vellum and some gold sequins, I embossed the sentiment from Woofers and Tweeters in gold. I die-cut a Scallop Tag for the sentiment and cut off the top of the tag.
Here's the top:
I finished off the card with a couple of tiny Flowers die-cuts, a Studio Calico gold enamel dot, and some yellow twine.
You can find these products at IHP. :)
Thanks for stopping by! Have a fantastic day!
Supplies
Cardstock: (white, acetate) PTI
Patterned paper: (Something Wonderful) Teresa Collins; (gold glitter vellum from Vellumptuous) Cosmo Cricket
Stamps: (sentiment from Woofers and Tweeters) Paper Smooches
Ink: (Versamark)
Embossing powder: (Extra Fine Gold) Ranger
Dies: (Desert Icons, Stitched Tag, Scallop Tag, Flowers) Paper Smooches
Fibers: (yellow twine) Hemptique
Sequins: (craft supply)
Subscribe to:
Posts (Atom)