Showing posts with label studio calico. Show all posts

Wednesday, August 19, 2015

Stamping on Patterned Papers

Hi everyone! How's your week going?


I'm up on the Altenew blog today with a card using the Wild Hibiscus stamp set. I also have a few tips for stamping on patterned paper. I hope you'll check it out! :)

Thanks so much for stopping by! Have a great day.


Thursday, August 13, 2015

Neat & Tangled Birthday Blog Hop

Hi everyone! I hope you're having a great week!


Neat & Tangled is celebrating its third birthday! Woo hoo! I'm so happy for Danielle--she is such a sweet and talented lady. :) I'm honored to be hopping along with Neat & Tangled for a special blog hop to celebrate! :) Each day this week, there has been a short hop, and today's hop includes:

Jocelyn Olson <--That's me!

There is a mini release of two stamps and two dies. They are fab! Here's my first card:

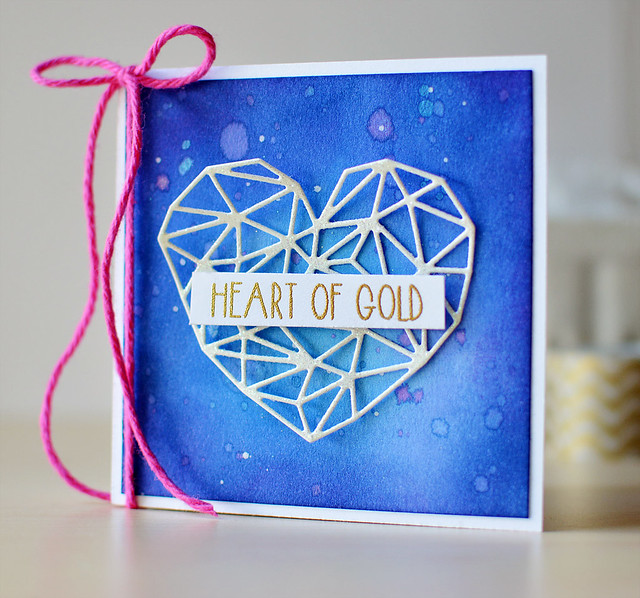
Heart of Gold

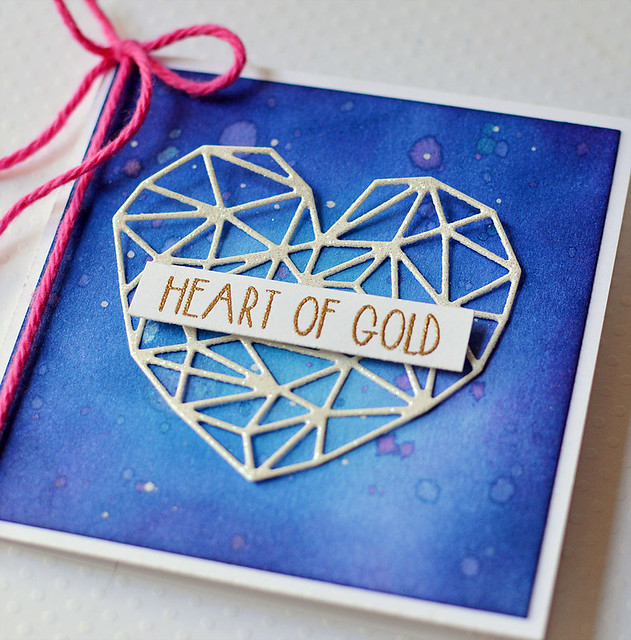
Isn't the new Heart of Gold die wicked cool? I love it! My buddy Miriam designed the die and the corresponding Heart of Gold stamps. I die-cut the heart out of white-ish glitter cardstock and layered it over an extra background I made a few weeks ago.

I masked off part of the sentiment and heat embossed it in gold. Doesn't the heart look like a constellation? The die is very versatile.

Heart of Gold


Here's my second card:

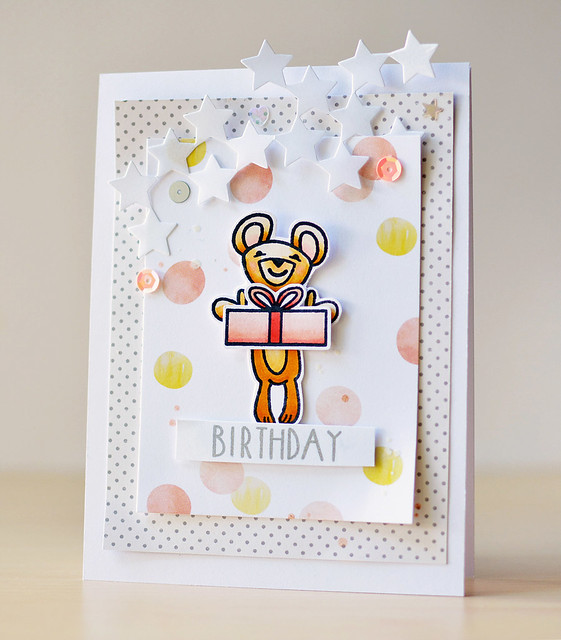
Birthday Bear

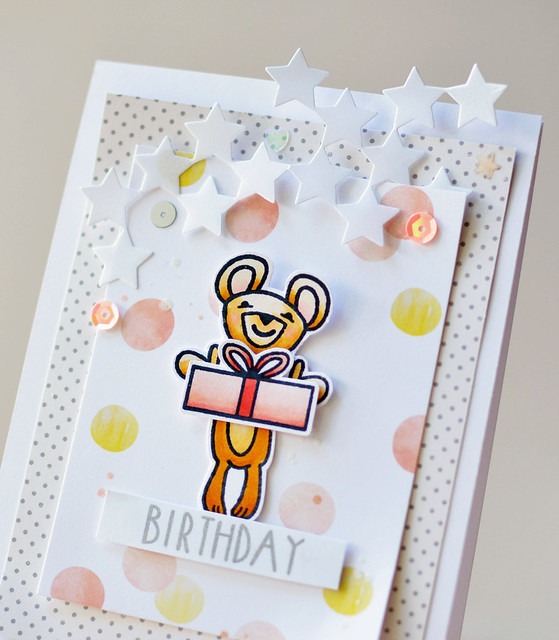
The new little bear from the Happiest Birthday set is too cute! I Copic-colored and fussy cut him, and popped up the present to look like he's holding it. I layered him over a Studio Calico journaling card.

After staring at the card for a while, I decided it was missing something. Ever do that? I die-cut the stars from the new Seeing Stars die from linen vellum for another layer. I also added some of Lucy Abrams' fab Flamingo Shaker Mix--these are awesome! I may have added too much, but hey, that's how I roll....

Birthday Bear

As part of the hop, there is also a giveaway!


There are two gift certificates to the Neat and Tangled shop: 1) A $100 gift certificate; and 2) A $50 gift certificate. Winners will be chosen from comments the hop all week long. You can find each day's list on the Neat & Tangled blog.

Next on the hop is the incredibly talented Teri! I can't wait to see what she made.

Thanks for stopping by! Have a great day!!

Wednesday, July 29, 2015

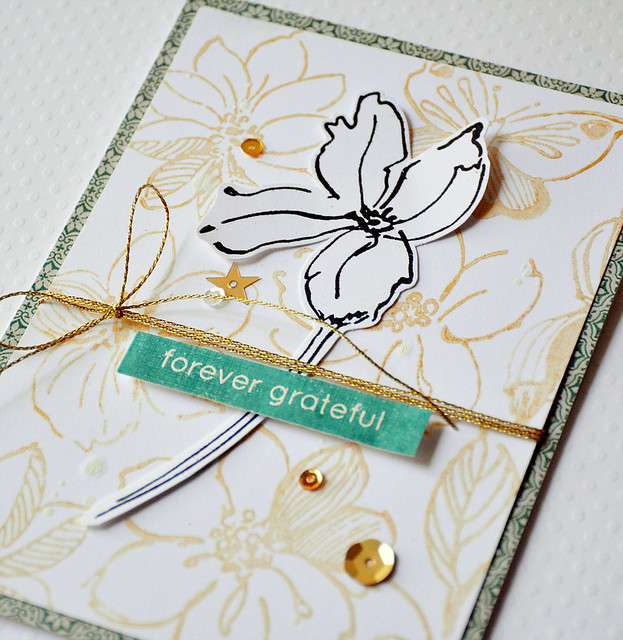
Wild Hibiscus

Hi everyone! Can you believe it's the end of July? I'm glad we still have six more weeks before school starts, but time is flying!

Forever Grateful

I'm up on the Altenew blog showing three different projects using the new Wild Hibiscus set. It's one of the prettiest stamp sets I've seen! I hope you'll check out the post!

Have a great day. Thanks for stopping by!!

Friday, July 24, 2015

Altenew July Release Blog Hop

Hi everyone! It's Friday--woo hoo!


Today, Altenew is having a blog hop to celebrate its July Stamp Release! Yeah! The July release includes nine new sets, which are available now in the Altenew store. If you're hopping along, you should be coming from May's blog. Here's the complete list:


I made two projects with the new stamps:

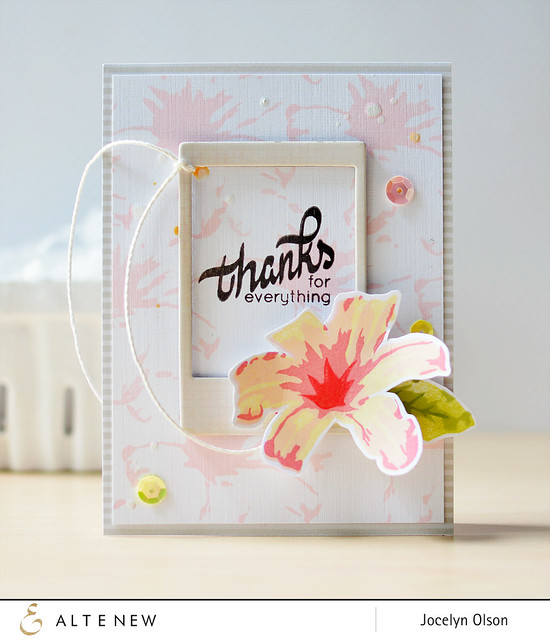
Lily Thanks

First up, I used the new Layered Lily set. This gorgeous flower has a whopping five layers (I only used four). Taking inspiration from Aga's card, I inked up the layers in lighter Altenew inks. I fussy cut the flower and inked up the leaf in the set.

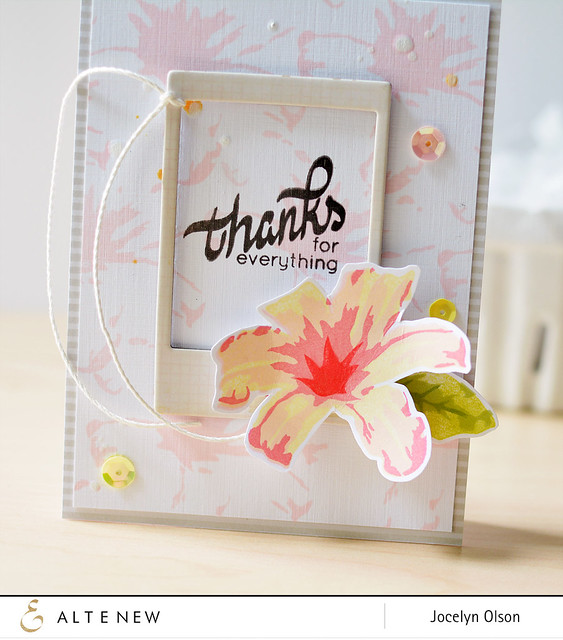
I stewed over what to do with the background, but it dawned on me to stamp one of the lily layers in Frosty Pink. It made a cool background! I finished the card off with the sentiment from the same Layered Lily set. Here's a close-up:

Lily Thanks


For my second card, I went cute:

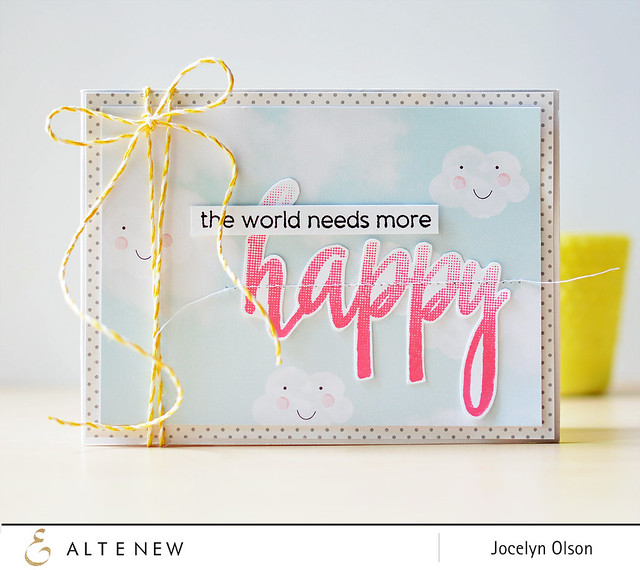
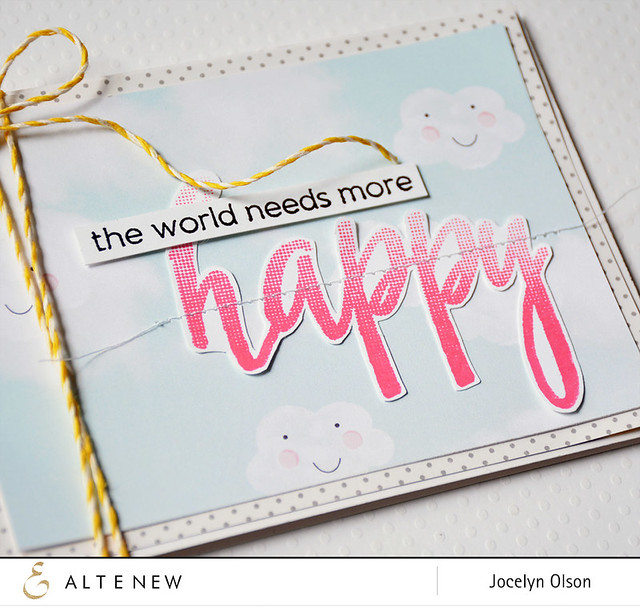
Happy World

Seriously, folks, I think I would buy the set just for this sentiment. :) I used the new Halftone Happy set, which is full of fantastic and different sentiments (like the one I used in my card).

I stamped the "happy" in Coral Berry, fussy cut the word, and stitched it to the Studio Calico patterned paper. Next, I stamped the second sentiment (also from Halftone Happy) and layered it with foam tape. Here's a close-up:

Happy World

I used two of the nine new sets, so be sure to hop along and see the other sets. :)

Prizes: There are two ways to win!

To celebrate this release, Altenew will draw three winners who will each receive a $50 gift certificate to their online store. Please leave a comment on the Altenew blog by Friday, July 31st 11:59pm EST for a chance to win. The winners will be announced on Saturday, August 1st.

Altenew is also offering a $30 gift certificate for comments on this blog post. For a chance to win this extra gift certificate, please leave a comment on my post by Friday, July 31st at 11:59pm.

Thanks so much for stopping by! Next up on the hop is the fabulous Aga. I'm sure you're in for a treat!


Supplies
Lily Thanks
Stamps: (sentiment, flower, leaf from Layered Lily) Altenew
Ink: (Frosty Pink, Coral Berry, Buttercream, Jet Black) Altenew; (Coral Brilliance) Tsukineko; (white Mister Huey's) Studio Calico; (gold mist) Lindy's Stamp Gang
Embellishments: (chipboard frame) Crate Paper; (sequins) Studio Calico; (white cord) Hemptique

Happy World
Stamps: (sentiments from Halftone Happy) Altenew
Ink: (Coral Berry, Jet Black) Altenew
Patterned paper: (cloud from a Studio Calico kit); (polka dot from Summertime) October Afternoon
Embellishments: (yellow and white cord) Lawn Fawn

Wednesday, June 17, 2015

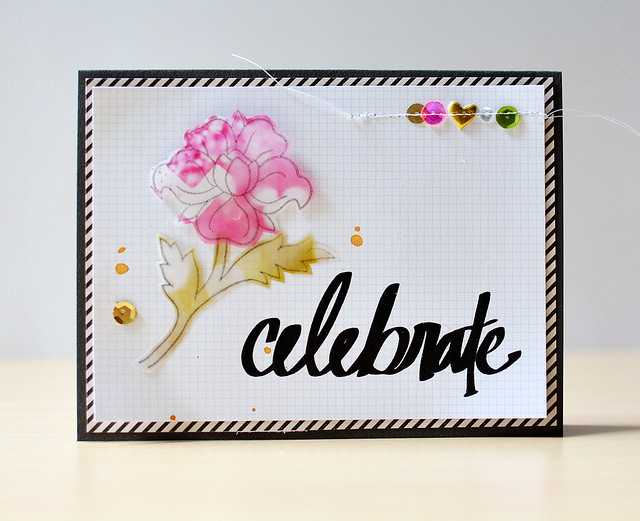
Stamping on Patterned Vellum

Hi! Happy Wednesday!

Altenew Celebrate

I'm on the Altenew blog today sharing a card and some tips for stamping on patterned vellum. I hope you check it out!

Thanks so much for stopping by! Have a great day!


Supplies
Stamps: (Super Script, Floral Motifs) Altenew
Ink: (Jet Black) Altenew; (Brilliance Lightning Black) Tsukineko; (gold splatter) Lindy's Stamps Gang
Patterned paper: (grid 6x6) Studio Calico; (vellum from All That Glitters) Webster's Pages; (stripe from Shimelle) American Crafts
Embellishments: (Gold Metallic, Flat Gold, Lime sequins) Neat & Tangled; (Strawberry Burst, Clear 4mm) Pretty Pink Posh; (gold puffy heart) Studio Calico

Wednesday, May 13, 2015

Going Cute

Hi all! I hope you're having a great week. My son graduated from preschool last night (complete with caps and gowns, lol), and my daughter is done with school on Friday. All of the end-of-the-school craziness is happening!

I wanted to share a couple of Paper Smooches projects using the new dies.

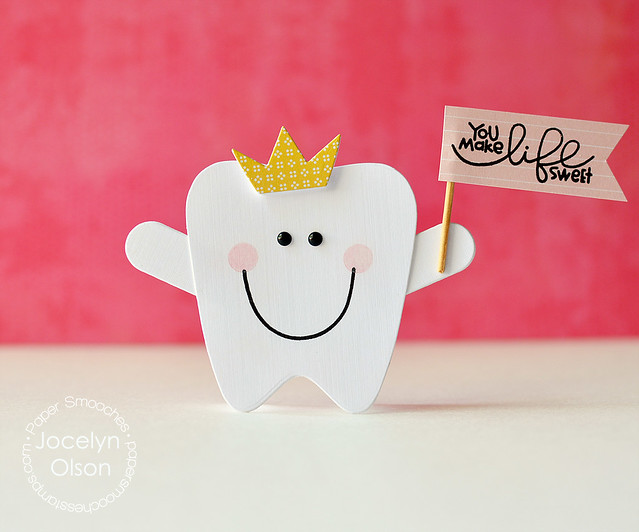
Tooth Fairy

I used the new Paper Smooches Tooth Fairy die to make a tiny card. There are flap dies for a pocket on the Tooth Fairy die, and I used the flap to make arms. The crown is one of the dies, too. To make the face, I stamped the smile using the Cool Dudes snowman stamps--this set is great for making faces (not just for snowmen). On the flag, I used a sentiment from Sugar Rush. Get it? A "sweet tooth." Tee hee....I crack myself up. ;) I'm such a dork. 

Next:

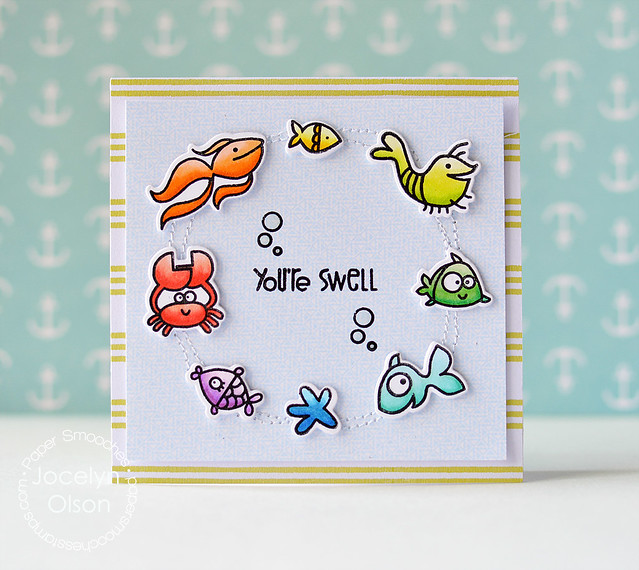
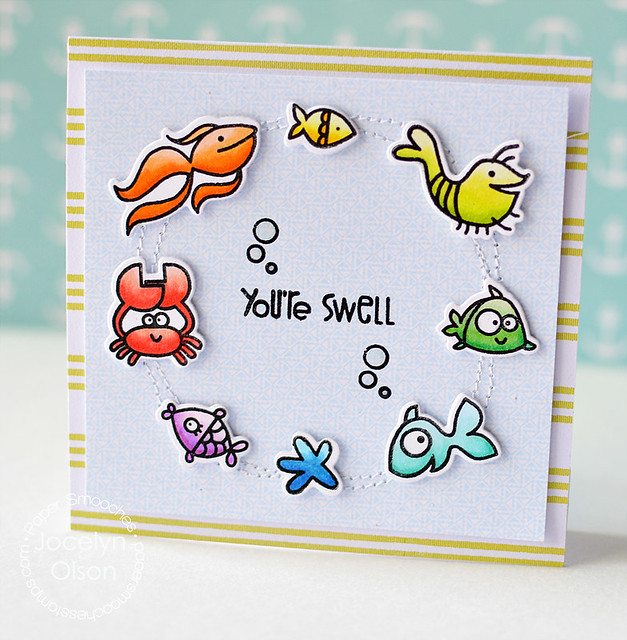
You're Swell

This card is pretty straightforward. I stamped, Copic colored, and die cut the sea creatures using the Surf and Turf stamps and Surf and Turf Icons dies. The papers are from a Studio Calico kit.

The critters needed to be grounded, so I stitched a loose circle under them. I also added some Glossy Accents to the bubbles around the sentiment:

You're Swell

Thanks for stopping by! Have a great day!


Wednesday, March 18, 2015

Floral Stamps Two Ways

Hi everyone! How's your week going?

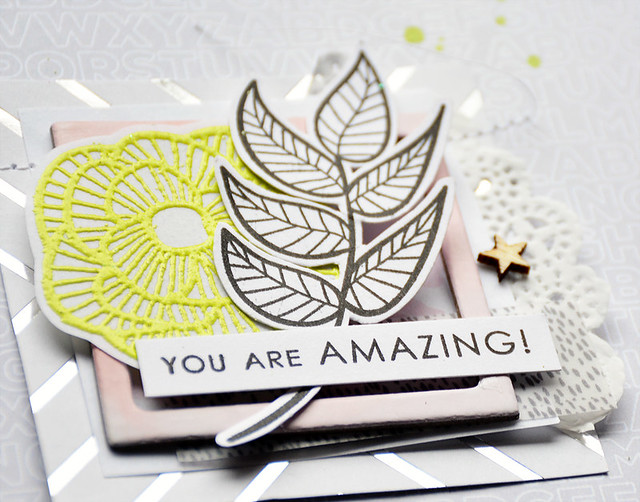
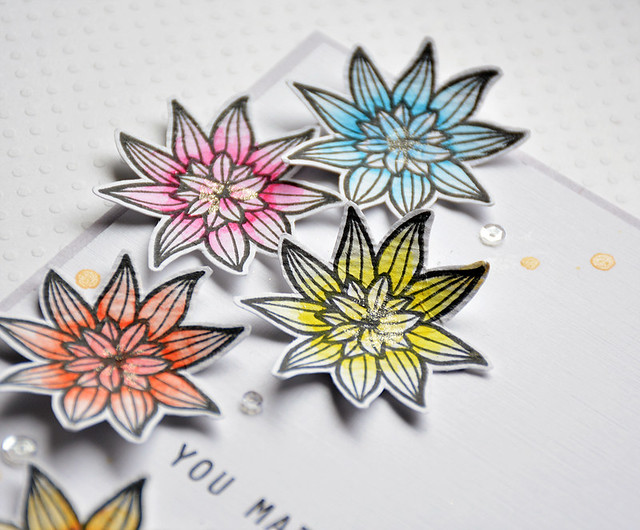
I'm sharing a couple of cards over on the Altenew blog today using the Striped Florals set. Here are some sneaks:

You Are Amazing


You Made My Day

If you want to see the cards, the post is HERE. :)

Thanks for stopping by!

Monday, February 2, 2015

Getting Happy with Maya Road

Hi everyone! Happy Monday! Can you believe it's February? Ack! 


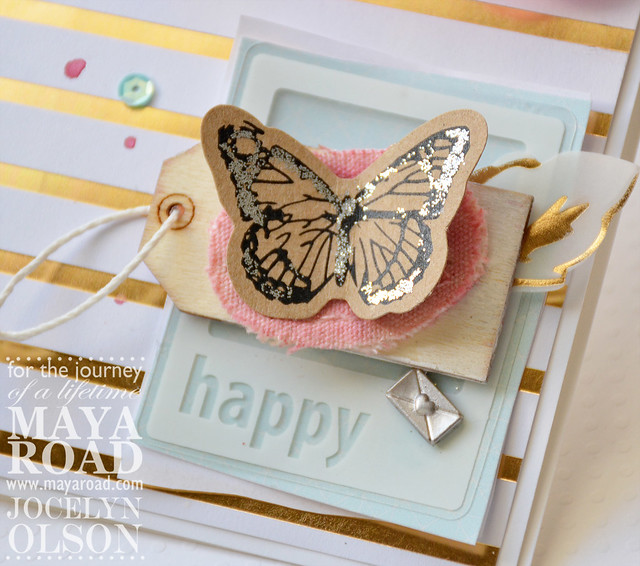
Happy

I'm excited to be sharing my first post on the Maya Road blog. I have a couple of cards with a lot of altered Maya Road supplies. I hope you'll swing by and check it out! :)

Thanks for stopping by! Have a great day!


Tuesday, September 9, 2014

Fall Gratitude Journal

Hi everyone!

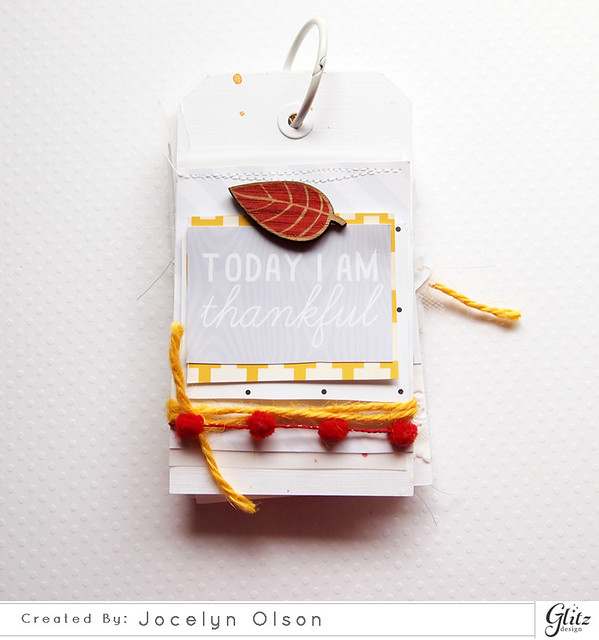
I'm up on the Glitz blog today sharing the beginning of a Gratitude Journal. I've seen some really cool journals, and I thought I would try it for a month. Hopefully I can keep up. ;)

Here's the journal:


Thankful--Gratitude Journal

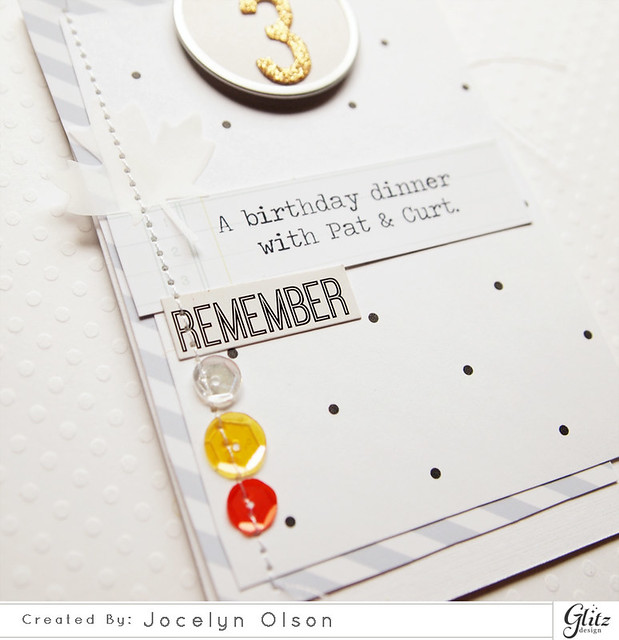
The mini is hybrid, and many of the papers are digital, including some older collections. I mostly used the Glitz Black and White and Hello December collections. The sentiment on the cover is from the Carpe Diem Element Pack 3.

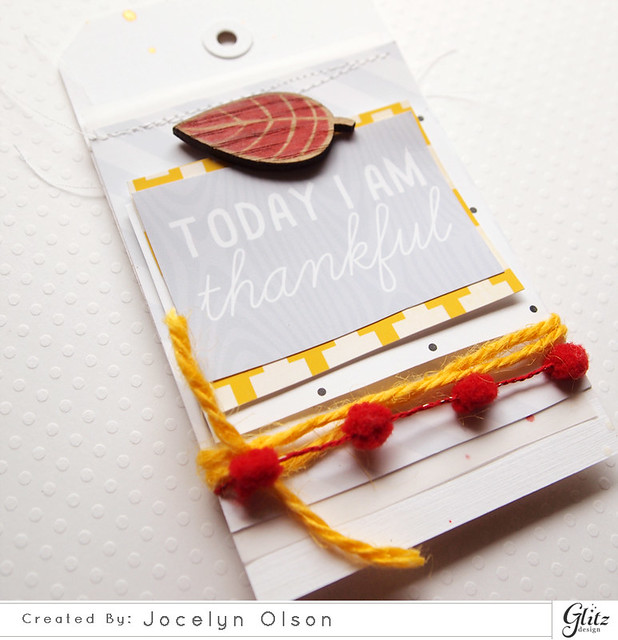
Here's a close-up of the cover:


Thankful--Gratitude Journal

The yarn and pom pom trim are from my deep, dark stash (at least 5 years old). I'm so glad I was finally able to use them!

For each prompt, I started with the phrase, "I'm grateful for..." and finished the sentence as my journaling. I cringed a little at some of the fragments, but I wanted to keep the journaling short.

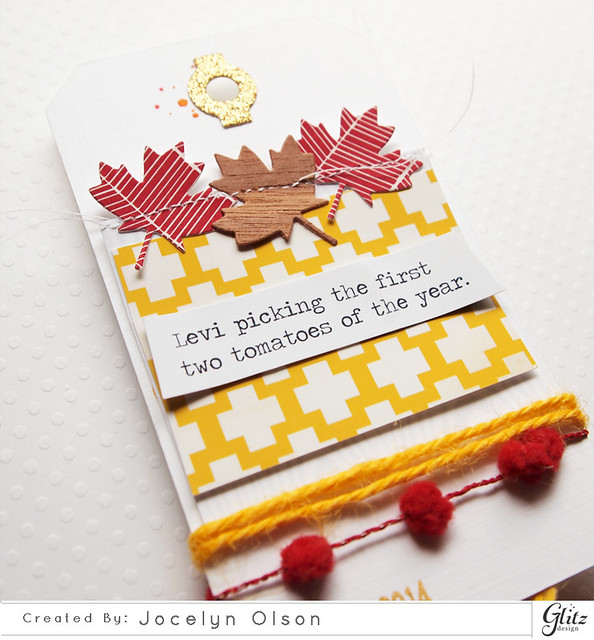
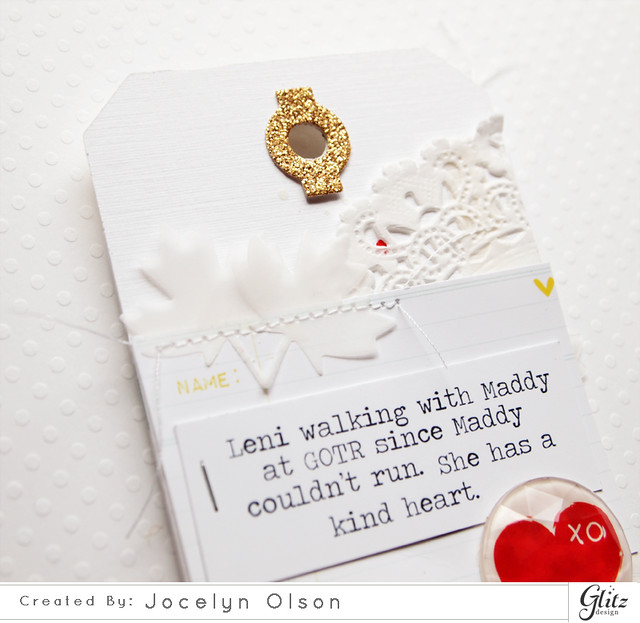
Here are some close-ups of the tags:


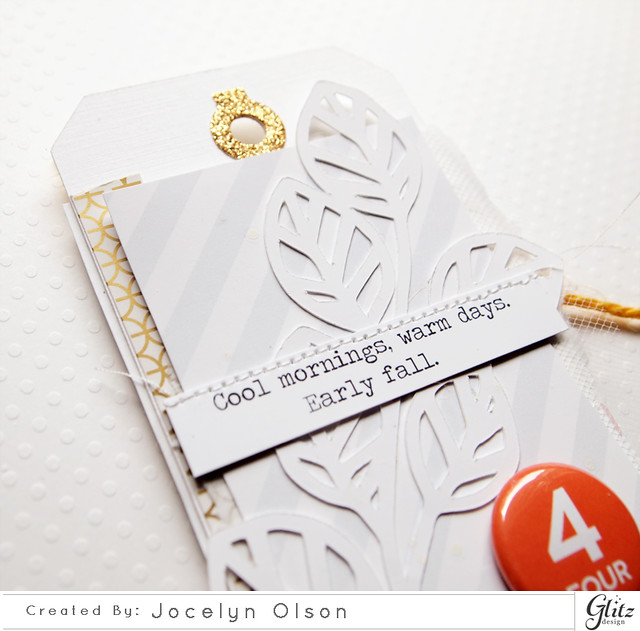
Thankful--Gratitude Journal


Thankful--Gratitude Journal

The awesome giant rhinestone from the Glitz Black and White collection. I used the same Paper Smooches Leaves 1 Die and tag Toppers Die throughout the Gratitude Journal.

Here's the third day:


Thankful--Gratitude Journal


The fourth page has a lot of subtle layering--stickers, papers, tulle, tissue, vellum (pretty much anything white I could find). When the 77 foil sticker along the side hits the light, it is so pretty! I used a leftover leaf die-cut from the Rose cut-files. 


Thankful--Gratitude Journal

Here's the fifth tag:


Thankful--Gratitude Journal

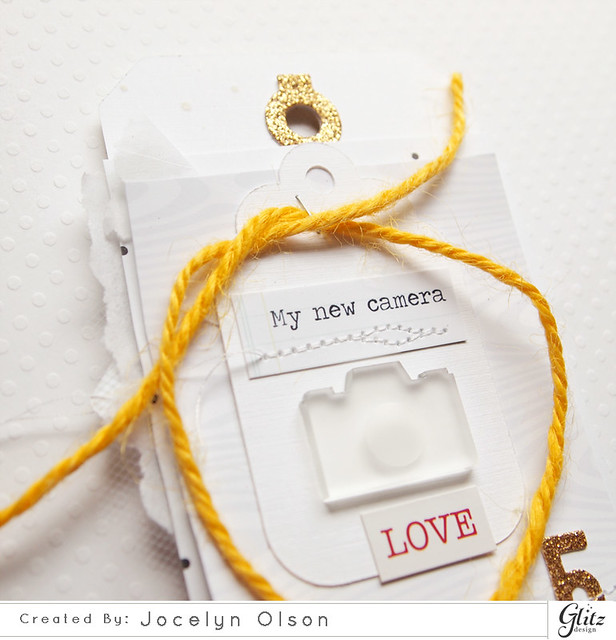
Isn't that Studio Calico acrylic camera cute? I stapled the yarn in an Emily Branch style. 

I'd love it if you would stop by the Glitz blog and see the rest of the pictures. Thanks!! :) 

Thanks for stopping by!


Supplies
Cardstock: (white Linen Essentials) Ellen Hutson; (vellum) Hobby Lobby; (gold glitter cardstock) Best Creations
Patterned paper: (Stripe paper from Black and White; Polka paper from Carpe Diem) Glitz Design
Dies: (Leaves 1, Toppers dies) Paper Smooches; (Inline Alphabet) Mama Elephant
Stickers: (Black and White Alphas and Accents; 77 Alphas and Accents) Glitz Design
Fibers: (yarn, pom pom trim, tulle) craft supply
Ink: (Letterman's Jacket, Opaque White Mister Huey's) Studio Calico; (Marigold) Lindy's Stamp Gang
Embellishments: ("4" from Number Badge Set) Studio Calico; (heart Giant Rhinestone Black and White collection) Glitz Design; (roller stamp) American Crafts; (sequins) Scraptastic Club; (leaf wood veneer) Crate Paper; (acrylic camera from the Jubilee kit) Studio Calico
Digital: ("Raven" Element Pack 2; "Carpe Diem" Element Pack 3; "Black and White" Paper Pack 2; "Hello December" Collection) Glitz Design

Tuesday, August 26, 2014

Every Cloud...

**If you're looking for my Hero Arts/A2Z Scrapbooking post, please click HERE. 

Hi all! It's hump day....well, almost. LOL!

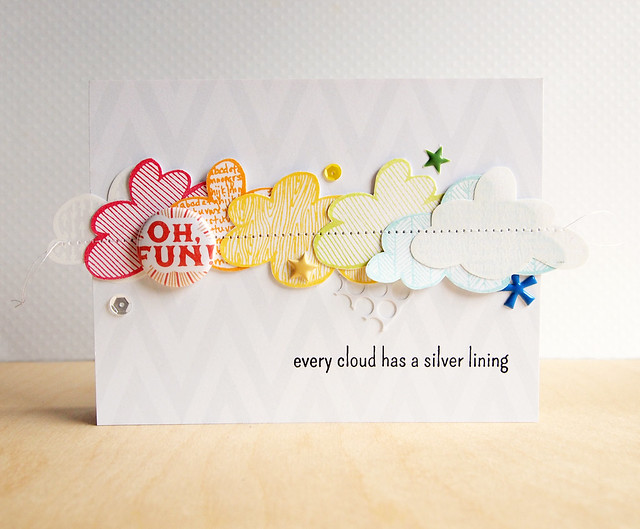
I'm on the Neat & Tangled blog today sharing this card:

Every Cloud

I used the Clouds set designed by my friend, Miriam Prantner. I have more pictures on the Neat & Tangled post HERE. I'd love it if you would check it out!

Have a great day! Thanks for stopping by!


Supplies
Cardstock: (white; Linen Vellum) PTI
Stamps: (Clouds) Neat & Tangled
Patterned paper: (zigzag by Sugar Rush Scrapbook Add-On) Studio Calico
Embellishments: (Crystal Clear, Pink Lemonade sequins) Neat & Tangled; (White Punchinella) Neat & Tangled; (green star from Daily Flash) October Afternoon; (yellow puffy heart, blue star, flair from Studio Calico kits) Studio Calico

Monday, July 28, 2014

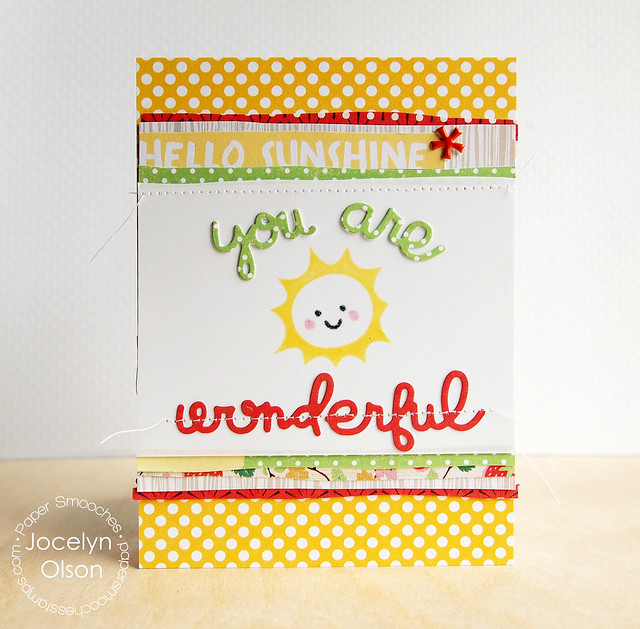
You Are Wonderful

Hi everyone! I hope you're having a good Monday. :)

I'm catching up with some Paper Smooches cards. These cards are made using the stamps and dies from the July release, but there also will be a small release August 1st. Be sure to check out the Paper Smooches blog later this week to see the previews.

First up, I made a very summery card:

You Are Wonderful

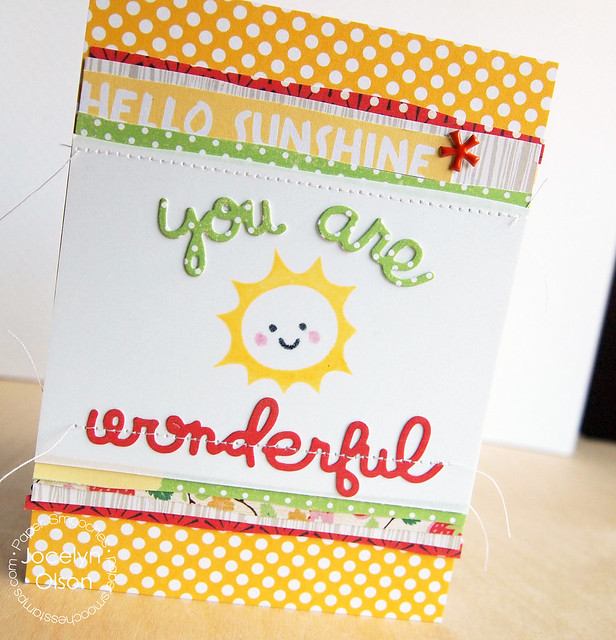
I used the Kudos Words dies for the sentiment...aren't those dies cool? The cute sun is from the Spectrum set. I stamped the sun and face on vellum and added in some rosy cheeks. I layered papers from a Studio Calico kit. I fussy cut the "hello sunshine" from one of the Bluegrass Farm journaling cards to complete the sentiment.

Here's a close-up:

You-Are-Wonderful-J.-Olson FCU-


Next up, I made a more fall-ish card:

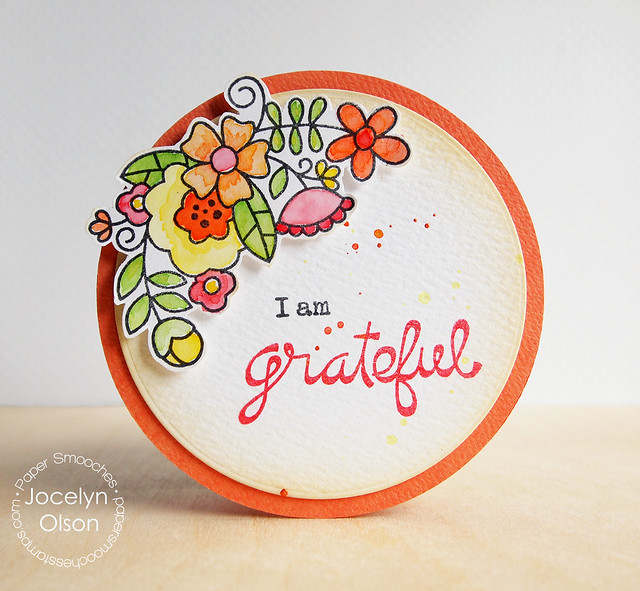
I Am Grateful

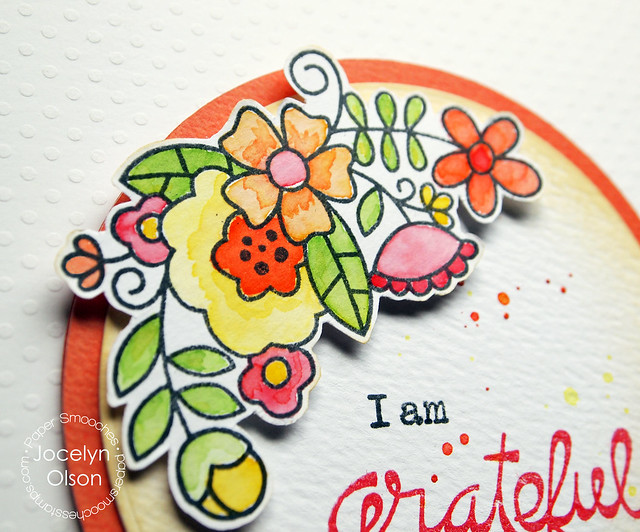
I used the gorgeous Blossoming Buds set for this card. I stamped the flowers, watercolored them with Distress Inks, and then fussy cut them. Paper Smooches will be releasing matching dies for the flowers--woo hoo! I stamped the sentiments from the set and added a few flicks of spray mists.

Here's a close-up:

I Am Grateful

Thanks for stopping by! Have a great day!


Supplies
You Are Wonderful
Stamps: (sun, face from Spectrum) Paper Smooches
Dies: (Kudos Words) Paper Smooches
Cardstock: (white, vellum) PTI
Patterned paper: (Bluegrass Farm paper pad, Project Life kit) Studio Calico
Inks: (yellow Brilliance, Graphite Black Brilliance) Tsukineko

I Am Grateful
Stamps: (flowers, sentiment from Blossoming Buds) Paper Smooches
Inks: (Versafine Red, Tuxedo Black) Tsukineko; (Distress Markers, Distress Inks) Ranger
Cardstock: (Distress Watercolor paper) Ranger; (Tangy Orange) Stamp School
Silhouette America


Thursday, July 17, 2014

Happy Birthday (and a Cool New Product!)

Hi everyone! Aloha from Hawaii!


It's the last day of the Neat & Tangled release week. All of the sets are available now in the Neat & Tangled store! Today, we're sharing projects using the new Punchinella stamp set and the new punchinella. I've got to say, this product is so cool--I can't wait to get more! You can see the images on the Neat & Tangled blog.

Here's my project:

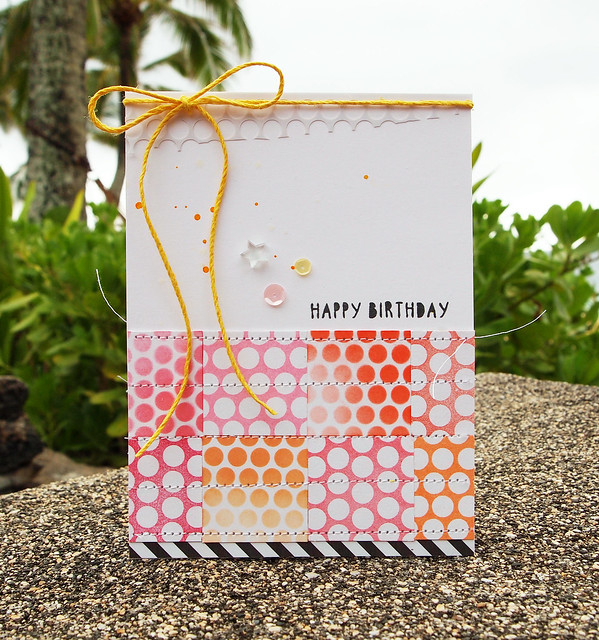
Punchinella Happy Birthday

I photographed my cards on vacation. ;)

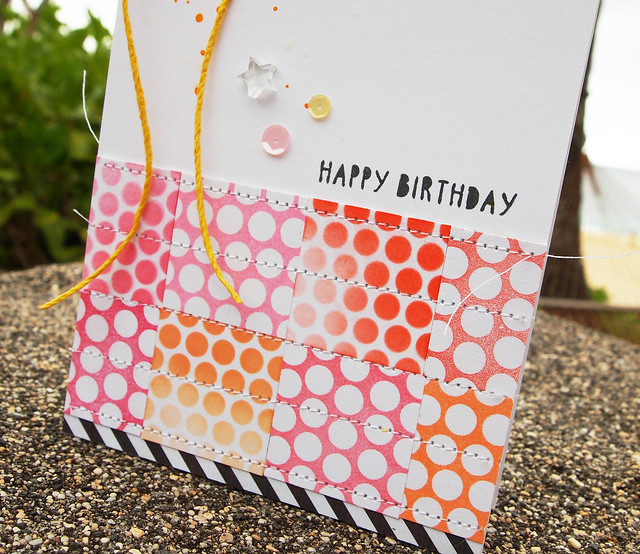
I cut up small squares and stamped on some with the Punchinella stamp. On others, I used the punchinella as a mask and blended over it with Distress Inks. Above the squares, I stamped a sentiment from the new Gifts for You set.

Here's a close-up:

Punchinella Happy Birthday


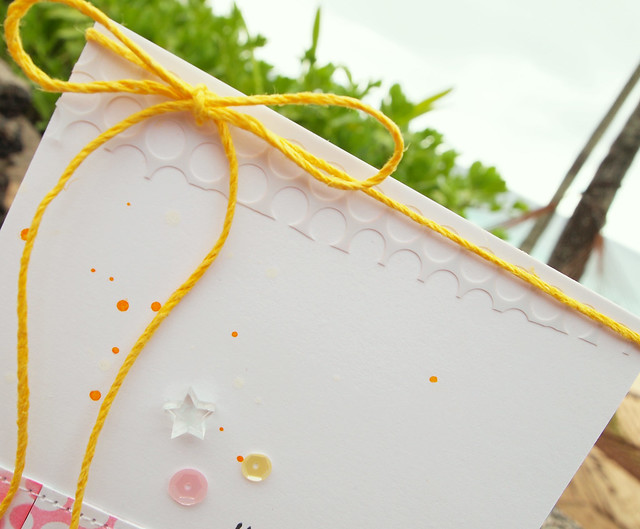
I finished the card with a couple of the new Pink Lemonade sequins and some of the punchinella. After I used it as a mask, I wiped it off and cut it at an angle. I love how it adds something to the card without adding a lot of weight.

Here's a close-up:

Punchinella Happy Birthday

If you would like a chance to win the Punchinella stamp, please hop over to the Neat & Tangled blog and leave a comment.

Also, there's a moving sale at Neat & Tangled! Select sets and dies are on sale, and prices are marked (no coupon code is needed).


Thanks for stopping by!


Supplies
Stamps: (Punchinella, Gifts for You) Neat & Tangled
Cardstock: (white) PTI
Patterned paper: (Something Wonderful) Teresa Collins
Ink: Fresh Ink; (Distress Inks) Ranger; (Mister Huey's) Studio Calico
Embellishments: (yellow twine) Hemptique; (Pink Lemonade sequins) Neat & Tangled; (punchinella) Neat & Tangled; (acrylic star from Studio Calico kit) Studio Calico

Saturday, June 28, 2014

Neat & Tangled June Blog Hop

Hi everyone! I hope you're having an awesome weekend!


Some of the Neat & Tangled designers and guests are having a blog hop to showcase the Photo Booth and Sunday School Songs sets. If you're hopping along, you should be coming from my friend Miriam's blog.

I made a card using the new Photo Booth stamps:

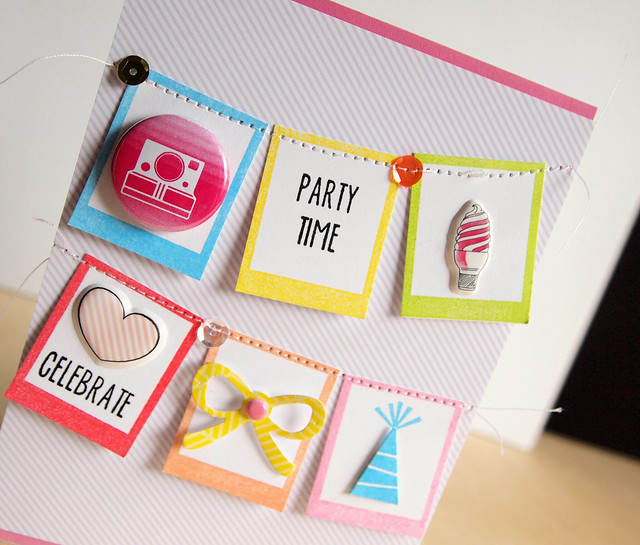
Party Time

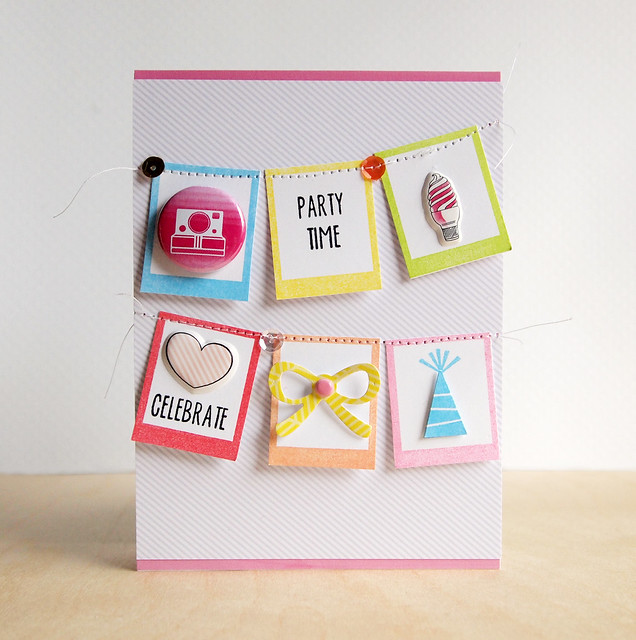
I was going to use the photo strips, but when I was playing around with the stamps, I realized the end boxes looked like Polaroids. So, I stamped then ends in the six colors and added little doo-dads to each box. The cute party hat and sentiments come from the Photo Booth set--this set has a great variety of sentiments.

When I was done with the boxes, I stitched them (with a few Neat and Tangled sequins) to some digital Paislee Press paper. Here's a close-up:


Party Time

Since it's a hop, there are some prizes! :) Two winners will be chosen from all of the hop comments, and the winners will have their choice of Photo Booth or Sunday School Songs. The winners will be announced on the Neat & Tangled blog on Saturday, July 5th.

Here's the full order of the hop:

Danielle Walls (Neat and Tangled)
Jocelyn Olson <--You are here.

Your next stop is the fabulous Anna! Thanks for stopping by!


Supplies
Cardstock: (white) PTI
Patterned paper: (digital stripe paper from From Where I Stand) Paislee Press; (pink ombre) Alison Kreft for Echo Park; (yellow from #Summer) American Crafts
Stamps: (Photo Booth) Neat & Tangled
Ink: (Versafine Onyx Black) Tsukineko; (Strawberry, Lake, Peach, Pink Lemonade, Grass) Fresh Ink; (yellow) Mama Elephant
Embellishments: (gold, Crystal Clear, Peach sequins) Neat & Tangled; (flair from June kit Best Day of My Life) Scraptastic Club; (ice cream Plus One Puffy Stickers; Dear Lizzy puffy heart) American Crafts)
Die: (bow) American Crafts

Tuesday, June 24, 2014

Oh Happy Day Mini Album (& Some News!)

Hi everyone! I hope you're having a great day. :)

My project is on the Glitz Design blog today. It's my first post as a member of the Glitz Creative Team. Yeah! I've been on the Glitz Digital DT for almost a year, but Lea asked me to start sharing hybrid projects as a member of the Traditional Team. [Insert big smile here.]

Here's the project I'm sharing on the blog (sorry for the number of photos!). I think it might be my favorite project I've ever made. :)


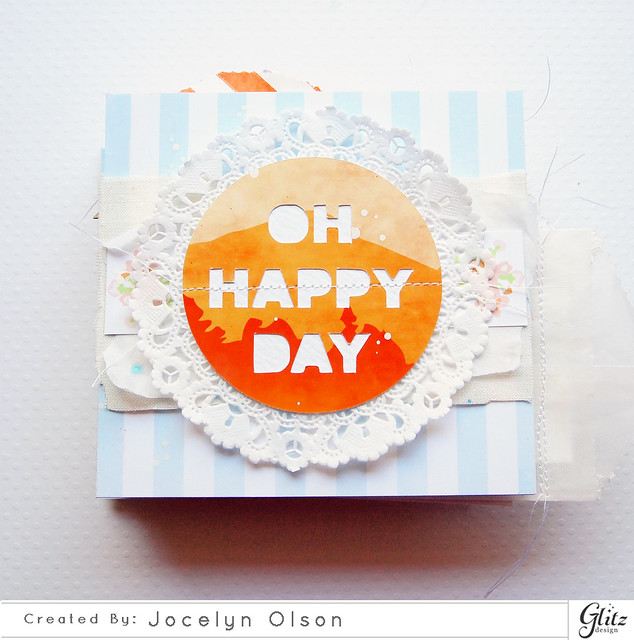
Oh Happy Day Mini Album


I made a hybrid mini album--about 75% digital and 25% physical products. I used two Glitz collections: Brightside and 77. They mixed very well together!

For the "Oh Happy Day" on the cover, I turned a digital element into a die-cut using my Silhouette. The sentiment is a digital version of a giant rhinestone (enlarged) from the 77 collection, which I traced in my Silhouette program and die-cut on an enlarged digital 77 journaling card.

The blue and white stripe and the little flowers under the doily are both from the Brightside digital collection--I did lighten them before I printed them.

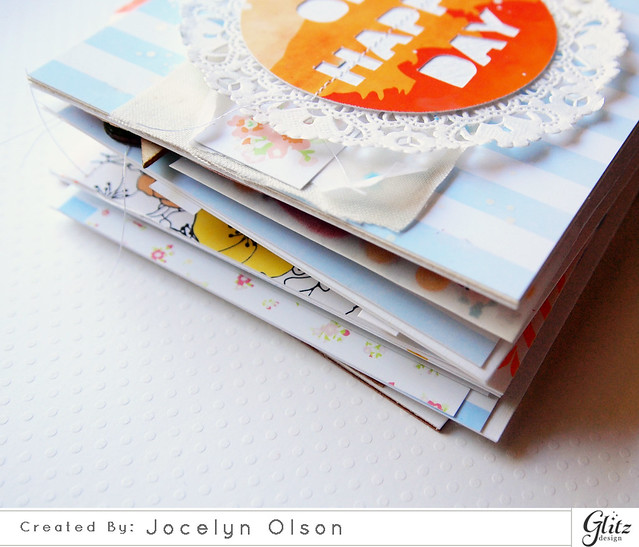
You'll notice that I don't have binding on the book. Here's why:


Oh Happy Day Mini Album

I didn't mean for the album to get so large, but it's well over 2" thick. I need to track down some 3" O-rings.

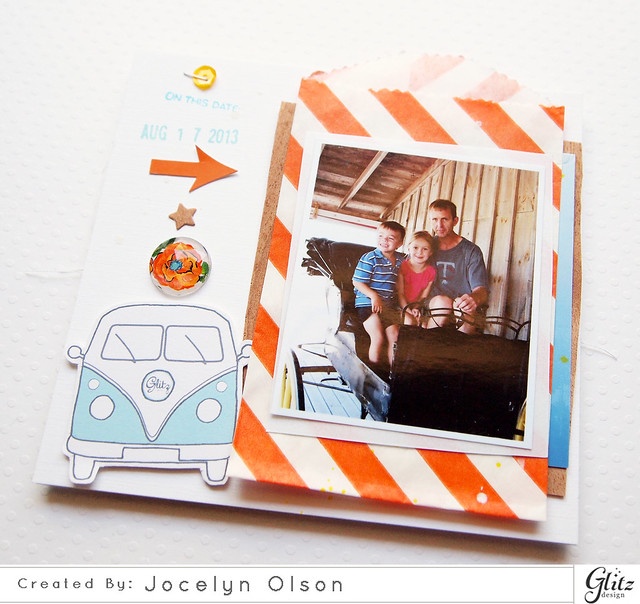
I wanted to share the pages in order. We went to the Laura Ingalls Wilder Homestead in DeSmet, SD last year:

Oh Happy Day Mini Album


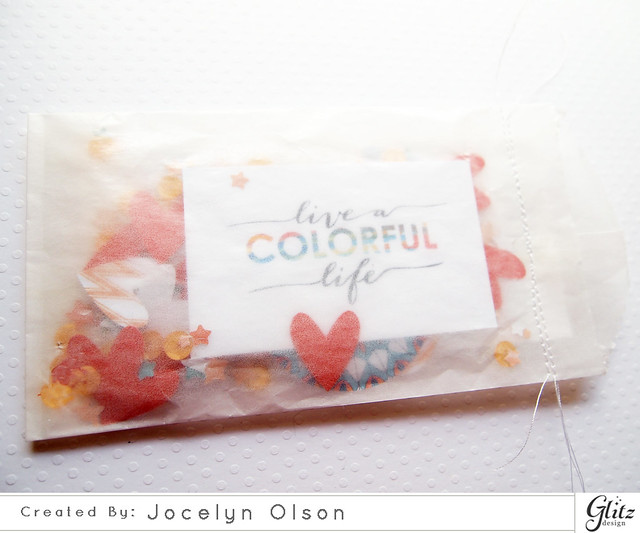
I made a confetti pocket. The fact that it's half-sized means you can see the "HAPPY" page with my son, too (three photos down).

Oh Happy Day Mini Album


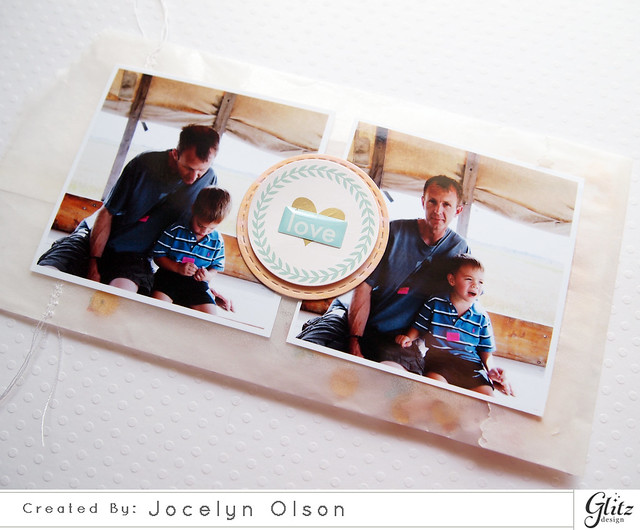
I love these pictures of my son and husband. We were riding on a covered wagon to the old schoolhouse:

Oh Happy Day Mini Album


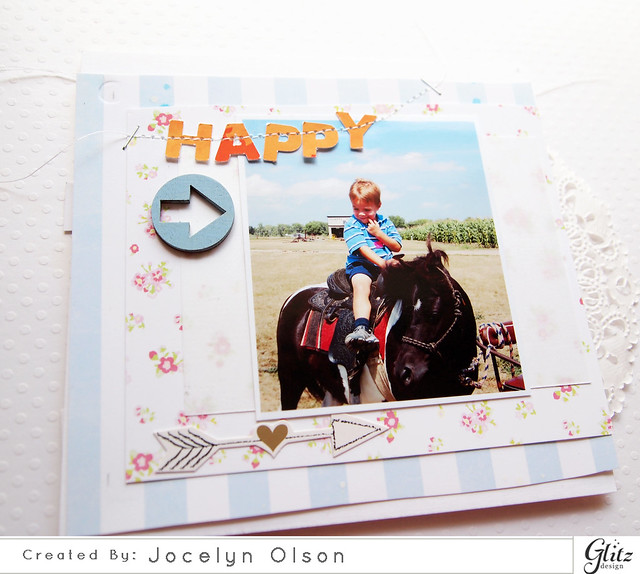
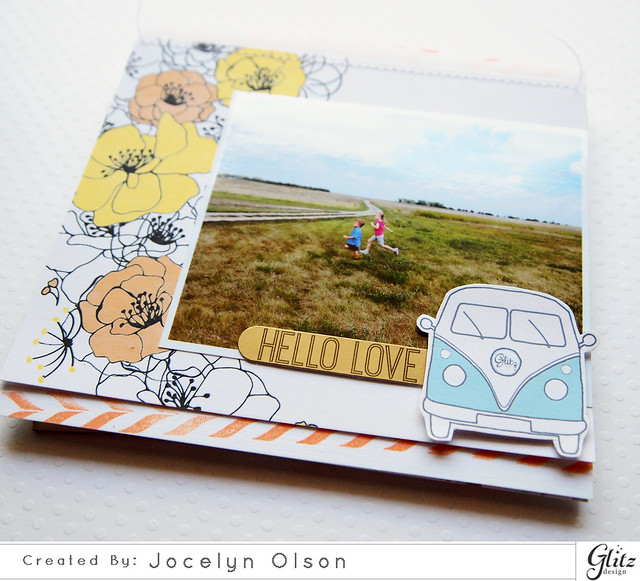
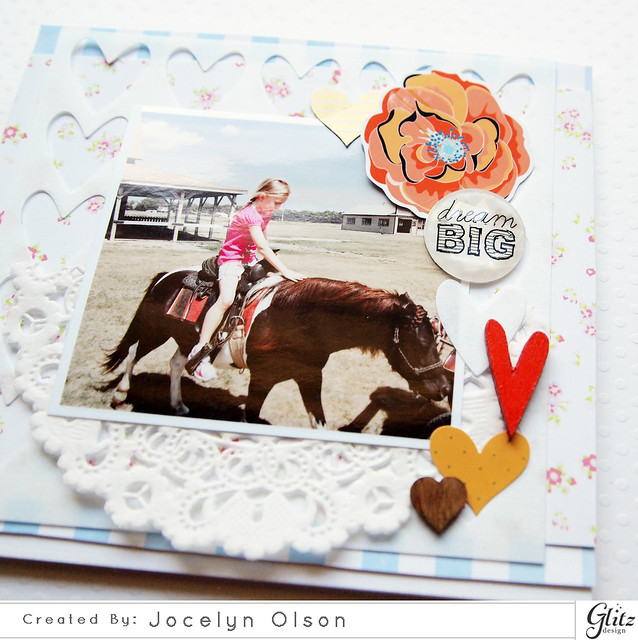
Both of my kids got to ride on a pony. It was my son's first time on a horse. The "HAPPY" letters are the positive die-cuts from the cover:

Oh Happy Day Mini Album


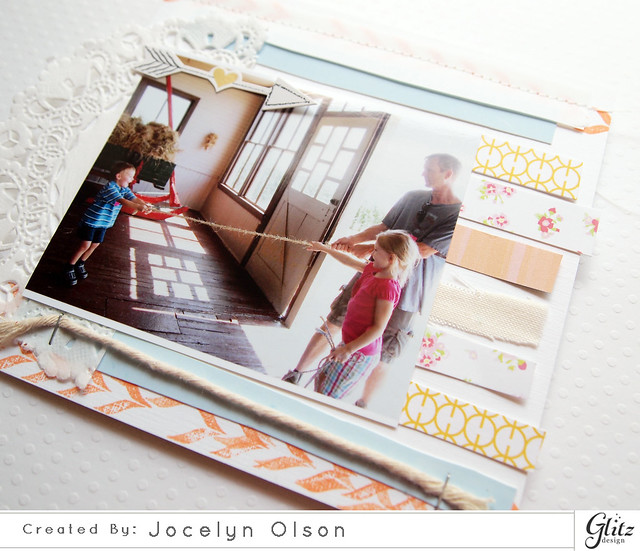
We made jump ropes. My son really liked the pulling part. :) For the borders, I used the Glitz Chevron Roller Doodle--so much fun!

Oh Happy Day Mini Album

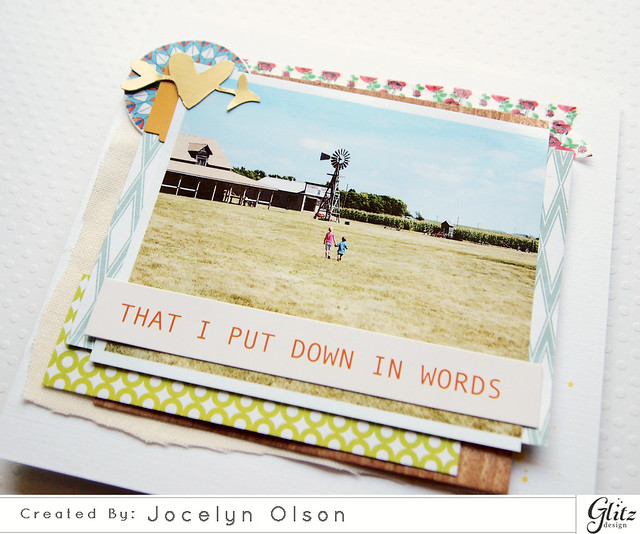
You can really see the prairie in this shot. I enlarged a digital journaling card for the background:

Oh Happy Day Mini Album


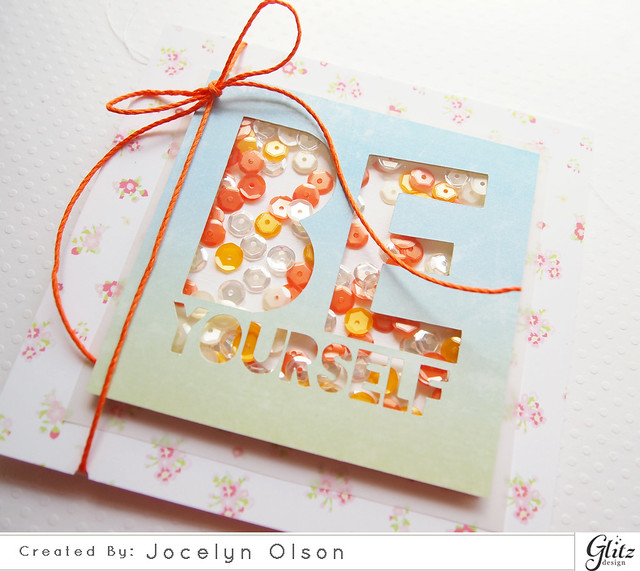
Like the cover, I made another digital element-turned-die-cut using the Glitz digital Wild and Free Element Pack 2. I filled it with Neat & Tangled sequins:

Oh Happy Day Mini Album


I think this page with my daughter is my favorite. I love the mix of the Glitz 77 heart stickers and giant rhinestone with the digital flower and wood veneers:

Oh Happy Day Mini Album 


I adore that my kids are holding hands in this picture. It makes me so happy. :) I did a lot of layering on this page, including the Floral washi and another awesome gold sticker:

Oh Happy Day Mini Album


This page was originally going to be the cover, but I'm glad I moved it to the last page. I die-cut the digital sentiment from the collection. The lyric is from my all-time favorite song. :)

Oh Happy Day Mini Album


Thanks for making it to the end. :) I would love it if you would pop over to the Glitz Design blog and leave a comment. 

Have a great day!!

Blog Design by Caked Designs