Showing posts with label Glitz Design. Show all posts

Tuesday, September 9, 2014

Fall Gratitude Journal

Hi everyone!

I'm up on the Glitz blog today sharing the beginning of a Gratitude Journal. I've seen some really cool journals, and I thought I would try it for a month. Hopefully I can keep up. ;)

Here's the journal:
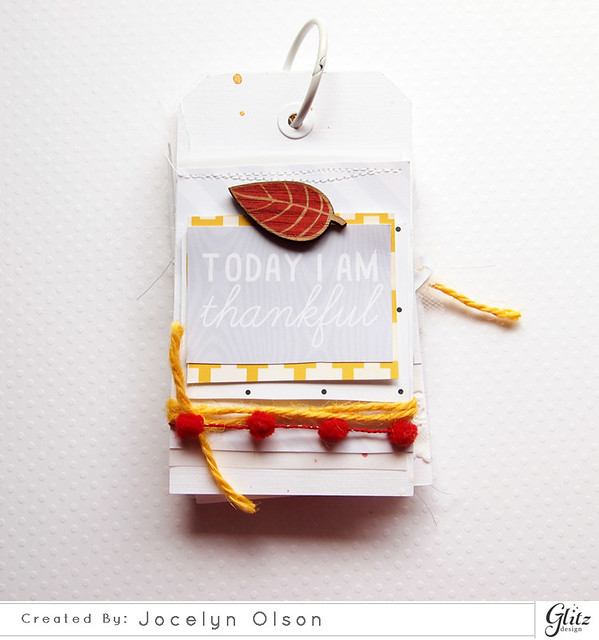

Thankful--Gratitude Journal

The mini is hybrid, and many of the papers are digital, including some older collections. I mostly used the Glitz Black and White and Hello December collections. The sentiment on the cover is from the Carpe Diem Element Pack 3.

Here's a close-up of the cover:
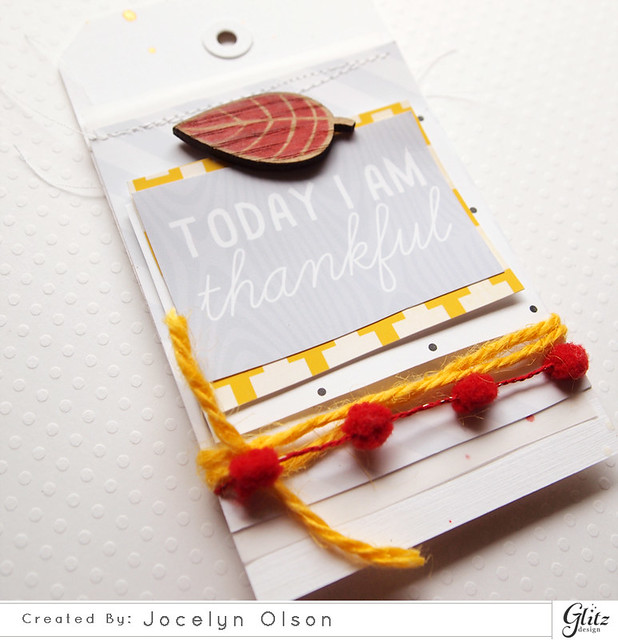

Thankful--Gratitude Journal

The yarn and pom pom trim are from my deep, dark stash (at least 5 years old). I'm so glad I was finally able to use them!

For each prompt, I started with the phrase, "I'm grateful for..." and finished the sentence as my journaling. I cringed a little at some of the fragments, but I wanted to keep the journaling short.

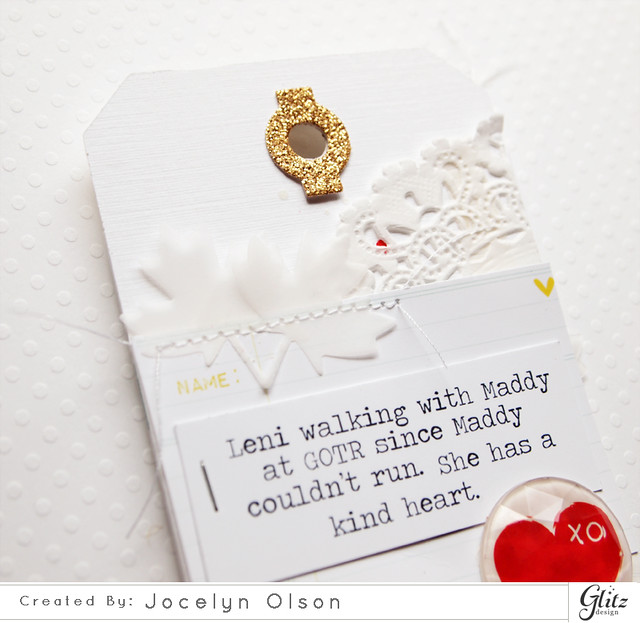
Here are some close-ups of the tags:
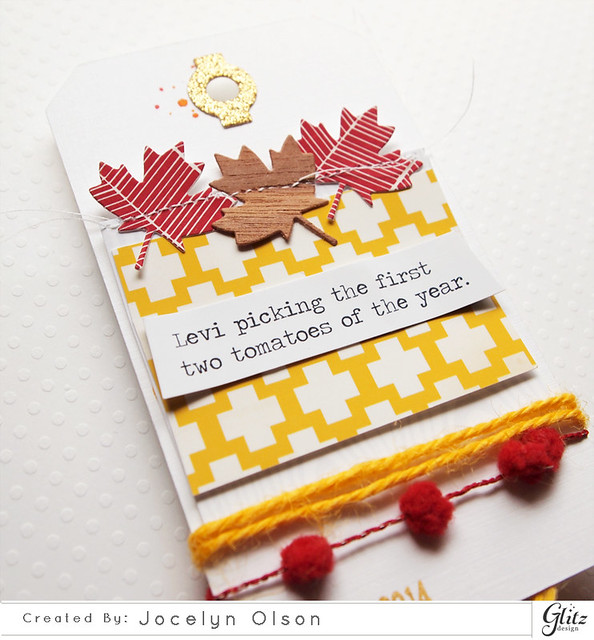

Thankful--Gratitude Journal


Thankful--Gratitude Journal

The awesome giant rhinestone from the Glitz Black and White collection. I used the same Paper Smooches Leaves 1 Die and tag Toppers Die throughout the Gratitude Journal.

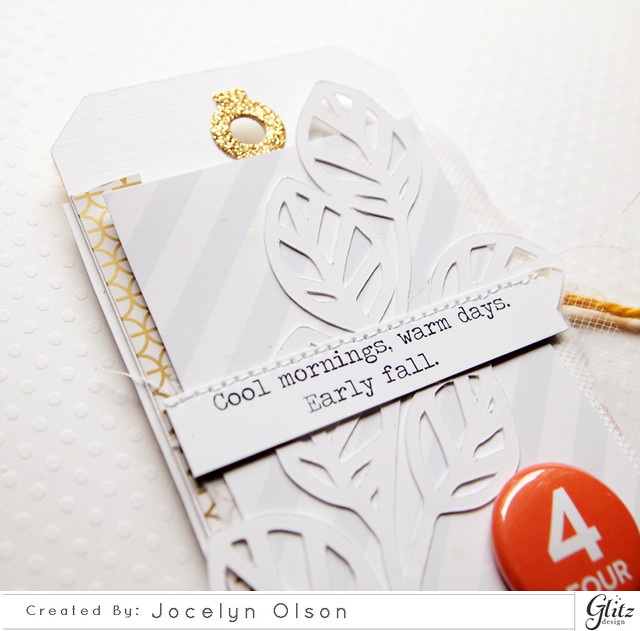
Here's the third day:
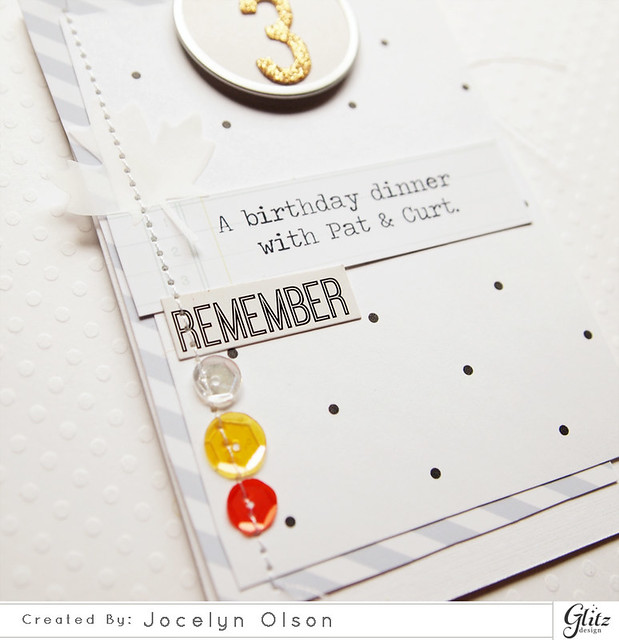

Thankful--Gratitude Journal


The fourth page has a lot of subtle layering--stickers, papers, tulle, tissue, vellum (pretty much anything white I could find). When the 77 foil sticker along the side hits the light, it is so pretty! I used a leftover leaf die-cut from the Rose cut-files. 


Thankful--Gratitude Journal

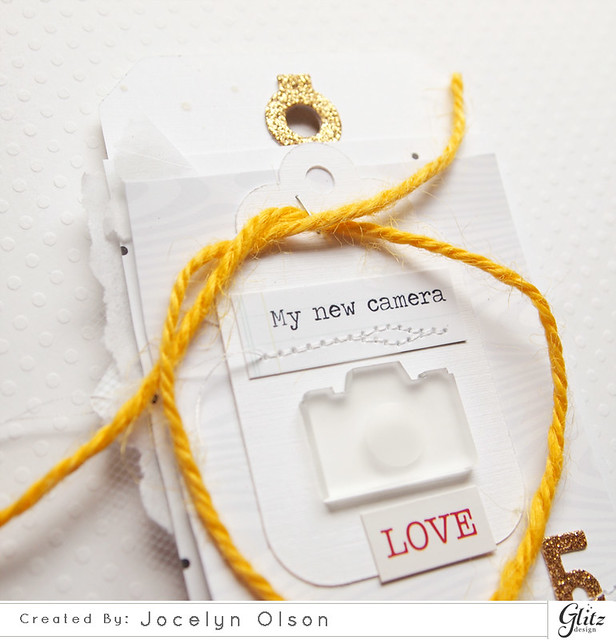
Here's the fifth tag:


Thankful--Gratitude Journal

Isn't that Studio Calico acrylic camera cute? I stapled the yarn in an Emily Branch style. 

I'd love it if you would stop by the Glitz blog and see the rest of the pictures. Thanks!! :) 

Thanks for stopping by!


Supplies
Cardstock: (white Linen Essentials) Ellen Hutson; (vellum) Hobby Lobby; (gold glitter cardstock) Best Creations
Patterned paper: (Stripe paper from Black and White; Polka paper from Carpe Diem) Glitz Design
Dies: (Leaves 1, Toppers dies) Paper Smooches; (Inline Alphabet) Mama Elephant
Stickers: (Black and White Alphas and Accents; 77 Alphas and Accents) Glitz Design
Fibers: (yarn, pom pom trim, tulle) craft supply
Ink: (Letterman's Jacket, Opaque White Mister Huey's) Studio Calico; (Marigold) Lindy's Stamp Gang
Embellishments: ("4" from Number Badge Set) Studio Calico; (heart Giant Rhinestone Black and White collection) Glitz Design; (roller stamp) American Crafts; (sequins) Scraptastic Club; (leaf wood veneer) Crate Paper; (acrylic camera from the Jubilee kit) Studio Calico
Digital: ("Raven" Element Pack 2; "Carpe Diem" Element Pack 3; "Black and White" Paper Pack 2; "Hello December" Collection) Glitz Design
Monday, August 11, 2014

Scribbles and Doodles

Hi everyone! I hope you had a great weekend. We went to the county fair this weekend, and the kids had fun on the rides and playing the games. I even got to pet a 4-day-old pig, who was pretty darn cute. :)

I'm up on the Glitz blog today sharing projects related to a trend. I've got to tell you, I thought a lot about different trends (I'm so geeky, I even made a spreadsheet). Finally, I settled on scribbles and doodles, which I am suddenly seeing everywhere.

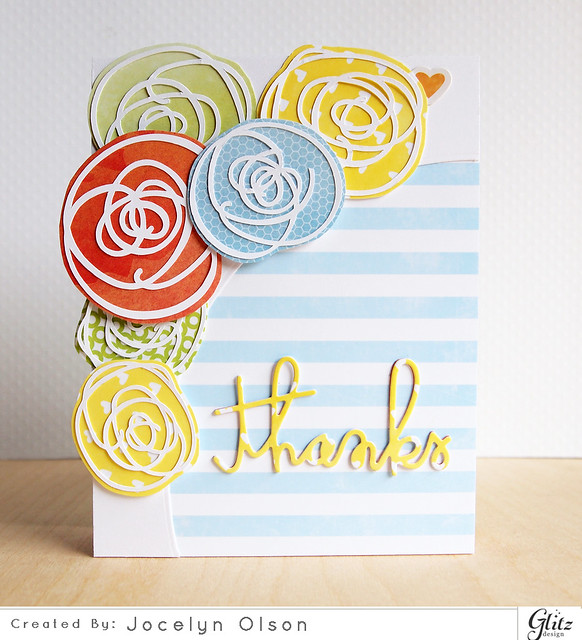
I made a trio of cards with a mix of Glitz lines incorporating the scribble trend. Here's the first card:

Thanks

Using my Silhouette, I die-cut the scribbles in white. I fussy-cut around the die-cuts with papers from Glitz's Brightside, Felicity, and 77 collections. I finished the card with the Thanks Word die from Paper Smooches.

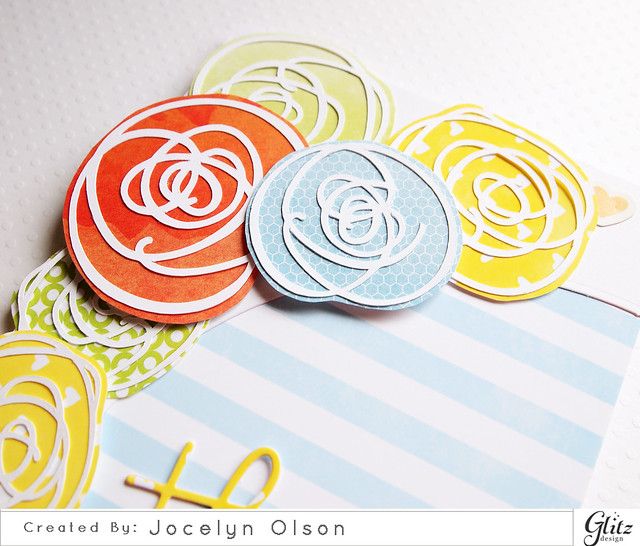
I used the Avery Elle Custom Panels die to cut the arc and then popped up some of the scribble flowers for a little dimension:

Thanks


The next card is a little softer, and I used some hybrid elements:

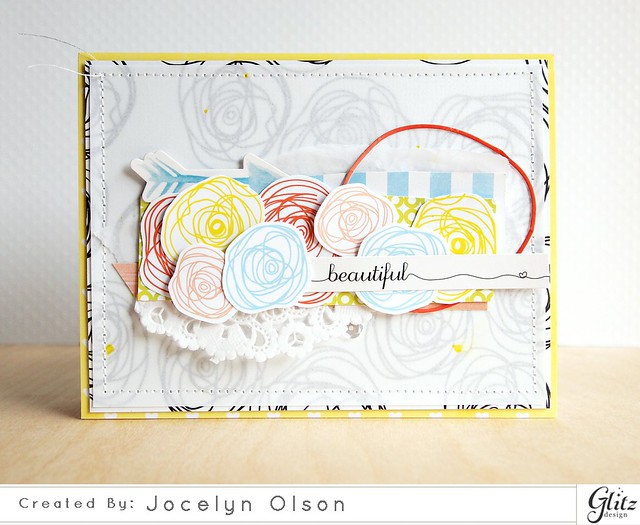
Beautiful

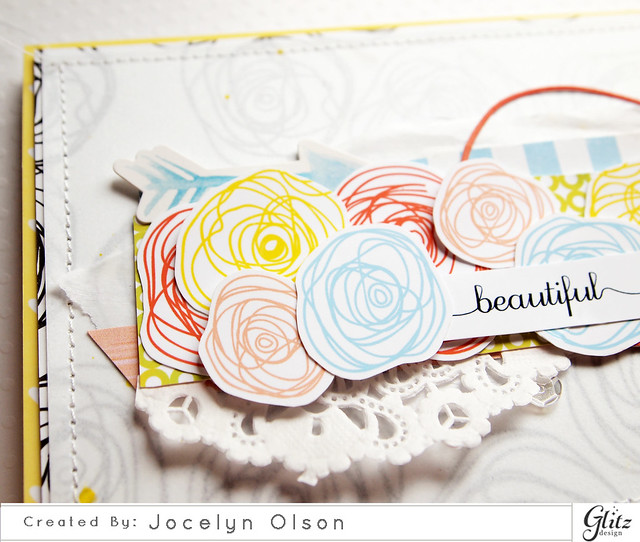
The Glitz Black and White collection has an awesome scribble Floral paper. Using the digital version of the paper, I recolored a few of the scribbles, resized them, and fussy-cut them. The black and white paper competed with the colored flowers, so I added some vellum.

The sentiment sticker from the Felicity collection has a cute little heart doodle. Love it!

Beautiful


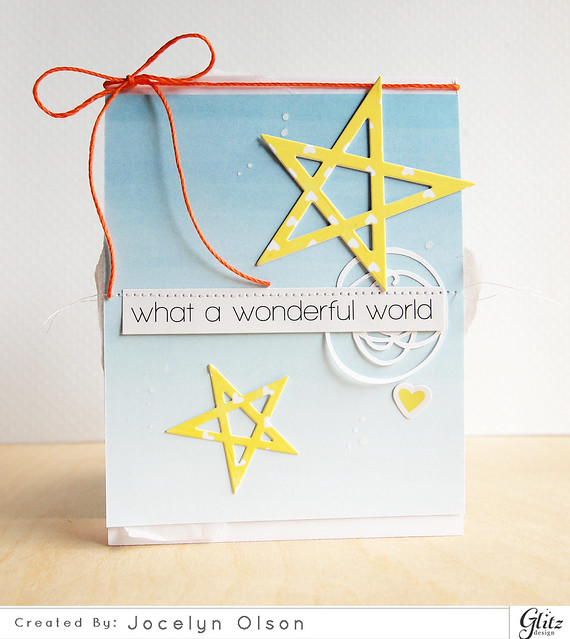
I went CAS for the last card:

What a Wonderful World


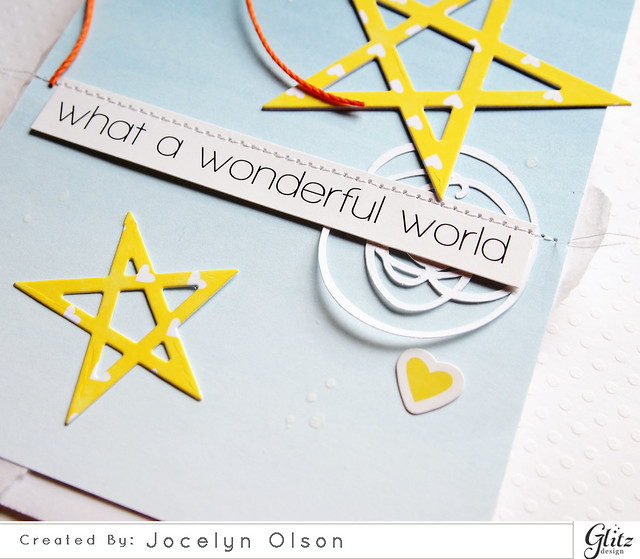
I die-cut the Sketched Stars from Brightside papers and layered it over Felicity paper. I had a left-over die-cut scribble and added it under the sentiment sticker from Carpe Diem.

What a Wonderful World


You can see the project (and others!) on the Glitz blog.

Thanks for stopping by! Have a great day. :)

Supplies
Cardstock: (white, linen vellum) PTI
Patterned paper: (Floral 12x12 from Black and White collection; 6x6 Brightside papers; 6x6 Felicity papers; 6x6 77 papers) Glitz Design
Stickers: (Felicity Stickers Titles and Accents; Carpe Diem Stickers Titles and Accents; Brightside Stickers Titles and Accents) Glitz Design
Digital elements: (Black and White paper pack 2; Brightside paper pack 1) Glitz Design
Dies: (Thanks Word die) Paper Smooches; (Sketched Stars) Papertrey Ink; (Custom Panel die) Avery Elle
Embellishments: (doily) Freckled Fawn; (Crystal Clear sequins)  Neat & Tangled; (Neon Orange twin) Hemptique twine
Ink: (Opaque White Mr. Huey's) Studio Calico

Tuesday, July 29, 2014

Let's Go Mini Album

Hi everyone!

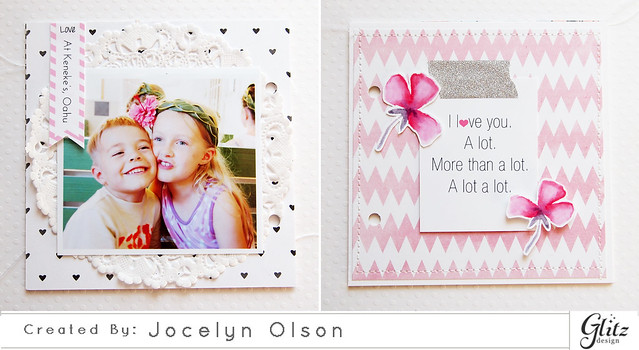
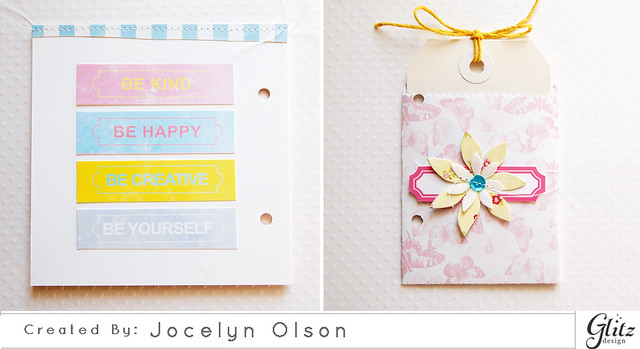
I'm sharing a hybrid mini album on the Glitz blog today. I'm also sharing how I added the sentiments onto the photos (they're journaling cards and colored sentiments altered in Photoshop).

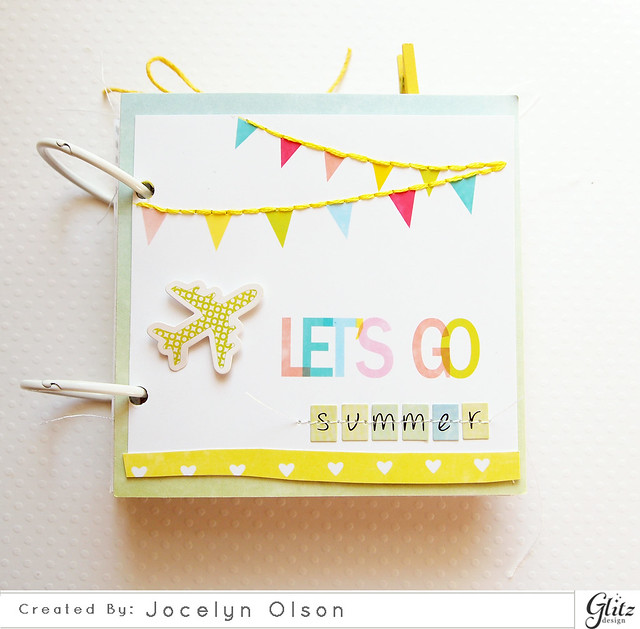
Here's the cover:

Let's Go Mini Album


Even though summer isn't over, I wanted to make the first mini album sharing a few of our everyday activities during the summer.

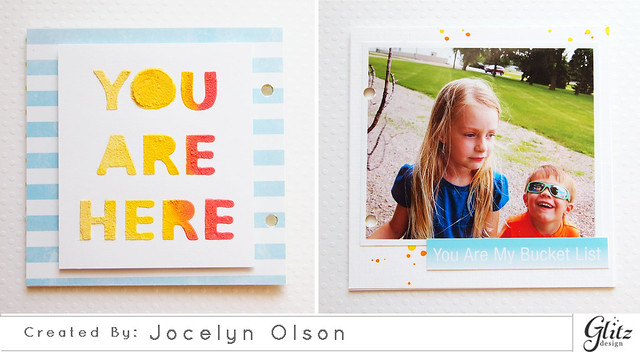
Here are pictures of the inside:

Let's Go Mini Album

For the "You are here," I colored white embossing paste with three colors of stamp reinkers. When I made THIS card, I made two panels (I can never estimate how much embossing paste I'm going to use). I had the second one in my scrap pile and decided it worked with the album. Yeah for scraps! :)

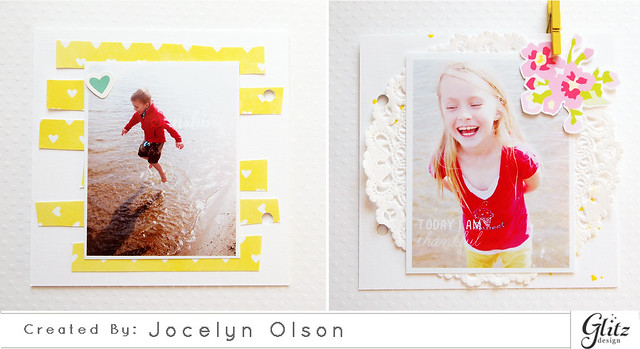
Let's Go Mini Album

I used Brightside papers and a sticker. The papers on the page with my son were supposed to look like sunrays. Yeah...not so much. LOL! I love yellow, though, so I decided to leave it. For the flowers, I used a digital element from the Brightside collection, enlarged the flowers, and fussy-cut them.

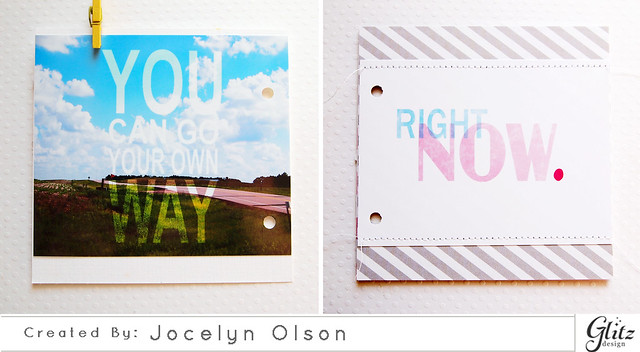
Let's Go Mini Album

The sentiment on the left is a journaling card from the Carpe Diem Element Pack 2. I converted it to an overlay. I used a traditional Brightside journaling card on the right.


Let's Go Mini Album


I used a mix of Brightside and Felicity for these two pages. Since I used digital flowers (instead of a sticker), I was able to flip one and resize them.

Let's Go Mini Album

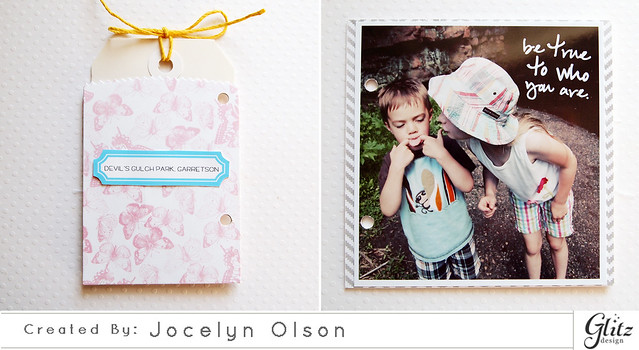
The pocket was die-cut from Brightside paper using the Paper Smooches Deco Bag, and I was able to add some journaling inside. The flower on the outside is the Paper Smooches Poinsettia die--it's a very versatile flower die!

Let's Go Mini Album

I think this photo was my favorite of the summer (so far) since it really shows my kids' personalities. The sentiment from the Glitz Felicity Element Pack was perfect.


Let's Go Mini Album

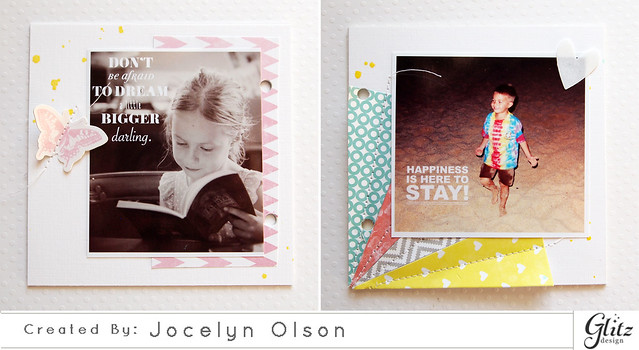
My daughter is a big reader, and I wanted to capture that. For the page on the right, I wanted to create something like my son's tie-die shirt, so I stitched through some Glitz Brightside rays.

Thanks for taking a peek at my album. If you get a chance, please check out the Glitz blog. Thanks!

Have a great day!


Supplies
Cardstock: (Linen White) Ellen Hutson
Patterned papers: (Butterflies, Circles, 12x12 Bits and Pieces from the Brightside collection; Brightside 6x6 paper pad; Black & White 6x6 paper pad; Felicity 6x6 paper pad) Glitz Design
Stickers: (Brightside Alphas & Accents Sticker Sheet) Glitz Design
Embellishments: (Silver Glitter Washi Tape) Glitz Design; (You Are Here stencil) The Crafter's Workshop; Hemptique twine; (yellow clip) Studio Calico; (doilies) Freckled Fawn, (mists) Studio Calico; sequins
Dies: (Deco Bag, Poinsettia) Paper Smooches
Digital elements: (Brightside Element Pack, Carpe Diem Element Pack 2, Felicity Element Pack, Black and White Element Pack 1) Glitz Design
Thursday, July 24, 2014

Shake It Up

Hi! Anyone else remember that Cars song? I'm totally dating myself. ;)

I hope you're having a great week! I'm still catching up from my vacation, but I wanted to share a project I had on the Glitz blog last week.

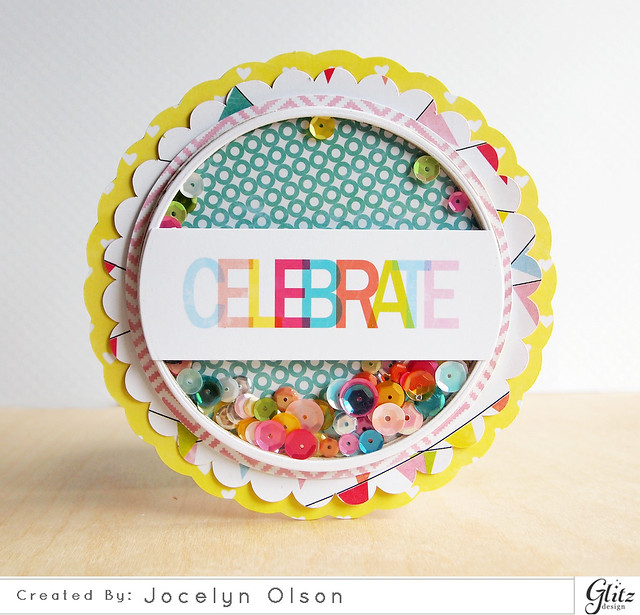
Celebrate Shaker


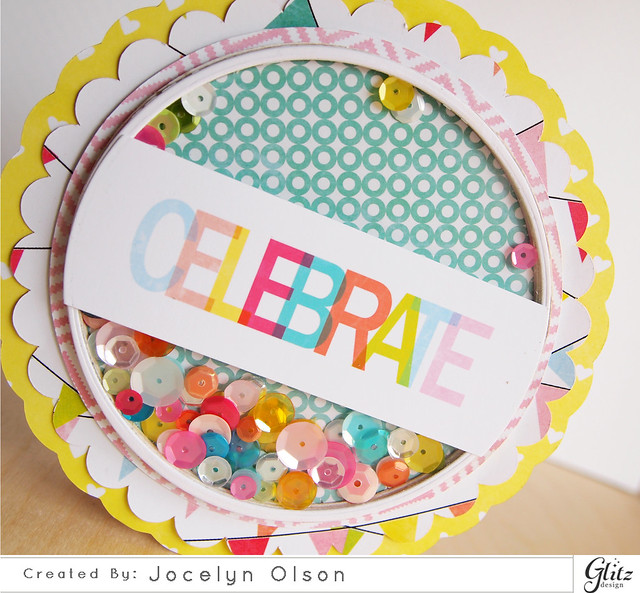
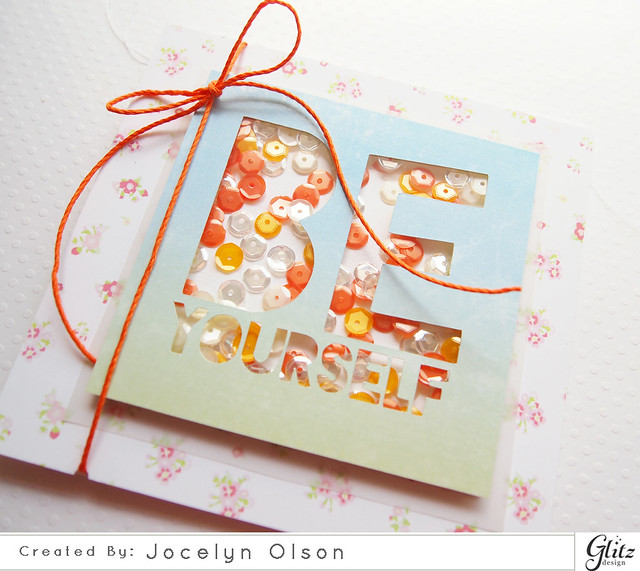
It's a hybrid shaker card using the Glitz Brightside papers and digital Brightside Element Pack. I have a step-by-step tutorial on the Glitz blog to show a different way to make a shaker card (other than foam adhesive).

Here's a close-up:

Celebrate Shaker


Thanks for stopping by! Have a great day!


Supplies
Glitz Design "Brightside" 6x6 paper pad
Glitz Design Digital "Brightside" element pack
Sequins: Neat & Tangled, Scraptastic Club, craft supply
Dies: (Circle STAX) My Favorite Things

Friday, July 11, 2014

Flamingos + A Video!

Hi! I hope you're having a great week. I accidentally published my Glitz post...whoops! I've revised it below.

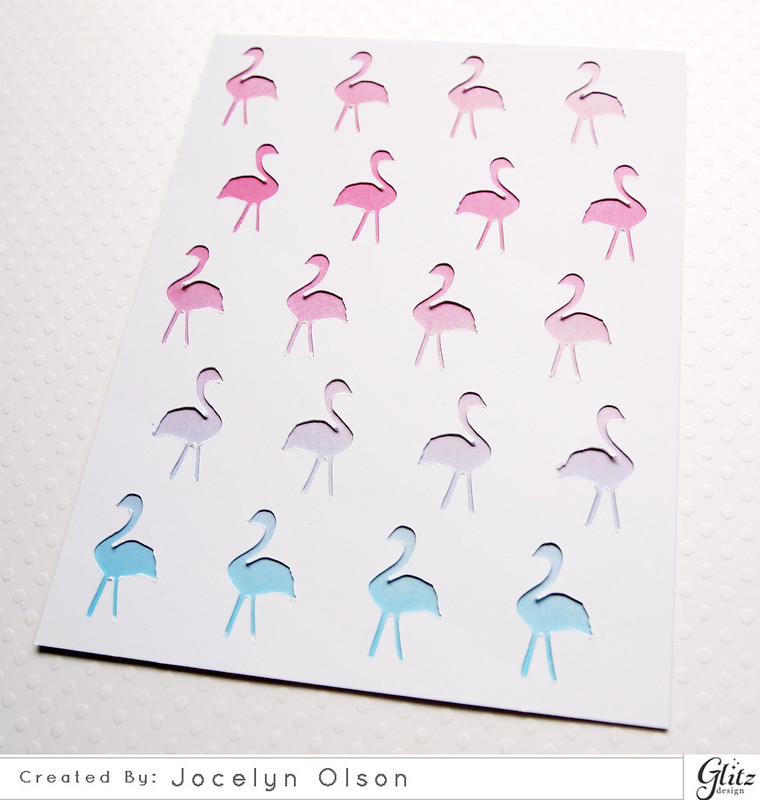
I was on the Glitz blog last week sharing a video with how I turned a patterned paper from the new Felicity collection into a die-cutting file. [You can watch the video in YouTube to see it in high definition.]


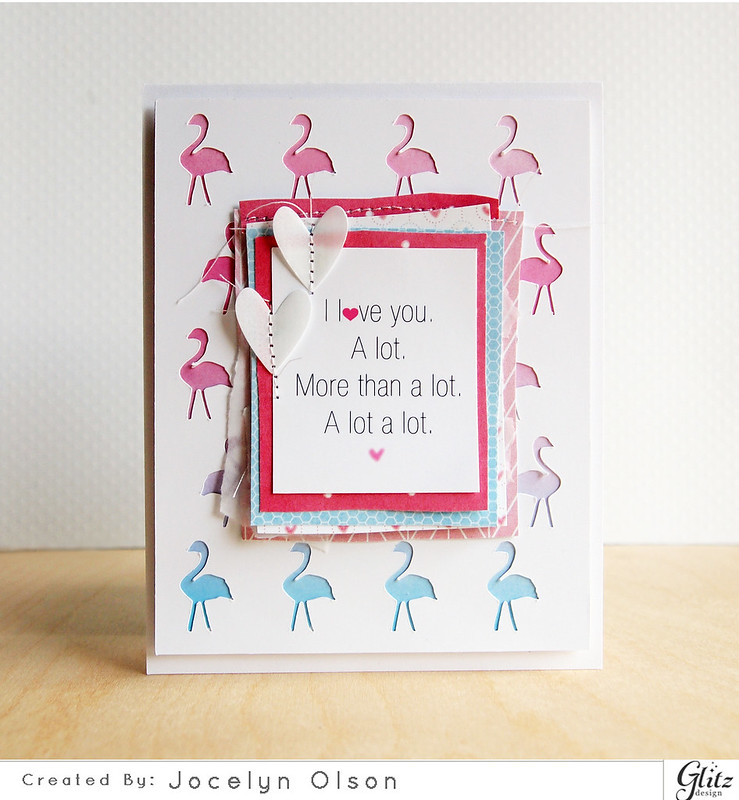
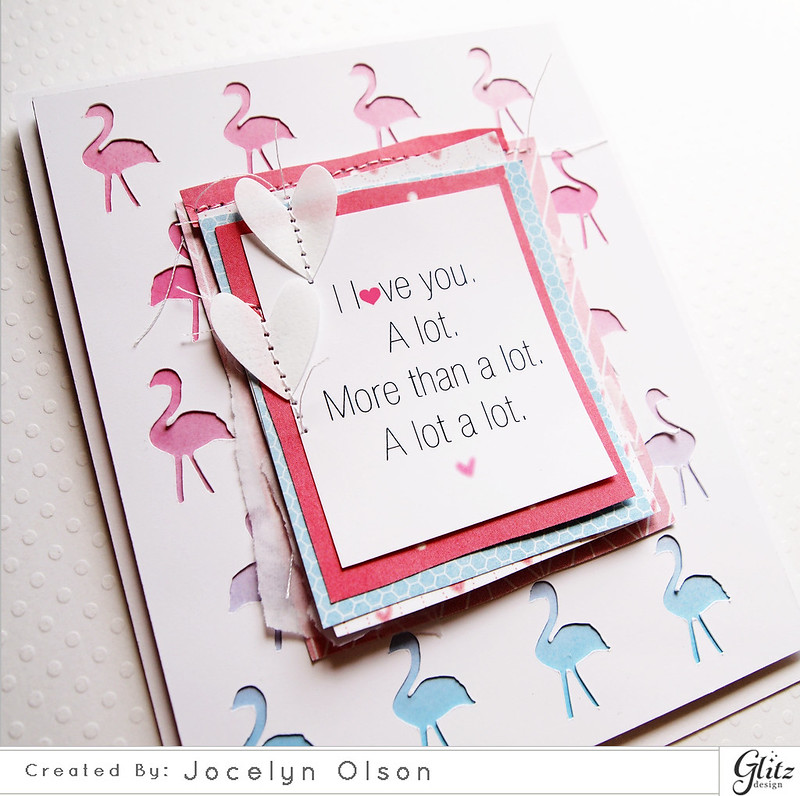
To make my first card, I backed the flamingos die-cut with one of the 6x6 Felicity papers:


Glitz Flamingos


Next, I opened the sweet "I love you" sentiment in Photoshop. I reduced the size and added the heart on the bottom. The sentiment is also a sticker, but I wanted a slightly smaller element to show off some of the layers:

I Love You A Lot.

Here's a close-up to see the layers of Felicity papers:


I Love You A Lot.

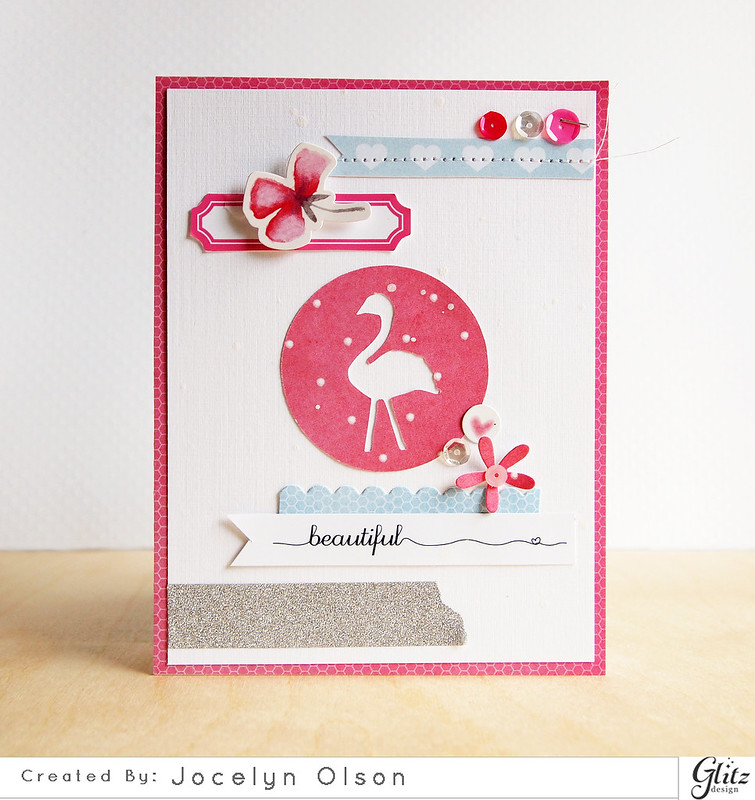
For my second card, I used the single die-cut flamingo:

Beautiful

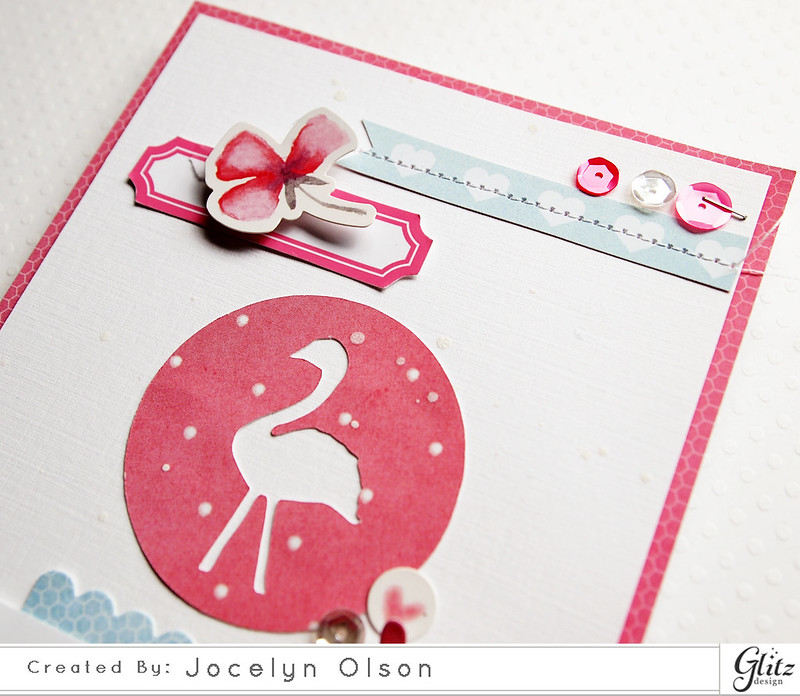
I used papers and stickers from Felicity. Isn't the flower pretty?

Beautiful

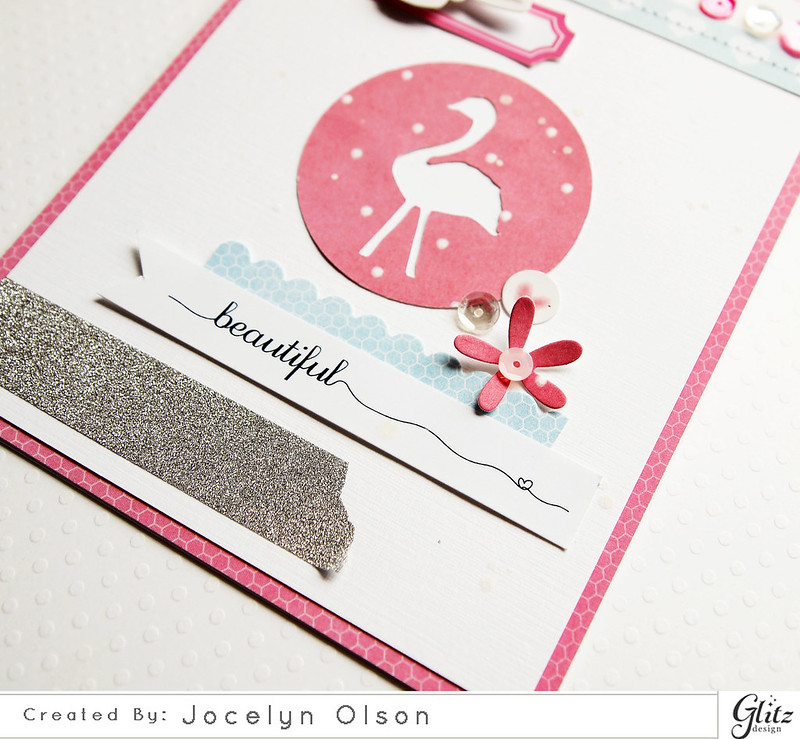
There is a sticker that has "Beautiful" on it, but I used a digital element to create a longer banner. I die-cut the flower using Paper Smooches Pocket dies. 

Beautiful


Thanks so much for stopping by!

Supplies
Glitz Design "Felicity" 6x6 paper pad
Glitz Design "Felicity" Alphas and Accents Sticker Sheet
Glitz Design "Felicity" washi tape-Silver Glitter
Glitz Design Digital "Felicity" paper pack 1
Glitz Design Digital "Felicity" element pack
Other: white linen cardstock, Silhouette Cameo, Paper Smooches dies, sequins, white mist
Tuesday, June 24, 2014

Oh Happy Day Mini Album (& Some News!)

Hi everyone! I hope you're having a great day. :)

My project is on the Glitz Design blog today. It's my first post as a member of the Glitz Creative Team. Yeah! I've been on the Glitz Digital DT for almost a year, but Lea asked me to start sharing hybrid projects as a member of the Traditional Team. [Insert big smile here.]

Here's the project I'm sharing on the blog (sorry for the number of photos!). I think it might be my favorite project I've ever made. :)


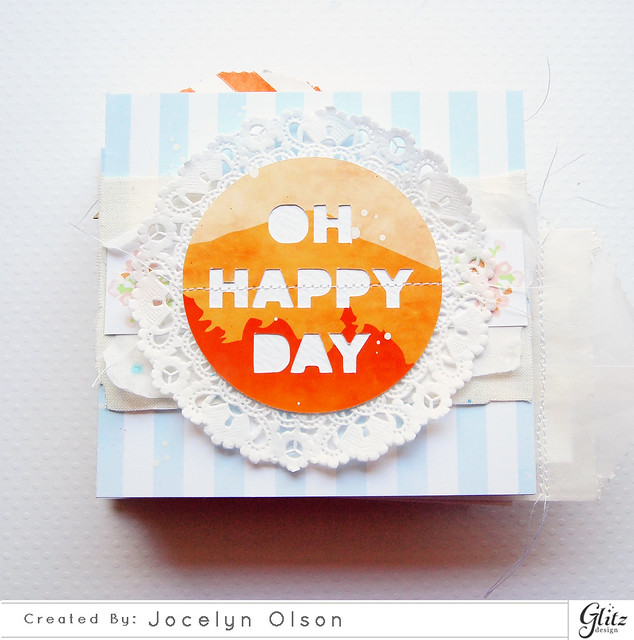
Oh Happy Day Mini Album


I made a hybrid mini album--about 75% digital and 25% physical products. I used two Glitz collections: Brightside and 77. They mixed very well together!

For the "Oh Happy Day" on the cover, I turned a digital element into a die-cut using my Silhouette. The sentiment is a digital version of a giant rhinestone (enlarged) from the 77 collection, which I traced in my Silhouette program and die-cut on an enlarged digital 77 journaling card.

The blue and white stripe and the little flowers under the doily are both from the Brightside digital collection--I did lighten them before I printed them.

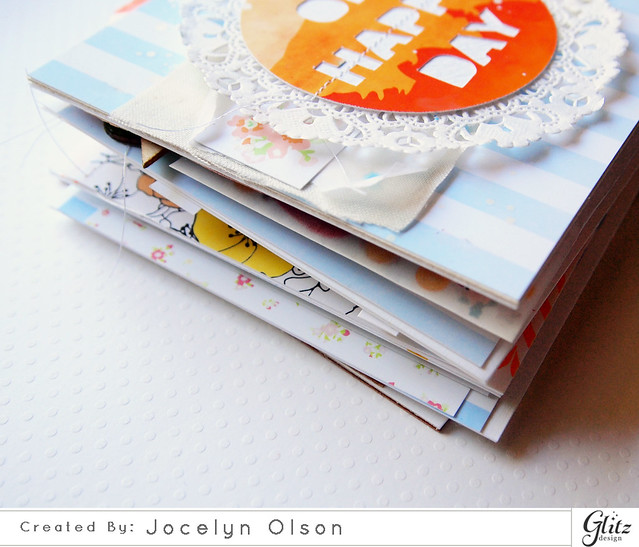
You'll notice that I don't have binding on the book. Here's why:


Oh Happy Day Mini Album

I didn't mean for the album to get so large, but it's well over 2" thick. I need to track down some 3" O-rings.

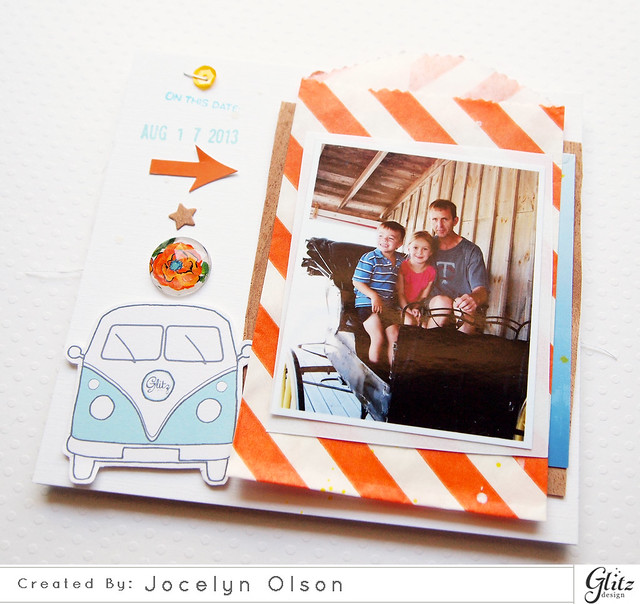
I wanted to share the pages in order. We went to the Laura Ingalls Wilder Homestead in DeSmet, SD last year:

Oh Happy Day Mini Album


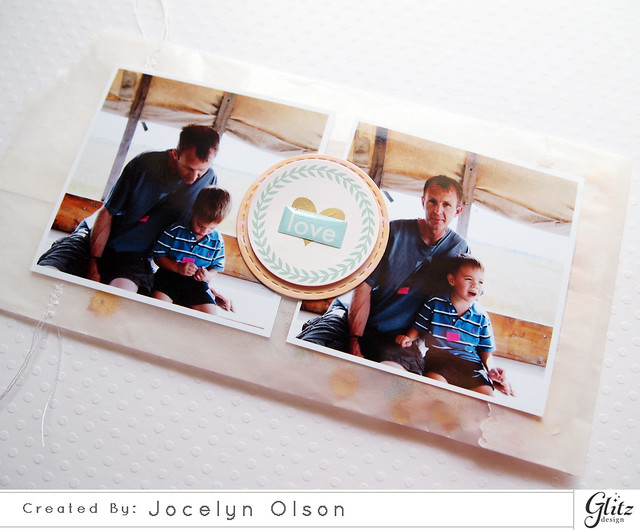
I made a confetti pocket. The fact that it's half-sized means you can see the "HAPPY" page with my son, too (three photos down).

Oh Happy Day Mini Album


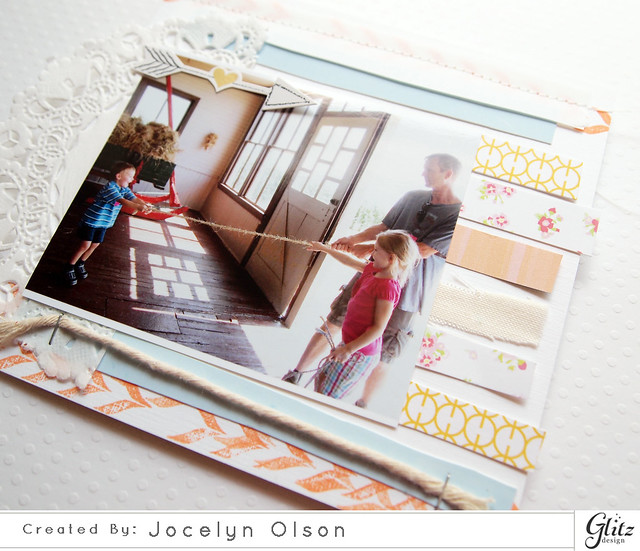
I love these pictures of my son and husband. We were riding on a covered wagon to the old schoolhouse:

Oh Happy Day Mini Album


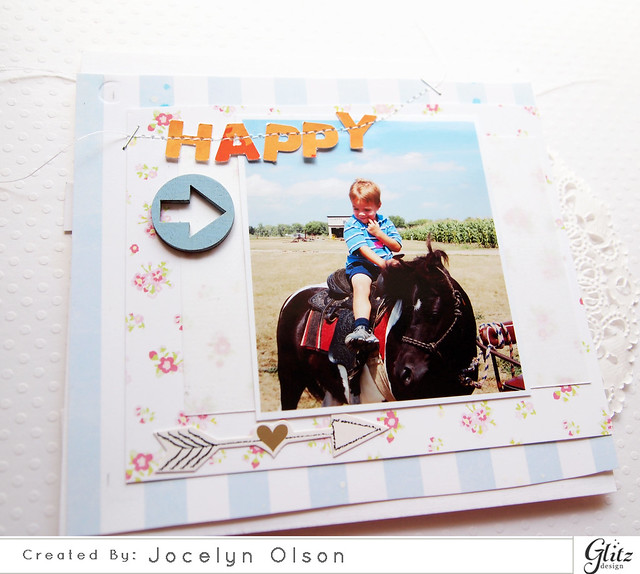
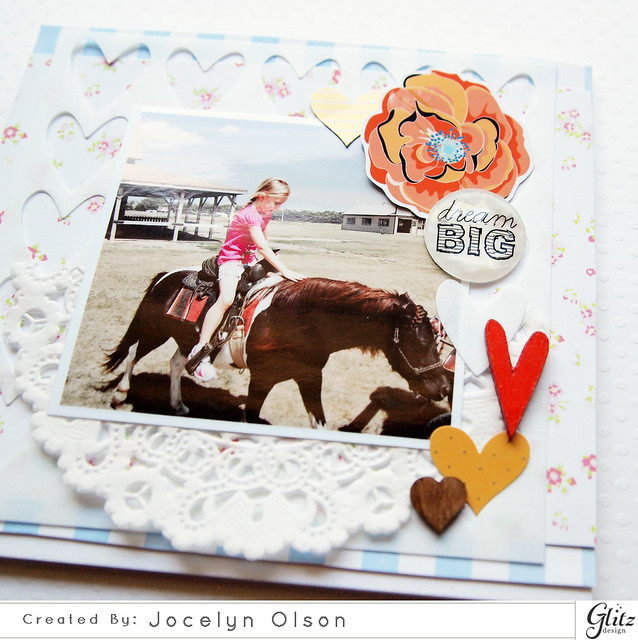
Both of my kids got to ride on a pony. It was my son's first time on a horse. The "HAPPY" letters are the positive die-cuts from the cover:

Oh Happy Day Mini Album


We made jump ropes. My son really liked the pulling part. :) For the borders, I used the Glitz Chevron Roller Doodle--so much fun!

Oh Happy Day Mini Album

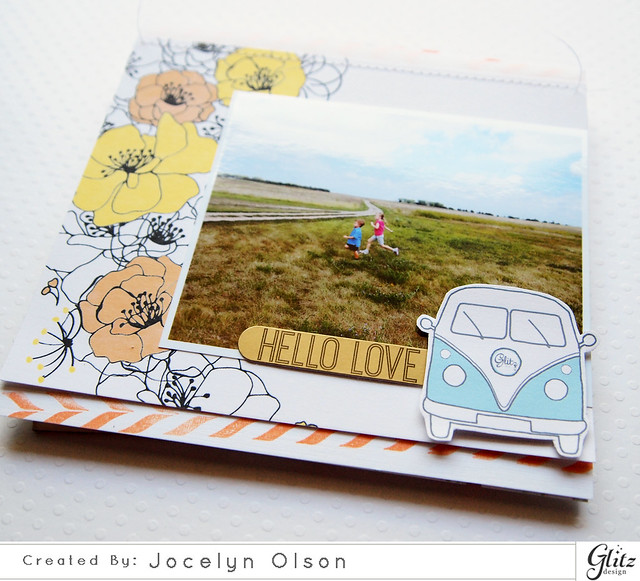
You can really see the prairie in this shot. I enlarged a digital journaling card for the background:

Oh Happy Day Mini Album


Like the cover, I made another digital element-turned-die-cut using the Glitz digital Wild and Free Element Pack 2. I filled it with Neat & Tangled sequins:

Oh Happy Day Mini Album


I think this page with my daughter is my favorite. I love the mix of the Glitz 77 heart stickers and giant rhinestone with the digital flower and wood veneers:

Oh Happy Day Mini Album 


I adore that my kids are holding hands in this picture. It makes me so happy. :) I did a lot of layering on this page, including the Floral washi and another awesome gold sticker:

Oh Happy Day Mini Album


This page was originally going to be the cover, but I'm glad I moved it to the last page. I die-cut the digital sentiment from the collection. The lyric is from my all-time favorite song. :)

Oh Happy Day Mini Album


Thanks for making it to the end. :) I would love it if you would pop over to the Glitz Design blog and leave a comment. 

Have a great day!!

Friday, June 6, 2014

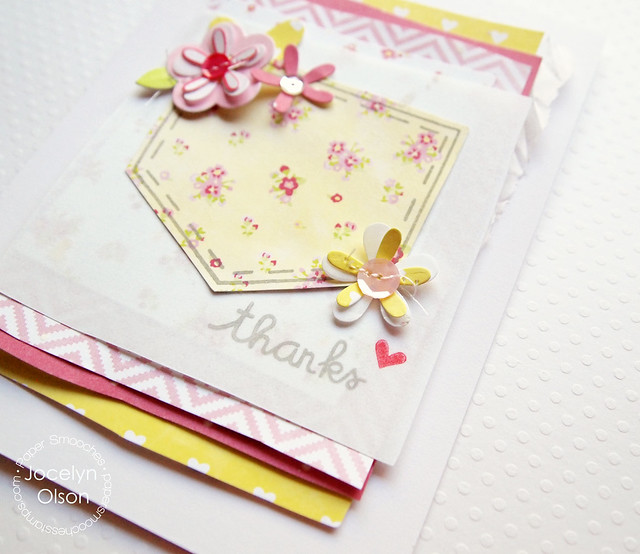
A Pocketful of Thanks

Hi everyone! It's time for the weekend. Yeah!!

Just a quick post to share a card Kim shared on the Paper Smooches blog using the Denim & Daisies set.

Here's my card:

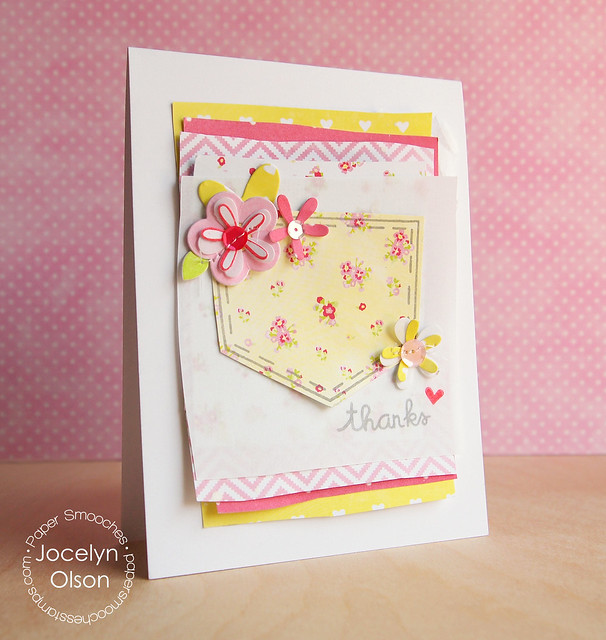
A Pocketful of Thanks

I used the new Paper Smooches Denim & Daisies stamps for the pocket, flowers, leaf, sentiment, and heart. I stamped the pocket on Glitz Design's Brightside paper and fussy cut the pocket (the die cuts to the edge of the stamp, and I wanted a little border). For the smaller flowers, I used the Pocket dies. These dies are awesome!

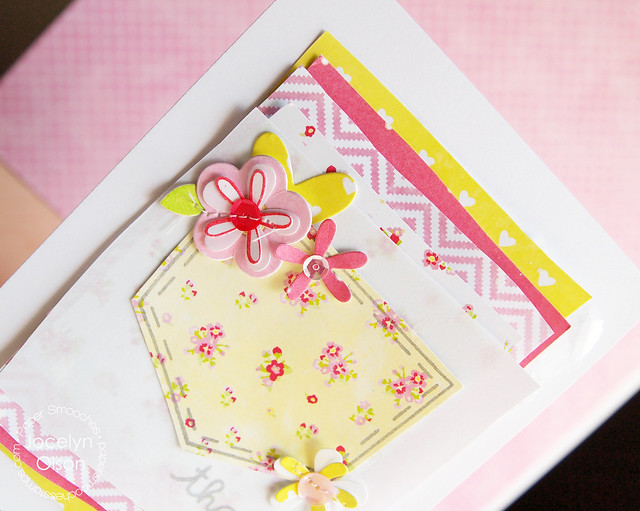
Here's a close-up of the flowers and heart:

A Pocketful of Thanks


I layered papers underneath from the Glitz Brightside and Felicity collections. I hand-cut the papers...while I could trim them with a paper cutter, it's kind of nice to cut them loosely with scissors. It reminds me of being five. Ha!

Here's another close-up:

A Pocketful of Thanks

Thanks for stopping by! Have a great weekend!


Supplies
Cardstock: (white, Linen Vellum) PTI
Patterned papers: (florals, yellow heart, coral from Brightside; pink and pink zigzag from Felicity) Glitz Design
Stamps: (pocket, flowers, leaf, sentiment, heart from Denim & Daisies) Paper Smooches
Ink: (Provincial Grey, Strawberry) Fresh Ink
Dies: (Pocket Dies, Hearts Dies) Paper Smooches
Sequins: (Neat and Tangled, craft supply)

Wednesday, May 28, 2014

Chin Up, Beautiful

Hi everyone! I hope you're having a great week. My husband left for a trip this morning, and I'm going to be doing the single-parent thing through the weekend. My poor daughter was up until about 1am this morning--I think she was anxious about my husband leaving. My son didn't even get up to say goodbye. I think that pretty much sums up their personalities. ha ha

It's One Buck Wednesday over at Snap Click Supply, and today, the Glitz Design Vintage Blue Elements and Paper Pack on sale. The Digital Team is sharing projects using this collection on the Glitz blog today. You can check that out HERE.

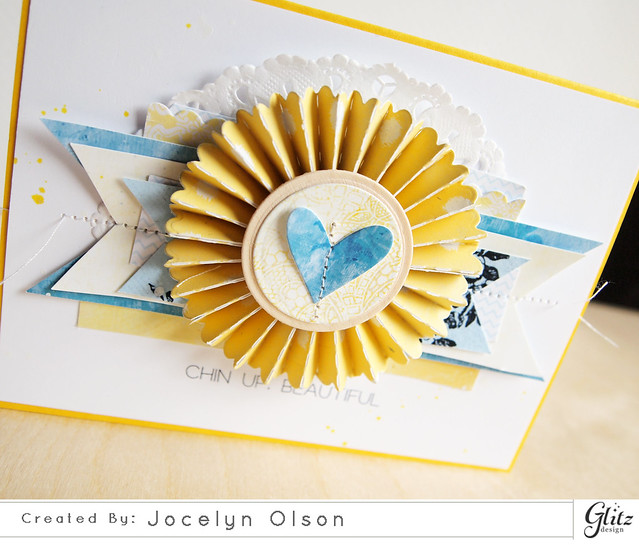
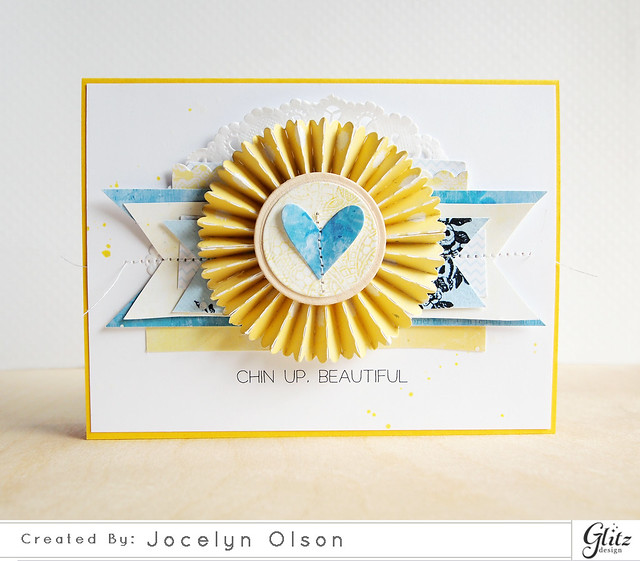
I made a card using the Vintage Blue collection:

Chin Up, Beautiful

Most of the time, I'm pretty meh about my cards. You know how it goes about being your own worst critic. For some reason, this card came together easily, and I really like how it turned out. I think it's the happy yellow. :)

I started with the fab sentiment from the Carpe Diem Element Pack 2. I cropped the sentiment and simply printed it on the main panel.

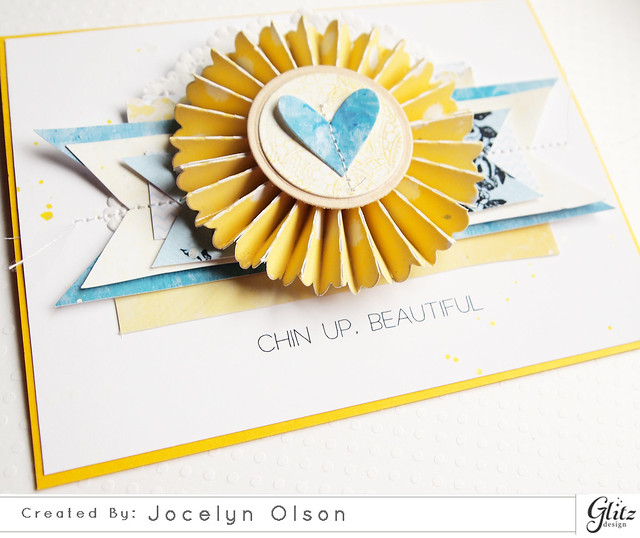
I re-sized and lightened several of the papers from the Vintage Blue paper pack. I die-cut the rosette on my Cameo, although I thought the edges of the rosette needed something else. I die-cut the edge of the rosette with the Paper Smooches Borders 2 die. I layered a circle of wood veneer and more papers from Vintage Blue. The heart was die-cut using the Paper Smooches Hearts die. Here's a close-up:


Chin Up, Beautiful


For the layers, I hand-cut loose banners and strips from the Vintage Blue and Sunshine in My Soul collections. I used half of a Freckled Fawn doily at the top (they have the whitest doilies--yeah!).

Here's another close-up:


Chin Up, Beautiful

If you want to try digital, the One Buck Wednesday is a great way to pick up some papers and elements for very little money. :)

Thanks for stopping by! Have a super day!


Supplies
Cardstock: (yellow) Avery Elle; (wood veneer) Impress
Digital elements: (blue and white zigzag, yellow scallop from Sunshine in My Soul; light blue banner from Vintage Blue Element Pack; all other papers from Vintage Blue Paper Pack; sentiment from Carpe Diem Element Pack 2) Glitz Design
Dies: (Borders 2, Hearts Dies) Paper Smooches; (rosette) Silhouette America
Ink: (Taxi, Opaque White Mister Huey's) Studio Calico

Tuesday, May 20, 2014

Hello Card Set

Hi everyone! I hope you're having a great week! :)


Stephanie and I are on the Glitz blog today. We're using projects with the Bits and Pieces (journaling cards).

I went round-and-round about what to make, but I settled on a card set.


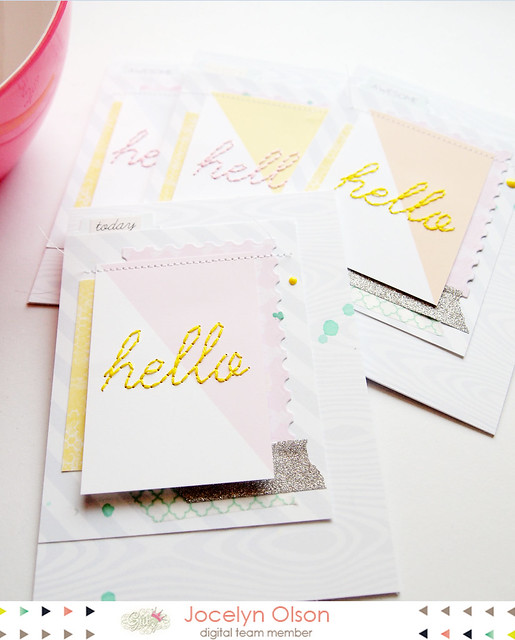
Stitched Hello


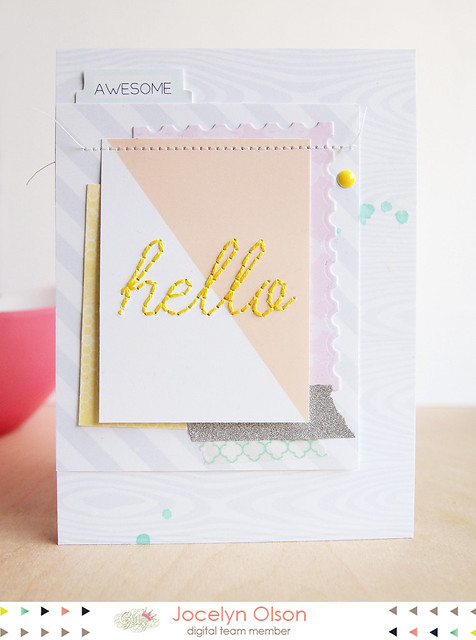
I used the "hello" digital journaling cards from the Carpe Diem collection. In the original journaling card, the "hello" is in black and the triangle is a slightly lighter shade of pink. I adjusted the colors and lightened the "hello" so it wouldn't appear through the stitching. I'll be giving a tutorial on this process soon for something coming up. :)

Once I printed the cards, I used the word as a stitching template. Here's one of the cards:


Stitched Hello


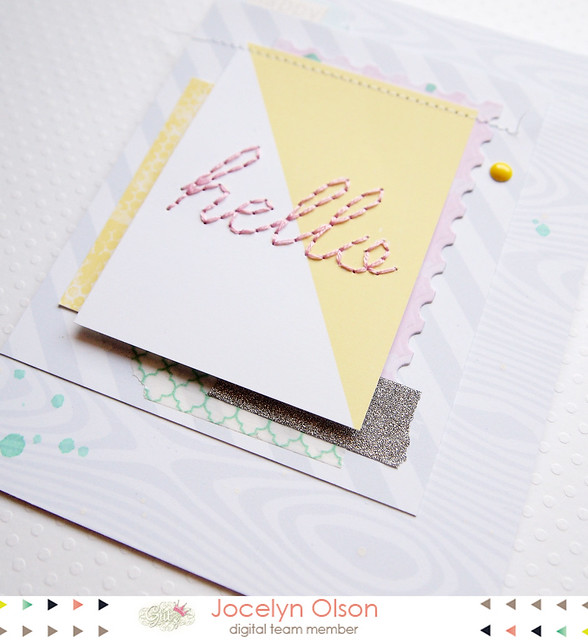
For the layered papers, I enlarged another one of the Bits and Pieces from the Raven collection for the woodgrain background. I layered other papers from the Cashmere Dame and All Dolled Up. I love how they all coordinate nicely. The "awesome" and the tab are both from the Carpe Diem element packs.

Here's a close-up:gli

Stitched Hello


At the bottom of each panel, I added some of the new Silver Glitter and Mint Chain washi tapes from Glitz.

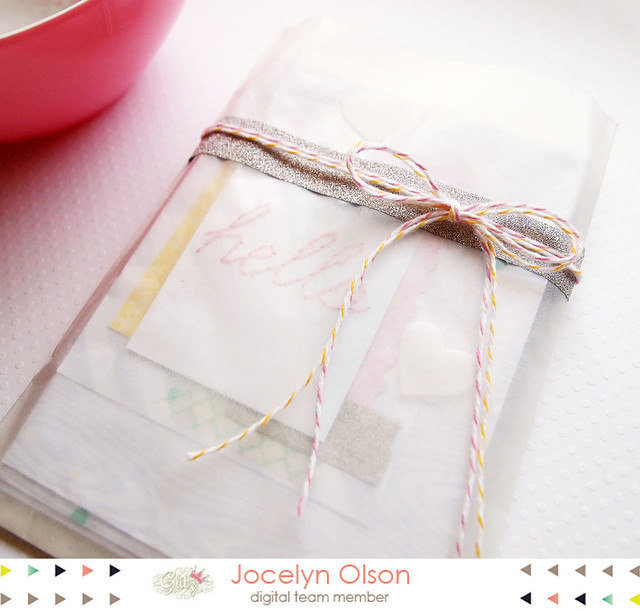
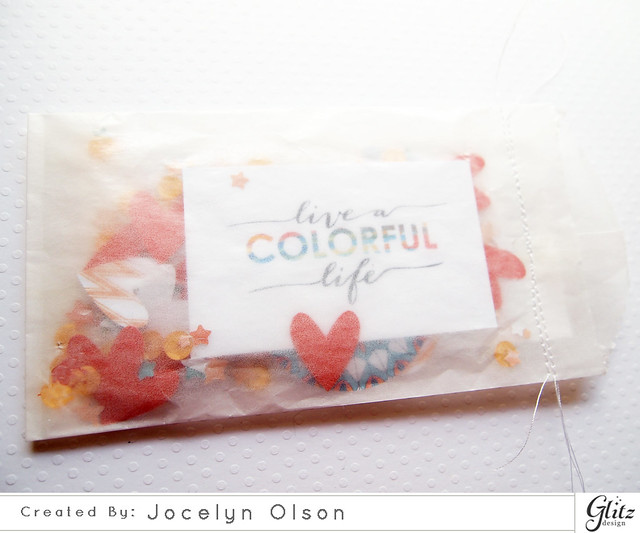
To wrap up the card set, I simply put them in a glassine bag. I added a couple of vellum hearts, Baker's twine, and more of the Silver Glitter washi tape. The cards are pretty busy, so I thought it worked to keep the packaging simple. Yep, that's my story, and I'm sticking to it. ;)


Stitched Hello


Thanks for looking! Have a great day!


Supplies
Cardstock: (white) Avery Elle
Digital elements: (woodgrain, stripe from Raven Element Pack 2; pink bow from All Dolled Up Paper Pack; yellow from Cashmere Dame Paper Pack; hello journaling card from Carpe Diem Element Pack 2; "awesome" from Carpe Diem Element Pack 1; file tab from Carpe Diem Element Pack 3)
Dies: (Postage Stamp) My Favorite Things
Fibers: (twine) May Arts
Embellishments: (Mint Chain, Silver Glitter washi tape) Glitz Design; (enamel dots) My Mind's Eye

Blog Design by Caked Designs