Showing posts with label everyday. Show all posts

Monday, March 28, 2016

Paper Smooches + Simon Says Stamp

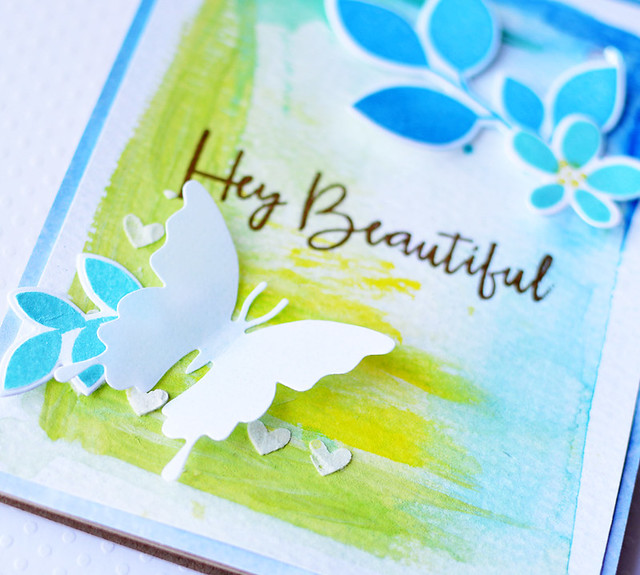
Hi everyone! I'm up on the Simon Says Stamp blog today (yeah!!)! I made two spring Paper Smooches cards with mixed media backgrounds.

Here's a sneak:

Hey Beautiful

If you have a chance, please check out the Simon Says Stamp post HERE. Thank you!!! Also, a big thanks to Stephanie for asking me to guest. :)

Thanks so much for stopping by. Have a great day!

Monday, February 22, 2016

Celebrating 5 years with Paper Smooches (and a Giveaway)!

Hi everyone! It's been a while, but today I'm excited and honored to be hopping along with some Paper Smooches guests for a special blog hop. :)


Paper Smooches in celebrating their 5th Anniversary this month! Woo hoo! I'm so happy for Kim! She is such a sweet and thoughtful person, and I know she's worked hard to make Paper Smooches a fab company. :) 

Please hop on over to these fabulous designers blogs to see their Paper Smooches creations…and see what you could win!

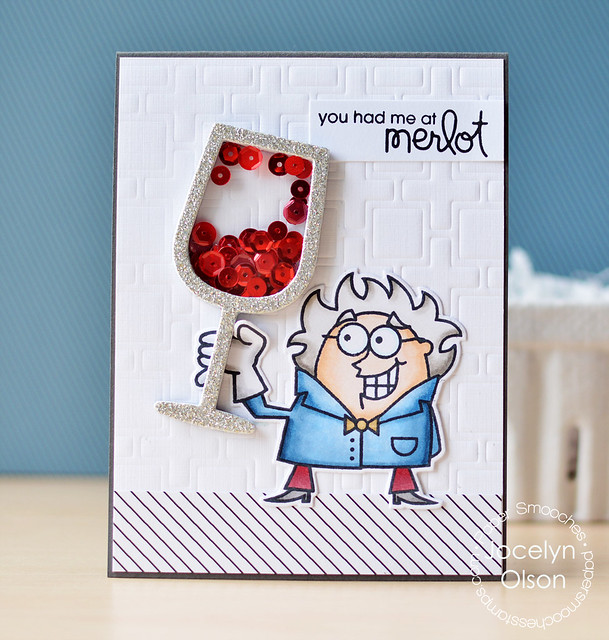
Today I am using one of the NEW products released this month--the new Wine Glass Die. The die rocks!

You Had My at Merlot


He is having a mighty big glass of wine. :) My friend Emily gave me the idea to use one of the Paper Smooches people with the Wine Glass die, and the chemist from the Great Chemistry set works perfectly with this die. I'm not sure if Kim designed the glass die that way, but they seem like they are made for each other. ha ha

I Copic-colored the kind of like Professor Plum instead of a chemist, and then die-cut him using the Great Chem Icon dies. I trimmed his thumb to add dimension around the glass:

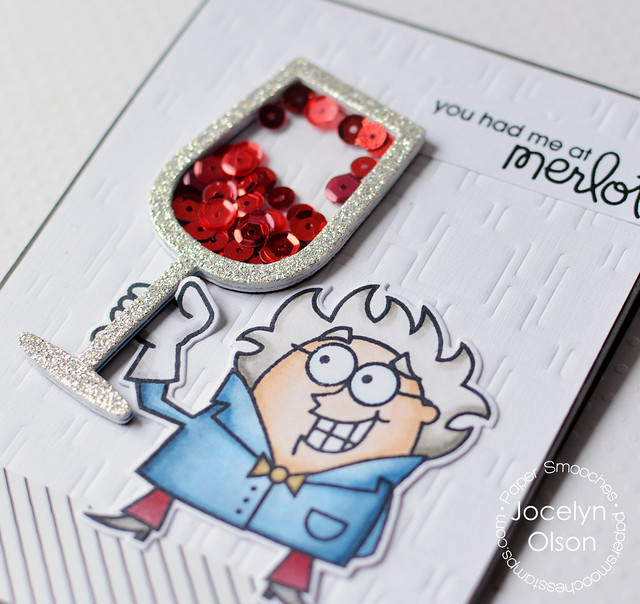
You Had My at Merlot

The background is embossed using the PS Squared die. I added a punny sentiment from the Free Spirits set.

For the wine glass die, I created a shaker with two acetate windows. There is a mix of matte and sparkly sequins in different shades of red. Here's a close-up:


You Had My at Merlot


Want to get in on the giveaway? Kim (Paper Smooches) is giving away HUGE prizes! Here are the details:
·         Just leave a comment on any of the blogs listed above for your chance to win a prize! Each blog has a different prize to win! The prize from my blog is the winnner's choice of two Paper Smooches stamp sets and three dies. (Wowza!)
  • Deadline: You have until midnight PT on Wednesday, February 24th to leave a comment. 
  • Winners will be announced on each blog on Thursday, February 25th.

Thanks so much for stopping by! Next on the hop is the super talented Kay!

Wednesday, October 21, 2015

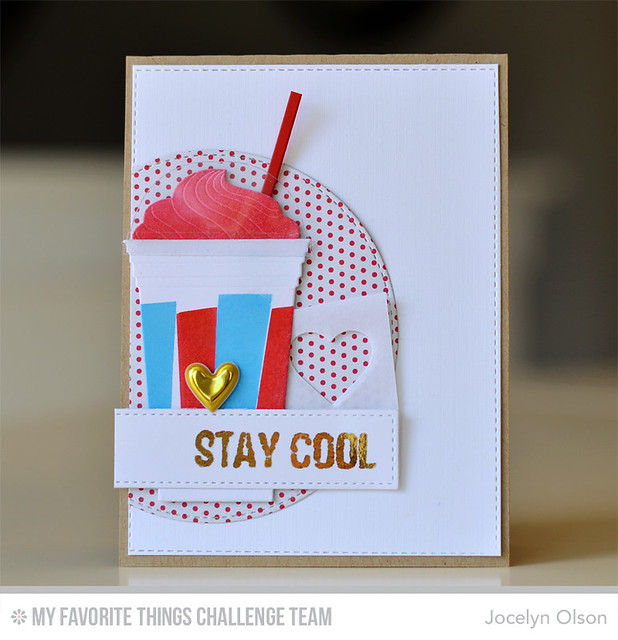
Stay Cool

Hi everyone! Yeah for hump day. :) I'm still traveling (for work), and I'll be in my fifth hotel room tomorrow-gah! I'm looking forward to being home at the end of the week.

It's time for another My Favorite Things Challenge! You can see this week's sketch HERE. Lots of cool ways to use this sketch...

Here's what I made:

Stay Cool

I can't take credit for the awesome ICEE (Slurpee) idea. My friend Miriam said the Cool Cup die from My Favorite Things was like a Slurpee. I technically went with an ICEE since it was easier to mask. ;)  I die-cut the Cool Cup parts and blended them with inks. For the lid, I used acetate.

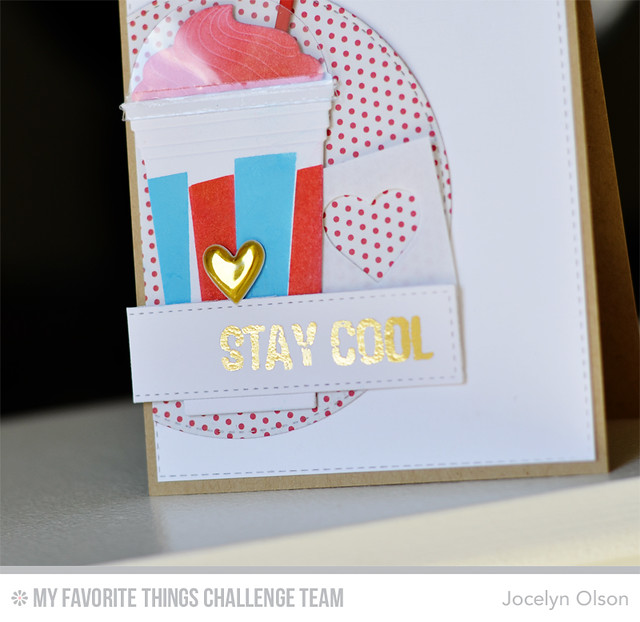
The sentiment was made by stamping and clear embossing the "Stay Cool" sentiment from the Stay Cool set. Next, I foiled over the clear embossing using a technique I saw on one of Jennifer McGuire's videos (brilliant!). The sentiment was distressed, so the imperfect foiling worked. ;) Here's a close-up:

Stay Cool

For the rest of the sketch, I die-cut the new Stitched Arch STAX out of patterned paper. I was going to add a vellum heart, but I thought the negative scrap was cooler.

I hope you'll get a chance to play along with this week's MFT challenge! You can link up your projects HERE.

Have a great day! Thanks so much for stopping by!

Supplies
Stamps: Stay Cool
Cardstock: Wild Cherry, Kraft
Other: Gold Deco Foil; gold heart from Freckled Fawn October Kit

Thursday, August 13, 2015

Neat & Tangled Birthday Blog Hop

Hi everyone! I hope you're having a great week!


Neat & Tangled is celebrating its third birthday! Woo hoo! I'm so happy for Danielle--she is such a sweet and talented lady. :) I'm honored to be hopping along with Neat & Tangled for a special blog hop to celebrate! :) Each day this week, there has been a short hop, and today's hop includes:

Jocelyn Olson <--That's me!

There is a mini release of two stamps and two dies. They are fab! Here's my first card:

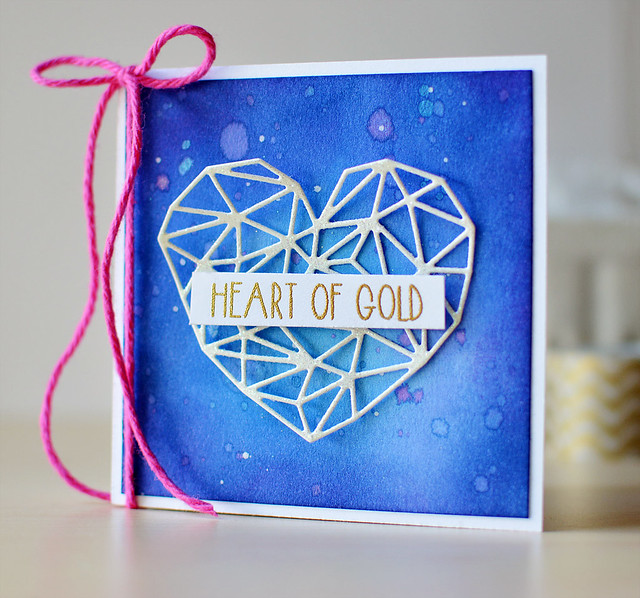
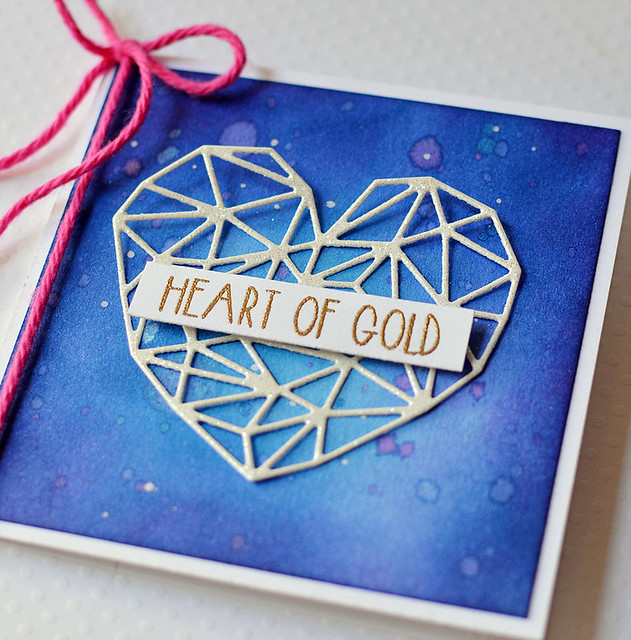
Heart of Gold

Isn't the new Heart of Gold die wicked cool? I love it! My buddy Miriam designed the die and the corresponding Heart of Gold stamps. I die-cut the heart out of white-ish glitter cardstock and layered it over an extra background I made a few weeks ago.

I masked off part of the sentiment and heat embossed it in gold. Doesn't the heart look like a constellation? The die is very versatile.

Heart of Gold


Here's my second card:

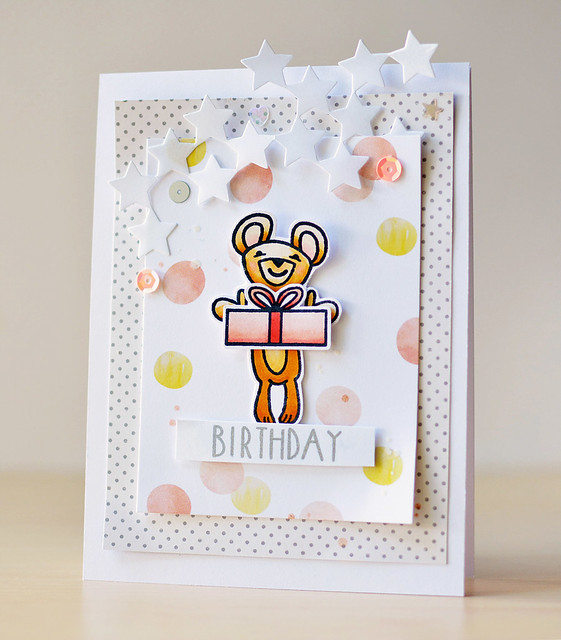
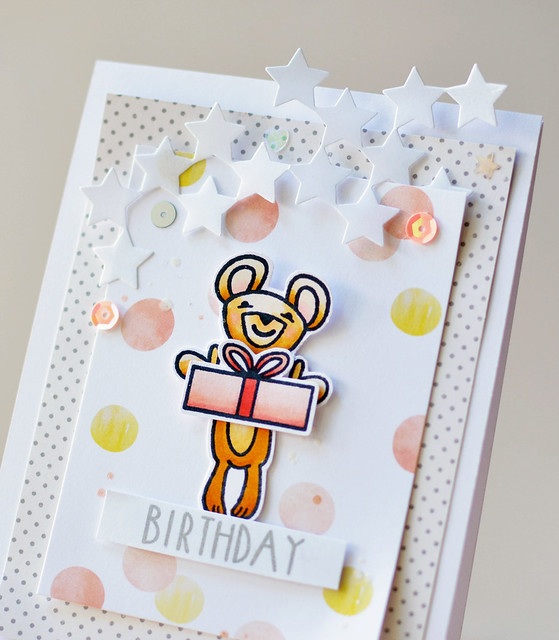
Birthday Bear

The new little bear from the Happiest Birthday set is too cute! I Copic-colored and fussy cut him, and popped up the present to look like he's holding it. I layered him over a Studio Calico journaling card.

After staring at the card for a while, I decided it was missing something. Ever do that? I die-cut the stars from the new Seeing Stars die from linen vellum for another layer. I also added some of Lucy Abrams' fab Flamingo Shaker Mix--these are awesome! I may have added too much, but hey, that's how I roll....

Birthday Bear

As part of the hop, there is also a giveaway!


There are two gift certificates to the Neat and Tangled shop: 1) A $100 gift certificate; and 2) A $50 gift certificate. Winners will be chosen from comments the hop all week long. You can find each day's list on the Neat & Tangled blog.

Next on the hop is the incredibly talented Teri! I can't wait to see what she made.

Thanks for stopping by! Have a great day!!

Tuesday, August 4, 2015

The Look + A Winner

Hi everyone! I hope you're having a great week!

I wanted to pop on and share a project and announce the winner of the Altenew July Release blog hop.

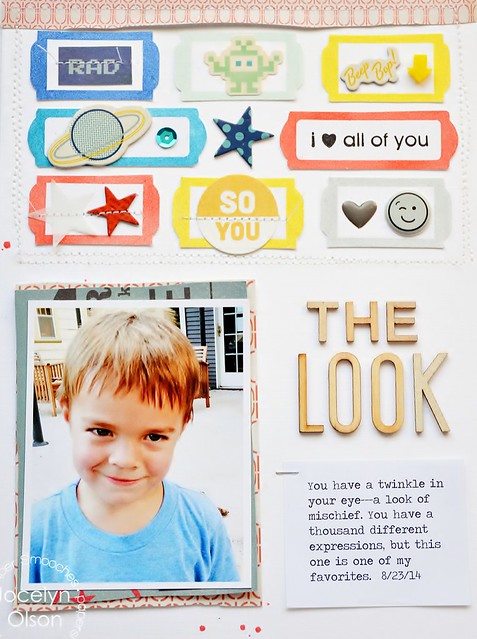
First, a while back, I did a layout for Paper Smooches:

The Look

I have to start out by saying, I'm not much of a scrapbooker, but I'm starting to see the importance of memory keeping. My dad was into photography when I was growing up, and we had a darkroom for color photography in our house. I still remember the distinctive smell of the photo processing. ha ha It's so much easier now with a camera on my phone, and I've been enjoying trying to take at least one photo every day to document the everyday.

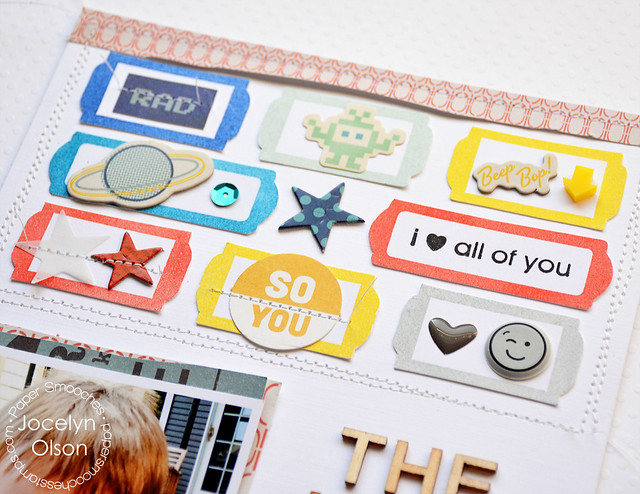
Anyhoo, a few months ago, I made this 6" x 8" layout using the Paper Smooches Fancy Frames stamps. The set is so cute, and now there are matching Fancy Frames Icons dies, too (I fussy cut the images here). I stamped the frames in the same colors as the Crate Paper Boys Rule collection.


The Look

I used a few of the Boys Rule stickers and chipboard and the "so you" die-cut is from October Afternoon's All Boy line. I added a few embellishments from Freckled Fawn, too--the cute emoticon and the acrylic arrow. After making this page, I decided I need an old manual typewriter. I think I may have to get one for my birthday. ;)

For the Altenew July Release Blog Hop winner, congrats to:


Congrats on the $30 gift certificate! Thanks everyone for the sweet comments!! <3 you all!!

Have a great day!


Friday, July 24, 2015

Altenew July Release Blog Hop

Hi everyone! It's Friday--woo hoo!


Today, Altenew is having a blog hop to celebrate its July Stamp Release! Yeah! The July release includes nine new sets, which are available now in the Altenew store. If you're hopping along, you should be coming from May's blog. Here's the complete list:


I made two projects with the new stamps:

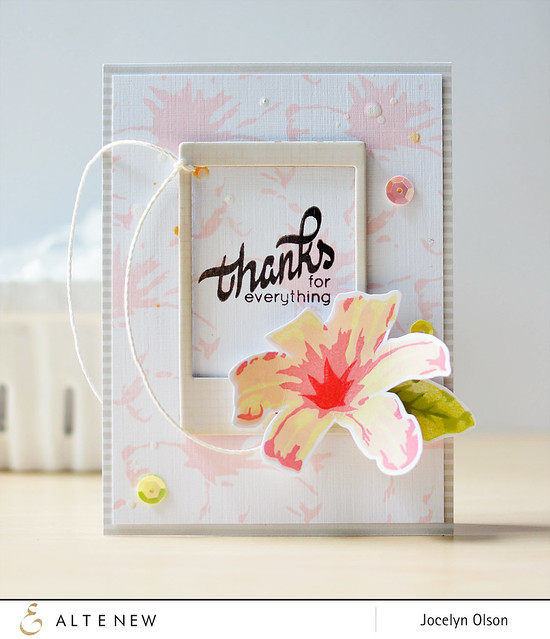
Lily Thanks

First up, I used the new Layered Lily set. This gorgeous flower has a whopping five layers (I only used four). Taking inspiration from Aga's card, I inked up the layers in lighter Altenew inks. I fussy cut the flower and inked up the leaf in the set.

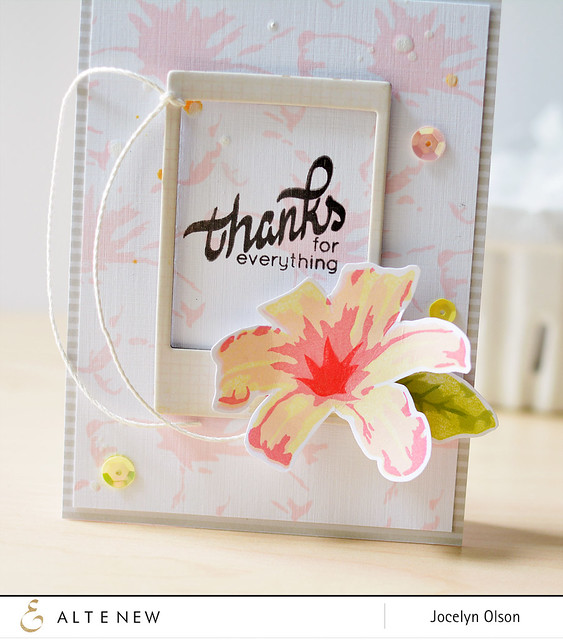
I stewed over what to do with the background, but it dawned on me to stamp one of the lily layers in Frosty Pink. It made a cool background! I finished the card off with the sentiment from the same Layered Lily set. Here's a close-up:

Lily Thanks


For my second card, I went cute:

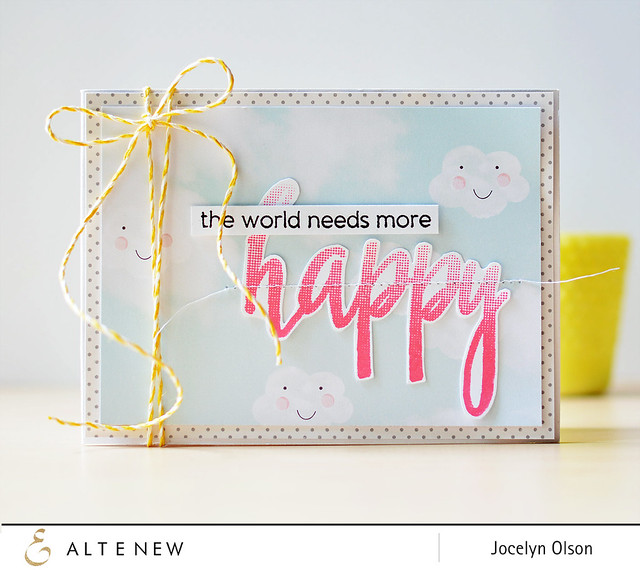
Happy World

Seriously, folks, I think I would buy the set just for this sentiment. :) I used the new Halftone Happy set, which is full of fantastic and different sentiments (like the one I used in my card).

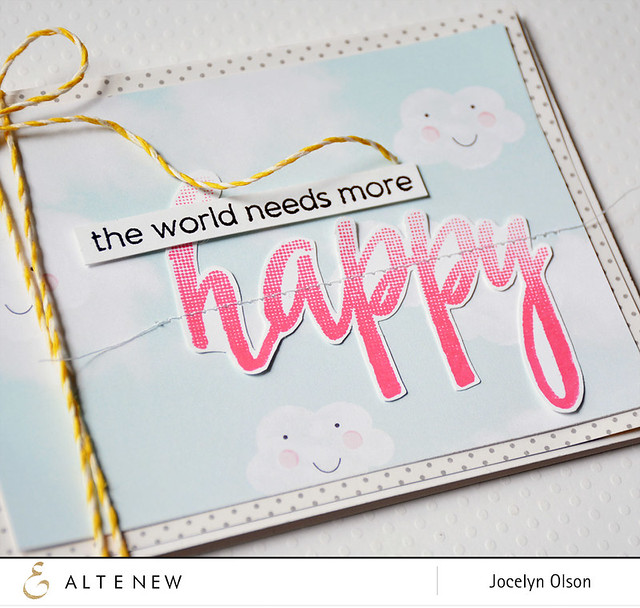
I stamped the "happy" in Coral Berry, fussy cut the word, and stitched it to the Studio Calico patterned paper. Next, I stamped the second sentiment (also from Halftone Happy) and layered it with foam tape. Here's a close-up:

Happy World

I used two of the nine new sets, so be sure to hop along and see the other sets. :)

Prizes: There are two ways to win!

To celebrate this release, Altenew will draw three winners who will each receive a $50 gift certificate to their online store. Please leave a comment on the Altenew blog by Friday, July 31st 11:59pm EST for a chance to win. The winners will be announced on Saturday, August 1st.

Altenew is also offering a $30 gift certificate for comments on this blog post. For a chance to win this extra gift certificate, please leave a comment on my post by Friday, July 31st at 11:59pm.

Thanks so much for stopping by! Next up on the hop is the fabulous Aga. I'm sure you're in for a treat!


Supplies
Lily Thanks
Stamps: (sentiment, flower, leaf from Layered Lily) Altenew
Ink: (Frosty Pink, Coral Berry, Buttercream, Jet Black) Altenew; (Coral Brilliance) Tsukineko; (white Mister Huey's) Studio Calico; (gold mist) Lindy's Stamp Gang
Embellishments: (chipboard frame) Crate Paper; (sequins) Studio Calico; (white cord) Hemptique

Happy World
Stamps: (sentiments from Halftone Happy) Altenew
Ink: (Coral Berry, Jet Black) Altenew
Patterned paper: (cloud from a Studio Calico kit); (polka dot from Summertime) October Afternoon
Embellishments: (yellow and white cord) Lawn Fawn

Wednesday, July 22, 2015

Right at Home Stamp Launch Blog Hop

Hi everyone! I hope you're having a great week. :)


I'm participating in a special hop today! The Right at Home store is releasing a stamp set called Happy Mail! This super cute 3"x4" set is only available at the Right at Home store. Nicole asked some folks to help her with the release, and I'm happy to be participating. :)

Here's what I made:

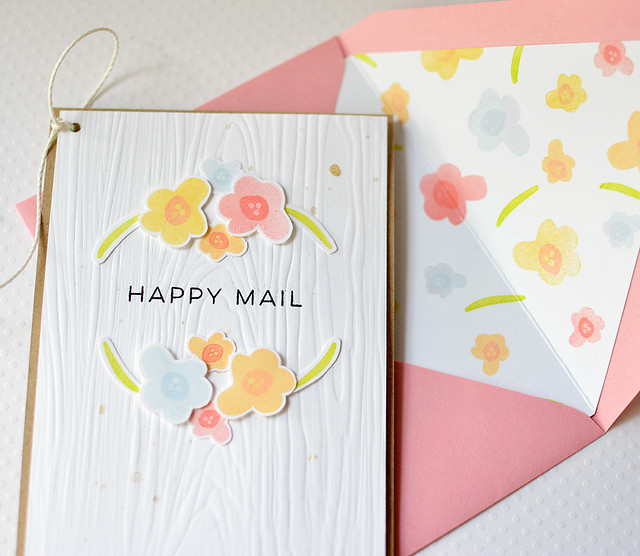
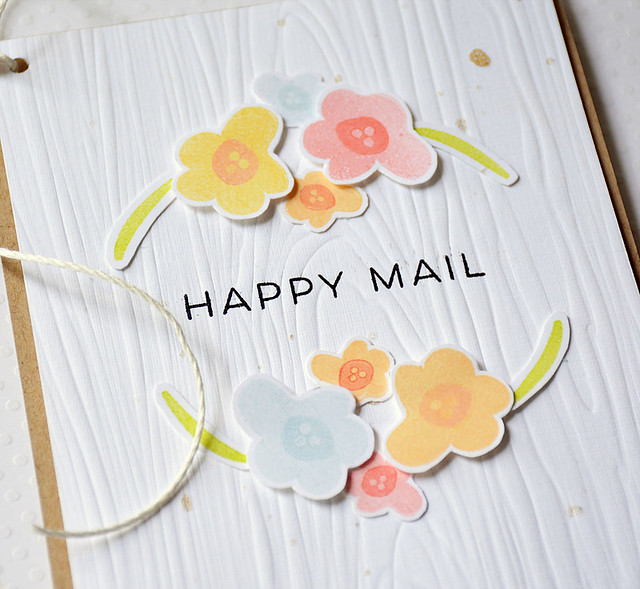
Happy Mail


Aren't those flowers sweet? The Happy Mail set is perfect for envelopes, but I wanted to show how the set worked for a card, too.


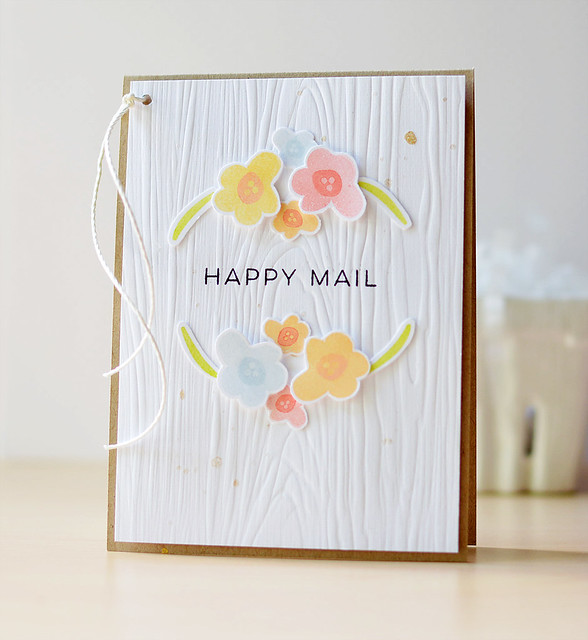
Happy Mail

I stamped the Happy Mail flowers and centers in different colors and fussy cut them. Next, I stamped the "happy mail" sentiment and embossed over the panel. After arranging the flowers, I added some gold splatter and cord (the punched hole with the cord was inspired by the amazing Claudia Shadler).

Here's a close-up:

Happy Mail

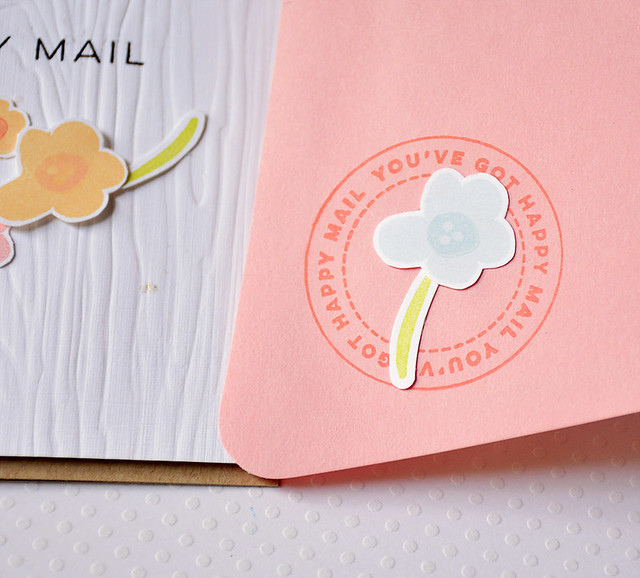
Right at Home sells Waste Not Paper Envelopes, and I used the Blossom for my project. I created a liner (see the first picture) and stamped the flowers and centers in a random pattern. As a tip, when adhering the liner, only use adhesive on the flap, not the entire liner (I've made that mistake before--ugh!).

On the envelope closure, I stamped the seal. Here's a close-up:

Happy Mail


Want to see some other samples using the Happy Mail set?


Here are the links for the hop:


Jocelyn <--You are here!

There's a giveaway, too!


Nicole will be giving away three sets of the stamp on her Instagram account (@rightathome). The giveaway ends on Friday, July 24th at 8:00 pm EST. Be sure to see her Instagram post for details!

Next up in the hop is Holly!! Thanks so much for stopping by!

Thursday, June 4, 2015

Pretty Pink Posh Watercolor Blog Hop

Hi everyone! Is it Thursday already? Yikes--the weeks are flying by!


Today I'm participating in the Pretty Pink Posh Watercolor Blog Hop. Yeah! Paulina's hops are awesome--great themes, lots of gorgeous cards, tons of prizes. :) The theme this time is watercoloring. Easy, right? The hop will be officially starting tomorrow (Friday) morning at 6am PST.

To kick things off, I'm sharing a watercolored card:

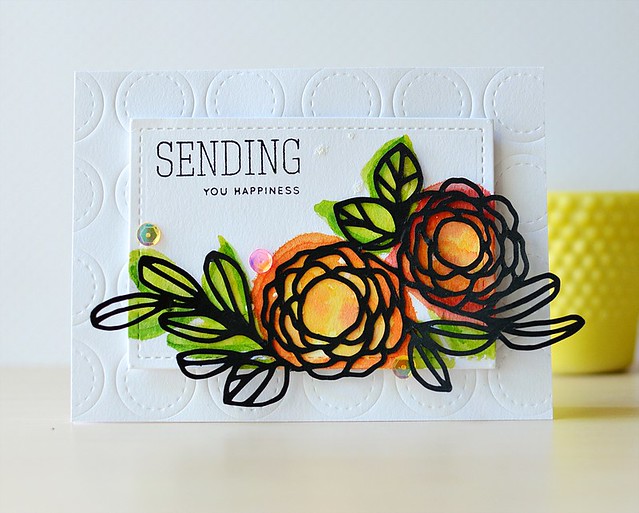
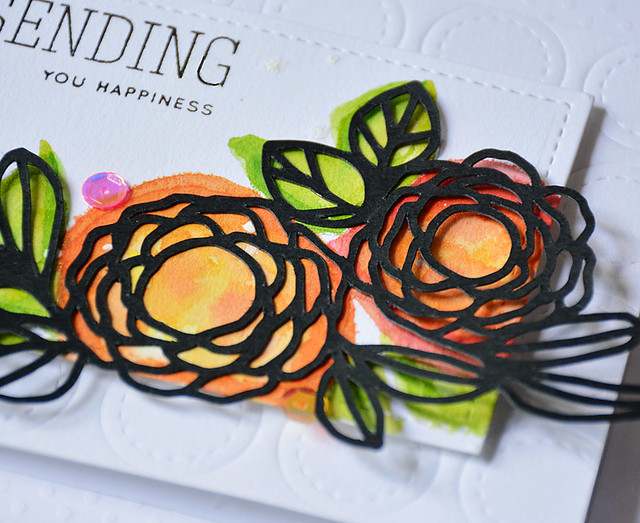
Sending Happiness

I started by die-cutting the Pretty Pink Posh Stitched Duo Die 2 frame out of smooth bristol. Love that die! It's great for so many projects. Next, I die-cut the Flowers and Leaves using my Cameo. The black die-cut is a little atypical me, but I wanted something bold and, well, different. :)

Sending Happiness

I lightly traced the outline of the die-cut on the Stitched Duo Die frame so I knew which colors to use. For the watercoloring, I used several spray mists and intentionally went way over my sketched borders for an artsy look.

The sentiment is from the Sending and Wishing set from SSS. I also added a few of the new Pretty Pink Posh iridescent sequins (Strawberry Burst and Sunshine Glow).

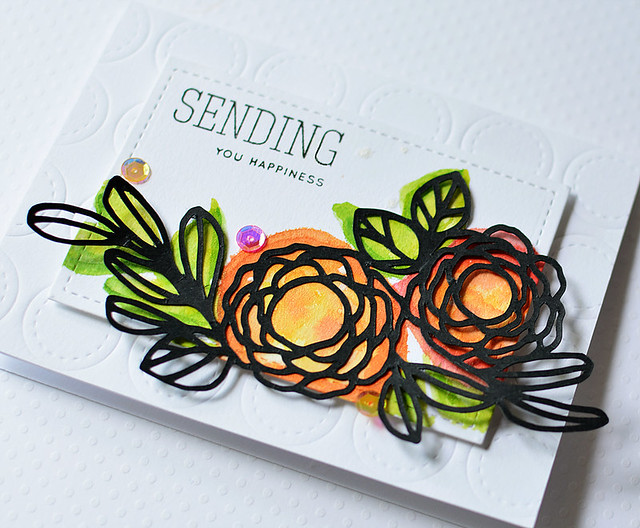
For the background, I embossed the cardstock using the stitched circles from the Stitched Duo Die 2. Here's a close-up:

Sending Happiness

Here's the scoop:

  • Leave a comment here and along the hop for chances to win prizes. You can find the links at the Pretty Pink Posh blog. 
  • The hop starts Friday (6/5) at 6 am PST. You can link up your watercolored cards on the Pretty Pink Posh blog until June 8th at 11:55 pm PST. 
  • If we can get 100 entries, Paulina will donate a $20 gift certificate to Ellen Hutson or Simon Says Stamp. For every 100 entries (up to 500) there will be an extra $20 gift certificate. 
  • When you link up, you'll be entered to win prizes from the fantastic sponsors! 


That's it from me. I hope you'll join in the blog hop! Have a great day!


Wednesday, May 13, 2015

Going Cute

Hi all! I hope you're having a great week. My son graduated from preschool last night (complete with caps and gowns, lol), and my daughter is done with school on Friday. All of the end-of-the-school craziness is happening!

I wanted to share a couple of Paper Smooches projects using the new dies.

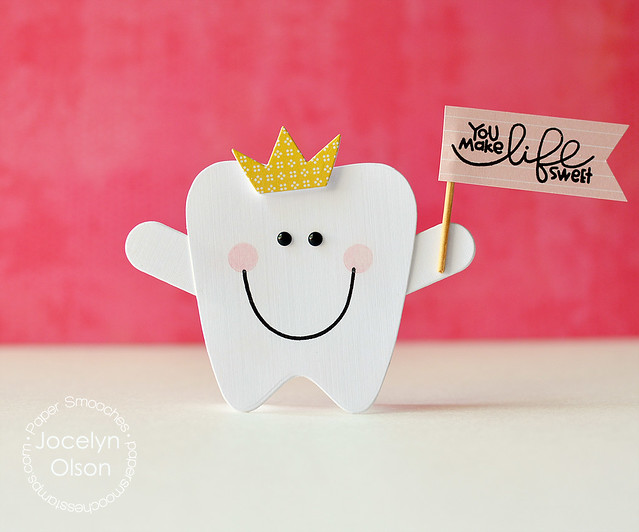
Tooth Fairy

I used the new Paper Smooches Tooth Fairy die to make a tiny card. There are flap dies for a pocket on the Tooth Fairy die, and I used the flap to make arms. The crown is one of the dies, too. To make the face, I stamped the smile using the Cool Dudes snowman stamps--this set is great for making faces (not just for snowmen). On the flag, I used a sentiment from Sugar Rush. Get it? A "sweet tooth." Tee hee....I crack myself up. ;) I'm such a dork. 

Next:

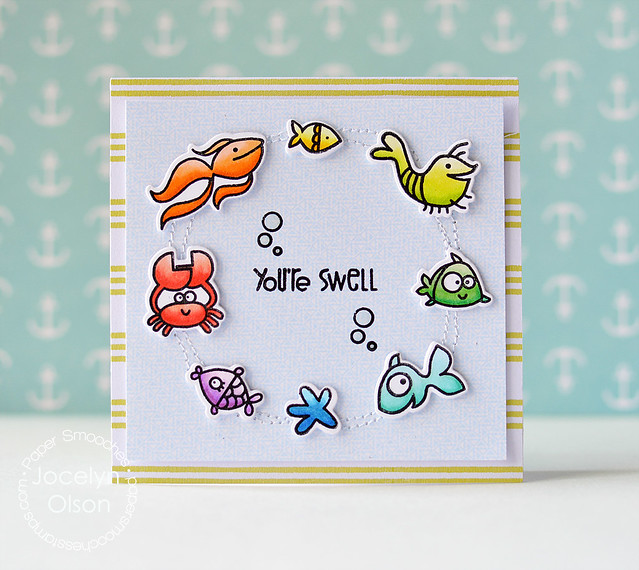
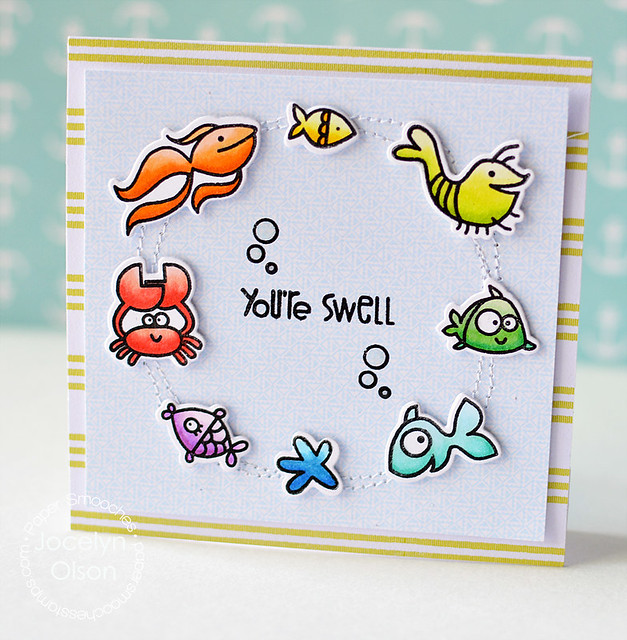
You're Swell

This card is pretty straightforward. I stamped, Copic colored, and die cut the sea creatures using the Surf and Turf stamps and Surf and Turf Icons dies. The papers are from a Studio Calico kit.

The critters needed to be grounded, so I stitched a loose circle under them. I also added some Glossy Accents to the bubbles around the sentiment:

You're Swell

Thanks for stopping by! Have a great day!


Thursday, April 16, 2015

Simon Says Stamp & Paper Smooches

Hi everyone! I'm up on the Simon Says Stamp blog today! (Eek!) I have two Paper Smooches cards and a tutorial using the dip-dyed look I used on THIS card.

Here's a sneak:

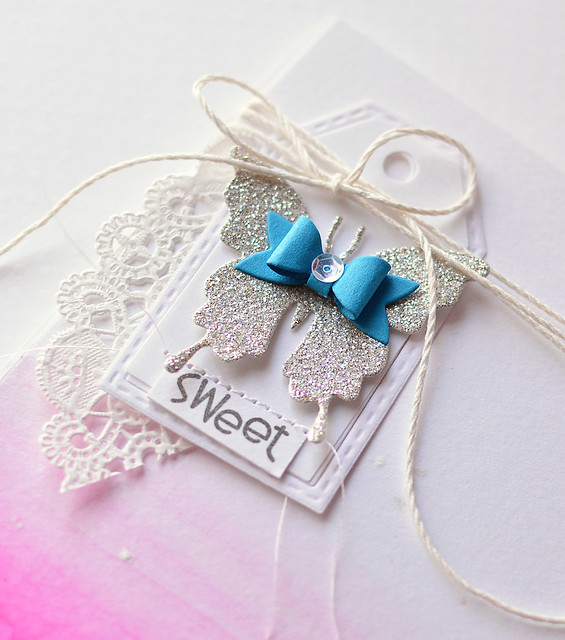
Paper Smooches Sweet

If you have a chance, please check out the Simon Says Stamp post HERE. Thank you!!! Also, a big thanks to Stephanie for asking me to guest. :)

Thanks so much for stopping by. Have a great day!


Wednesday, April 1, 2015

Bejeweled Card Set

Hi everyone!

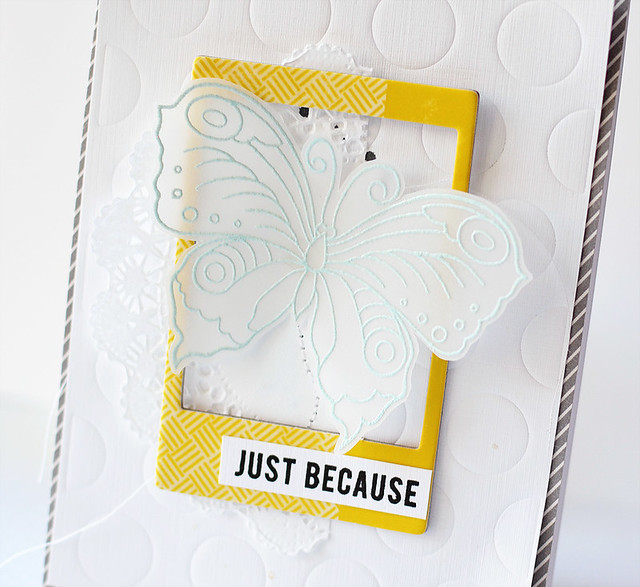
Butterfly Card Set

I'm on the Altenew blog today with a card set using the Bejeweled stamp set. I did some simple layering (using items that were within reach of my desk) and kept the same design to coordinate the set. I used some older Notes & Things chipboard frames from Crate Paper.

Here's a close-up of one of the cards:

Butterfly Card Set

To see the rest of the set (in different colors and frames), swing by the Altenew blog. Thanks!!

Have a great day! Thanks for stopping by!

Wednesday, March 18, 2015

Floral Stamps Two Ways

Hi everyone! How's your week going?

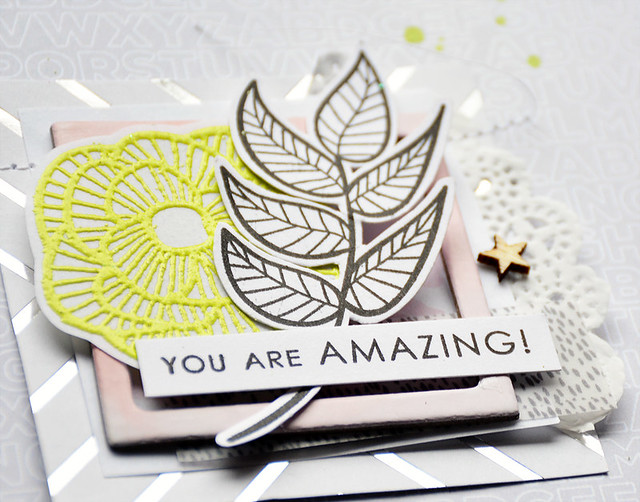
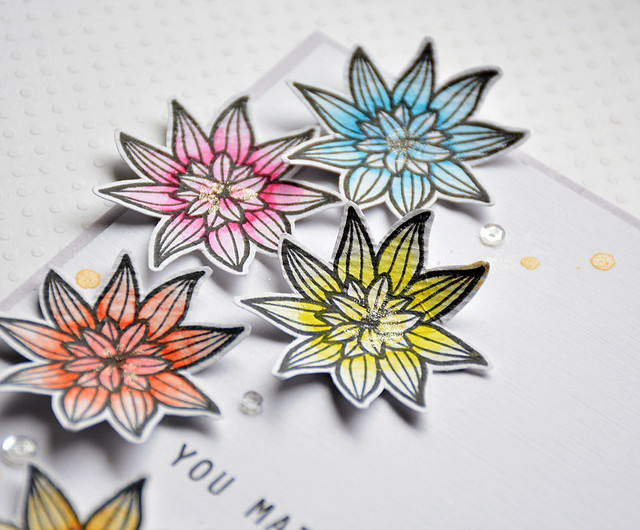
I'm sharing a couple of cards over on the Altenew blog today using the Striped Florals set. Here are some sneaks:

You Are Amazing


You Made My Day

If you want to see the cards, the post is HERE. :)

Thanks for stopping by!

Monday, March 16, 2015

Altenew March Blog Hop

Hi everyone! Sorry to be so absent....I was on an 11-day work trip. Yikes! Now that I'm home, I'm trying to catch up on posts. Today, I'm participating in a special Altenew blog hop:


Yep, Altenew is releasing dies and new antique trims! Altenew is releasing 12 stamp-matching dies this month, and the antique trims include foiled frames. You can check them out in the shop HERE. To celebrate, we're having a blog hop. If you're hopping along, you should be coming from May's blog. Here's the complete list:

Jocelyn Olson <-- You are here.

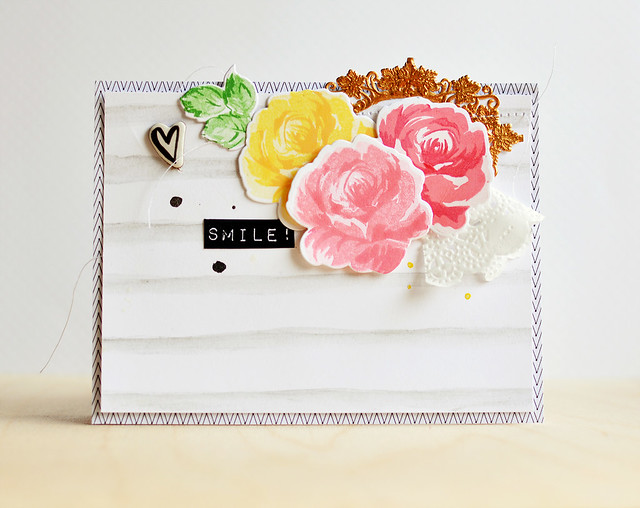
I made two projects, both using the Vintage Flowers Dies. First up, a card:

Hello

Truth time: I don't stamp too many floral multi-step stamps, and therefore I don't have go-to ink combinations. So, I played around with pretty much every dye ink I own and stamped several flowers. Okay, maybe 50. ;) Here are the inks I used (all combinations are from the darkest layer to the lightest layer):
  • Yellow: Hero Arts Butter Bar, Stampin Up! YoYo Yellow stamped off once, SU! Barely Banana
  • Pink: Hero Arts Pale Tomato, Hero Arts Pale Tomato stamped off once, SU! Pink Pirouette
  • Darker pink: SU! Strawberry Slush, Hero Arts Pale Tomato, SU! Pink Pirouette

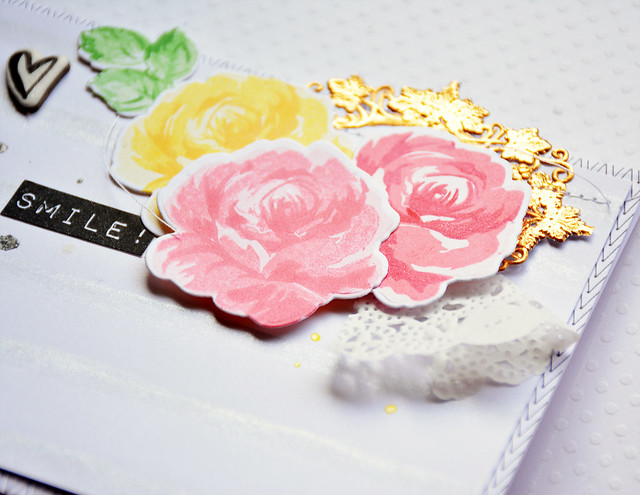
I used the Vintage Flowers Stamps and Vintage Flowers Dies for the flowers and leaves. The dies make these flowers easy to use and are perfect for layering flowers. For the sentiment, I used the new Birthday Greetings set. In the background, I watercolored some stripes with a (ground-down) Silver Gelato.

Here's a close-up:

Hello

See the gold Vineleaf Frame? I trimmed the inner layer of the frame, and now I have a second frame for a future project. :) This frame is a pretty rich-gold color that's so popular right now.  They're great for layering, or you could add a sentiment for a CAS card.

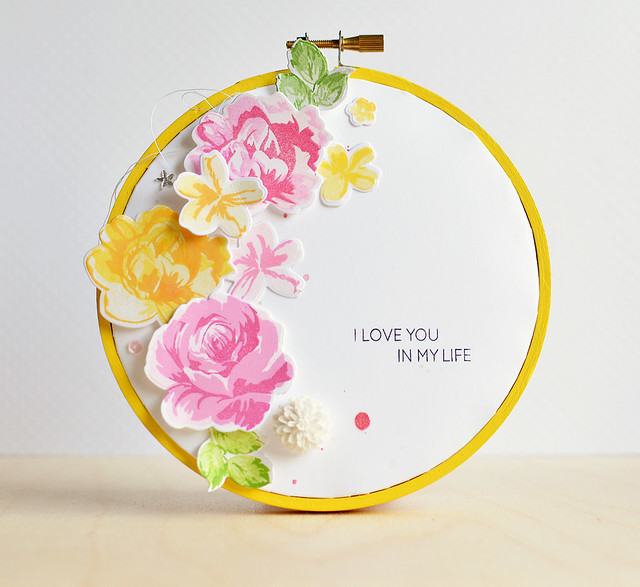
Next, I have an altered hoop:

I Love You In My Life

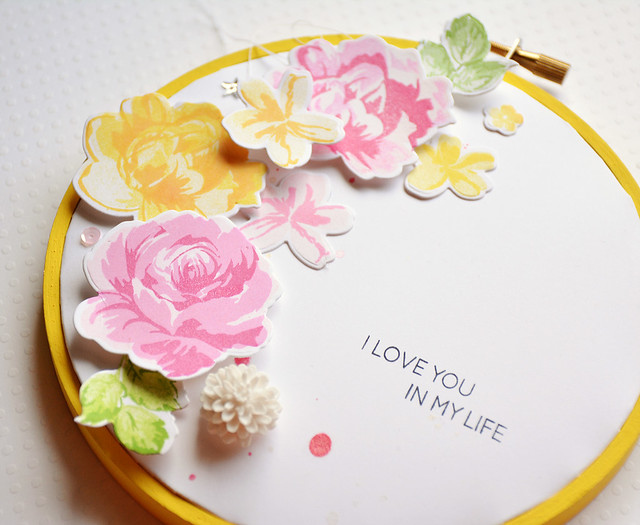
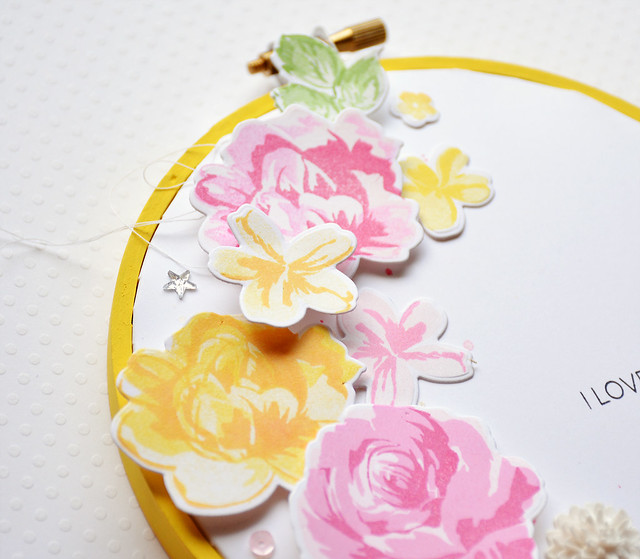
It's been a while since I've made a hoop, but I wanted to make one for my daughter. I used the same Vintage Flowers stamps and Vintage Flower dies for the flowers and leaves. For the sentiment, I masked off two sentiments from To the Moon.

The ink colors I used here were:
  • Yellow: Hero Arts Butter Bar, Stampin Up! YoYo Yellow stamped off once, SU! Barely Banana
  • Pink: My Favorite Things Razzle Berry Hybrid, Hero Arts Bubblegum stamped off once, SU! Pink Pirouette

I Love You In My Life

I painted the hoop and then followed THIS tutorial for the background. Once I had the base completed, I added the die-cuts and a few embellishments. The flowers are so cheerful!

I Love You In My Life


Prizes: There are two ways to win!

To celebrate this release, Altenew will draw three winners who will each receive a $30 gift certificate to their online store. Please leave a comment on the Altenew blog by Friday, March 20th 11:59pm EST for a chance to win. The winners will be announced on Saturday, March 21st.

Altenew is also offering a $30 gift certificate for comments on this blog post. For a chance to win this extra gift certificate, please leave a comment on my post by Friday, March 20th at 11:59pm.

Thanks so much for stopping by! Next up on the hop is the incredible Marika. I'm sure you're in for a treat!

Friday, February 13, 2015

A Vitamix Would Have Been Easier

Hi everyone! Happy Friday!
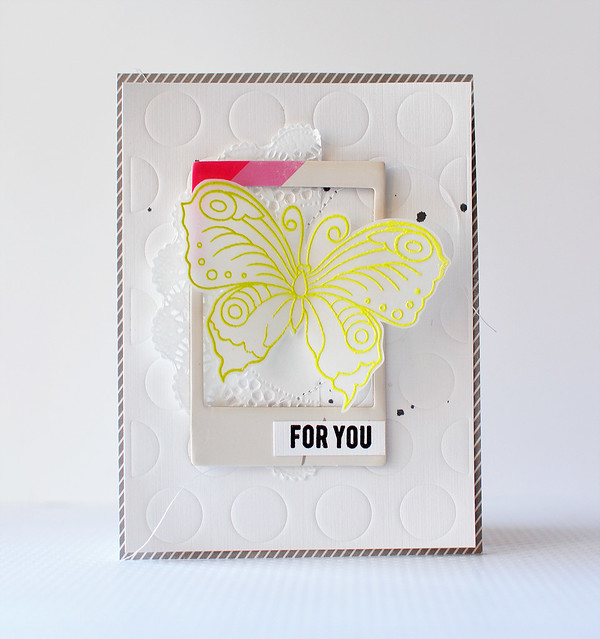
Just a quick post to share some valentines I made for my daughter's class.

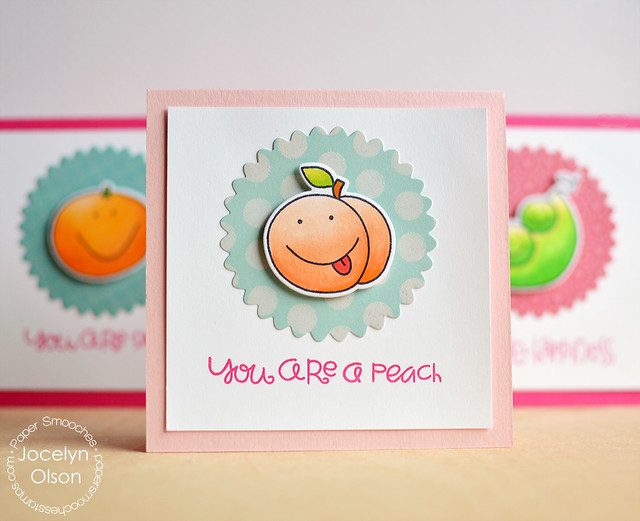
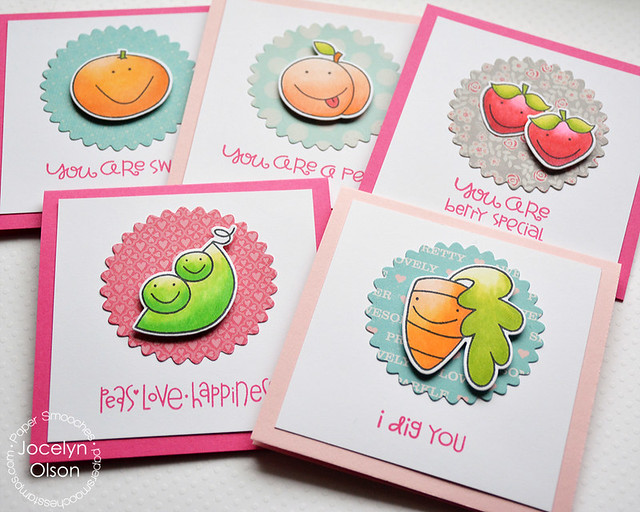
Fruit and Veggie Valentines

So back in December (for the January Paper Smooches release), I stamped, Copic colored, and die-cut about 35 fruits and vegetables using the Paper Smooches Fruitastic and Vegtastic stamps and Fruitastic Icons and Vegtastic Icons dies. Thankfully, I find coloring pretty relaxing. :)


Fruit and Veggie Valentines

I used a mix of Paper Smooches sentiments, from the Fruitastic, Vegtastic, and Woofers and Tweeters sets. For the background papers, I used the Scalloped Circle die.

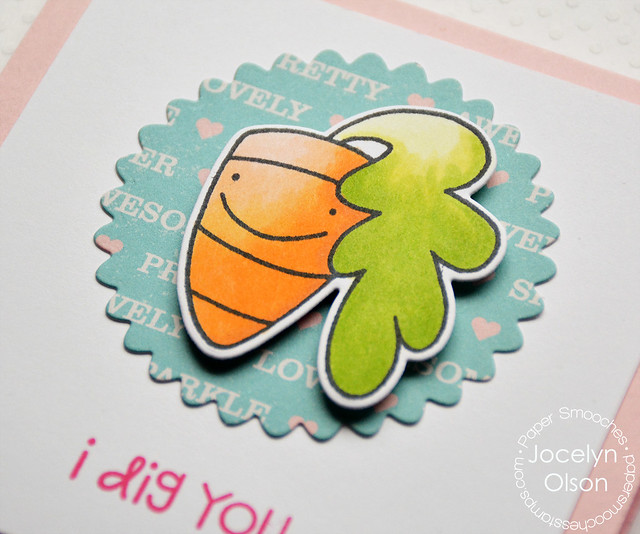
Here's a close-up of my favorite--the carrot. Hee hee.

Fruit and Veggie Valentines

My daughter used them for her valentines, but these cards would work year-round--I kept a few for me to use. ;)

Tomorrow, I'll share the valentines I made for my son's class.

Have a great day!

Supplies
Stamps: (carrot, peas, sentiments from Vegtastic; strawberries, peach, orange, sentiments from Fruitastic; "I dig you" sentiment from Woofers and Tweeters) Paper Smooches
Dies: (vegetables from Vegtastic Icons; fruit from Fruitastic Icons; Scalloped Circle) Paper Smooches
Cardstock: (Doll Pink, Cotton Candy) Simon Says Stamp, (white) Papertrey Ink
Patterned paper: (Shimelle) American Crafts; (Love Notes) Crate Paper
Ink: (Melon Mambo) Stampin' Up; (Tuxedo Black) Memento
Copic markers

Blog Design by Caked Designs