Showing posts with label home decor. Show all posts

Thursday, August 20, 2015

Home

Hi everyone! Happy Thursday!

Happy Home

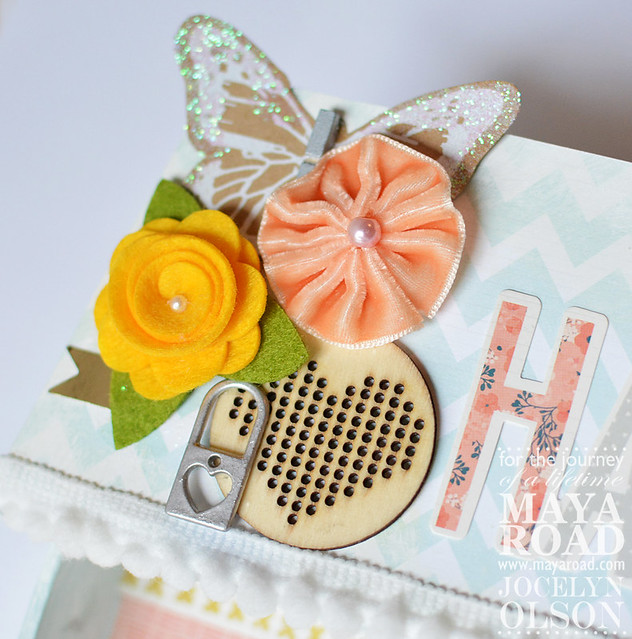
I'm up on the Maya Road blog with a home decor project using the House Shadow Box and Crate Paper's Wonder collection. Each "room" of the house could be translated to a card, too. I hope you check it out! :)

Thanks for stopping by! Have a great day!

Monday, March 16, 2015

Altenew March Blog Hop

Hi everyone! Sorry to be so absent....I was on an 11-day work trip. Yikes! Now that I'm home, I'm trying to catch up on posts. Today, I'm participating in a special Altenew blog hop:


Yep, Altenew is releasing dies and new antique trims! Altenew is releasing 12 stamp-matching dies this month, and the antique trims include foiled frames. You can check them out in the shop HERE. To celebrate, we're having a blog hop. If you're hopping along, you should be coming from May's blog. Here's the complete list:

Jocelyn Olson <-- You are here.

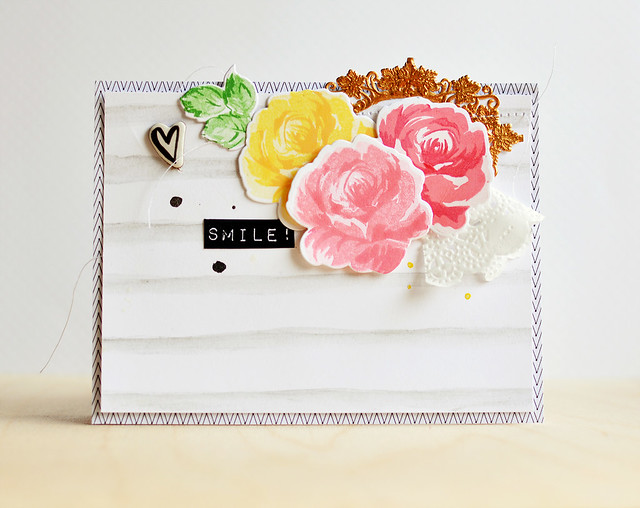
I made two projects, both using the Vintage Flowers Dies. First up, a card:

Hello

Truth time: I don't stamp too many floral multi-step stamps, and therefore I don't have go-to ink combinations. So, I played around with pretty much every dye ink I own and stamped several flowers. Okay, maybe 50. ;) Here are the inks I used (all combinations are from the darkest layer to the lightest layer):
  • Yellow: Hero Arts Butter Bar, Stampin Up! YoYo Yellow stamped off once, SU! Barely Banana
  • Pink: Hero Arts Pale Tomato, Hero Arts Pale Tomato stamped off once, SU! Pink Pirouette
  • Darker pink: SU! Strawberry Slush, Hero Arts Pale Tomato, SU! Pink Pirouette

I used the Vintage Flowers Stamps and Vintage Flowers Dies for the flowers and leaves. The dies make these flowers easy to use and are perfect for layering flowers. For the sentiment, I used the new Birthday Greetings set. In the background, I watercolored some stripes with a (ground-down) Silver Gelato.

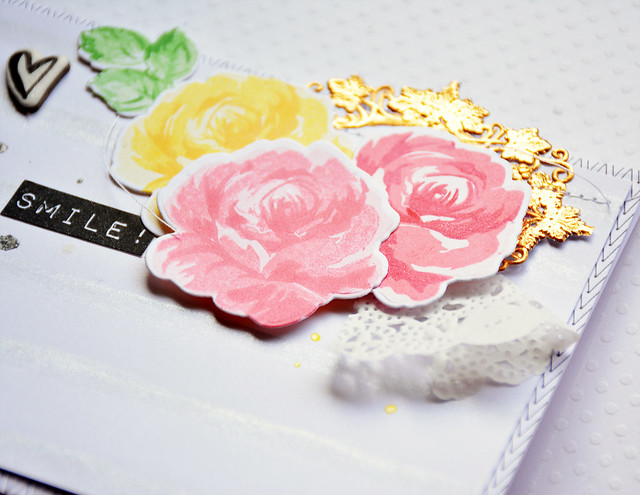
Here's a close-up:

Hello

See the gold Vineleaf Frame? I trimmed the inner layer of the frame, and now I have a second frame for a future project. :) This frame is a pretty rich-gold color that's so popular right now.  They're great for layering, or you could add a sentiment for a CAS card.

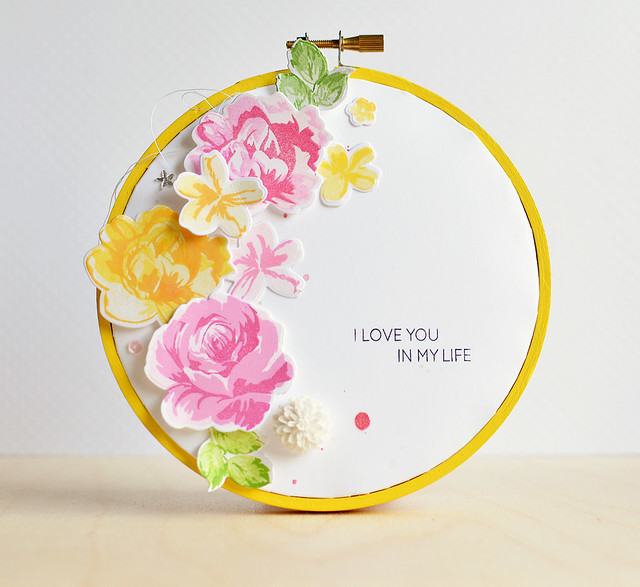
Next, I have an altered hoop:

I Love You In My Life

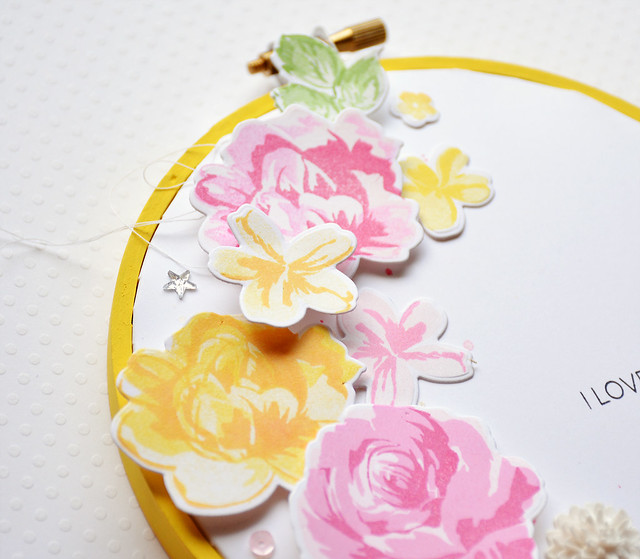
It's been a while since I've made a hoop, but I wanted to make one for my daughter. I used the same Vintage Flowers stamps and Vintage Flower dies for the flowers and leaves. For the sentiment, I masked off two sentiments from To the Moon.

The ink colors I used here were:
  • Yellow: Hero Arts Butter Bar, Stampin Up! YoYo Yellow stamped off once, SU! Barely Banana
  • Pink: My Favorite Things Razzle Berry Hybrid, Hero Arts Bubblegum stamped off once, SU! Pink Pirouette

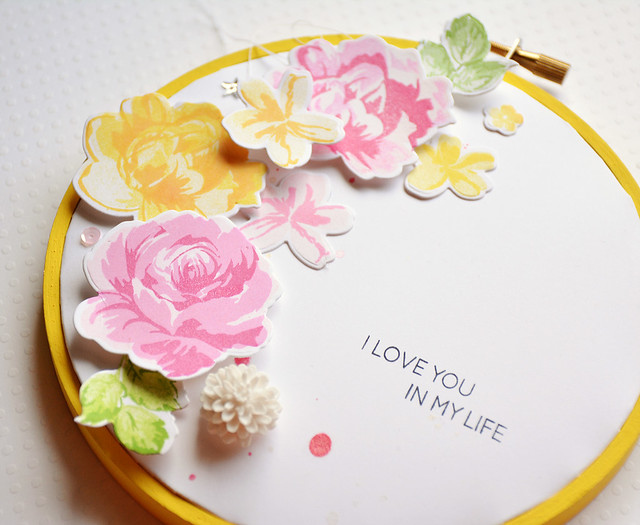
I Love You In My Life

I painted the hoop and then followed THIS tutorial for the background. Once I had the base completed, I added the die-cuts and a few embellishments. The flowers are so cheerful!

I Love You In My Life


Prizes: There are two ways to win!

To celebrate this release, Altenew will draw three winners who will each receive a $30 gift certificate to their online store. Please leave a comment on the Altenew blog by Friday, March 20th 11:59pm EST for a chance to win. The winners will be announced on Saturday, March 21st.

Altenew is also offering a $30 gift certificate for comments on this blog post. For a chance to win this extra gift certificate, please leave a comment on my post by Friday, March 20th at 11:59pm.

Thanks so much for stopping by! Next up on the hop is the incredible Marika. I'm sure you're in for a treat!

Wednesday, January 15, 2014

Glitz Winter Hoop Tutorial

Hi everyone!


This week, the Glitz Design teams are sharing projects with a WIINTER theme.

My daughter is 8, and there is a 4+ year age gap between her and my son. We have about a zillion pictures of her by herself from when she was little, but I've noticed that most of her older pictures have both kids in them (am I the only one??). I wanted to get some shots of just her. I snapped some pictures of her in our backyard in December....most were pretty goofy, but she looked so happy and content in one picture.

A couple of weeks ago, I posted another embroidery hoop project using a paper background. Instead of putting the photo of my daughter on a layout, I decided to put it on a hoop that I can hang on the wall. My goal is to make 5 hoops and hang them together. :)

Here's the finished project:


Glitz Winter Hoop

I wanted the coolness of the winter and pops of color--kind of signature me. For the elements, I used a variety of papers and elements from the Glitz Finnley, Cashmere Dame, Hello December, and Hoopla collections. I played around with the opacity and brightness to lighten some of the papers slightly. For the sentiment, I printed it on the paper and based the elements around it.

Want to see how I made the hoop? I shared this photo series on the Glitz blog, but I'm sharing the step-by-step below.


Before step 1, print your sentiment, print a digital design, etc. Please note, the first two photos are from my other hoop project (which is why I'm missing the printed sentiment).
  • Step 1: The hoop has an inside and an outside hoop. Use the inside hoop for measuring the paper. Make sure there is at least 1/2" of cardstock around the outside of the circle.
  • Step 2: Trace a circle around the outside edge of the inner hoop. I used pen in my photo so you can see it, but be sure to use pencil.
  • Step 3: Cut a circle approximately 1/2" outside of the pencil circle. The circle doesn't need to be perfect. See mine below:


  • Step 3 (continued). Cut the edge of the circle up to the point of the pencil line. I made my cuts about every 1/4"-1/2". I moved the flaps, but I did not crease them.
  • Step 4: Watercolor, mist, stamp, or stitch on the cardstock circle. I used Bristol and watercolored on mine. Be sure to erase the circle (not that I know anything about that....ha ha). 
  • Step 5: Get out the papers and elements. I printed out more than I ended up using. :)
  • Step 6: Lightly mist the edges of the circles with water to soften the heavy cardstock (this part is optional, depending on your paper). Place the circle over the inner hoop and bend down the flaps. I had to open my hoop completely to get the outer ring over the paper.
Here are close-ups:

Glitz Winter Hoop Close-Up1


And the other side:

Glitz Winter Hoop Close-Up2


If you would like to see the other winter projects, be sure to check out the Glitz blog

Thanks for stopping by! 


Supplies
Cardstock: (Bristol) Canson; (vellum) PTI
Digital elements: (blue triangles, grey triangle tab, aqua snowflake from Finnley collection; red arrow from Hello December element pack #1; solid blue from Hoopla collection; blue and white starburst frame from Cashmere Dame element pack #1) Glitz Design
Inks: (spray mists) Lindy's Stamp Gang, Studio Calico
Dies: (snowflakes) Marianne dies; (Scallop Tag) Paper Smooches; (Journal Tabs die) PTI
Embellishments: (sequins) Neat & Tangled; (twine) Lawn Fawn; (heart) Freckled Fawn; (red glossy paint) Martha Stewart

Wednesday, November 6, 2013

Merry Holiday Decor

Hi everyone! If you're looking for the Rock Chalk Baby Blog Hop, please click HERE. 

It's One Buck Wednesday at Jessica Sprague, and the Glitz Design's Hello December paper and elements are on sale. Woo hoo! It is a *gorgeous* holiday collection.

I went a little different this week and use the digital elements to make some holiday home decor. I got this idea from CREATE Decor Magazine (I'm sorry, I don't know who it was--I don't have my issue with me!).


It's hard to believe, but this decor started as a block of wood. Want to see how I did it? I have a little tutorial.


  1. First, find a piece of scrap wood (or buy a board). Mine is 5.25" tall, but you could make it as tall as you want. Next, cut angles from the sides (I had my husband do this part). There was a light finish on my piece of wood, so I sanded it lightly.
  2. Paint the block. It doesn't have to be perfect. :)
  3. Resize the Hello December digital papers to a smaller scale. Print them and trim them to fit to your block. I traced them from the back side and then trimmed them slightly smaller to show a border. You could skip this next step, but I covered the papers and block with Matte Mod Podge. It will help smooth the papers at the edges.
  4. Resize the Hello December wreath from the element pack. Crop the heart from the woodgrain paper in the Paper Pack. For the door, layer the polka dot paper under the frame element. Print these items and fussy cut them.

When you're done with the elements, you can add any details. I added coarse glitter to the wreath, spritzed the lace lightly with mist, and added the twine and jingle bell.

Here's a close-up:


If you like the Glitz papers and elements, be sure to take advantage of the sale today at Jessica Sprague.

Thanks so much for stopping by! Have a great day!


Supplies
Digital elements: (wreath from Element Pack 1; green frame, red polka dot, red herringbone, tree paper from Element Pack 2; floral paper, Merry heart from Paper Pack--all from Hello December collection) Glitz Design
Fibers: (Yellow twine) Divine Twine; (lace) May Arts
Mist: (Pearl, Gold Mr. Huey's) Studio Calico
Glitter: Martha Stewart
Other: Mod Podge, craft paint

Blog Design by Caked Designs