Showing posts with label Copics. Show all posts

Monday, November 16, 2015

Happy Holly Days

Hi everyone! Happy Monday!


I'm thrilled to be guesting over on the Simon Says Stamp blog (thank you!) I mixed new and old Paper Smooches to make a holiday card. I hope you check it out! :)

Thanks for stopping by! Have a great day!

Wednesday, October 14, 2015

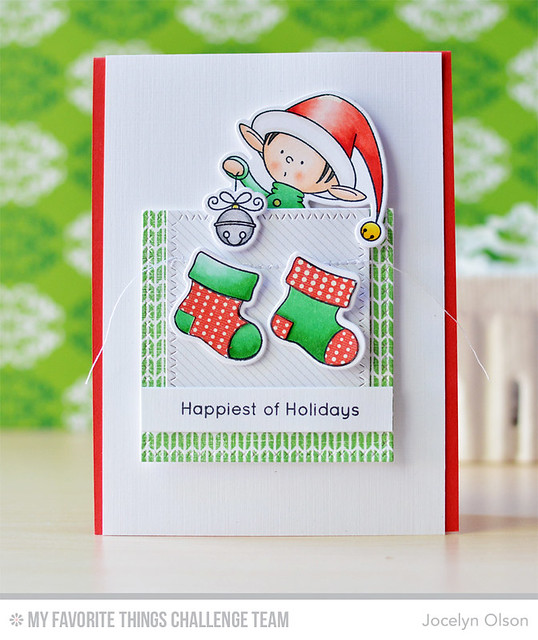
Happiest of Holidays

Hi everyone! I hope you're having a great week. I'm in D.C. for work, and I'm really looking forward to seeing some local crafty friends at the end of the week. :)

I'm guesting with the My Favorite Things Challenge and Inspiration team again. Yeah! It's a sketch challenge this week, and you can see the sketch HERE.

Here's my take on the sketch:

Happiest of Holidays

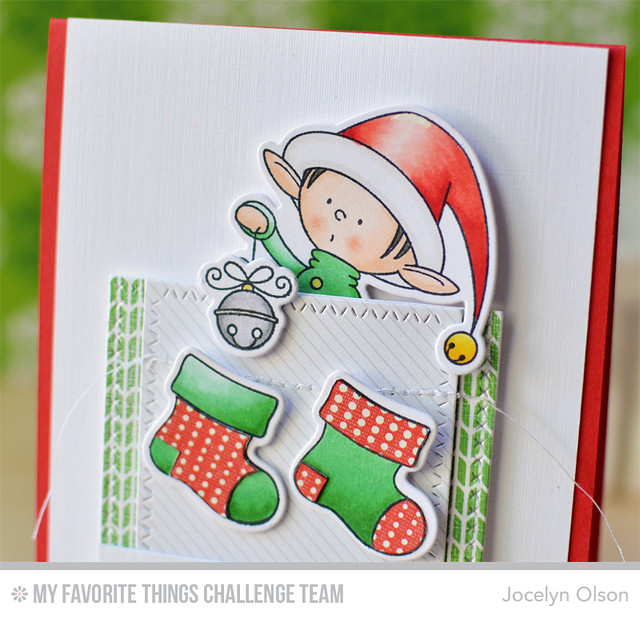
Isn't the elf adorable?? I love him and had to use him. I colored the little guy from the My Favorite Things Santa's Elves set with Copics. For the bell, I added a little Wink of Stella over the coloring (yes, I know; it's hard to see).


Happiest of Holidays

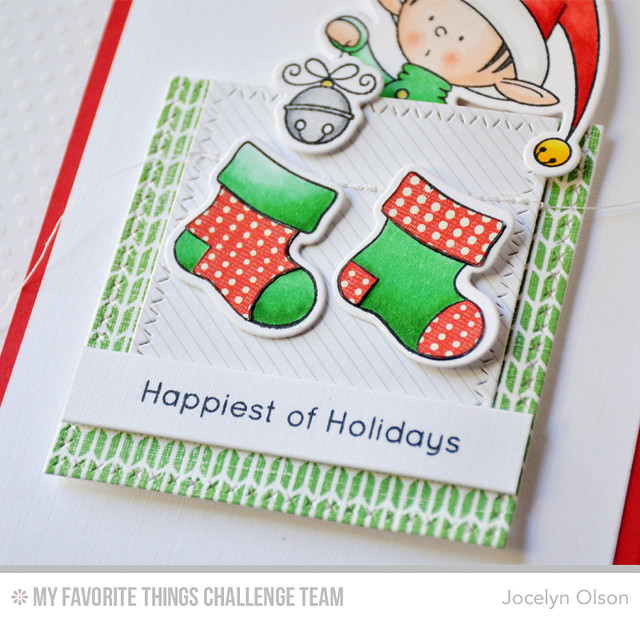
The elf was tucked behind the two die-cut panels. On the bottom layer, I stamped the awesome Sweater Stitched Background stamp and then die-cut the panel with Cross-Stitch Square STAX. On top, I die-cut patterned paper using the Zig Zag Stitch Square STAX.

Below the elf, I wanted to make it look like the elf was dropping the jingle bell into the stocking. I stamped the stockings using the same Santa's Elves set, and then colored and paper pieced them.

Happiest of Holidays

Be sure to stop by the MFT Challenge and Inspiration blog. I hope you have a chance to play along!

Thanks for stopping by! Have a great day!

Supplies
Stamps: (Santa’s Elves, Sweater Stitch Background) My Favorite Things
Ink: (Field Day Hybrid Ink) My Favorite Things; (Tuxedo Black) Tsukineko

Paper: (Wild Cherry Cardstock) My Favorite Things; (Ellen's Essential Linen) Ellen Hutson; (stripe polka dot papers) Studio Calico kits
Other: Clear Wink of Stella pen; Copic markers

Monday, September 14, 2015

Celebrating Cath + Technique Tuesday Blog Hop

Hi everyone! Happy Monday! I'm in a very special blog hop today:


I am super-duper thrilled to be sharing projects using the new Technique Tuesday stamps and dies by Cath Edvalson! :) You can check out the new stamps and dies HERE. Aren't they fabulous?

To celebrate the release, there's a special hop today. You should be coming from Kimberly's blog, or if you want to start from the beginning, the Technique Tuesday blog.

Here's what I made:

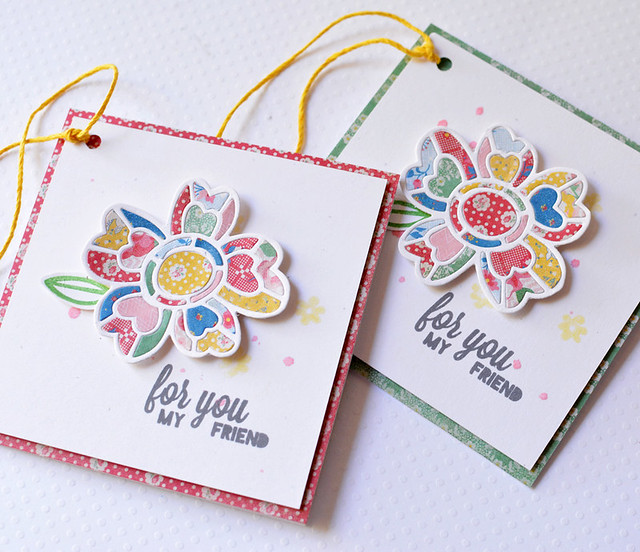
For You

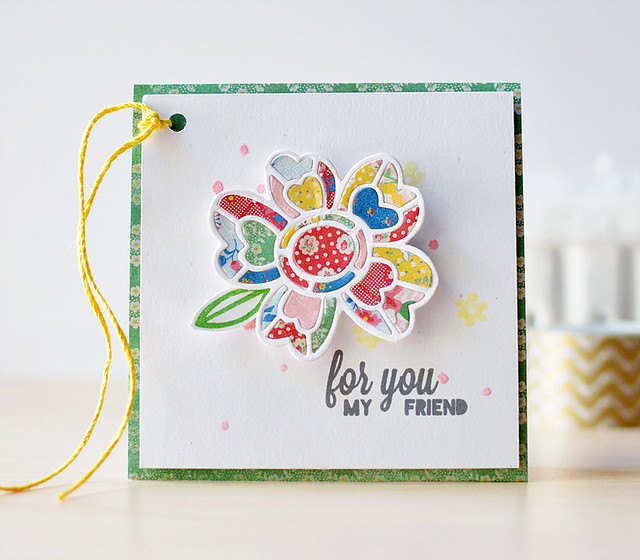
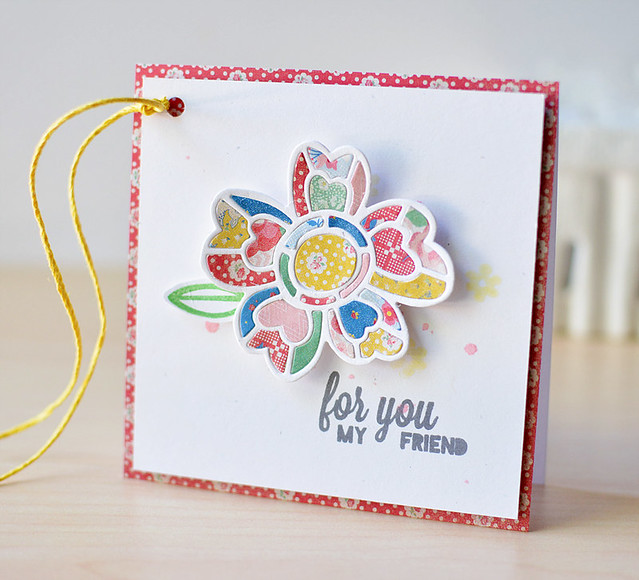
I made a set of cards with the inlaid die-cutting technique. First, I die-cut the Garden Flowers dies in white and trimmed down the base flower to make  a backing. Next, I used old Mint Julep BasicGrey papers to die-cut the outline flower. My Big Shot got a work-out! I know Cath likes homespun designs, and these papers reminded me of her. :)

For You


I in-laid the pieces and made a couple of flowers at once. It's not a 10-minute card, but this technique is great for card sets (and using up 6x6 paper pads).

Next, I stamped a leaf from the Garden of Life stamp set and stamped a few yellow flowers in the background. The sweet sentiment is also from the set. This die is *perfect* for this technique!


For You


Here's my next card:

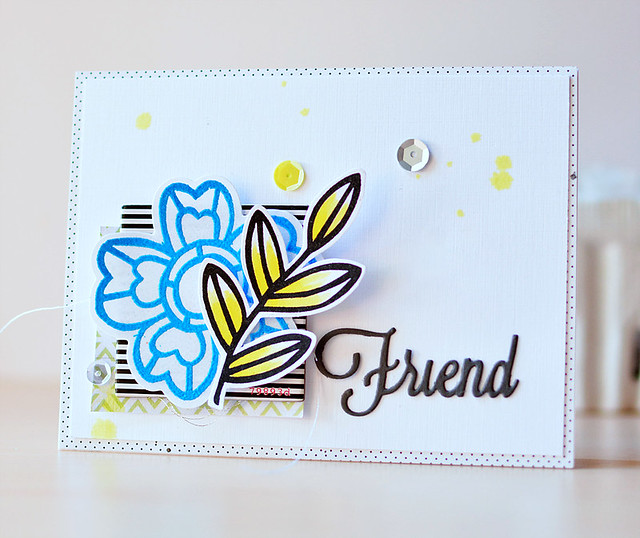
Friend


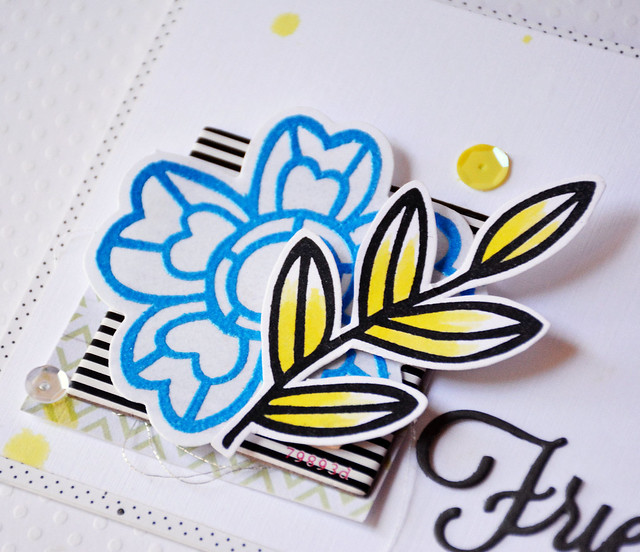
This card uses the same stamps and dies for a very different look. I started by stamping the leaves from the Garden of Life set. I partially colored the leaves with Copics and fussy cut them. I love the boldness of these stamps! Next, I die-cut the Garden of Life flower base die on vellum and heat embossed the flower.

I layered a Citrus Bliss paper and a chipboard frame. For the sentiment, I die-cut the "friend" sentiment from the Garden of Life set in charcoal grey. Here's a close-up:


Friend


Giveaway
Technique Tuesday is giving away three prizes! One winner will receive all five of Cath's new products (wow!). The other two winners will receive $25 gift certificates to Technique Tuesday. The winners will be randomly chosen from all of the comments left during the hop.

To enter, leave a comment here and at each of the blog hop stops. The more comments you leave, the more chances to win! You have until midnight PST on September 16th to leave comments, and the three winners will be announced on the Technique Tuesday blog on September 18th. 

Here's the whole list:

Jocelyn Olson <-- You are here.

Thanks so much for stopping by! Next on the hop is the awesome Tobi. Have a great day!


Thursday, July 16, 2015

July Essentials by Ellen Pin-Sights Challenge

Hi everyone! I hope you're having a great week! We went to the Badlands today and had perfect weather. If you ever have a chance to go, it's a great national park. :)


I'm very happy to be participating in the July Essentials by Ellen Pin-Sights Challenge! The Pin-Sights challenge is a monthly challenge at Ellen Hutson based on a Pinterest-inspired photo. Laurel really hit it out of the park with this month's inspiration pin! You can see it over in The Classroom [Go check it out, but please come back! :)]

Here's how I was inspired:

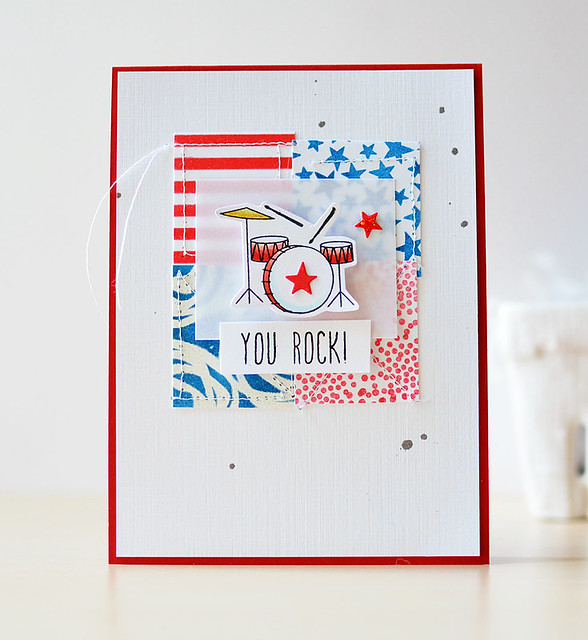
You Rock!

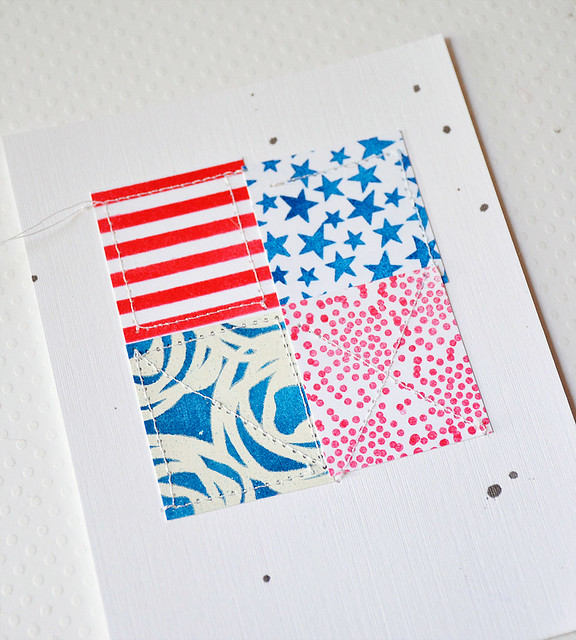
My focus was the Twelve Days stamps set, but I used a total of five Essentials by Ellen stamp sets. :) All of the background squares are stamped or masked:

You Rock!

The top left was blended over the All Lined Up stencil. For the top right, I stamped the stars from the Cozy Christmas set, and the bottom right was stamped using the Bokeh Dots. I clear embossed the flowers from the Bold Blooms set and then blended the ink over the embossing. To get whiter blooms, I ironed off the embossing powder. It was the first time doing this technique, and it worked like a charm! My iron will finally get used for something. ;)

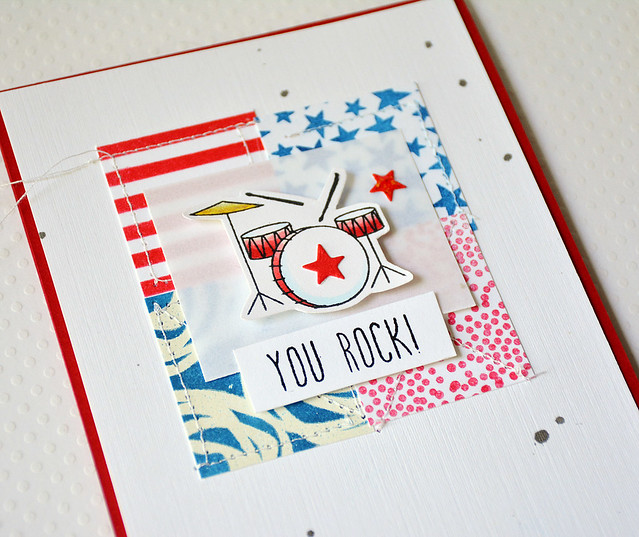
I hand-cut the squares and wonky-stitched around them. To emphasize the drums, I added a piece of vellum:

You Rock!

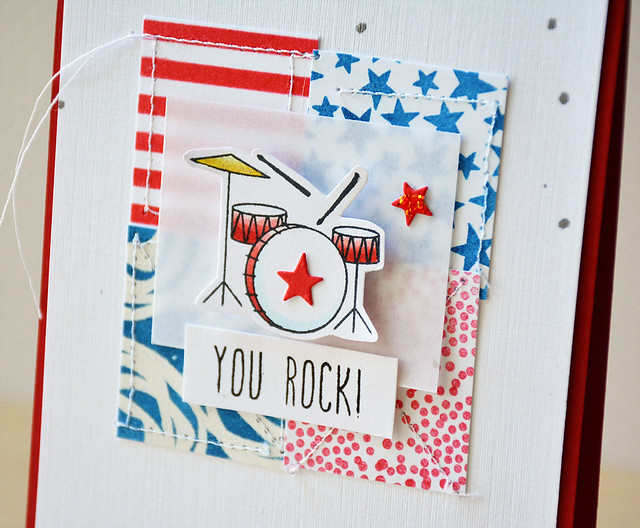
The cool drums are from the 12 Days set. I masked the number, Copic-colored the drums, and die-cut a star from the Home and Hearth dies for the the bass drum. The sentiment is from the 12 Days Companion Greetings. Here's one more close-up:

You Rock!


Want to play along? You can link up your projects over at The Classroom. Want to see what one random participant will win?


Yep, super awesome! I hope you have a chance to play along!

Thanks for stopping by. Have a great day!

Wednesday, May 13, 2015

Going Cute

Hi all! I hope you're having a great week. My son graduated from preschool last night (complete with caps and gowns, lol), and my daughter is done with school on Friday. All of the end-of-the-school craziness is happening!

I wanted to share a couple of Paper Smooches projects using the new dies.

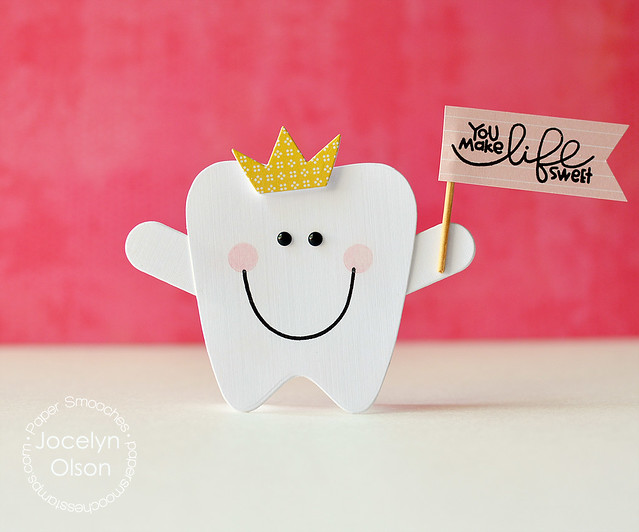
Tooth Fairy

I used the new Paper Smooches Tooth Fairy die to make a tiny card. There are flap dies for a pocket on the Tooth Fairy die, and I used the flap to make arms. The crown is one of the dies, too. To make the face, I stamped the smile using the Cool Dudes snowman stamps--this set is great for making faces (not just for snowmen). On the flag, I used a sentiment from Sugar Rush. Get it? A "sweet tooth." Tee hee....I crack myself up. ;) I'm such a dork. 

Next:

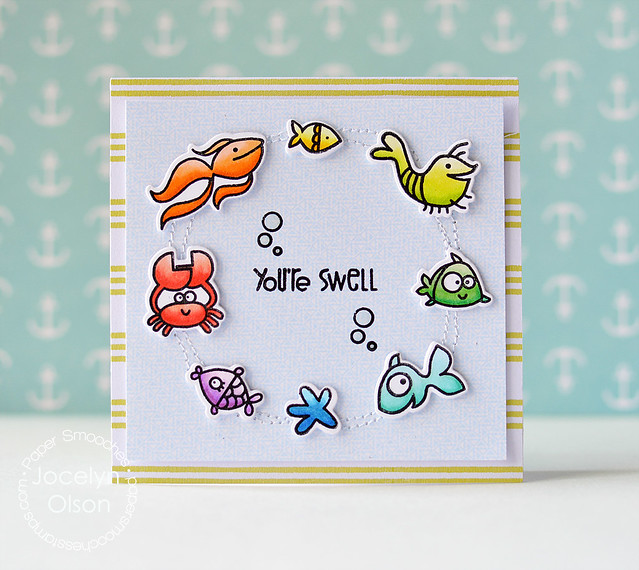
You're Swell

This card is pretty straightforward. I stamped, Copic colored, and die cut the sea creatures using the Surf and Turf stamps and Surf and Turf Icons dies. The papers are from a Studio Calico kit.

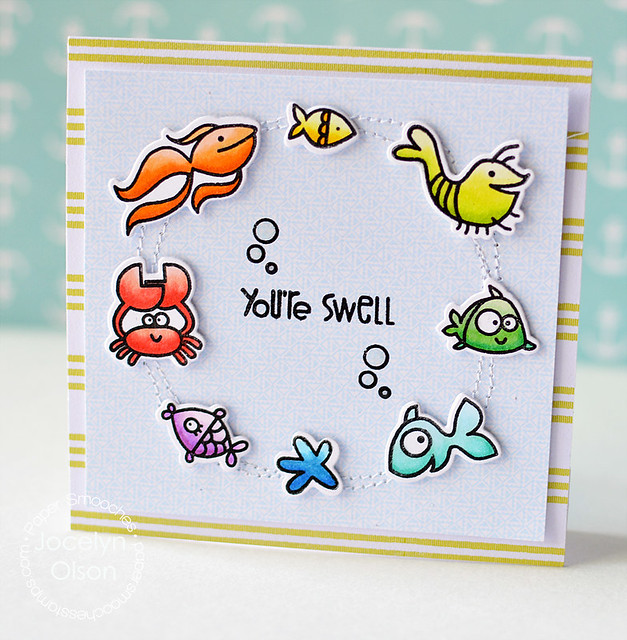
The critters needed to be grounded, so I stitched a loose circle under them. I also added some Glossy Accents to the bubbles around the sentiment:

You're Swell

Thanks for stopping by! Have a great day!


Tuesday, April 28, 2015

Guesting at My Favorite Things

Hi everyone! Happy Wednesday!

I have a sneak....

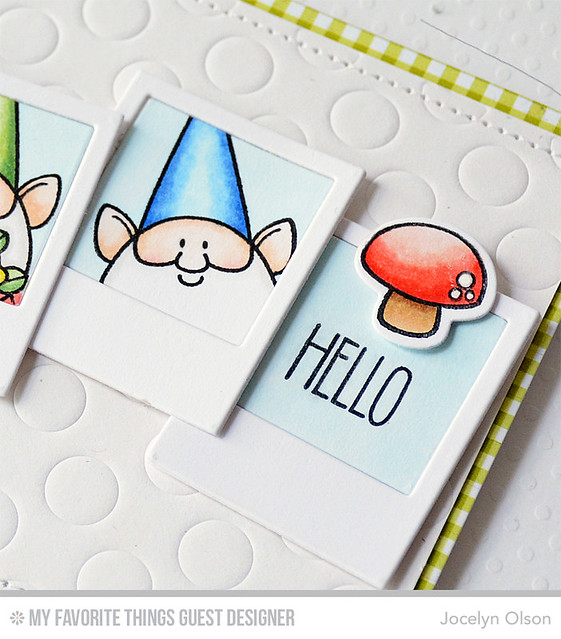
Gnome Hello


It's my second guest post over at My Favorite Things. I'm still squealing! :) I made a card with the new Birdie Brown You Gnome Me set and also a gnome hat. If you have a chance, please check it out HERE. Thank you!!

Thank you so much to MFT for asking me to guest!

Have a great day! Thanks for stopping by!


Monday, February 16, 2015

100th Lawnscaping Challenge Celebration!

Hi everyone! I have a special post today...


It's the 100th challenge at the Lawnscaping Challenge blog! Everyone is so excited about this milestone, and each of the Design Team members have invited a special guest to play along. The theme is Birthday/Celebration!

I was invited to this party by my sweet friend, Samantha Mann. Samantha's designs are always super clever and fun (and often laugh-out-loud funny). I just love her work. :)

Be sure to head over to the Lawnscaping blog where you can see ALL of the Design Team projects as well as ALL of the special projects, too!

Here's my project for the celebration:

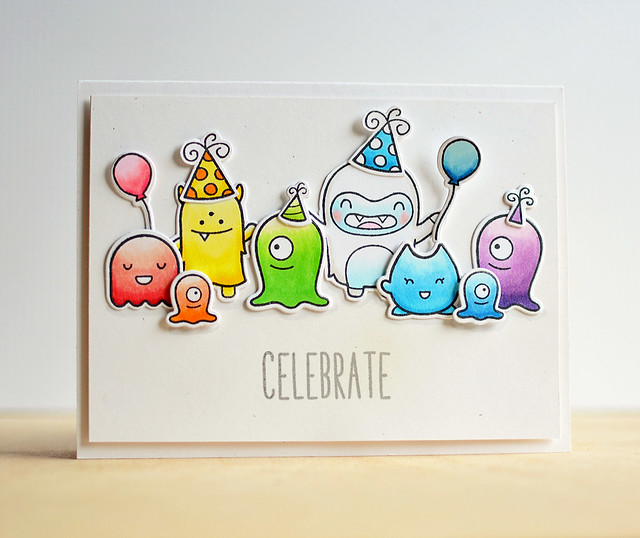
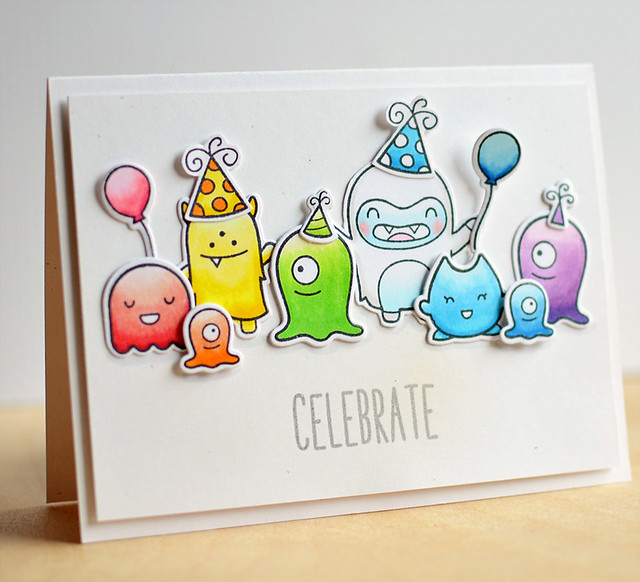
A Monster Celebration

For this card, I went CAS with a whole lot of coloring. All of the stamps and dies are from Lawn Fawn. I stamped monsters from Monster Mash and Yeti, Set, Go and colored them with Copics. Since it's a celebration, I added hats and balloons from Hats Off to You and Year Four. For the sentiment, I used my favorite Milo's ABCs

I had to go with the 'ole Roy G. Biv for the layout. A few of the critters are popped up with foam tape. Here's a close-up to see the dimension:

A Monster Celebration


I hope you'll join in the Lawnscaping celebration! You can link up your projects HERE

Thanks for stopping by. Have a great day!


Supplies
Stamps: (monsters from Monster Mash; yeti from Yeti, Set, Go; sentiment from Milo's ABCs; hats from Monster Mash, Hats Off to You, Year Four; balloons from Year Four) Lawn Fawn
Dies: (monsters from Monster Mash; hats and balloons from Year Four)
Cardstock: (Rustic White) Papertrey Ink
Ink: (Black Licorice Hybrid) My Favorite Things
Copics

Friday, February 13, 2015

A Vitamix Would Have Been Easier

Hi everyone! Happy Friday!

Just a quick post to share some valentines I made for my daughter's class.

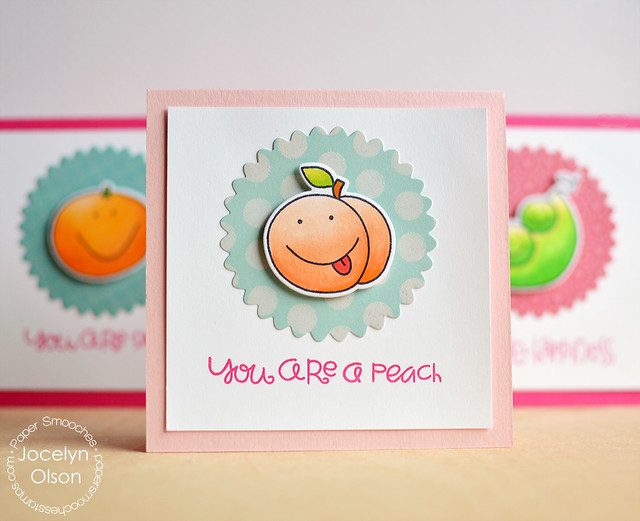
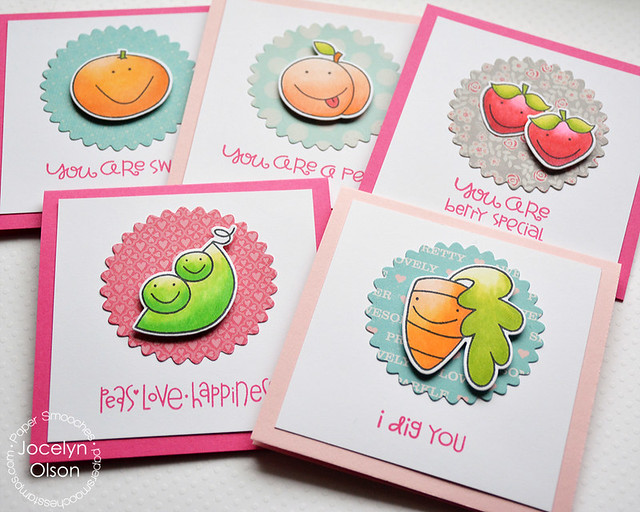
Fruit and Veggie Valentines

So back in December (for the January Paper Smooches release), I stamped, Copic colored, and die-cut about 35 fruits and vegetables using the Paper Smooches Fruitastic and Vegtastic stamps and Fruitastic Icons and Vegtastic Icons dies. Thankfully, I find coloring pretty relaxing. :)


Fruit and Veggie Valentines

I used a mix of Paper Smooches sentiments, from the Fruitastic, Vegtastic, and Woofers and Tweeters sets. For the background papers, I used the Scalloped Circle die.

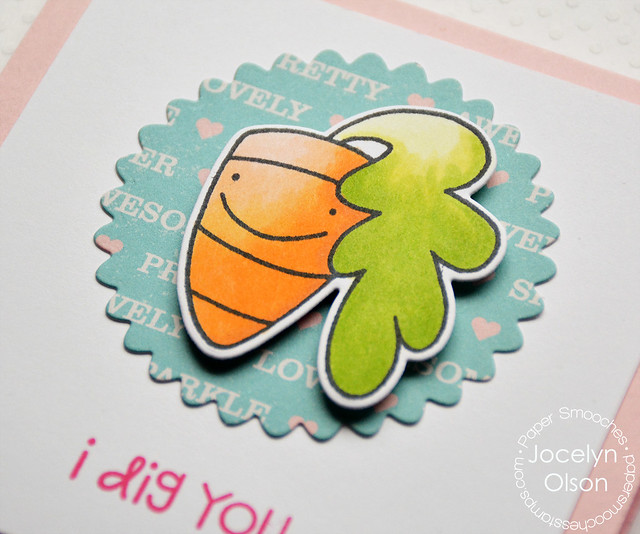
Here's a close-up of my favorite--the carrot. Hee hee.

Fruit and Veggie Valentines

My daughter used them for her valentines, but these cards would work year-round--I kept a few for me to use. ;)

Tomorrow, I'll share the valentines I made for my son's class.

Have a great day!
Supplies
Stamps: (carrot, peas, sentiments from Vegtastic; strawberries, peach, orange, sentiments from Fruitastic; "I dig you" sentiment from Woofers and Tweeters) Paper Smooches
Dies: (vegetables from Vegtastic Icons; fruit from Fruitastic Icons; Scalloped Circle) Paper Smooches
Cardstock: (Doll Pink, Cotton Candy) Simon Says Stamp, (white) Papertrey Ink
Patterned paper: (Shimelle) American Crafts; (Love Notes) Crate Paper
Ink: (Melon Mambo) Stampin' Up; (Tuxedo Black) Memento
Copic markers

Thursday, October 30, 2014

October Paper Smooches Design Team Blog Hop

Hi everyone! It's almost Halloween--yippee!

It's also Pep Rally week and we are here today to share a sampling of the NEW Paper Smooches November release with you! FOUR new stamps and EIGHT new dies will be available to purchase tonight (October 30th at 9:00pm PT or midnight ET). Once our release goes live, you will find our new products HERE.

To add extra fun to our blog hop...we are offering up a prize! 
The prize - a $25 gift code to choose what you like at the PS online storeHere are the details:
  • FOUR winners will be chosen at random from any of the design team blogs and the PS Blog to win the $25 prize. 
  • Just leave a comment on any of the design team blogs listed above or the PS blog for your chance to win (you do not need to comment on all blogs to qualify, but it increases your chances). 
  • Deadline: You have until midnight MT on Sunday, November 2nd to leave a comment. 
  • Please check the Paper Smooches blog on Monday, November 3rd to see if you are one of the FOUR lucky winners. 
Here's the order of the hop:
To increase your chance of winning:
  • Tell us that you Facebooked about our blog hop (leave another comment) 
  • Tell us that you Tweeted about the hop (leave another comment) 
  • Tell us that you posted on your blog about our blog hop (leave another comment) 
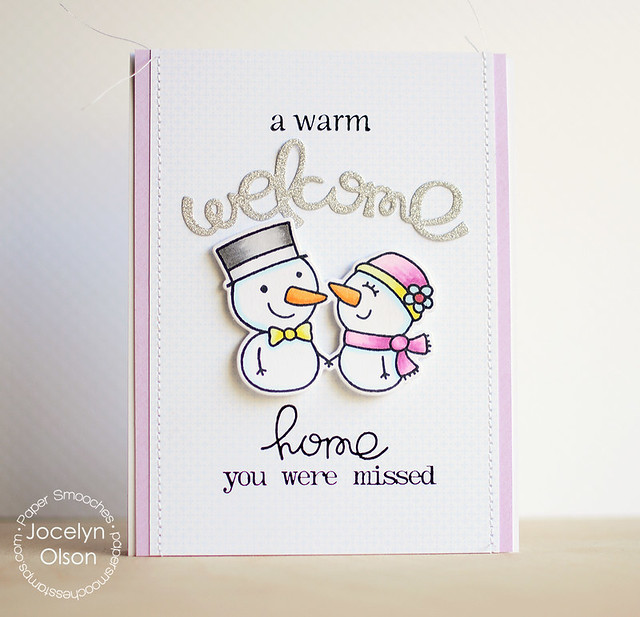
Here's my card using The Welcome Wagon:


A Warm Welcome

The Welcome Wagon is the November TAM set, so it's *free* if you spend $60 at Paper Smooches. Score! 
I couldn't believe how many different phrases I could make, and I like that they are different than other stamp sets I own.

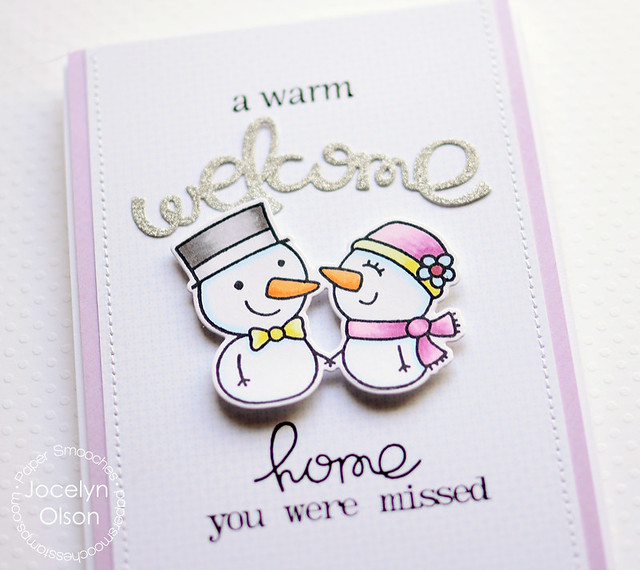
I stamped three of the sentiments from The Welcome Wagon and added the new Welcome Word die-cut. Aren't those snowmen the cutest ever? They're from the new Cool Dudes set and matching die. I used digital patterned papers from Paislee Press for the layers. Yup, had to make it a hybrid card. ;)

Here's a close-up:


A Warm Welcome

Thanks for stopping by! Before I sign-off, I wanted to give a shout-out to our new team member Kay Miller. Welcome, Kay!

Next up is my sweet and very talented friend Kalyn!


Supplies
Stamps: (sentiments from The Welcome Wagon; snowmen from Cool Dudes) Paper Smooches
Dies: (welcome from Welcome Word die; snowmen from Cool Dudes Icons) Paper Smooches
Cardstock: (white) PTI; (silver glitter cardstock) Hobby Lobby
Patterned papers: (From Where I Stand by Paislee Press) The Lilypad
Ink: (Graphite Black Brilliance; Tuxedo Black Memento) Tsukineko
Copics

Tuesday, October 21, 2014

Happy Holidays!

Hi everyone!

It's day two of Release Week at Neat & Tangled! Today, we're sharing projects using the Little Santa Girl stamp set. She's so cute! Danielle is sharing pictures of the stamps on the Neat & Tangled blog, so be sure to check it out.

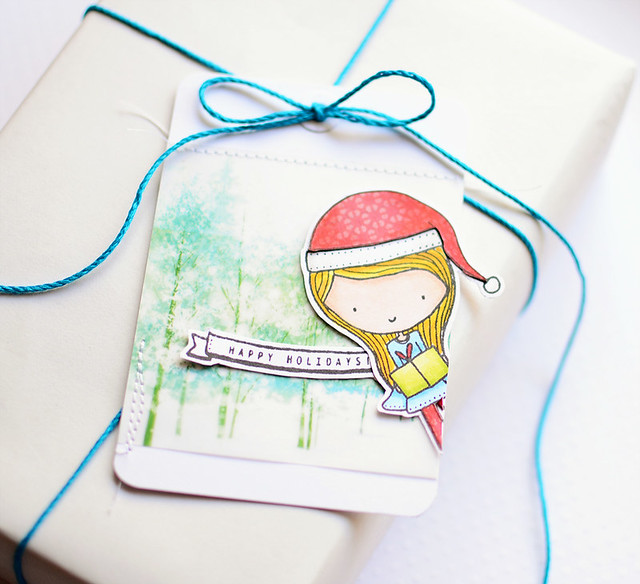
I used the mini set for a tag:

Happy Holidays Tag

Do you ever have those projects where you start creating but have no plan in mind? Yep, this tag was one of those projects. I started by coloring the Little Santa Girl with Copics, but I felt like she needed an oomph. So, I paper-pieced her hat and tights and used colored pencils to add shading to the patterned paper.

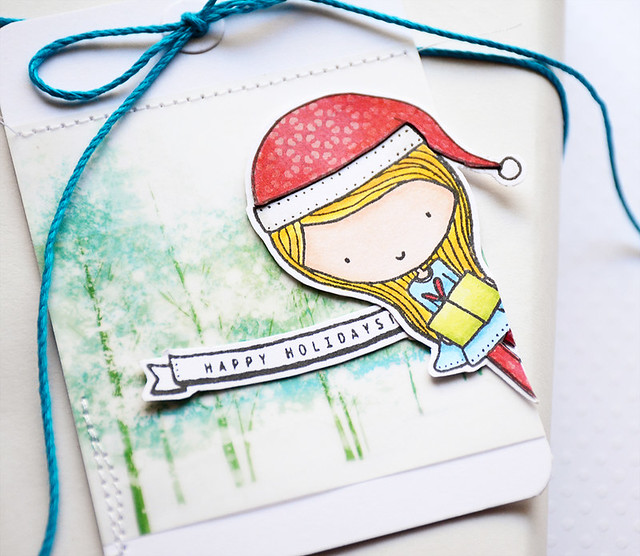
At first, she was going to be standing, and then I was going to have two girls coming from the edges. After playing around, I decided to have one girl peeking into the scene. I had to cut off her legs, which was kind of weird. But, it looked weirder to have the legs hanging off. ;)

I added some Webster's Pages All That Glitters vellum and stitching. Here's a close-up:

Happy Holidays Tag


There's a giveaway! Comment on the Neat & Tangled blog to win the Little Santa Girl set.

Thanks for stopping by! Have a great day!

Supplies
Stamps: (girl, sentiment banner from Little Santa Girl) Neat & Tangled
Cardstock: (white) Papertrey Ink
Patterned paper: (Loved vellum from All That Glitters) Webster's Pages
Ink: (Tuxedo Black Memento) Tsukineko
Copics
Embellishments: (blue twine) Hemptique

Thursday, September 25, 2014

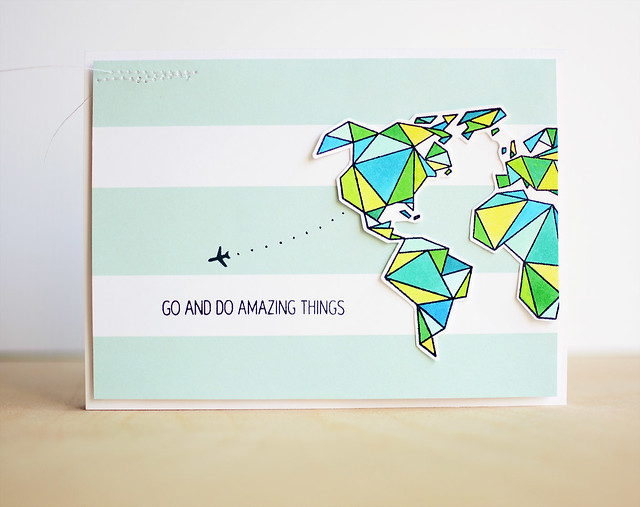
Go and Do Amazing Things

Hi everyone! I hope you're having a great week!

It's day 4 of Neat & Tangled's release week! Today we're sharing projects using the Origami Map stamp set, which was designed by Miriam Prantner. Danielle is sharing pictures of the set on the Neat & Tangled blog.

This set is fun and very versatile! Here's what I made:

Go and Do Amazing Things

This card took time, but it was pretty easy to make. I stamped the Origami Map, got out a bunch of Copics, and started coloring. I skipped the shading--otherwise, I'd probably still be coloring. ;) Once I was done, I fussy cut the map and trimmed off the edge.

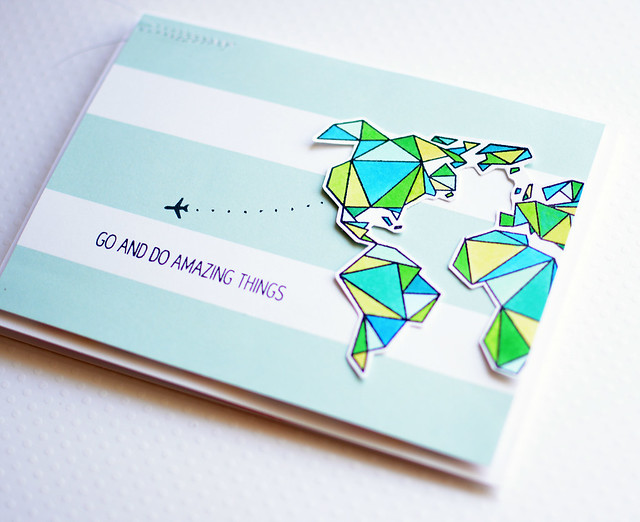
The sentiment and airplane are also from the Origami Map set. I stamped them on the MME Just Sayin' paper:

Go and Do Amazing Things

Since the map had so many colors and is graphic, I decided to keep the card pretty CAS.


There's a giveaway! Comment on the Neat & Tangled blog to win the Origami Map stamp set.
Thanks for stopping by!

Supplies
Stamps: (sentiment, map, airplane from Origami Map) Neat & Tangled
Cardstock: (white) PTI; 110lb. Neenah
Patterned paper: (stripe paper from Just Sayin') My Mind's Eye
Ink: (Tuxedo Black Memento) Tsukineko
Copics, Copic Multiliner

Monday, September 22, 2014

Neat & Tangled Release Day 1

Hi everyone! I hope you had a great weekend!


It's release week at Neat & Tangled! To kick things off, we're sharing projects using the Creepy Cute, Creepy Cute Shadows and Sentiments, Creepy Cute Dies, and Spooktacular Sequins. Danielle is sharing pictures of the products on the Neat & Tangled blog.

Here's how I used the sets:

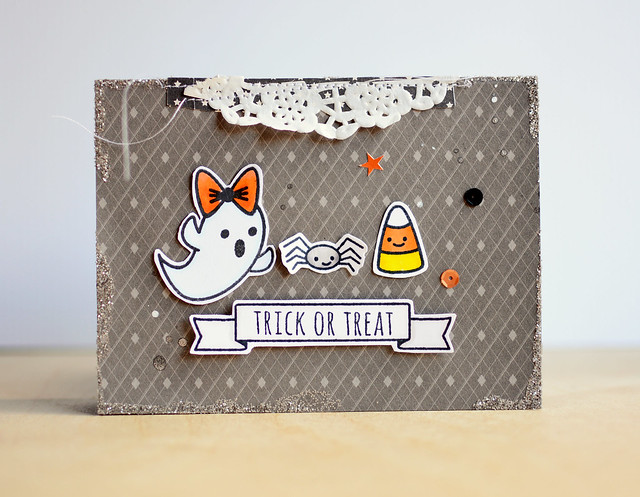
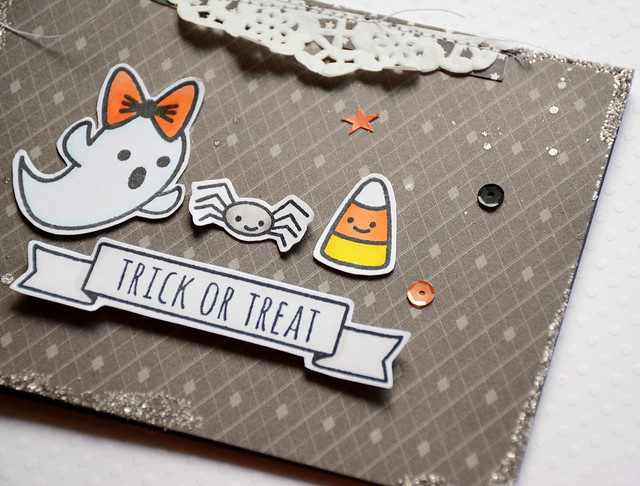
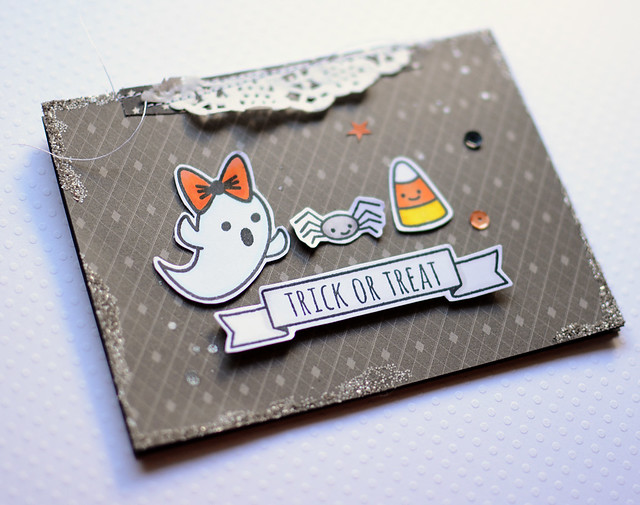
Trick or Treat


Aren't those little guys adorable? I masked and added the bow on the ghost. I realized after I took the picture that I used my "draft" ghost instead of the final one. Oops! I really need reading glasses. 

I added the face to the candy corn--isn't he the cutest? The ghost and candy corn are from the Creepy Cute, and the sentiment and spider are from the Creepy Cute Shadows and Sentiments

Trick or Treat


After I had all of the elements on the AC Haunted Hollow paper, I felt like it needed something more. I flipped through my pins and saw THIS gorgeous card by Rahel Menig. I *loved* the glitter edges and had to try it. I also added a few drops of a metallic mist. Here's the card in the light:

Trick or Treat

There's a giveaway! Comment on the Neat & Tangled blog to win the Creepy Cute and Creepy Cute Shadows and Sentiments sets.

Thanks for stopping by!


Supplies
Stamps: (ghost, bow, candy corn, smile from Creepy Cute; (sentiment, banner, spider from Creepy Cute Shadows and Sentiments) Neat & Tangled
Cardstock: (Neenah 110lb) 
Patterned paper: (Haunted Hollow) Amercian Crafts
Ink: (Tuxedo Black) Tsukineko; (Antique Silver mist) Maya Mist; (Opaque White Mister Huey's) Studio Calico
Copics
Embellishments: (Spooktacular sequins) Neat & Tangled; (doily) craft supply; (Pumice Distress Glitter) Tim Holtz

Thursday, August 28, 2014

Paper Smooches August DT Blog Hop

Hi everyone!

It's Pep Rally week and we are here today to share a sampling of the NEW Paper Smooches September release with you! FOUR new stamps and EIGHT new dies will be available to purchase on September 1st. You will find our new releases HERE.

To add extra fun to our blog hop...we are offering up a prize! The prize - a $25 gift code to choose what you like at the PS online store
Want a chance to win a prize? Here are the details:
  • FOUR winners will be chosen at random from any of the design team blogs and the PS Blog to win the $25 prize. 
  • Just leave a comment on any of the design team blogs listed above or the PS blog for your chance to win (you do not need to comment on all blogs to qualify, but it increases your chances)! 
  • Deadline: You have until midnight MT on Sunday, August 31st to leave a comment. 
  • Please check the Paper Smooches blog on Monday, September 1st to see if you are one of the FOUR lucky winners. 
Here's the order of the hop:
To increase your chance of winning:
  • Tell us that you Facebooked about our blog hop (leave another comment) 
  • Tell us that you Tweeted about the hop (leave another comment) 
  • Tell us that you posted on your blog about our blog hop (leave another comment) 
Here's my card using A Blessed Christmas:

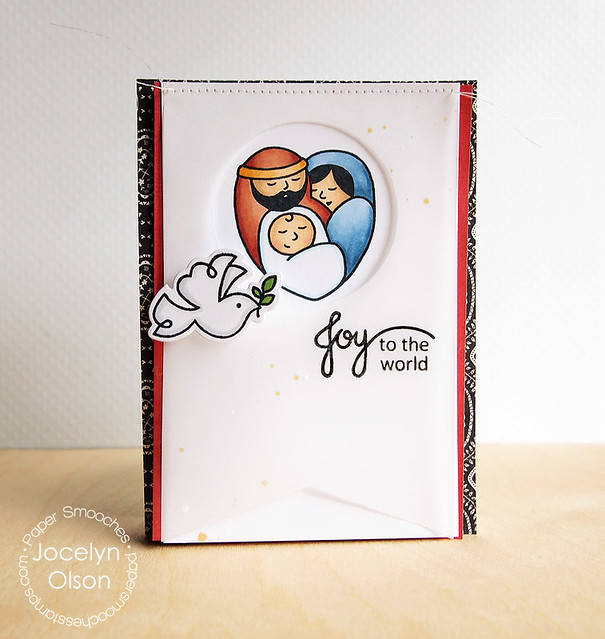
Isn't that image so sweet? I love that it's a cute religious, Christmas image. This set has so many fabulous images!


For my card, I simply stamped and colored it with Copics. To add a soft layer, I die-cut a the window out of vellum and stamped the sentiment from A Blessed Christmas directly on the vellum (got to love the Brilliance inks). Finally, I used the matching Blessed Icons dies to die-cut the dove. When I think of Christmas, I don't typically think of rust and black colors. ;) But, as soon as I saw these BasicGrey papers with the image, I had to go with the non-traditional colors. 

Here's a close-up:


Thanks for stopping by! Next up is my sweet and very talented friend Kalyn!


Supplies
Stamps: (sentiment, holy family, dove from A Blessed Christmas) Paper Smooches
Dies: (dove from Blessed Icons); (banner, circle) Silhouette America
Cardstock: (white) PTI; (vellum) Hobby Lobby
Patterned papers: (Spice Market) BasicGrey
Ink: (Graphite Black Brilliance; Tuxedo Black Memento) Tsukineko; (Gold and Opaque White Mister Huey's spray mist) Studio Calico
Copics

Monday, July 14, 2014

Neat & Tangled Release: Gifts for You

Hi everyone! I hope you had a great weekend! I spent most of the weekend on the beach. :)


It's release week at Neat & Tangled! To kick things off, we're sharing projects using the Gifts for You stamp set. This set, designed by (the super-talented) Pamela Ho, is super cute and very versatile:


Here's how I used the set:

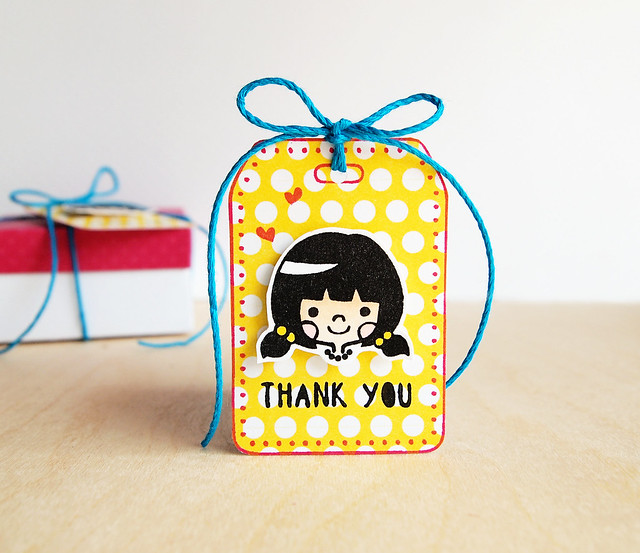
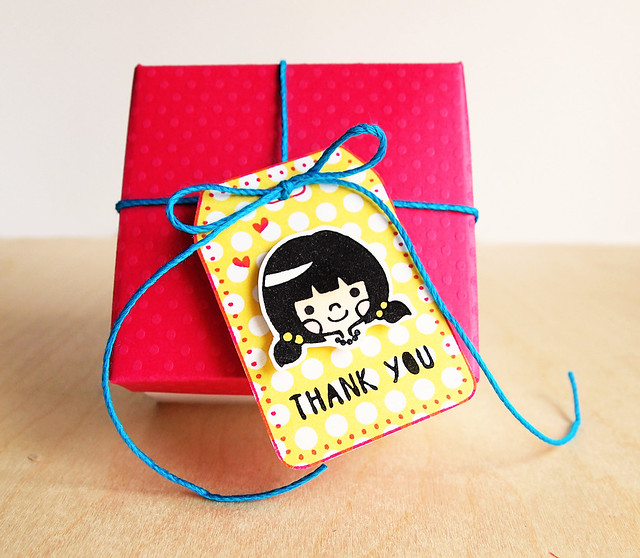
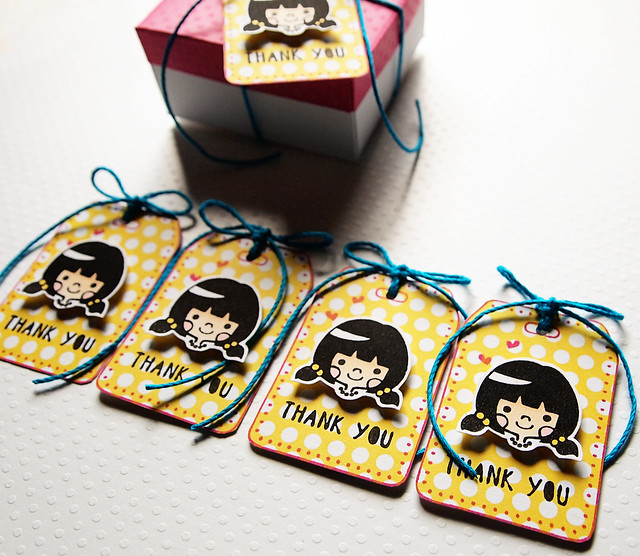
Thank You Tags

Isn't she adorable? I was thinking this set would work perfectly as a tag on a party favor. I stamped the tag, hearts, and sentiment for each tag on patterned paper. For the girl, I stamped, colored her with Copics, and fussy cut her.

I die-cut a party favor box and attached the tag:

Thank You Tags


These tags were so easy to mass-produce for a party thank you. I think I'll be using these for my daughter's next birthday. :)

Thank You Tags

There's a giveaway! Comment on the Neat & Tangled blog to win the Gifts for You and new Pink Lemonade sequins.

Thanks for stopping by!


Supplies
Stamps: (sentiment, girl, hearts, tag) Gifts for You
Cardstock: (white) PTI
Patterned paper: (June Scrapbooking Add-On) Studio Calico
Ink: (Melon Mambo) Stampin Up!; (Brilliance Galaxy Black) Tsukineko
Copics
Twine: (blue bamboo) Hemptique

Wednesday, June 18, 2014

Best Friends

Hi everyone! I hope you're having a great week. We've been having crazy weather and flooding this week--I have my fingers crossed that we won't have any more rain this month!

wed-designerspotlight-header
I'm guesting with the Simon Says Stamp Wednesday Challenge again. :)


wed-newchallenge-header

This week's challenge is "You've gotta have friends." The team is using stamps by Art Impressions, although you don't have to use AI stamps to play along. 

Here's my card:

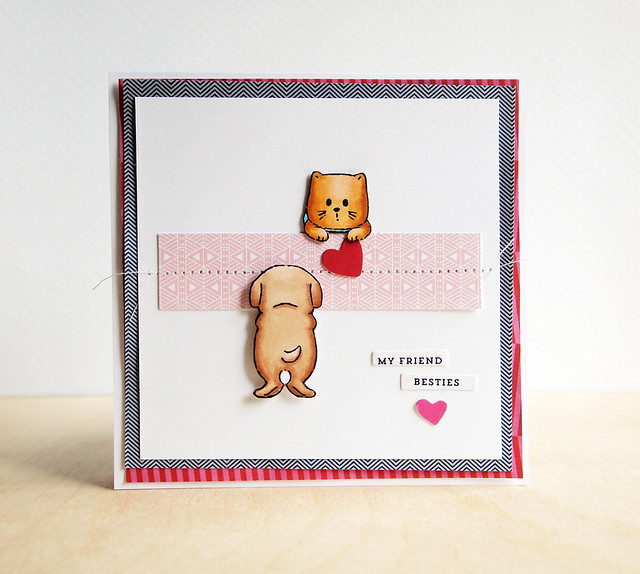
Best Friends

I used the Art Impressions Cat and Dog Mini stamp set for my card. The set has heads and arms for a cat and a dog and stamps for their backsides. They're made for a window card, but instead, I made a ledge out of pp.

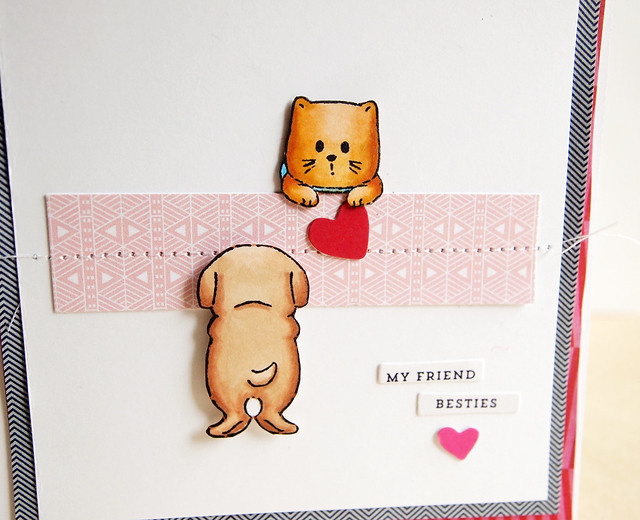
I colored and fussy cut the cat and dog and used some hearts and sentiments from the Pen Pals Die-Cuts (and yes, that pink heart is wonky). I layered some Pen Pal papers underneath.

Here's a close-up:

Best Friends


Want to see the inspiration for my scene?


This picture was taken 10 years ago, and while Marma (the cat) didn't like other animals, after five years together, she could peacefully co-exist with the dog. ;)

If you would like to join in on the challenge, you can link up your projects HEREIn addition to our fabulous $50 Simon Says Stamp Gift Voucher, Art Impressions Stamps is offering a wonderful prize opportunity for those who participate in the challenge! To enter, simply link up your creation (like you usually do) and then use the Rafflecopter Widget on the challenge blog to enter to win! 

50dollar_voucher_600px

Simon Says Stamp


Thanks for stopping by! Have a great week!


Supplies
Cardstock: (white) PTI
Patterned paper: (Pen Pals) Pink Paislee; (pink from Camelot) Studio Calico
Stamps: (Cat & Dog Mini Stamp Set) Art Impressions
Die-cuts: (Pen Pals Die-Cuts) Pink Paislee
Copics

Blog Design by Caked Designs