Showing posts with label hello. Show all posts

Thursday, October 8, 2015

Hello, Love

Hi everyone!

Hi Love Set

This week, Maya Road and Ruby Rock-It are having a blog swap! 


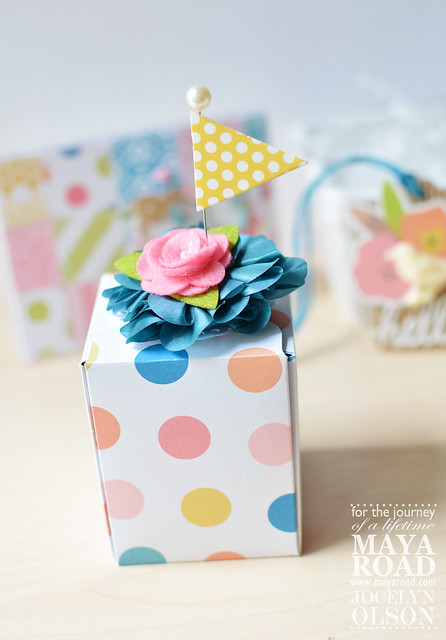
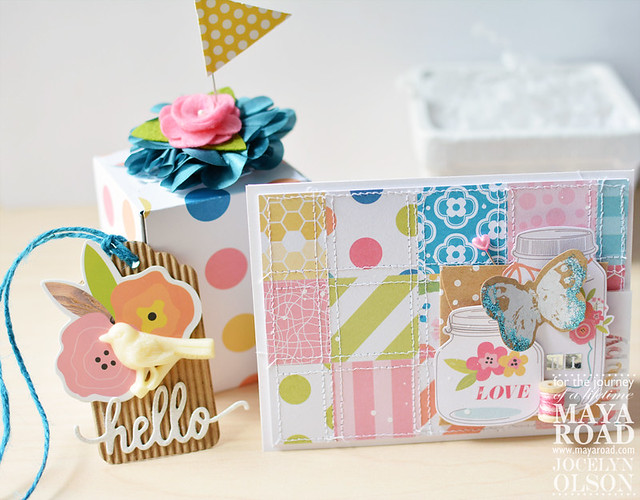
For the hop, I made a gift wrap with a box, tag, and card. First, I made a gift box:


Hi Love Set


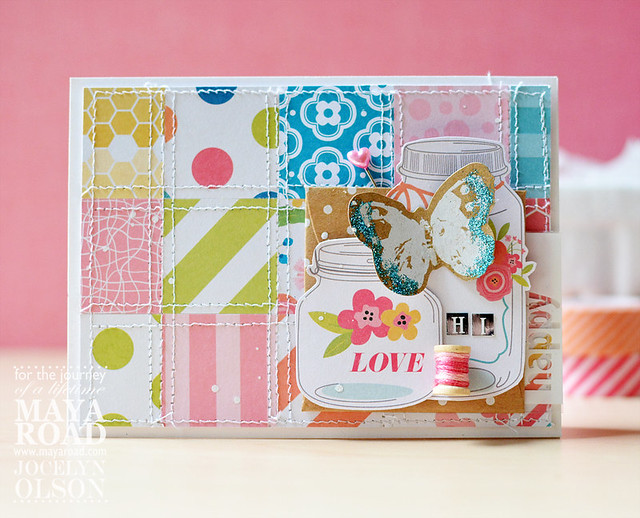
Then, I made a card to go with the gift:

Hi Love Set

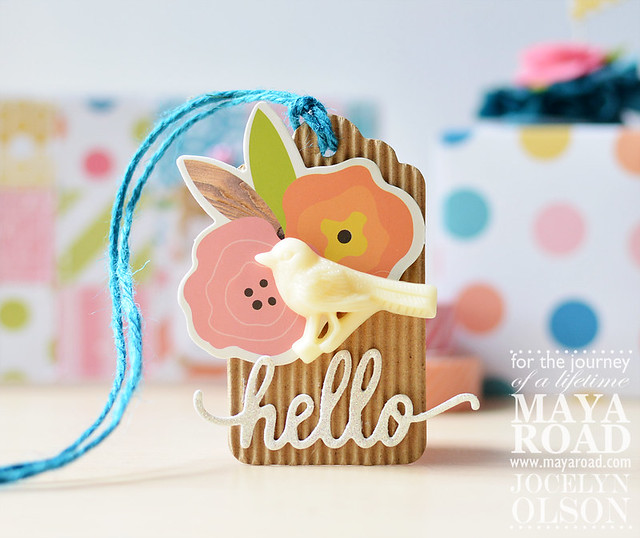
Lastly, I created a simple tag for the gift box:

Hi Love Set

The supply list, details, and more pictures are over on the Maya Road blog

As part of the blog swap, there's a giveaway. :) Check out the details HERE. To enter, leave on comment on the Maya Road blog HERE and each day of the hop this week. Also, be sure to check out the Ruby Rock-It post

Thanks for swinging by. Have a great day!

Tuesday, April 28, 2015

Guesting at My Favorite Things

Hi everyone! Happy Wednesday!

I have a sneak....

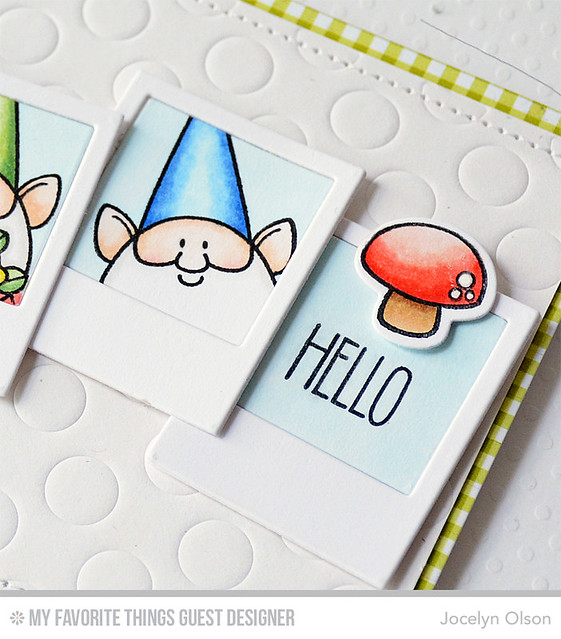
Gnome Hello


It's my second guest post over at My Favorite Things. I'm still squealing! :) I made a card with the new Birdie Brown You Gnome Me set and also a gnome hat. If you have a chance, please check it out HERE. Thank you!!

Thank you so much to MFT for asking me to guest!

Have a great day! Thanks for stopping by!


Wednesday, April 15, 2015

Howdy

Hi everyone! Happy Wednesday!

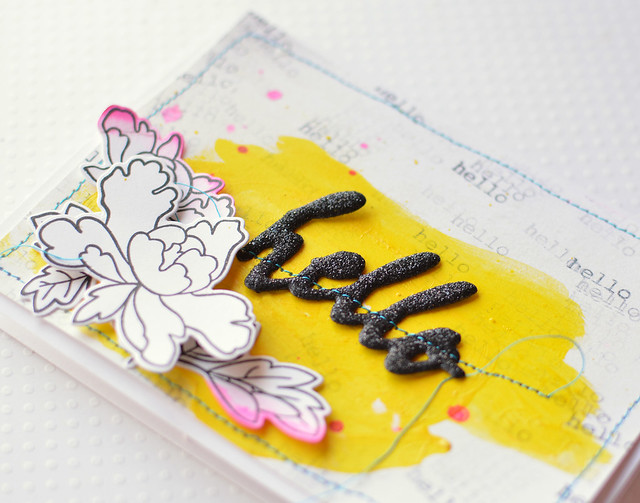
Hello Hello

I'm over on the Altenew blog today sharing an artsy card. If you have a chance, I'd love it if you swung by for a look. :)

It's my husband's birthday today. The kids and I are looking forward to cake. ;)

Thanks so much for stopping by!

Thursday, March 26, 2015

March Paper Smooches DT Blog Hop

Hi everyone!

It's Pep Rally week and we are here today to share a sampling of the NEW Paper Smooches April release with you! FOUR new stamps and EIGHT new dies will be available to purchase on March 31st at 8:00pm PT. Once our release goes live, you will find our new products HERE.

To add extra fun to our blog hop...we are offering up a prize! 
The prize - a $25 gift code to choose what you like at the PS online storeHere are the details:
  • FOUR winners will be chosen at random from any of the design team blogs and the PS Blog to win the $25 prize. 
  • Just leave a comment on any of the design team blogs listed above or the PS blog for your chance to win (you do not need to comment on all blogs to qualify, but it increases your chances). 
  • Deadline: You have until midnight PT on Sunday, March 29th to leave a comment. 
  • Please check the Paper Smooches blog on Tuesday, March 31st to see if you are one of the FOUR lucky winners. 
Here's the order of the hop:
To increase your chance of winning:
  • Tell us that you Facebooked about our blog hop (leave another comment) 
  • Tell us that you Tweeted about the hop (leave another comment) 
  • Tell us that you posted on your blog about our blog hop (leave another comment) 
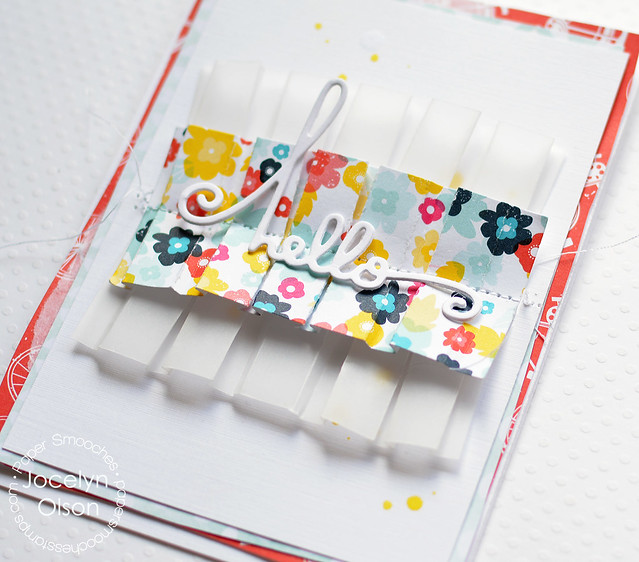
Here's how I used the Ruffle Pleats die:


Hello Pleats

The new Ruffle Pleats die is so much fun! The die has score lines, which makes it easier to create box pleats.  Plus, if you want a longer row of pleats, you can use partial die-cutting and create a strip for a layout or packaging.

I took step-out photos of the process below:


Hello Pleats
  1. I die-cut a piece of vellum (you can see the score lines) and folded the lines to create box pleats. I used a shim for die-cutting the vellum to get deeper score lines. 
  2. I cut another piece of vellum and a piece of patterned paper. 
  3. The vellum were temporarily held with vellum tape and then stitched in an arc to the paper. The arc fans out the pleats, although you could stitch them straight. Also, you don't have to stitch these, but if you don't I would suggest using a strong adhesive if you're going to "ruffle" the pleats.
  4. For the patterned paper, I stitched through the center and loosened the pleats. Both types of stitching give a different look. :) 
I also used the Hello Words die. To finish the card, I hand-cut some American Crafts patterned papers for layering. The papers are so old, they look new again. Ha!

Here's a close-up:

Hello Pleats

Thanks for stopping by! Next up is my sweet and very talented friend Kalyn!


Supplies
Dies: (Ruffle Pleats die; sentiment from Hello Words die) Paper Smooches
Cardstock: (White Linen) Ellen Hutson; (vellum) My Favorite Things
Patterned papers: (Shoreline) American Crafts
Ink: (Taxi, Shine mists) Studio Calico

Wednesday, June 4, 2014

Neat & Tangled

**For my Simon Says Stamp Wednesday Challenge post, please click HERE.

Hi everyone! I hope you're having a good week.


I have exciting news today that I've had to keep secret for a long time. I'm joining the Neat & Tangled Team!! I'm honored to be joining this fab team--they are so talented! :) You can read the announcement HERE.

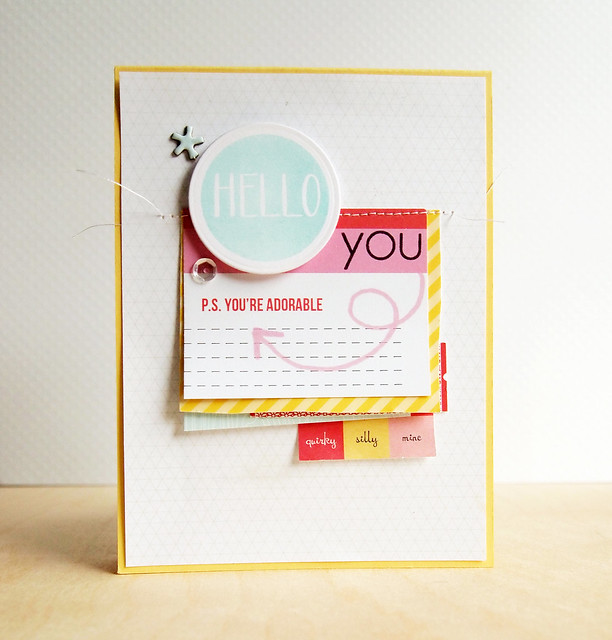
I made a little card to celebrate!


Hello You


I used the Neat & Tangled Everyday Circles set to stamp the "hello" and "you." This set is very versatile--I love it. :) I stamped the "you" on a Studio Calico Camelot large journaling card I trimmed down.

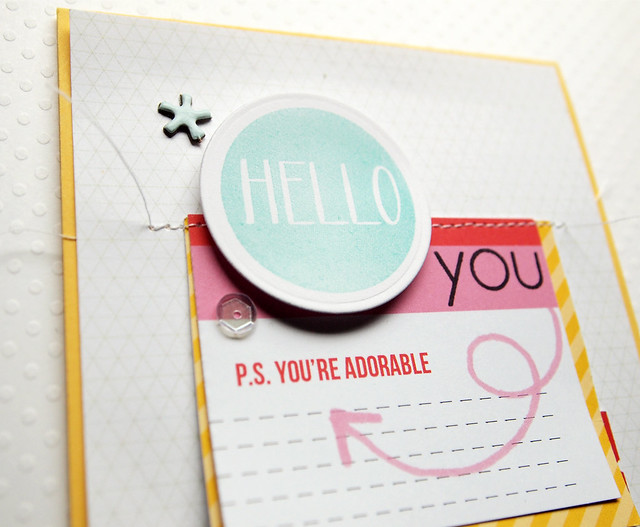
Here's a close-up:


Hello You


I finished off the card with some layers and a chip asterisk from Camelot and a Neat & Tangled Crystal Clear sequin.

Thanks so much for stopping by! Have a fantastic day!


Supplies
Stamps: (Hello and you from Everyday Circles) Neat & Tangled
Cardstock: (yellow) 
Patterned paper: (journaling cards from Camelot Project Life; papers from Camelot 4x6) Studio Calico
Ink: (Pool) Fresh Ink; (Tuxedo Black) Tsukineko
Embellishments: (Crystal Clear sequin) Neat & Tangled; (chipboard asterisk from Camelot PL) Studio Calico


Tuesday, May 20, 2014

Hello Card Set

Hi everyone! I hope you're having a great week! :)


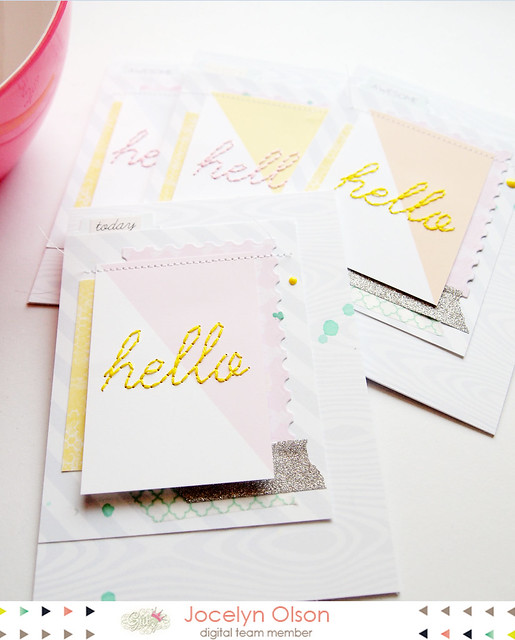
Stephanie and I are on the Glitz blog today. We're using projects with the Bits and Pieces (journaling cards).

I went round-and-round about what to make, but I settled on a card set.


Stitched Hello


I used the "hello" digital journaling cards from the Carpe Diem collection. In the original journaling card, the "hello" is in black and the triangle is a slightly lighter shade of pink. I adjusted the colors and lightened the "hello" so it wouldn't appear through the stitching. I'll be giving a tutorial on this process soon for something coming up. :)

Once I printed the cards, I used the word as a stitching template. Here's one of the cards:


Stitched Hello


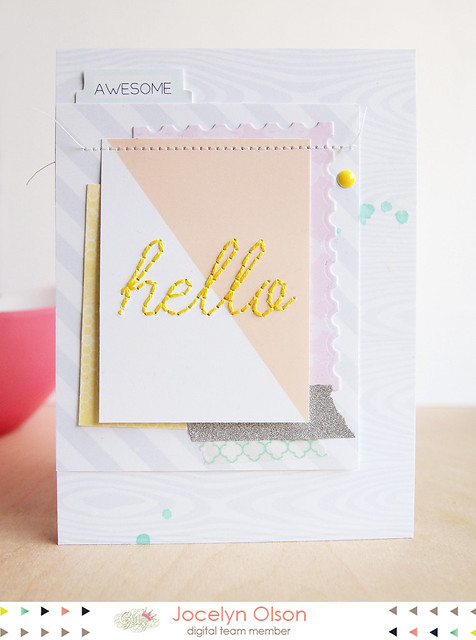
For the layered papers, I enlarged another one of the Bits and Pieces from the Raven collection for the woodgrain background. I layered other papers from the Cashmere Dame and All Dolled Up. I love how they all coordinate nicely. The "awesome" and the tab are both from the Carpe Diem element packs.

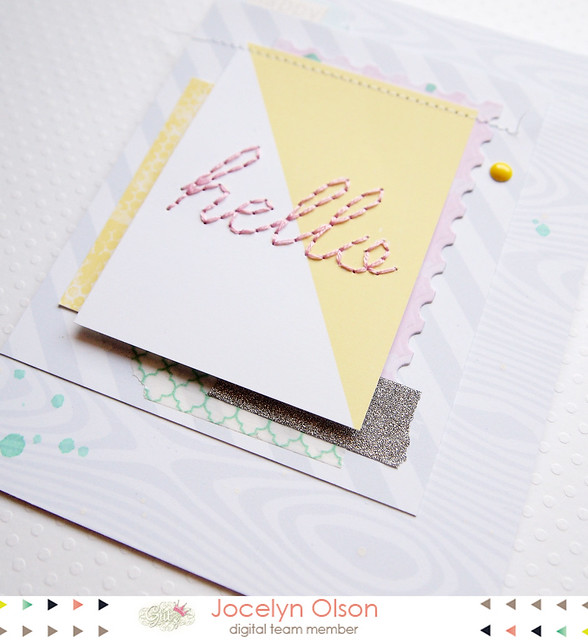
Here's a close-up:gli

Stitched Hello


At the bottom of each panel, I added some of the new Silver Glitter and Mint Chain washi tapes from Glitz.

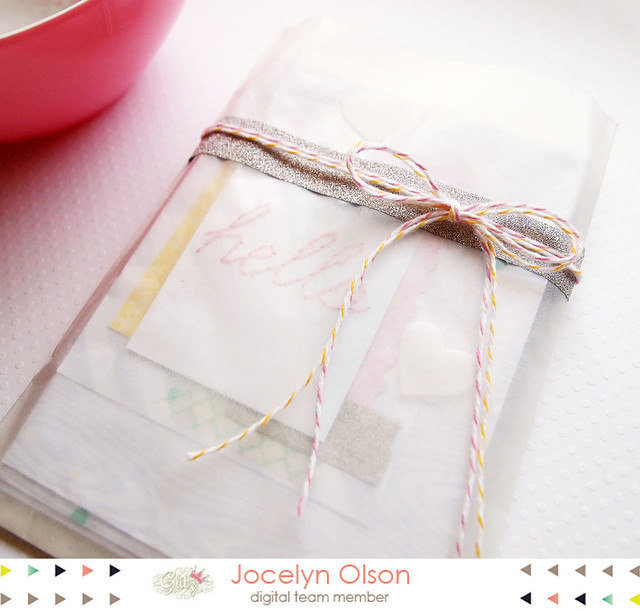
To wrap up the card set, I simply put them in a glassine bag. I added a couple of vellum hearts, Baker's twine, and more of the Silver Glitter washi tape. The cards are pretty busy, so I thought it worked to keep the packaging simple. Yep, that's my story, and I'm sticking to it. ;)


Stitched Hello


Thanks for looking! Have a great day!


Supplies
Cardstock: (white) Avery Elle
Digital elements: (woodgrain, stripe from Raven Element Pack 2; pink bow from All Dolled Up Paper Pack; yellow from Cashmere Dame Paper Pack; hello journaling card from Carpe Diem Element Pack 2; "awesome" from Carpe Diem Element Pack 1; file tab from Carpe Diem Element Pack 3)
Dies: (Postage Stamp) My Favorite Things
Fibers: (twine) May Arts
Embellishments: (Mint Chain, Silver Glitter washi tape) Glitz Design; (enamel dots) My Mind's Eye

Thursday, October 10, 2013

Hey Foxy

Hey everyone! Ready for the weekend? I know I am!

CAS-ual Fridays has a new challenge:


Yep, it has to be one of my favorites--add real or faux stitching on a card. It's no secret that I love to sew on cards. :)

I've been dying to use my new Amuse stamps, and I was glad I had a chance to use them for the challenge:


I.am.in.love. Do you ever have those moments where you come across a scrappy product and you *have* to have it? I had that moment when I saw the Hey Foxy stamps.

I die cut the fox, acorn, and leaves, and then I broke out my stamp positioner to stamp the images (they're cling stamps). I stitched a line to look like the leaves were falling and then another under the fox. Looking at the card, I wish the thread around the leaves was a different color. For the sentiment, I used a stamp from Simon Says Stamp.

Here's a close-up:


I want to squeeze him!

If you want to play along with this week's CAS-ual Fridays challenge, you can link up HERE. This week, the challenge is sponsored by Simon Says Stamp. I hope you'll play along!


Have a great weekend! Thanks for stopping by.


Supplies
Cardstock: (white) PTI
Patterned paper: (Family Traditions) Webster's Pages
Clear stamps: (sentiment from For the Record) Simon Says Stamp
Rubber stamps: (Hey Foxy) Amuse Studio
Dies: (Hey Foxy) Amuse Studio
Copics


Blog Design by Caked Designs