Showing posts with label Simon Says Stamp. Show all posts

Monday, March 28, 2016

Paper Smooches + Simon Says Stamp

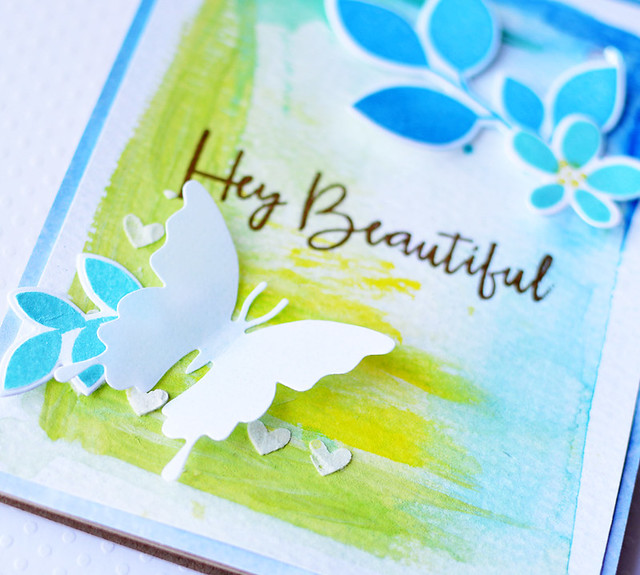
Hi everyone! I'm up on the Simon Says Stamp blog today (yeah!!)! I made two spring Paper Smooches cards with mixed media backgrounds.

Here's a sneak:

Hey Beautiful

If you have a chance, please check out the Simon Says Stamp post HERE. Thank you!!! Also, a big thanks to Stephanie for asking me to guest. :)

Thanks so much for stopping by. Have a great day!

Monday, November 16, 2015

Happy Holly Days

Hi everyone! Happy Monday!


I'm thrilled to be guesting over on the Simon Says Stamp blog (thank you!) I mixed new and old Paper Smooches to make a holiday card. I hope you check it out! :)

Thanks for stopping by! Have a great day!

Thursday, June 4, 2015

Pretty Pink Posh Watercolor Blog Hop

Hi everyone! Is it Thursday already? Yikes--the weeks are flying by!


Today I'm participating in the Pretty Pink Posh Watercolor Blog Hop. Yeah! Paulina's hops are awesome--great themes, lots of gorgeous cards, tons of prizes. :) The theme this time is watercoloring. Easy, right? The hop will be officially starting tomorrow (Friday) morning at 6am PST.

To kick things off, I'm sharing a watercolored card:

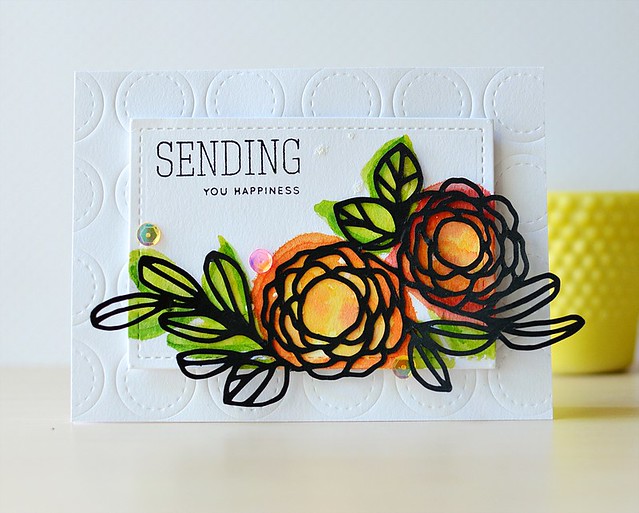
Sending Happiness

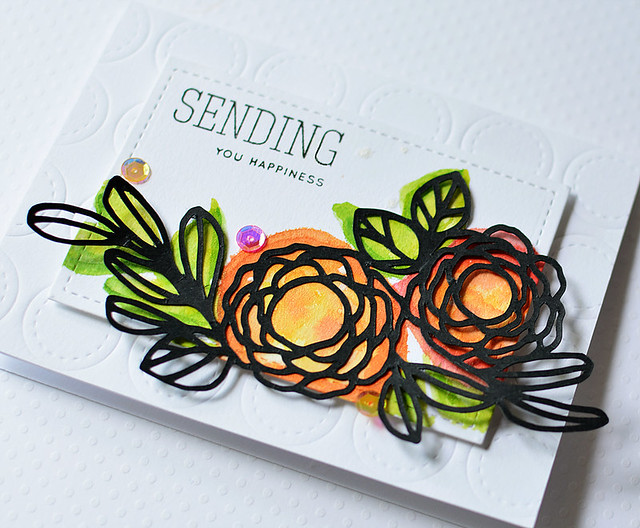
I started by die-cutting the Pretty Pink Posh Stitched Duo Die 2 frame out of smooth bristol. Love that die! It's great for so many projects. Next, I die-cut the Flowers and Leaves using my Cameo. The black die-cut is a little atypical me, but I wanted something bold and, well, different. :)

Sending Happiness

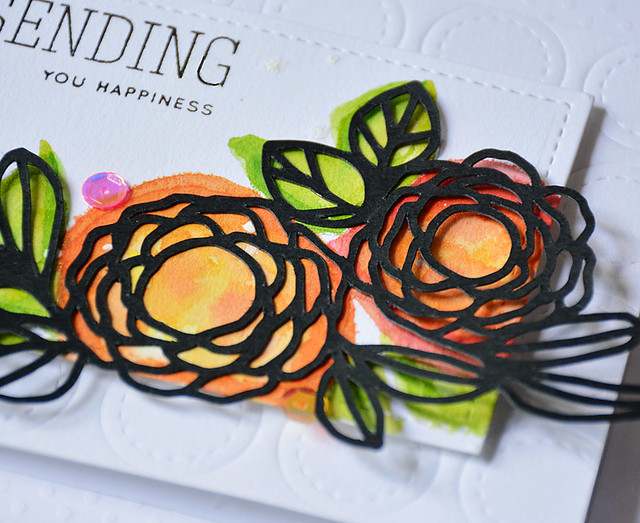
I lightly traced the outline of the die-cut on the Stitched Duo Die frame so I knew which colors to use. For the watercoloring, I used several spray mists and intentionally went way over my sketched borders for an artsy look.

The sentiment is from the Sending and Wishing set from SSS. I also added a few of the new Pretty Pink Posh iridescent sequins (Strawberry Burst and Sunshine Glow).

For the background, I embossed the cardstock using the stitched circles from the Stitched Duo Die 2. Here's a close-up:

Sending Happiness

Here's the scoop:

  • Leave a comment here and along the hop for chances to win prizes. You can find the links at the Pretty Pink Posh blog
  • The hop starts Friday (6/5) at 6 am PST. You can link up your watercolored cards on the Pretty Pink Posh blog until June 8th at 11:55 pm PST. 
  • If we can get 100 entries, Paulina will donate a $20 gift certificate to Ellen Hutson or Simon Says Stamp. For every 100 entries (up to 500) there will be an extra $20 gift certificate. 
  • When you link up, you'll be entered to win prizes from the fantastic sponsors! 


That's it from me. I hope you'll join in the blog hop! Have a great day!


Thursday, April 16, 2015

Simon Says Stamp & Paper Smooches

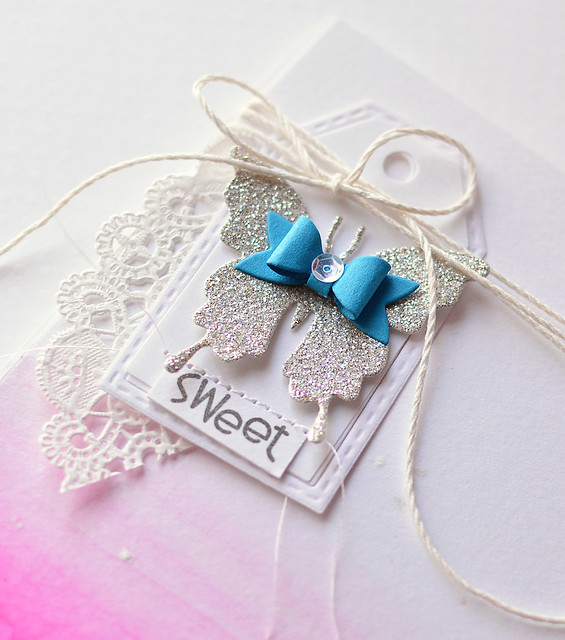
Hi everyone! I'm up on the Simon Says Stamp blog today! (Eek!) I have two Paper Smooches cards and a tutorial using the dip-dyed look I used on THIS card.

Here's a sneak:

Paper Smooches Sweet

If you have a chance, please check out the Simon Says Stamp post HERE. Thank you!!! Also, a big thanks to Stephanie for asking me to guest. :)

Thanks so much for stopping by. Have a great day!


Friday, February 13, 2015

A Vitamix Would Have Been Easier

Hi everyone! Happy Friday!

Just a quick post to share some valentines I made for my daughter's class.

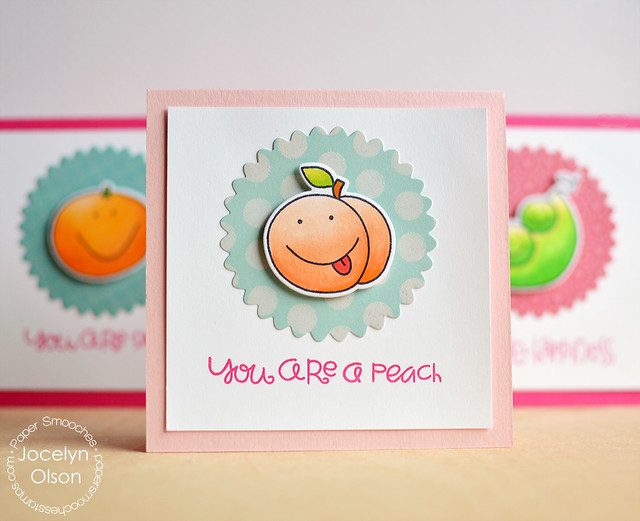
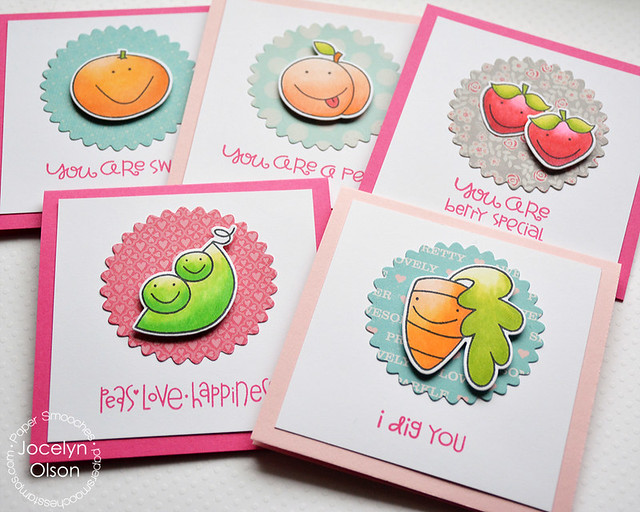
Fruit and Veggie Valentines

So back in December (for the January Paper Smooches release), I stamped, Copic colored, and die-cut about 35 fruits and vegetables using the Paper Smooches Fruitastic and Vegtastic stamps and Fruitastic Icons and Vegtastic Icons dies. Thankfully, I find coloring pretty relaxing. :)


Fruit and Veggie Valentines

I used a mix of Paper Smooches sentiments, from the Fruitastic, Vegtastic, and Woofers and Tweeters sets. For the background papers, I used the Scalloped Circle die.

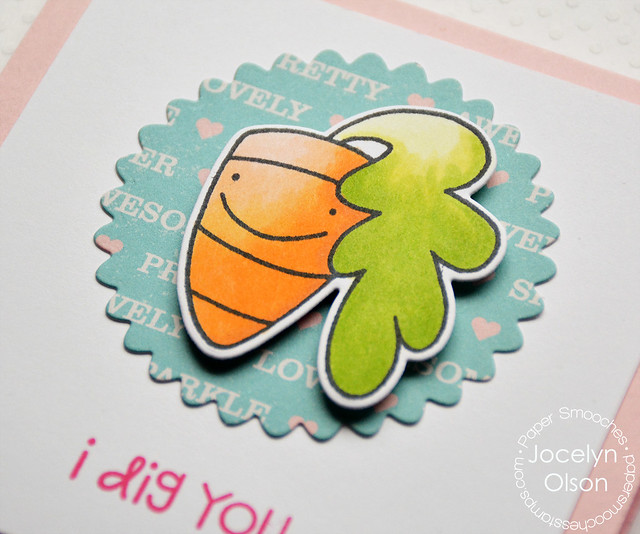
Here's a close-up of my favorite--the carrot. Hee hee.

Fruit and Veggie Valentines

My daughter used them for her valentines, but these cards would work year-round--I kept a few for me to use. ;)

Tomorrow, I'll share the valentines I made for my son's class.

Have a great day!

Supplies
Stamps: (carrot, peas, sentiments from Vegtastic; strawberries, peach, orange, sentiments from Fruitastic; "I dig you" sentiment from Woofers and Tweeters) Paper Smooches
Dies: (vegetables from Vegtastic Icons; fruit from Fruitastic Icons; Scalloped Circle) Paper Smooches
Cardstock: (Doll Pink, Cotton Candy) Simon Says Stamp, (white) Papertrey Ink
Patterned paper: (Shimelle) American Crafts; (Love Notes) Crate Paper
Ink: (Melon Mambo) Stampin' Up; (Tuxedo Black) Memento
Copic markers

Thursday, December 4, 2014

Warm Winter Wishes

**Hi everyone! If you're looking for my Paper Crafts & Scrapbooking Special Thanks blog hop post, please click HERE.

Wow, it's December--I can't believe it! It's been cold in South Dakota, which inspired today's card. :)


I'm guesting for the Little Tangles Team today for their new challenge--embossing! You can check out the details of the challenge on the Little Tangles blog.

Here's my card:

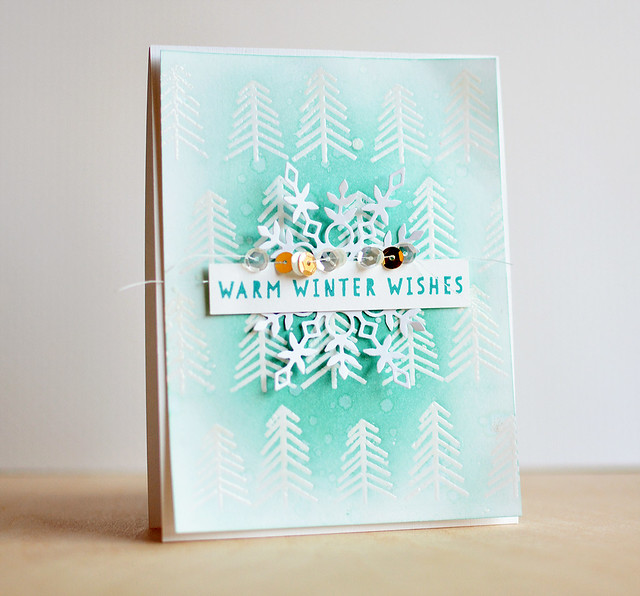
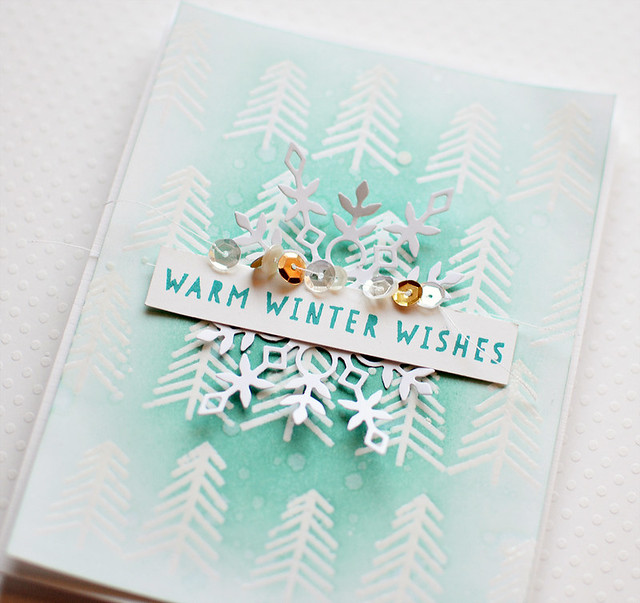
Warm Winter Wishes


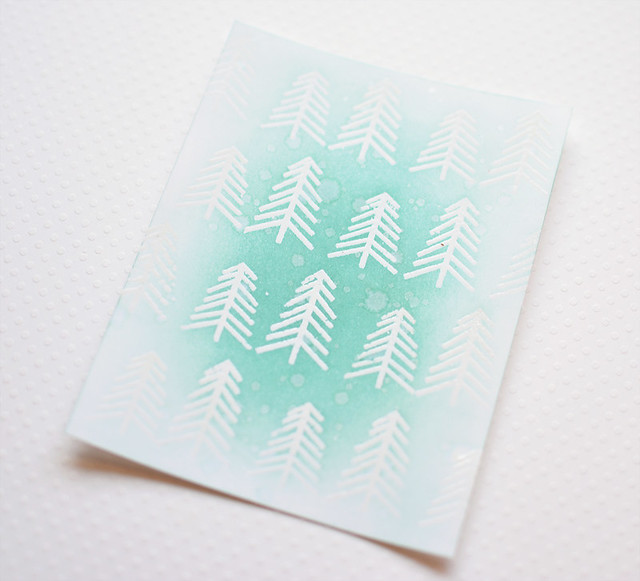
I started this card by heat embossing two trees from the Neat & Tangled Winter Wishes set. I then repeated the stamping/embossing about 20 times to create a background. I was inspired by one of Laura Bassen's cards, and I did some gradual blending with Distress Inks. I added some splatter with a Pearl mist to give the background some shimmer.

Here's a picture of the background:

Warm Winter Wishes

On top, I die-cut a Simon Says Stamp Eliza snowflake and layered a sentiment from the Winter Wishes set. The card still didn't feel finished, so I threaded some Crystal Clear and Christmas Mix sequins.

Here's a close-up:

Warm Winter Wishes

I hope you'll play along over at Little Tangles with the embossing challenge! You can link up your projects HERE.

Thanks for stopping by! I hope you have a great day!


Supplies
Cardstock: (white Ellen's Essentials Linen) Ellen Hutson; (white) Hobby Lobby
Stamps: (trees, sentiment from Winter Wishes) Neat & Tangled
Ink: (Evergreen Bough, Tumbled Glass Distress Inks) Ranger; (Ocean) Hero Arts
Die: (snowflake from Eliza) Simon Says Stamp
Sequins: (Crystal Clear, Christmas Mix sequins) Neat & Tangled

Wednesday, November 19, 2014

Sharing a Sneak

Hi everyone!

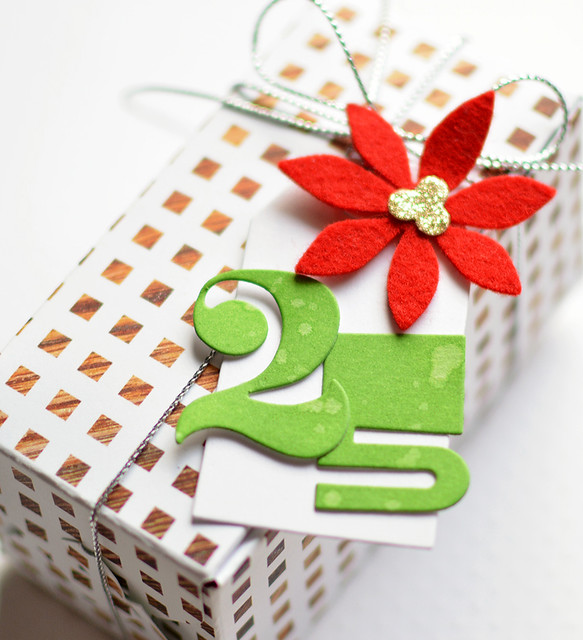
I'm up on the Simon Says Stamp blog today (eek!!). I'm sharing some gift wrapping and tags using Paper Smooches. All of the products I used are available at SSS.

Here's a peek:

SSS Sneak Peek

If you get a chance, please check out the SSS post and leave some love. Thank you!!! And thanks to Stephanie for asking me! :)


Thursday, September 11, 2014

Gold, Gold, and More Gold

Hi everyone!

Madeline and I are on the Scraptastic Club blog today with a new challenge: Get Glittery!  

Here's my take:

Shine On

I used my new camera and 35mm lens. I'm probably the only one who can tell a difference, but so far, I'm loving it (I'm still getting used to it).

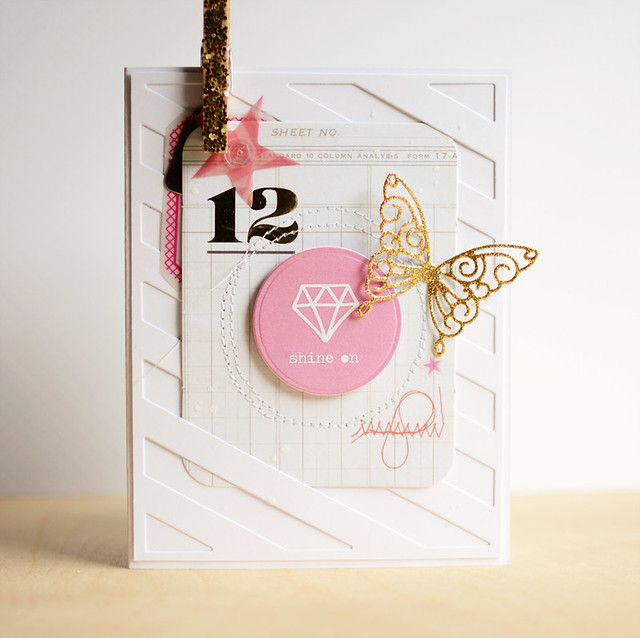
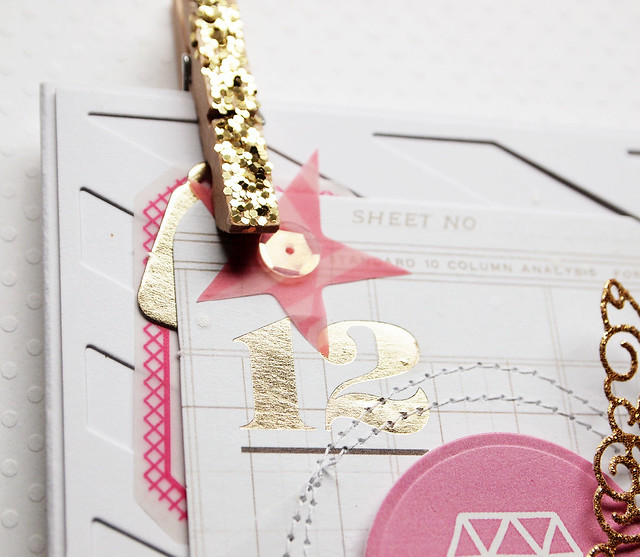
On the card, I used the September This Life Noted kit. The kit has an awesome "Shine On" journaling card, and instead of using the whole card, I die-cut it. I layered the circle on some of the Crate Paper Notes & Things ephemera in the TLN kit.

The glittery clip is from Inspire Lovely. *swoon*

Shine On

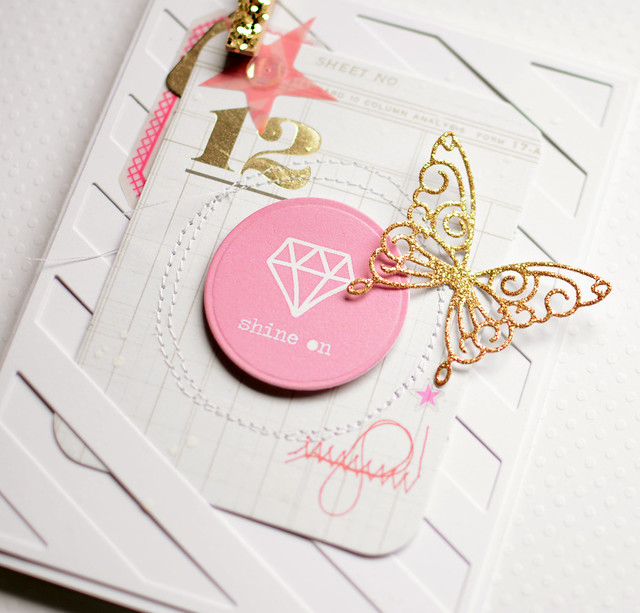
I managed to stitch an actual circle....not an oval, not a square, but a circle. Yeah! Then I went around a second time to wonk it up a bit.

When I was done with my card, I thought it needed one more gold, glittery item. I die-cut the Leanna butterfly from gold glitter cardstock:

Shine On


If you're making cards projects with glitter this week, link it up to the challenge! You can use glitter in any kind of way, and you don't have to use the Scraptastic kits to play along. You can enter HERE.

Thanks for stopping by! Have a great day!


Supplies
Cardstock: (white) PTI; (gold glitter cardstock) Best Creations
Kit: (journaling card, ephemera, sticker from September This Life Noted) Scraptastic Club
Dies: (Diagonal Stripe Coverplate) PTI; (Circle STAX) My Favorite Things; (Leanna butterfly) Simon Says Stamp
Embellishments: (glitter clothespin) Inspire Lovely
Ink: (Blizzard, Opaque White Mister Huey's) Studio Calico

Wednesday, June 25, 2014

You're Fabulous

Hi everyone! It's a busy week on the 'ole blog.

wed-designerspotlight-header

It's my last week as the guest for the Simon Says Stamp Wednesday Challenge. It's been a great month, and Lols and the team have been so nice and supportive. A big thank you for having me!


wed-newchallenge-header
This week, the challenge is "Anything Goes." The Design Team is using American Crafts, too.

Here's what I came up with:

You're Fabulous


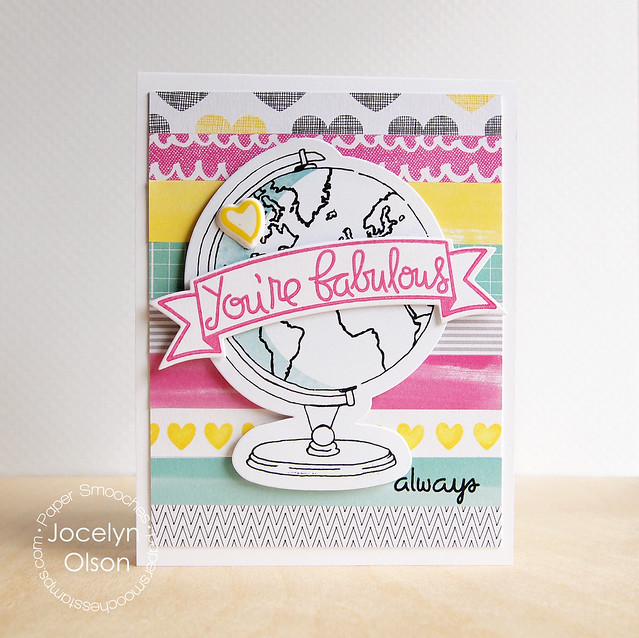
I cut up strips of American Crafts' Plus One papers to make the stripes. I stamped the tiny heart from the Paper Smooches' Blissful Banners in yellow to make another stripe and the "always" from Paper Smooches' Group Hugs below.

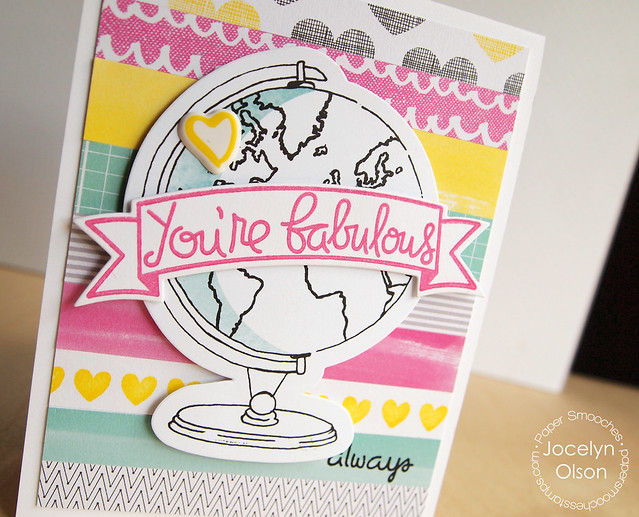
For the giant banner, I die-cut one of the Paper Smooches Streamers banners and stamped a sentiment from Blissful Banners. I was thinking it would work for a globe-trotting friend. :) Here's a close-up:

You're Fabulous


I finished the card with a tiny Plus One Puffy Sticker.

If you want to join the Anything Goes with Stripes, you can link up your projects HERE. You have a chance to win a $50 gift certificate to Simon Says Stamp!

50dollar_voucher_600px
Simon Says Stamp

Thanks for stopping by! Have a great week!


Supplies
Cardstock: (white linen)
Patterned paper: (Amy Tangerine's Plus One) American Crafts
Stamps: (banner from Blissful Banners; "always" from Group Hugs) Paper Smooches
Ink: (yellow Brilliance; Versafine Onyx Black) Tsukineko
Dies: (banner from Streamers) Paper Smooches
Embellishments: (globe die-cut from Plus One Bits; heart sticker from Plus One Puffy Stickers) American Crafts

Wednesday, June 18, 2014

Best Friends

Hi everyone! I hope you're having a great week. We've been having crazy weather and flooding this week--I have my fingers crossed that we won't have any more rain this month!

wed-designerspotlight-header
I'm guesting with the Simon Says Stamp Wednesday Challenge again. :)


wed-newchallenge-header

This week's challenge is "You've gotta have friends." The team is using stamps by Art Impressions, although you don't have to use AI stamps to play along. 

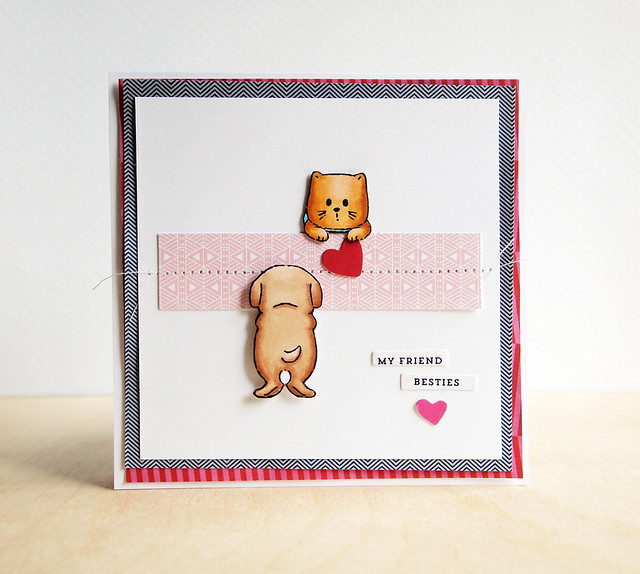
Here's my card:

Best Friends

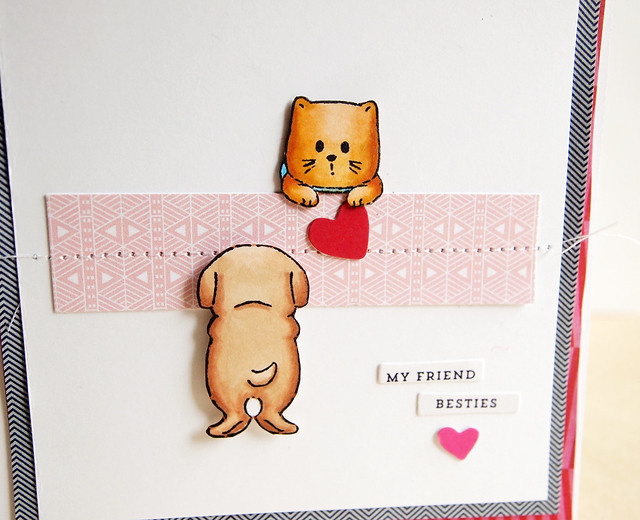
I used the Art Impressions Cat and Dog Mini stamp set for my card. The set has heads and arms for a cat and a dog and stamps for their backsides. They're made for a window card, but instead, I made a ledge out of pp.

I colored and fussy cut the cat and dog and used some hearts and sentiments from the Pen Pals Die-Cuts (and yes, that pink heart is wonky). I layered some Pen Pal papers underneath.

Here's a close-up:

Best Friends


Want to see the inspiration for my scene?


This picture was taken 10 years ago, and while Marma (the cat) didn't like other animals, after five years together, she could peacefully co-exist with the dog. ;)

If you would like to join in on the challenge, you can link up your projects HEREIn addition to our fabulous $50 Simon Says Stamp Gift Voucher, Art Impressions Stamps is offering a wonderful prize opportunity for those who participate in the challenge! To enter, simply link up your creation (like you usually do) and then use the Rafflecopter Widget on the challenge blog to enter to win! 

50dollar_voucher_600px

Simon Says Stamp


Thanks for stopping by! Have a great week!


Supplies
Cardstock: (white) PTI
Patterned paper: (Pen Pals) Pink Paislee; (pink from Camelot) Studio Calico
Stamps: (Cat & Dog Mini Stamp Set) Art Impressions
Die-cuts: (Pen Pals Die-Cuts) Pink Paislee
Copics

Wednesday, June 11, 2014

You Are Here

Hi everyone! I hope you're having a great week!

wed-designerspotlight-header

I'm back with another Guest Designer card for the Simon Says Stamp Wednesday Challenge. :)


wed-newchallenge-header

This week's challenge is Stencil-It. The DT and I are using stencils from The Crafter's Workshop, but you can use whatever stencils you have for the challenge.

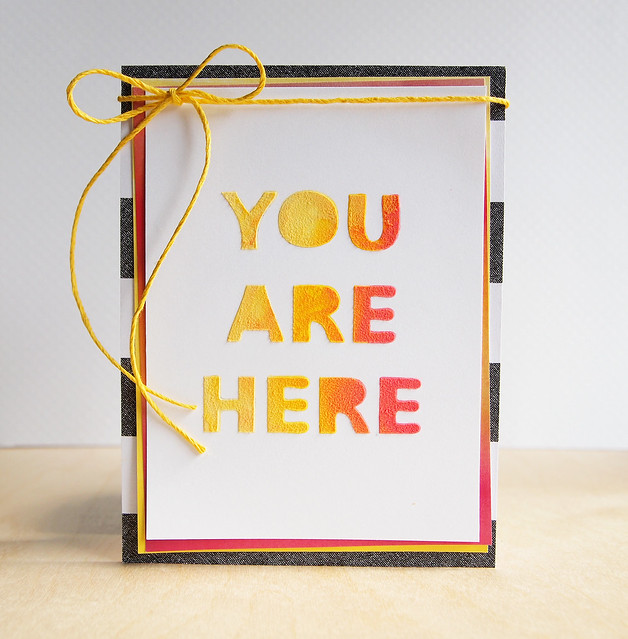
Here's my card:

You Are Here


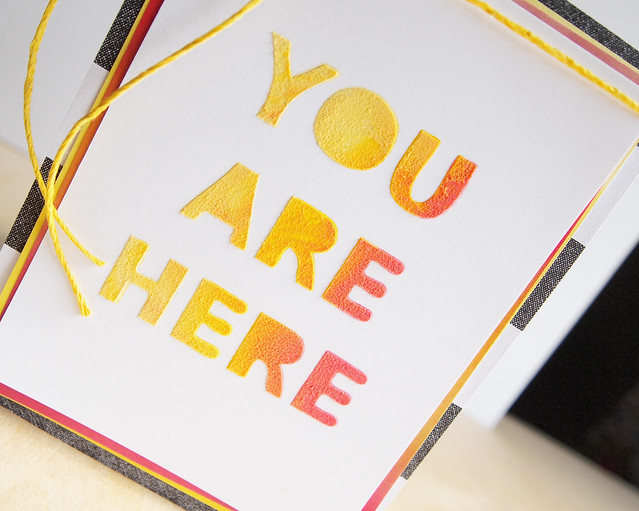
I mixed three reinkers into my white Wendy Vecchi Embossing Paste. Then, I simply spread the three colors (light to dark seemed to work the best) over the You Are Here stencil. I layered the panel over some papers from the Plus One (still a fave!) and Highline collections.

I almost stamped a sentiment underneath, but decided I could stamp the inside. I was thinking maybe "thank you." Hmmm...what sentiment would you use with the front?

Here's a close-up:


You Are Here


Want to play along? One random participant will win a $50 gift certificate to Simon Says Stamp! Sweet!

Simon Says Stamp 
  50dollar_voucher_600px

You can link up your projects on the SSS Wednesday Challenge blog.

Simon Says Stamp Wednesday Challenge Blog


Thanks for stopping by! Have a great day!


Supplies
Cardstock: (white) PTI
Patterned paper: (stripe, yellow from Plus One) American Crafts; (pink gradient from Highline) BasicGrey
Stencil: (You Are Here) The Crafter's Workshop
Embossing Paste: Wendy Vecchi White
Twine: (yellow) Hemptique

Wednesday, June 4, 2014

...And Taking Names

Hi everyone!

wed-designerspotlight-header

I'm the guest designer for the Simon Says Stamp Wednesday Challenge for June! I'm excited to be participating for the next few weeks. :)

wed-newchallenge-header

The first challenge for June is Father's Day/Male. The DT is also using Ranger products, although that's not required to participate.

Here's my project:

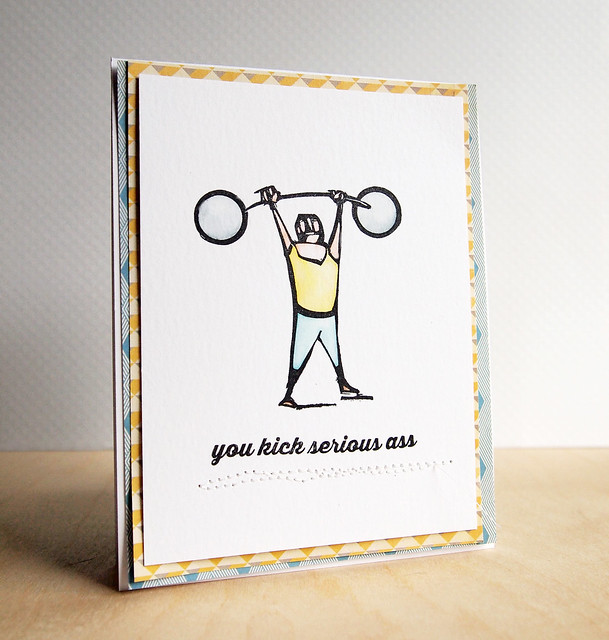
You Kick...


I stamped the Big Top image on my Ranger Distress Watercolor paper (love that stuff!). I watercolored him with Distress Markers. For the sentiment, I used Kelly Purkey's Merci set. It makes me laugh. ;)

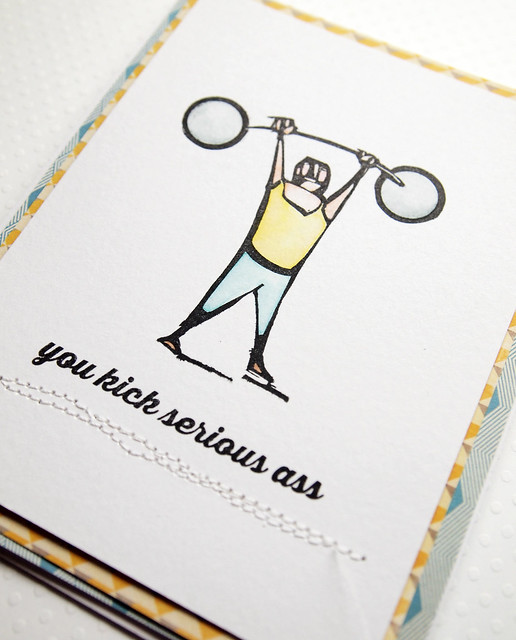
Here's a close-up:

You Kick...

I sewed a wonky border under the sentiment just because. ;)  The color inspiration came from the Boys Rule papers.

Want to play along? One random participant will win a $50 gift certificate to Simon Says Stamp! Sweet!

Simon Says Stamp 
  50dollar_voucher_600px

You can link up your projects on the SSS Wednesday Challenge blog.

Simon Says Stamp Wednesday Challenge Blog


Thanks for stopping by! Have a great day!


Supplies
Cardstock: (Distress Watercolor) Ranger
Patterned paper: (Boys Rule) Crate Paper
Stamps: (Strong man from Big Top) Stampers Anonymous; (sentiment from Merci) Kelly Purkey
Ink: (Black Hybrid) My Favorite Things; (Distress Watercolor Markers) Ranger

Tuesday, May 6, 2014

I Believe in You

Hi everyone! I hope you are having a good week. We're getting down to the wire--8 more days of school. Woo hoo!

I'm blogging on the Scraptastic Club blog today with a card and a tutorial. On the post, I've shared 11 different ways to alter wood veneers. You can check it out HERE.

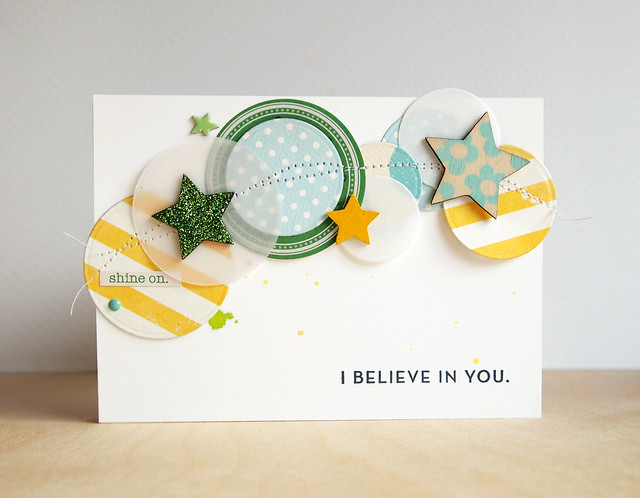
Here's a card I made based on the tutorial:

I Believe in You


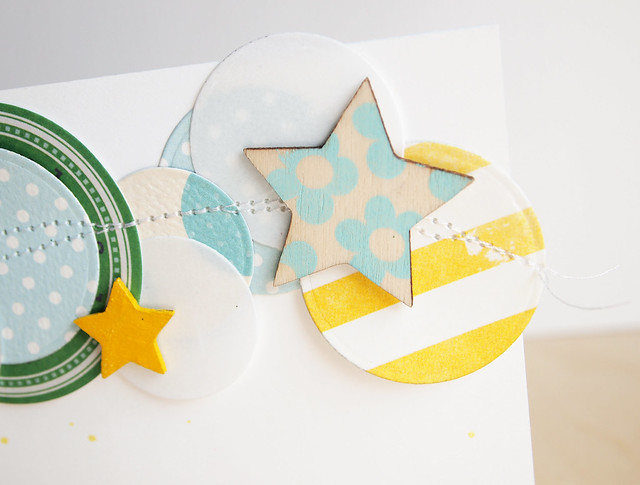
I used the Scraptastic Club's May Daylight Kit and Daylight Kit Add-On for this card. I punched circles from the papers, two different types of vellum, and used one of the pre-made circle die-cuts. On top, I layered the altered stars.

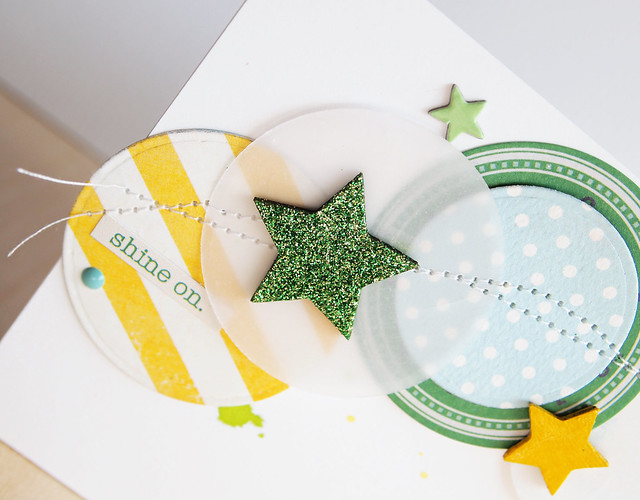
Here's a close-up:

I Believe in You Close-Up


For the green star, I inked it, painted on Multi Matte Medium, and sprinkled glitter on top. For the yellow star, I painted it and added Glossy Accents. I also added one of the Studio Calico stars, enamel dots, and Simple Stories sticker that came in the kit.

I stamped on the last star with one of the stamps in the Scraptastic Club's The Story I Heard set. Their stamps are super cute! For the sentiment, I used a stamp from the SSS You Can Do Anything set. 

Here's another close-up:

I Believe in You Close-Up


Thanks for stopping by! Have a great day!


Supplies
Cardstock: (white) Avery Elle; (vellum, linen vellum) PTI
Patterned papers: (Daylight Kit and Daylight Add-On) Scraptastic Club
Stamps: (flower from The Story I Heard) Scraptastic Club; (sentiment from You Can Do Anything) Simon Says Stamp
Ink: (Grass, Pool) Fresh Ink; (Tuxedo Black) Tsukineko
Dies: (Circle STAX) My Favorite Things
Embellishments: (enamel dot, sticker die-cut, chipboard, wood veneer from Daylight Kit and Add-On) Scraptastic Club

Thursday, March 20, 2014

Happy Sunshiny Day

Hi everyone!

This week on the Glitz blog, the digi team is sharing projects using the Sunshine in My Soul collection. I don't know why I have never used this collection before, but it is gorgeous! If you hurry, part of this collection is on sale at Jessica Sprague for One Buck Wednesday.

Here's my hybrid card:

Hello Sunshine


For the front panel, I used ink pads to watercolor the background, and then I added splatter on top. For the grouping, I resized and fussy cut some of the elements from the Sunshine in My Soul Element Pack. I used the bird paper from the SIMS Paper Pack 2 and cropped it to fit in the frame. Isn't the bird cool? I love it! I had to add a little stitching, so I stitched through the sentiments. 

The butterfly is die-cut from glitter cardstock using the Leanna die from Simon Says Stamp. Here's a close-up:

Hello Sunshine


I layered some of the Sunshine in My Soul papers underneath as well as some tissue paper to add some texture in the layers. I think I've used tissue on almost every project in the last six months...I love it! :)

I'm linking up to a couple of challenges. First, the CAS-ual Fridays Shades of Grey. I used four shades of grey on the card--the dark silver splatter, the grey on the frame, the grey on the bottom layer, and the silver butterfly. 

I'm also linking up to the Simon Says Stamp Glitter It challenge for the glittery butterfly. 

Thanks so much for stopping by! Have a great day! 


Supplies
Cardstock: (tan woodgrain) Studio Calico; (Distress Watercolor Cardstock) Ranger; (silver glitter cardstock) Best Creations
Digital elements: (sentiments, frame, arrow, flower element from Sunshine in My Soul Element Pack; papers from Sunshine in My Soul Paper Pack 2) Glitz Design
Ink: (Butter Bar Mid-Tone) Hero Arts; (Wild Honey Distress Ink) Ranger; (Silver, Gold Mr. Huey's) Studio Calico
Embellishments: (flower from Flea Market) Crate Paper
Die: (butterfly from Leanna die) Simon Says Stamp

Blog Design by Caked Designs