Showing posts with label Tags. Show all posts

Thursday, October 8, 2015

Hello, Love

Hi everyone!

Hi Love Set

This week, Maya Road and Ruby Rock-It are having a blog swap! 


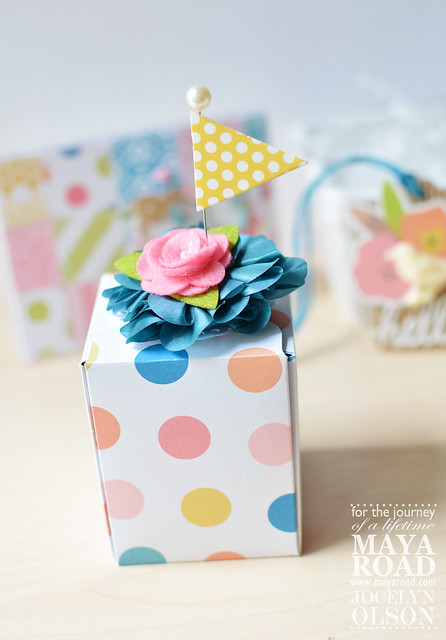
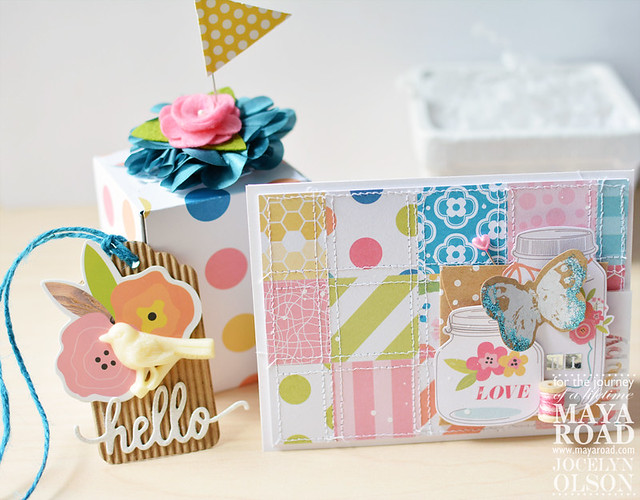
For the hop, I made a gift wrap with a box, tag, and card. First, I made a gift box:


Hi Love Set


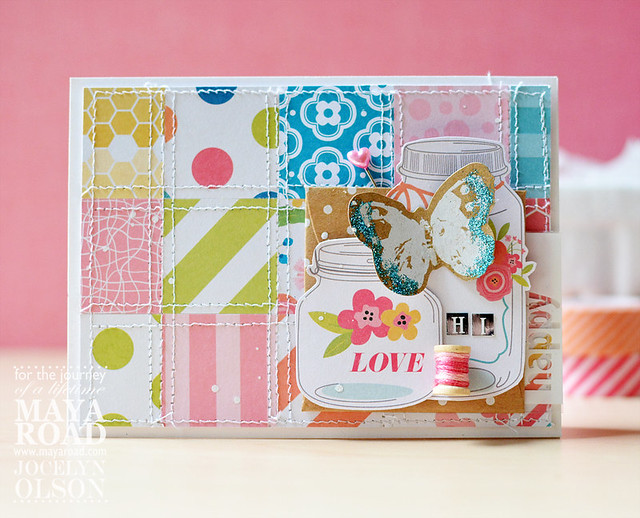
Then, I made a card to go with the gift:

Hi Love Set

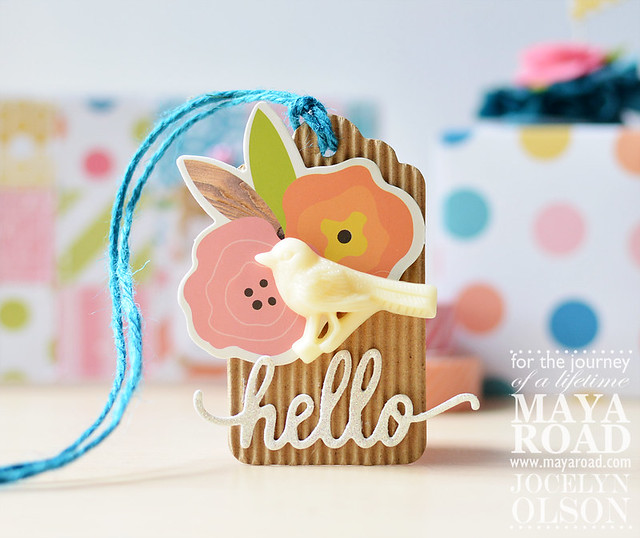
Lastly, I created a simple tag for the gift box:

Hi Love Set

The supply list, details, and more pictures are over on the Maya Road blog

As part of the blog swap, there's a giveaway. :) Check out the details HERE. To enter, leave on comment on the Maya Road blog HERE and each day of the hop this week. Also, be sure to check out the Ruby Rock-It post

Thanks for swinging by. Have a great day!

Monday, July 20, 2015

Summer (Non-Traditional) Mini Album

Hi everyone! We got back from our trip to the Black Hills. For years, I've wanted to see Devils Tower (I blame Close Encounters of the Third Kind), and I finally got to see it. My family and some of our friends met up to hike around it, and I *loved* it. If you have a chance to visit, it's worth the trip!

Anyhoo, I'm up on the Maya Road blog sharing a non-traditional mini album:

Summer Mini

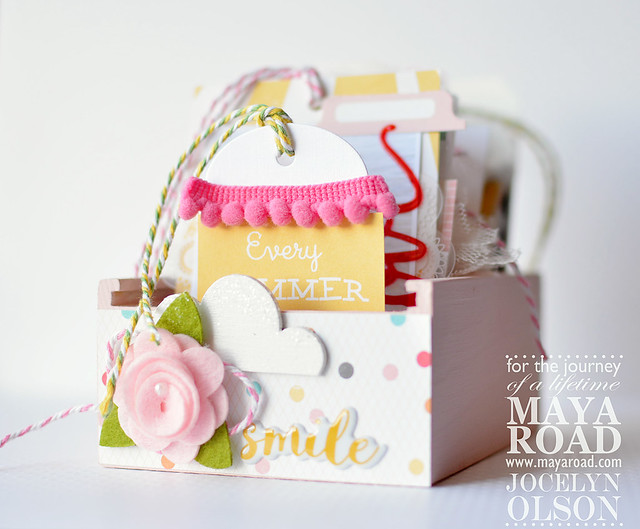
I started with the Wood ATC Box and altered it to make a tag/card/bag drawer as the album.

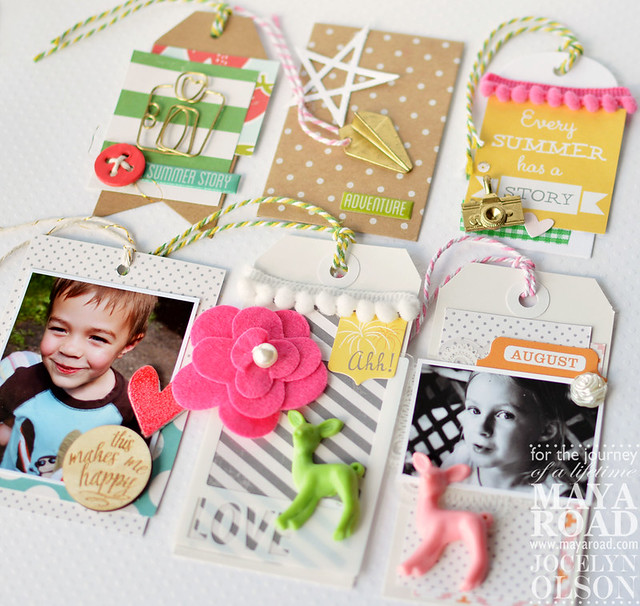
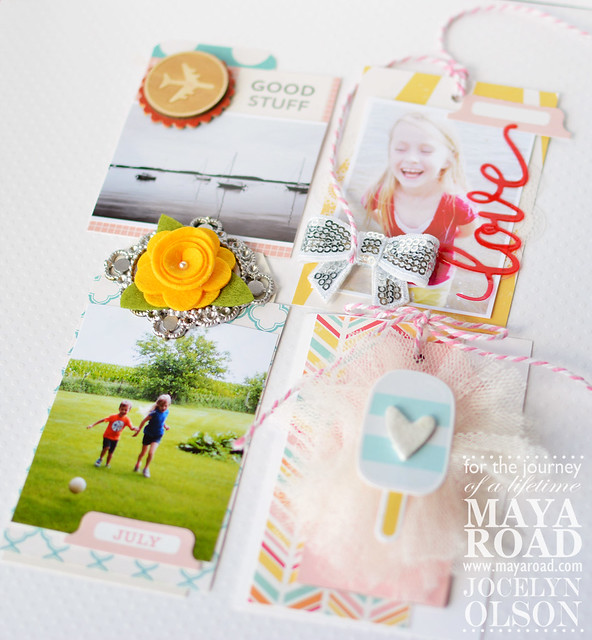
Here are most of the tags and cards:

Summer Mini


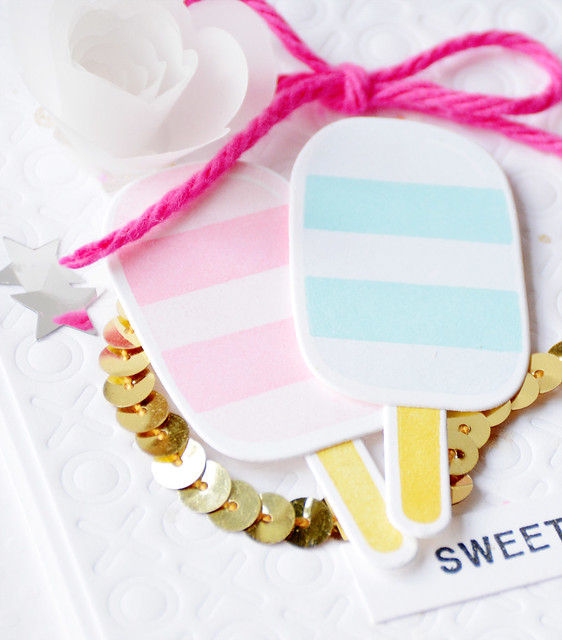
For the tags and cards, I mixed lots of Maya Road products with October Afternoon Summertime patterned papers and stickers. The cute popsicle is from My Favorite Things' You're the Sweetest stamps and dies, and the star is a MFT Lucky Stars die.

Summer Mini


I have to say, it was one of the most fun projects I've ever made--all of the scrappy layering and altering was a blast. I love these products!! :)

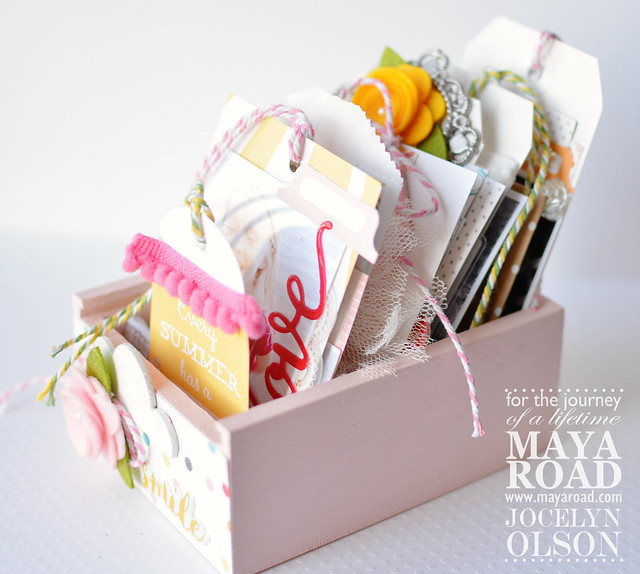
Here is a picture of the whole box:

Summer Mini

I have several other pictures on the Maya Road blog. I hope you'll swing by and check it out! :)

Thanks for stopping by!


Wednesday, April 22, 2015

Guesting at My Favorite Things

Hi everyone! Happy Thursday! I have a sneak....

Sweet Friend

I am absolutely thrilled to be guesting over on the My Favorite Things blog today! :) I made a trio of gift wraps and a card using the new Lisa Johnson Designs stamps and dies. If you have a chance, please check it out HERE. Thank you!!

Have a great day! Thanks for stopping by!

Monday, November 24, 2014

25 Days of Christmas Tags + A Giveaway

Hi everyone! I hope you had a great weekend! I got home at the end of the week after another week of work travel. I got home in time to see my four-year-old's preschool holiday program...it was so cute. :)

My blogging friend Tracey from In My Creative Opinion has been hosting her fourth annual 25 Days of Christmas Tags. Tracey invited the Paper Smooches team to share tags, and I'm happy to be playing along.

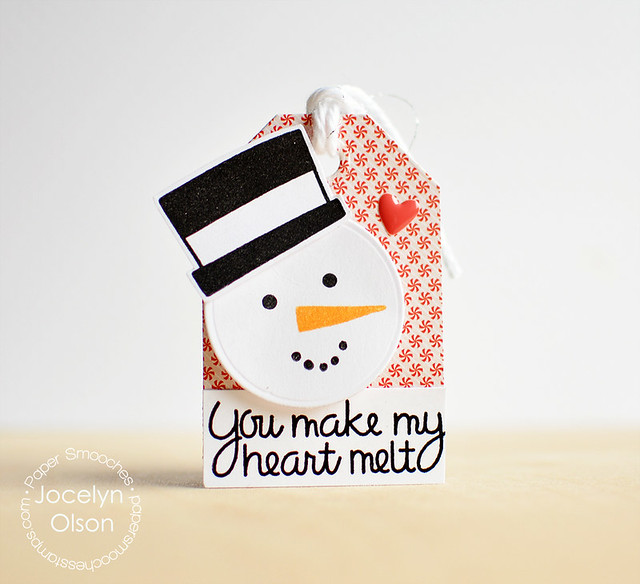
Here's my tag:

You Make My Heart Melt


I used Paper Smooches' new Cool Dudes set to make the snowman. I die-cut a circle and then stamped the different features and hat. It was really fun to build the different snowmen--much better than getting cold in real snow. ;)

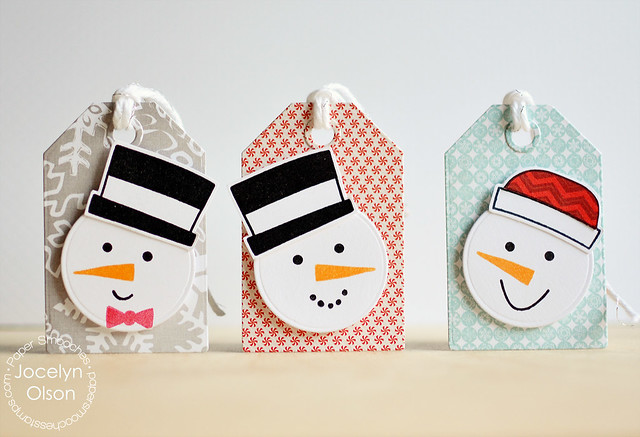
I die-cut some Webster's Pages papers using the Paper Smooches' Gift Tags die. I can't get enough of this die--it's a must-have! Here's a few of the finished tags:

Snowmen Tags


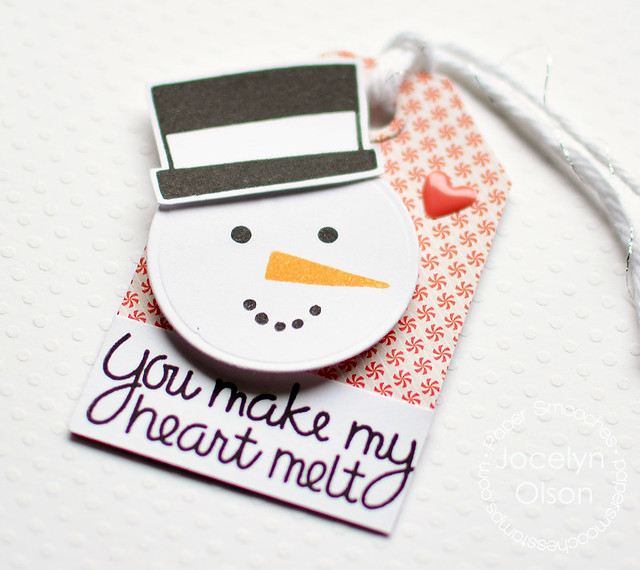
I added the sentiment from the Warm Hearts set on a couple of the tags. Here's a close-up:

You Make My Heart Melt

As part of the 25 Days of Christmas Tags, there are lots of prizes! Be sure to check out Tracey's blog for details. To enter, comment on Tracey's blog, and for an extra chance to win, comment on my blog below. The comment-to-win ends at 11:59pm ET on 11/27.

Monday, October 27, 2014

Boo Treat Tags

Hi everyone! It's the week of Halloween--yeah! Do you dress up for Halloween (if so, please share your costume)? :) I don't dress up, but my kids are going as a cat and a skunk.

I wanted to give a shout-out to some sweet friends who participated in the Getting to Know Me Blog Hop. All three linked up to me recently, and I wanted to say thanks! If you have a chance, please swing by their posts--they are incredibly talented papercrafters and truly good people, too!

Alice Wertz Her coloring skills are unbelievable, and if you haven't seen one of her stamped backgrounds, you're in for a treat! Every card is like a little masterpiece.
Lea Lawson Lea was one of my very first papercrafting idols, even before I started my own blog. :) I'm always inspired by her. She can do anything--using patterned paper, stamping, digi--she is so talented!
Lucy Abrams When I first got into digi/hybrid, I turned to Lucy's blog for her expertise--thanks, Lucy! Her cards are always perfectly stamped and perfectly executed. She has such an eye for knowing how to make a card look "full" but still keeping it CAS. She's also always been so helpful to me. :)

I already did my Getting to Know Me post HERE, but I wanted to be sure to give a shout-out to Alice, Lucy, and Lea. :)

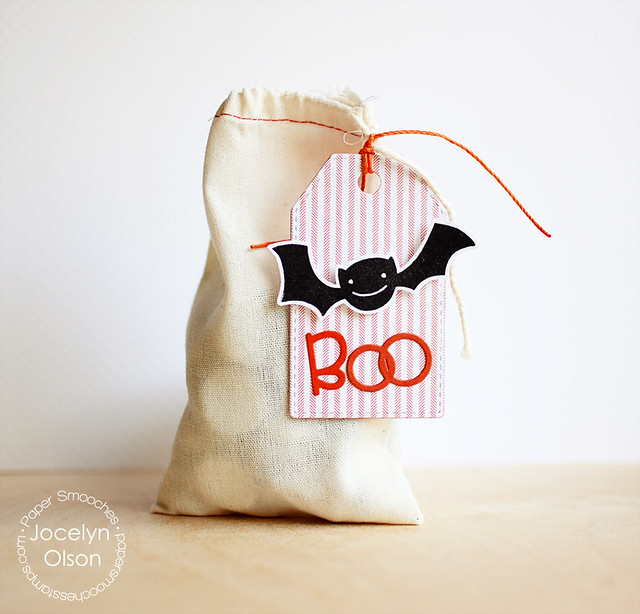
I've been getting my kids' treat bags ready for their class parties. I'm doing a mix of designs, but I wanted to share one of the designs:

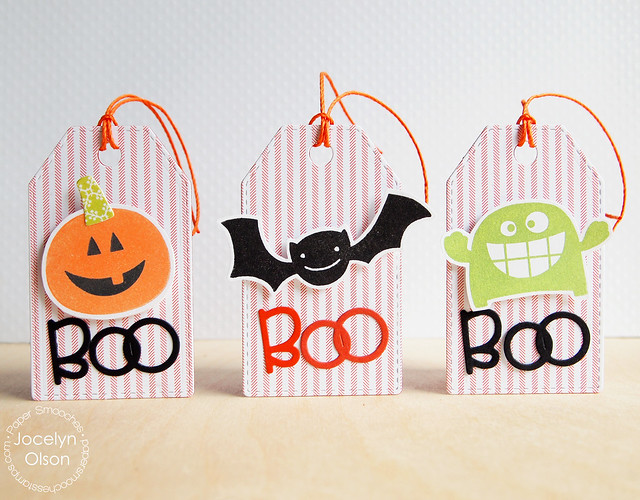
Boo Tags

I used a lot of Paper Smooches here--Ghoulfriends stamps and Ghoulfriends Icons dies for the bat, Halloween Icons for the "Boo," and Stitched Tag for the tag die. These were super simple to make!

I switched up some other Ghoulfriends images for other tags, too:

Boo Tags


I also have an extra "Thanks" die from Paper Smooches that I would like to give away as a thank you for reading!


I'll pick from the comments on Saturday (11/1).

Thanks for stopping by! Have a great day!


Supplies
Stamps: (bat, pumpkin, monster from Ghoulfriends) Paper Smooches
Cardstock: (Tangy Orange, Black) My Favorite Things
Patterned paper: (striped digital paper from One Little Bird) The Lilypad
Dies: (Ghoulfriends, Halloween Icons, Stitched Tag) Paper Smooches
Ink: (Graphite Black Brilliance) Tsukineko; (Grass, Ginger Fresh Inks) Impress
Twine: (Neon Orange hemp twine) Hemptique
Muslin bag: The Paper Source

Monday, July 14, 2014

Neat & Tangled Release: Gifts for You

Hi everyone! I hope you had a great weekend! I spent most of the weekend on the beach. :)


It's release week at Neat & Tangled! To kick things off, we're sharing projects using the Gifts for You stamp set. This set, designed by (the super-talented) Pamela Ho, is super cute and very versatile:


Here's how I used the set:

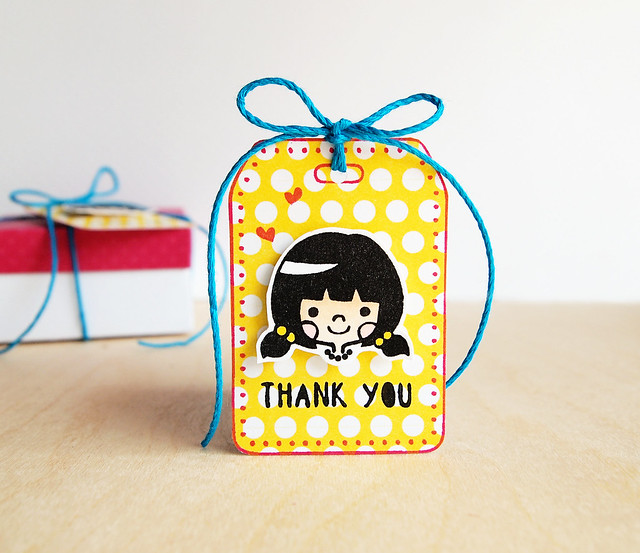
Thank You Tags

Isn't she adorable? I was thinking this set would work perfectly as a tag on a party favor. I stamped the tag, hearts, and sentiment for each tag on patterned paper. For the girl, I stamped, colored her with Copics, and fussy cut her.

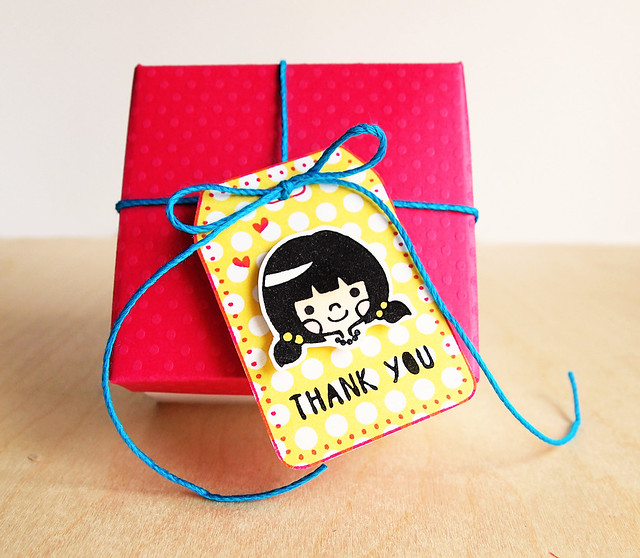
I die-cut a party favor box and attached the tag:

Thank You Tags


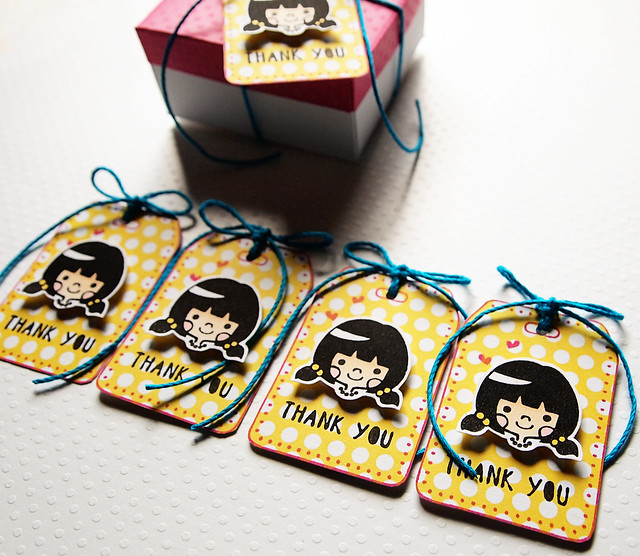
These tags were so easy to mass-produce for a party thank you. I think I'll be using these for my daughter's next birthday. :)

Thank You Tags

There's a giveaway! Comment on the Neat & Tangled blog to win the Gifts for You and new Pink Lemonade sequins.

Thanks for stopping by!


Supplies
Stamps: (sentiment, girl, hearts, tag) Gifts for You
Cardstock: (white) PTI
Patterned paper: (June Scrapbooking Add-On) Studio Calico
Ink: (Melon Mambo) Stampin Up!; (Brilliance Galaxy Black) Tsukineko
Copics
Twine: (blue bamboo) Hemptique

Wednesday, February 26, 2014

The Perfect Day

Hi everyone!

Over on the Glitz blog, the digital team is sharing projects with the Uncharted Waters collection. I decided to try something I've been wanting to do for a long time--use digis on fabric. Hmmm...did it work? I think so, but it took a few test runs.

I made a treat bag with a tag. I was thinking of a birthday party favor bag:

The Perfect Day


I used the full Uncharted Waters digital collection on these two projects, although I did want to mention that the Paper Pack 2 and the Element Pack 2 are part of the One Buck Wednesday deals at Jessica Sprague. Score!

First up is the treat bag:

The Perfect Day

Here's how I made it:

  1. In Photoshop, clip patterned paper to the anchor element (Control+G). Resize the paper to get the gradient.
  2. Resize banners from the Element Pack 1
  3. Print entire image on ink jet transfer (heat-set) paper. Trim into a rectangle and press the image with an iron onto a bag.
  4. Burn finger touching back side of heat-set paper because I'm anxious to see what it looks like.
  5. Remove paper. Decide the waxy look on the bag from the excess heat-set paper is like the cheesy iron-ons in the early 1980s.
  6. Import the image into my Silhouette program. Trace anchor and banners. 
  7. For the first time ever, use the Off-Set tool to expand the cutting area. Fiddle with it. Fiddle more. 
  8. Print images onto heat-set paper. 
  9. Die-cut on Silhouette. Realize that the machine is cutting into the image.
  10. Curse.
  11. Print image one more time.
  12. Fussy cut images with 1/4" borders. 
  13. Heat-set. 
  14. Realize I only had to follow steps 1-2 and 11-13. :)

I love how the transfer worked, and I'm going to have to make a larger bag for the pool this summer.

I figured the bag needed a tag, so I whipped up one:

The Perfect Day

There are actually two tags here--one is woodrain that I didn't roll all the way through my Cuttlebug (to keep it longer), and the blue tag on top. I used the new Paper Smooches Tag Stitched Die--love it!

For the image, I added the banners to the journaling card and typed the "Thank you for" so it would make sense for a birthday party. ;) I layered the card over muslin and an anchor paper from the Paper Pack 1.

If you want to see the other projects with the same digital collection, check out the Glitz blog.

Thanks for stopping by! Have a great day.


Supplies
Paper: (Premium Matte Photo Paper) OfficeMax
Digital elements (blue paper from Uncharted Waters paper pack 2; yellow anchor from Uncharted Waters paper pack 1; "the perfect day," anchor from Uncharted Waters element pack 2; banners from Uncharted Waters element pack 1) Glitz Design at Jessica Sprague
Die: (Tag Stitched Die) Paper Smooches
Twine: (Red solid) Divine Twine
Other: (muslin bag) Paper Source; (wood ATC) Impress; (inket heat transfer paper) Hobby Lobby


Saturday, February 22, 2014

Spring Love

Hi everyone! I hope your weekend is off to a great start! I'm getting over some type of flu and a bad case of pink eye--ugh. Fortunately, my eye is starting to clear up, and hopefully it won't move to my other eye. :)

A couple of weeks ago, I had some tags posted on the Glitz Design blog, but I never shared them here. The tags were for Valentine's Day for my kids' teacher treats. They're so springy, I think they could work after Valentine's Day, too.

Here's one:

Spring Love Tags


I used digital papers from the Finnley (green), Wild and Free (yellow), and Hello Friend (pink) digital collections from Glitz on the tags. I increased the saturation of the papers to make them brighter. I die-cut the postage stamps on my Cameo, the hearts with Paper Smooches dies, and the mini Polaroid with a My Favorite Things die.

I made six tags--one for each teacher:


Spring Love Tags


For each tag, I layered some Glitz Design washi tape, tissue paper (there it is again--I'm addicted!), part of a doily, and my papers. I topped off each one with the "xoxo" from the brand new Glitz Black & White collection. I added a little white splatter on top....I was holding my breath that I wouldn't have a huge glob of ink in the center. ha ha

Each tag is a little different:

Spring Love Tags


They were so much fun to create!

Thanks for stopping by! Have a great day.


Supplies
Cardstock: (White Linen) Ellen Hutson
Digital elements: (green papers from the Finnley element pack 2; yellow papers fro Wild and Free paper pack; pink papers from the Hello Friend paper pack; sentiment from the Black and White element pack 2) Glitz Design at Jessica Sprague
Washi: (Hello Friend) Glitz Design
Dies: (tag, postage stamps) Silhouette America; (Hearts Dies) Paper Smooches; (Precious Polaroids) My Favorite Things

Thursday, July 18, 2013

Newton's Nook Designs--S'More Wishes

**It's my second post of the day. For my CASE Study post, please click HERE

Hi everyone! Today is the last of the new releases of Newton's Nook Designs. The stamps go on sale at midnight! Woo hoo!


I think the Campfire Tails set may be my favorite of the new releases. It's a hoot! I made a pillow box and a tag with the stamps:


I used five different stamps from the set. First, I stamped the lantern onto the pillow box in WPlus9's white ink (love it--thank you for the ink suggestion, Amy!):


I thought it could use something else, so I added a few of the fireflies. I added some Cosmo Cricket patterned paper and assembled the box.

Next, I moved onto the tag. I stamped the sentiment, fire, and s'more from the Campfire Tails set, and then colored the images with my Inktense pencils (I can't say enough good things about these pencils!). Here's a close-up of the tag:


As part of the release, Newton's Nook is giving away this set to two lucky winners. You can comment to win on the NND blog and on each of the launch party participants' blogs. You will have until tonight (July 18th) at 9pm to comment for the drawing. 

Below are the other participants in the NND launch party. Be sure to check out their blogs!

Jocelyn Olson <--You are here.

I'm entering this pillow box/tag into the Moxie Fab World Birthday Tags & Wraps challenge. There is still time to enter if you'd like to play along. :)

Thanks for stopping by!


Supplies
Cardstock: (Rustic White) PTI
Patterned paper: (S'more Love) Cosmo Cricket
Clear stamps: (sentiment, s'more, fire from Campfire Tails set) Newton's Nook Designs--available 7/19
Ink: (White Pigment Ink) WPlus9; (Tuxedo Black) Tsukineko
Coloring: (Inktense 12 pack and Rainbow) Derwent; (Colorless blender) Copic
Die: (Tag Scallop die) Paper Smooches
Twine: PTI
Pillow box: Impress

Monday, November 14, 2011

Little Mittens

Bows and Berries' new challenge is to make a tag. Anyone out there making a tag? Anyone? Link up on the Bows and Berries blog. Yep, it's that easy. And while you're there, you can pick up the free digi and some other cool digis, too, like the Toasty Mittens stamp I used in my tag today:


It was so easy, I made a second one using the same Fancy Pants collection:


The stamp is actually a pair of mittens. To make the tag, I printed a pair of mittens and fussy cut the larger of the two to make the tag base. Since you can resize the image, you can make the tag any size you want (well, maybe not any size...let's be reasonable). Here's what the original stamp looked like:


I paper pieced the layers and then flocked the cuff. At first I was going to leave the tag alone (you know, be super CAS), but then I realized the the tag should be functional. Therefore, on the back I used some Waltzingmouse Stamps for the sentiments:


The paper is the backside of the double-sided paper. You could easily switch the paper and sentiments out to make a cute baby tag (you know, Three Little Kittens and all that jazz). I finished the tags off with May Arts ribbons (love their ribbon!). These tags were super easy, and you could easily mass produce them.

So, if you're making a tag this week or next, be sure to link up on the Bows and Berries blog. Also, check out my lovely design teammates' tags, too.

Thanks so much for looking! I really appreciate it!
Blog Design by Caked Designs