Showing posts with label gift. Show all posts

Thursday, October 8, 2015

Hello, Love

Hi everyone!

Hi Love Set

This week, Maya Road and Ruby Rock-It are having a blog swap! 


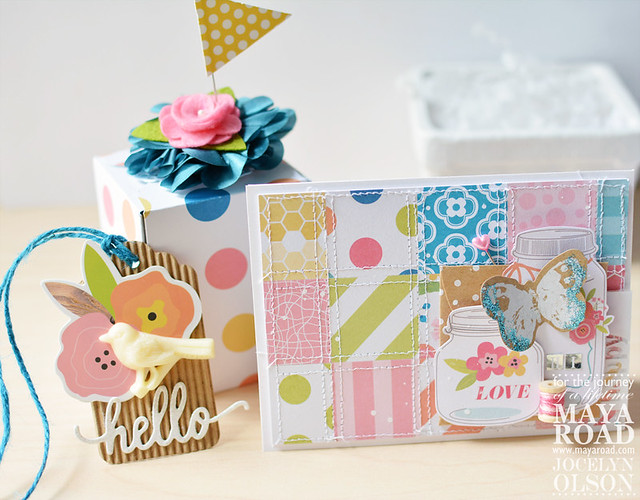
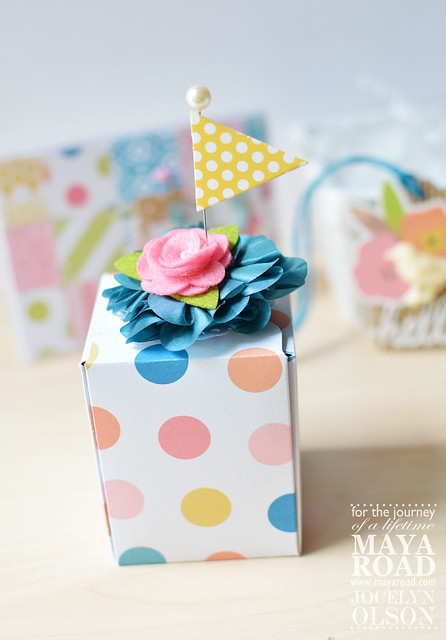
For the hop, I made a gift wrap with a box, tag, and card. First, I made a gift box:


Hi Love Set


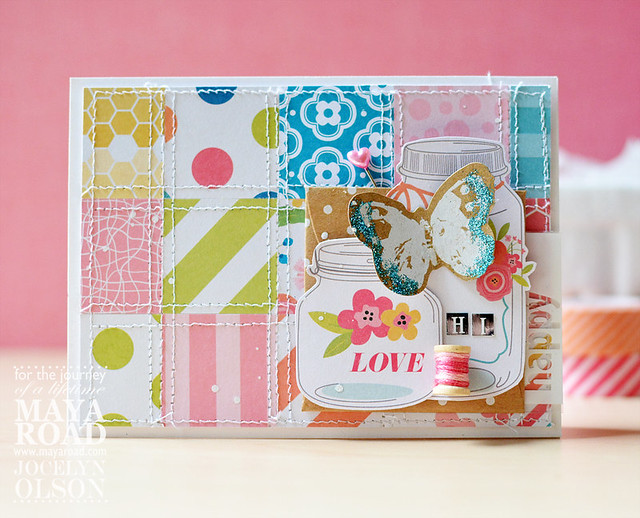
Then, I made a card to go with the gift:

Hi Love Set

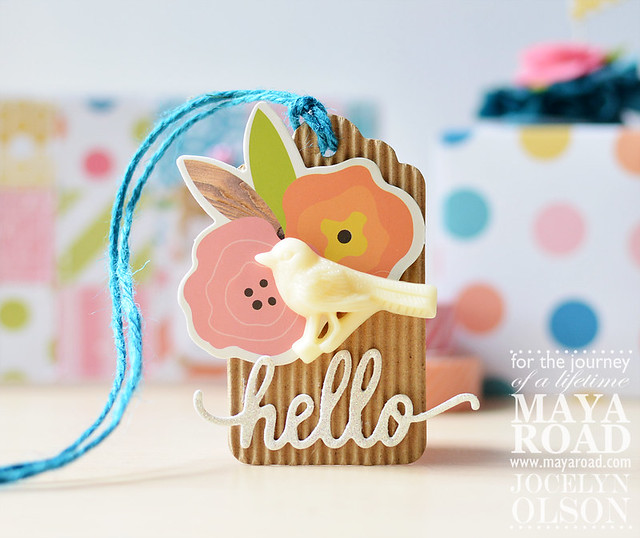
Lastly, I created a simple tag for the gift box:

Hi Love Set

The supply list, details, and more pictures are over on the Maya Road blog. 

As part of the blog swap, there's a giveaway. :) Check out the details HERE. To enter, leave on comment on the Maya Road blog HERE and each day of the hop this week. Also, be sure to check out the Ruby Rock-It post! 

Thanks for swinging by. Have a great day!

Friday, December 6, 2013

Inky Paws Blog Hop

Hi everyone! If you're looking for my CAS-ual Fridays post, please click HERE.


Today, the Newton's Nook Designs DT and guests are having a blog hop! If you're hopping, you should be coming from Tessa's blog. Here is the list:

Jocelyn Olson <--You are here.

For the hop, I made a holiday tag and tin:


It's a cocoa tin, although cookies would work well, too. :) I used a mix of American Crafts and Echo Park papers to decorate the clear tin. 

For the tag, I used the kitty, Santa hat, and Santa sign from Newton's Holiday Mischief  for the tag. I colored him with Copics. Newton looks like he's going to snitch some of Santa's cookies! hee hee  I backed the tag with chipboard and patterned paper so it could be used as an ornament.

Here's a close-up of the tag:


Would you like to win a $10 coupon for Newton's Noook Designs' online shop? There will be two lucky winners! Enter to win by commenting on the Newton's Nook blog and all of the blogs in the hop. You have until Sunday, December 8th at 9pm CT to enter. The winners will be announced on the NND blog on Monday, December 9th. 

Thanks for stopping! Next on the hop is the super awesome and ever-so-sweet Samantha!


Supplies
Cardstock: (white) PTI
Patterned paper: (green from Merry and Bright) Echo Park Paper; (red with mugs from Peppermint Express) American Crafts
Stamps: (Newton, sign, hat from Newton's Holiday Mischief) Newton's Nook Designs
Dies/punches: (Scallop punch) Fiskars; (Tag Sale Die #4) Papertrey Ink
Copics

Tuesday, December 3, 2013

Holiday Teacher Gift

Hi everyone! Did you have a good Thanksgiving? We had family in town, which is always nice. :)


For the month of December, the Glitz digital team is sharing holiday projects. For my post last week, I shared a custom notepad I made (check it out HERE). Today, I'm sharing another notepad with a full tutorial. I apologize in advance for the numerous photos.

I decided to make a notepad for my daughter's teacher that would work beyond the month of December. Here's what the finished notepad looked like:

Holiday Notepad Close-Up


To make the sheets, I flipped the floral cluster from Hello December's Element Pack #1 over the yellow washi tape element from the Element Pack #2. Next, I added the sentiment. In another document, I opened four different papers from Element Pack #2, the Hello December Paper Pack, and the Cashmere Dame Paper Pack (the yellow) . I put four different copies of the white note over the patterned papers.

Here's what it looked like when I printed out the four different styles on one piece of paper:


I printed 8 copies of this paper onto a lightweight photo paper. You could use a heavyweight copy paper--just test the settings so the ink doesn't oversaturate the paper.

Next, I trimmed the papers down. This probably was the most time-consuming part of the process. ;)


Once I had all 48 pages cut, I worked on the back cover. If you wanted, you could skip this step, but I think adding a chipboard back makes the notepad more polished.

I printed off and trimmed down two patterned papers from the Hello December Paper Pack. I also trimmed a piece of chipboard...I used a leftover piece, but Ellen Hutson sells Craft-a-Board that is a good weight for this type of project.


For the next step, I glued the patterned paper to each side of the chipboard. This side isn't essential, but it makes the back pretty. :) Here are the back cover and the reverse side:


Still with me? I layered all 48 pages on top  of the back cover. The pages need to line up more tightly than they look in this photo. Don't ask me how I know that. ;)


For the next steps, I had to enlist the help of my husband. I had no idea where his clamps were, or how to use them for that matter. ha ha.

My husband is a luthier and guitar amp builder, and he had some fabric glue that he uses to adhere Tolex to the amplifiers. We did a test, and the Fabric Fusion glue worked amazingly well. It dried fast--I did three coats within three hours. I think he bought the glue at the grocery store. Seriously.

Here are the different tools you will need--two clamps, two blocks of wood, two clean pieces of paper, and the glue:


Okay, next you make a sandwich: 1) block of wood; 2) layer of paper so the wood doesn't muck up your notepad; 3) the notepad hanging over the edge of the block about 0.25-0.5 inches; 4) another piece of paper; 5) block of wood.

Add clamps toward the front of the notepad sandwich, but not in the very front. You need to leave space to add the glue. I added the glue directly and smoothed it with my finger. I'm impatient, so I only waited about an hour between coats. Here's the set-up:


While this process probably looks complicated, it was actually pretty easy...just a lot of little steps.

(Drum roll, please...) Here's the final notepad:


Holiday Present--Notepad


If you make a notepad, please share a link--I'd love to see it!

Thanks so much for stopping by!


Thursday, November 28, 2013

Glitz Finnley Blog Hop

Hi everyone! If you're in the U.S., happy Thanksgiving!! I hope you're enjoying a good meal and some time with family and friends.


To celebrate Thanksgiving, Glitz Design is having a blog hop! Both the traditional and digital teams are sharing projects with the Finnley collection.

With the holidays right around the corner, I made a gift box and tag with a present inside. First up is the box and tag:

Winter Gift Box


I started by printing the gradient charcoal grey paper from the Finnley Paper Pack. Using a scoring board, I folded the paper to create a box lid and bottom that is A2 card-size.

For the tag, I resized and printed one of the layering papers in the Finnley Element Pack #2. I die-cut the tag and tag topper, and I printed and fussy cut the floral grouping. I cropped the letters from the Element Pack #1 to create the sentiment.

Here's a close-up:

Winter Gift Box Close-Up


I made the pom pom using my new pom pom maker. My daughter and I had fun making several of them for decorating presents. :)

So what's inside? I made two notepads for my mother-in-law:


Glitz Finnley Notepads


The pretty flowers come from a journaling card in the Element Pack #1, and I paired them with my own sentiment. I layered four different papers as backgrounds. 

I trimmed and then gummed the top edge of the papers. Here's a close-up of the inside:


Glitz Finnley Notepads Close-Up


I'll be sharing a step-by-step photo tutorial next week (there are a lot of photos--I thought too many for a blog hop), so if you're interested, please check back later next week. 

As part of the hop, Glitz is giving away the Finnley collection--one paper and one digital to two lucky winners! The winner will be chosen randomly from the entire hop, so to increase your chances, you can comment on the other blogs. Be sure to only comment once, though. :)

Here's the line-up for the hop:

Jocelyn Olson <--You are here!


Thanks for stopping by! Next up on the hop is the fabulous Karine!


Supplies
Cardstock: (Steel Grey) My Favorite Things; (white) Avery Elle; (lightweight photo paper) OfficeMax
Digital elements: (all papers and elements from the Finnley digital colllection) Glitz Design
Font: (Sante Pro) MyFonts.com
Embellishments: (yarn) Hobby Lobby; (aqua sequin) Avery Elle; (enamel dot) My Mind's Eye
Dies: (Timeless Tags 2 Dies) WPlus9; (Toppers Dies) Paper Smooches


Thursday, November 14, 2013

Cashmere Dame Note Card Set

If you're looking for my Newton's Nook Design's post, please click HERE.

Hi everyone! I'm on the Glitz blog today. :)


This week, the digital team is sharing projects using the Whatnots. The Whatnots are die-cuts that are printed on heavier, glossier paper. In digital form, some of the shaped embellishments are Whatnots.

I haven't done a project with Cashmere Dame yet, and I've been wanting to use this fabulous collection. As part of my Christmas presents, I made a note card set:


I started by embossing all of the card bases and adding mist.

The Cashmere Dame Whatnots I used were the four different girl elements as well as the yellow and black frame. For each card, I removed the center of the digital frame or transparency, and then I clipped the girl Whatnot to it (Control-G if you want to try it). I printed the framed image, a mix of papers, and the longer ephemera to layer underneath.

Here's a picture of each one:


On this card and the card below, I also added stickers from the traditional Puffy Stickers (the yellow zigzag and the "girl").

Here's the next one:


For the next two, I used the yellow and black Whatnot frame:


And last up:


When my husband saw them, he said "Whoa, that's a lot of pattern." Yep, lots of patterns--that's what makes them fun. :)

If you missed the Cashmere Dame collection when it was released in paper but still want to use it for cards, you can get the collection HERE. Be sure to check out the Glitz blog to see the other Whatnots projects.

Have a great day. Thanks for stopping by!


Supplies
Cardstock: (White Linen) Ellen Hutson
Ink: (Overdue, Inky Black, Taxi Mr. Huey's mists) Studio Calico
Digital elements: (all elements from Cashmere Dame digital collection) Glitz Design
Stickers: (Cashmere Dame Puffy Stickers) Glitz Design
Dies/embossing: (Striped Impression Plate, Tab die) Papertrey Ink

Wednesday, September 18, 2013

Happy Travels Note Card Kit

Hi everyone! I hope you're having a great week!

The Glitz Digital team is sharing projects on the Glitz blog today using the Happy Travels collection. The papers and element packs are part of the One Buck Wednesday at Jessica Sprague today. :)

I found THIS note card set on the Silhouette blog, and I decided to do something similar using the digital papers:


I know I'm always looking for ideas for paper crafted gifts, and I thought all of these items would work as a note card kit. There are the cards, envelopes, vellum confetti, and seals for the envelope.

Here's what the cards look like:


I say "cards," but I actually lazed out and only made two cards. ;) I started by re-szing two of the digital papers from the Happy Travels Paper Kit. I fussy cut one of the airplanes from the patterned paper. Isn't that plane fun? I used a cloud from Simon Says Stamp and backed it with the other patterned paper.  The cute sentiment is from the Up and Away stamp set.

For the background, I stamped the Hero Arts Tweed in white. I love the subtle texture! Here's a close-up:


I also made envelopes:


I used the same airplane paper as the card and printed on the polka dot patterned paper on the backside. I love that with digital, I can put whatever patterns I want together for double-sided papers.

The Happy Travels Element Kit has a cool series of vintage travel posters. I'm thinking about printing a few and framing them for my son's room. I did the opposite here, and shrunk them:


After printing and trimming the images, I stitched them together to make a banner. I thought that with the note card kit, you could trim off whichever image you wanted and use it as a seal on the envelope. It would also make a cute banner. :)

Lastly, I made confetti for the note cards:


I printed two of the digital papers on vellum. As a tip, I always use the "glossy paper" option when I print on vellum. I die-cut planes and hearts out of the papers.

Phew! That was a lot of pictures. If you're still with me, I wanted to mention again if you like the Happy Travels papers and elements, they're on sale $1 and $1.50 today only. Score! You can find them HERE.

You can see my project and other samples from the team on the Glitz blog. :)

Have a great day! Thank you so much for stopping by!


Supplies
Cardstock: (Rustic White) PTI
Other paper: (Premium Matte Photo Paper) OfficeMax
Digital elements: (all papers and travel posters from Happy Travels Paper Kit and Element Kit) Glitz Designs
Rubber stamps: (Tweed Background) Hero Arts
Clear stamps: (card sentiment from Up and Away) Mama Elephant
Ink: (Real Red) Stampin' Up; (White) WPlus9
Dies: (large heart from Large Holiday Shapes; small hearts from Mini Hearts Set; planes from Small Planes; clouds from Flat Bottom Clouds) Simon Says Stamp 
Tool: (Envelope Punch Board) We R Memory Keepers

Blog Design by Caked Designs