Showing posts with label travel. Show all posts

Monday, June 22, 2015

The Places You'll Go

Hi everyone! I hope you had a great weekend. For Father's Day, my kids made books for my husband using a Tinyme printable (this site has some cute printables). If you follow me on Instagram (@jocelyn_olson), I shared a funny drawing my son drew. :)

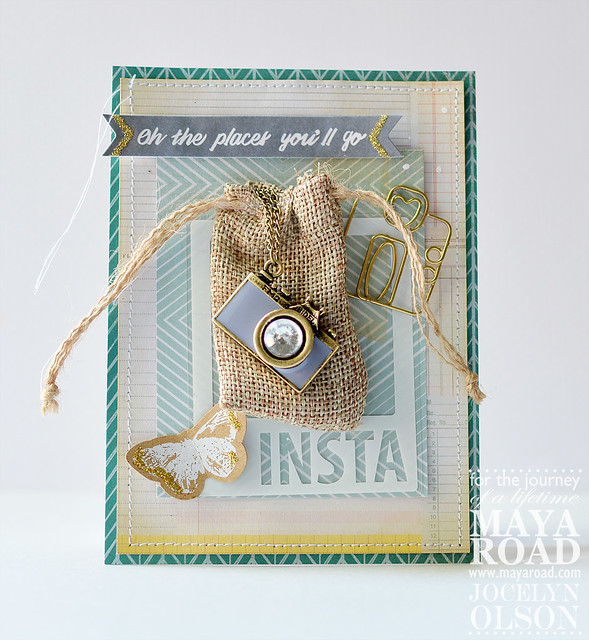
Anyhoo, I'm up on the Maya Road blog today talking about three different styles of embellished cards. Here is one:

The Places You'll Go


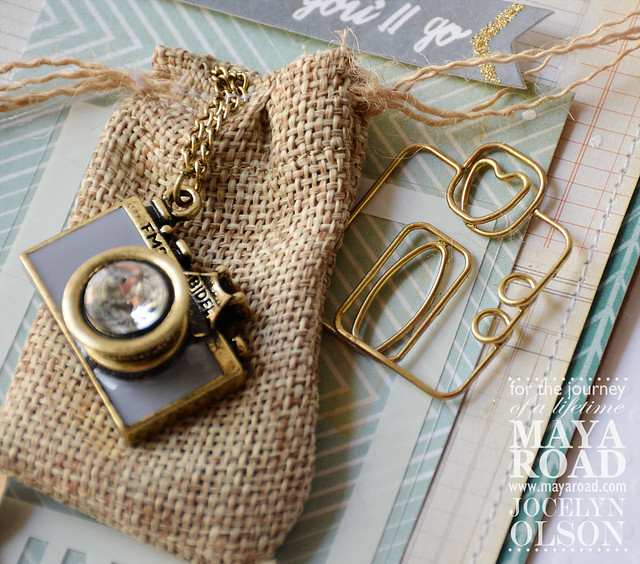
This card was a product sample for Maya Road, and I needed to use the necklace. The chain is long, and it's a heavy necklace, so this card took a bit of engineering to attach the necklace. I put the long necklace chain in the Maya Road Linen Treasure Bag and ran a few stitches through it. These bags are great for giving small presents are party favors (wouldn't it be cute for a pirate party?).

The cute Camera Clip was altered using gold liquid gilding...I'm addicted to gilding things! I used Crate Paper's Journey collection.

The Places You'll Go

I have two other cards on the Maya Road blog. I hope you'll swing by and check them out!

Thanks for stopping by! Have a great day!

Thursday, September 25, 2014

Go and Do Amazing Things

Hi everyone! I hope you're having a great week!

It's day 4 of Neat & Tangled's release week! Today we're sharing projects using the Origami Map stamp set, which was designed by Miriam Prantner. Danielle is sharing pictures of the set on the Neat & Tangled blog.

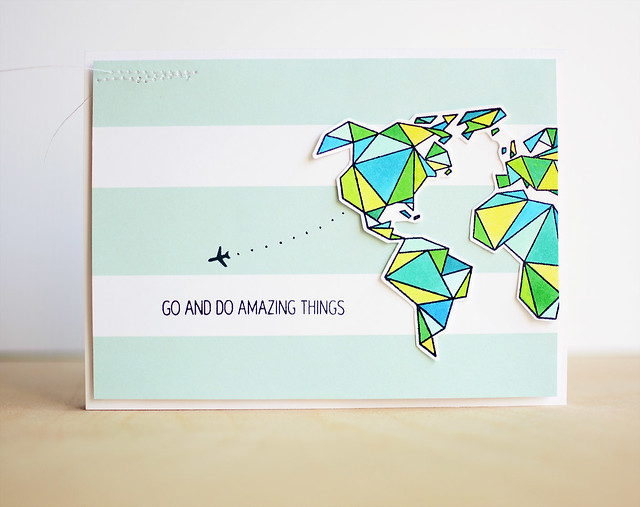
This set is fun and very versatile! Here's what I made:

Go and Do Amazing Things

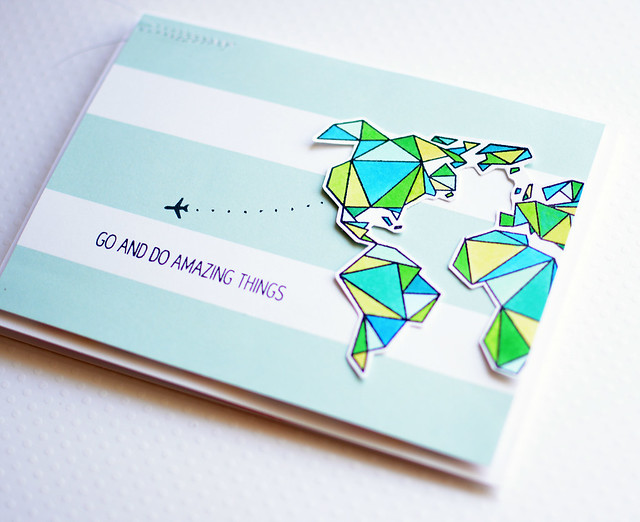
This card took time, but it was pretty easy to make. I stamped the Origami Map, got out a bunch of Copics, and started coloring. I skipped the shading--otherwise, I'd probably still be coloring. ;) Once I was done, I fussy cut the map and trimmed off the edge.

The sentiment and airplane are also from the Origami Map set. I stamped them on the MME Just Sayin' paper:

Go and Do Amazing Things

Since the map had so many colors and is graphic, I decided to keep the card pretty CAS.


There's a giveaway! Comment on the Neat & Tangled blog to win the Origami Map stamp set.

Thanks for stopping by!


Supplies
Stamps: (sentiment, map, airplane from Origami Map) Neat & Tangled
Cardstock: (white) PTI; 110lb. Neenah
Patterned paper: (stripe paper from Just Sayin') My Mind's Eye
Ink: (Tuxedo Black Memento) Tsukineko
Copics, Copic Multiliner

Tuesday, July 29, 2014

Let's Go Mini Album

Hi everyone!

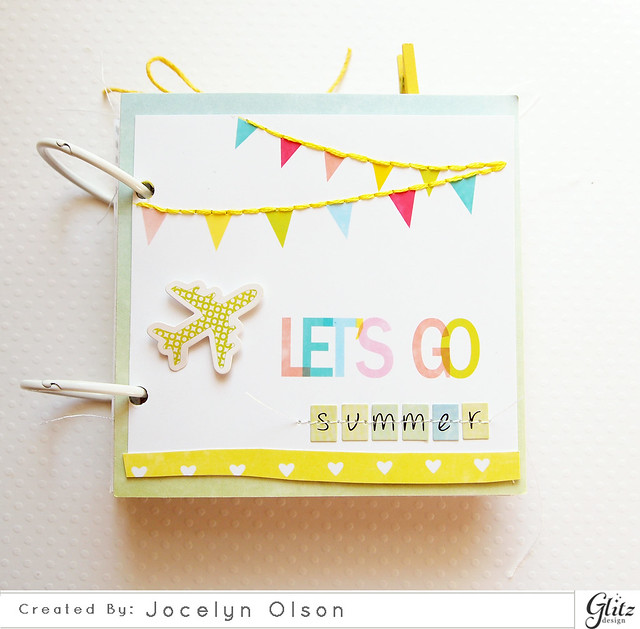
I'm sharing a hybrid mini album on the Glitz blog today. I'm also sharing how I added the sentiments onto the photos (they're journaling cards and colored sentiments altered in Photoshop).

Here's the cover:

Let's Go Mini Album


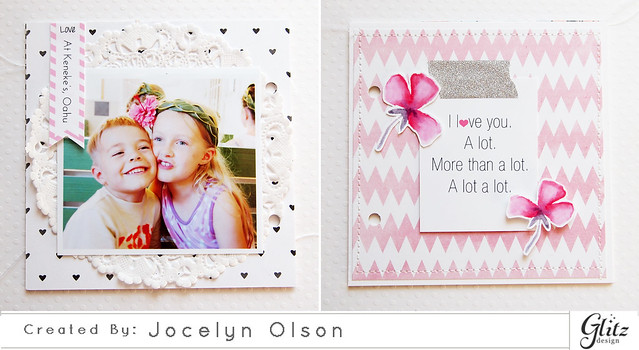
Even though summer isn't over, I wanted to make the first mini album sharing a few of our everyday activities during the summer.

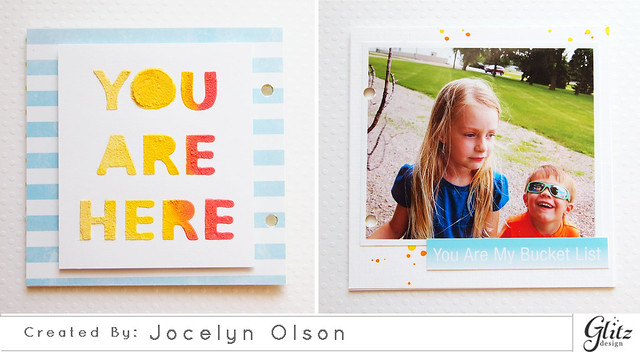
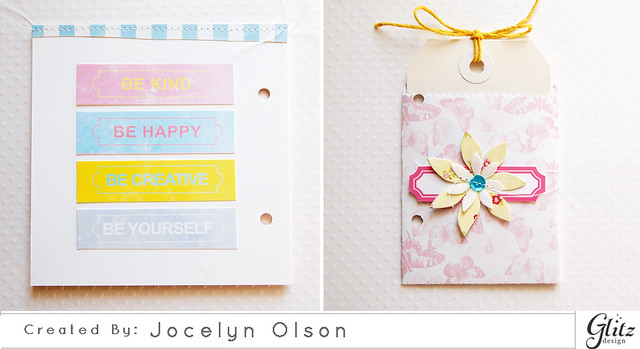
Here are pictures of the inside:

Let's Go Mini Album

For the "You are here," I colored white embossing paste with three colors of stamp reinkers. When I made THIS card, I made two panels (I can never estimate how much embossing paste I'm going to use). I had the second one in my scrap pile and decided it worked with the album. Yeah for scraps! :)

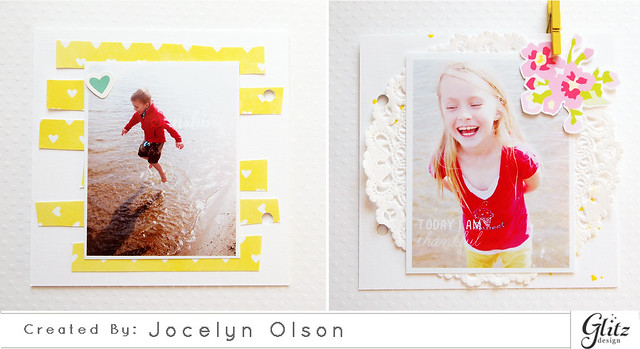
Let's Go Mini Album

I used Brightside papers and a sticker. The papers on the page with my son were supposed to look like sunrays. Yeah...not so much. LOL! I love yellow, though, so I decided to leave it. For the flowers, I used a digital element from the Brightside collection, enlarged the flowers, and fussy-cut them.

Let's Go Mini Album

The sentiment on the left is a journaling card from the Carpe Diem Element Pack 2. I converted it to an overlay. I used a traditional Brightside journaling card on the right.


Let's Go Mini Album


I used a mix of Brightside and Felicity for these two pages. Since I used digital flowers (instead of a sticker), I was able to flip one and resize them.

Let's Go Mini Album

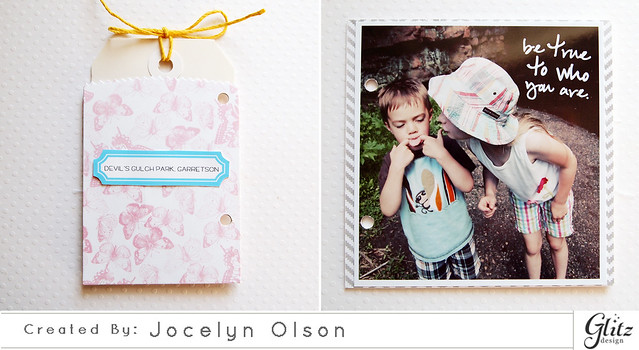
The pocket was die-cut from Brightside paper using the Paper Smooches Deco Bag, and I was able to add some journaling inside. The flower on the outside is the Paper Smooches Poinsettia die--it's a very versatile flower die!

Let's Go Mini Album

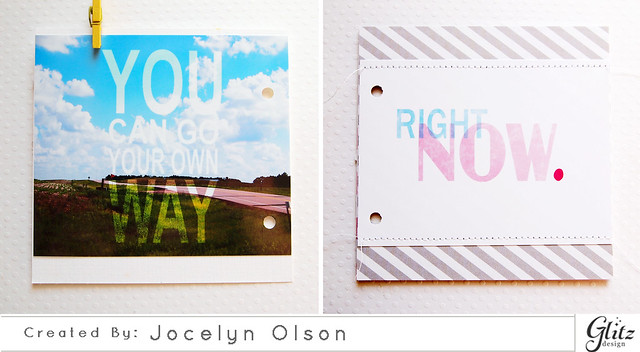
I think this photo was my favorite of the summer (so far) since it really shows my kids' personalities. The sentiment from the Glitz Felicity Element Pack was perfect.


Let's Go Mini Album

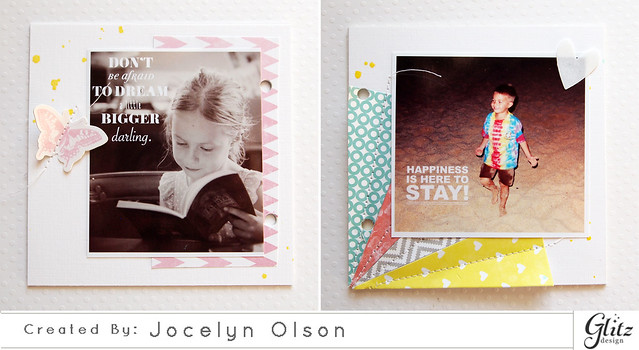
My daughter is a big reader, and I wanted to capture that. For the page on the right, I wanted to create something like my son's tie-die shirt, so I stitched through some Glitz Brightside rays.

Thanks for taking a peek at my album. If you get a chance, please check out the Glitz blog. Thanks!

Have a great day!


Supplies
Cardstock: (Linen White) Ellen Hutson
Patterned papers: (Butterflies, Circles, 12x12 Bits and Pieces from the Brightside collection; Brightside 6x6 paper pad; Black & White 6x6 paper pad; Felicity 6x6 paper pad) Glitz Design
Stickers: (Brightside Alphas & Accents Sticker Sheet) Glitz Design
Embellishments: (Silver Glitter Washi Tape) Glitz Design; (You Are Here stencil) The Crafter's Workshop; Hemptique twine; (yellow clip) Studio Calico; (doilies) Freckled Fawn, (mists) Studio Calico; sequins
Dies: (Deco Bag, Poinsettia) Paper Smooches
Digital elements: (Brightside Element PackCarpe Diem Element Pack 2Felicity Element PackBlack and White Element Pack 1) Glitz Design

Wednesday, September 18, 2013

Happy Travels Note Card Kit

Hi everyone! I hope you're having a great week!

The Glitz Digital team is sharing projects on the Glitz blog today using the Happy Travels collection. The papers and element packs are part of the One Buck Wednesday at Jessica Sprague today. :)

I found THIS note card set on the Silhouette blog, and I decided to do something similar using the digital papers:


I know I'm always looking for ideas for paper crafted gifts, and I thought all of these items would work as a note card kit. There are the cards, envelopes, vellum confetti, and seals for the envelope.

Here's what the cards look like:


I say "cards," but I actually lazed out and only made two cards. ;) I started by re-szing two of the digital papers from the Happy Travels Paper Kit. I fussy cut one of the airplanes from the patterned paper. Isn't that plane fun? I used a cloud from Simon Says Stamp and backed it with the other patterned paper.  The cute sentiment is from the Up and Away stamp set.

For the background, I stamped the Hero Arts Tweed in white. I love the subtle texture! Here's a close-up:


I also made envelopes:


I used the same airplane paper as the card and printed on the polka dot patterned paper on the backside. I love that with digital, I can put whatever patterns I want together for double-sided papers.

The Happy Travels Element Kit has a cool series of vintage travel posters. I'm thinking about printing a few and framing them for my son's room. I did the opposite here, and shrunk them:


After printing and trimming the images, I stitched them together to make a banner. I thought that with the note card kit, you could trim off whichever image you wanted and use it as a seal on the envelope. It would also make a cute banner. :)

Lastly, I made confetti for the note cards:


I printed two of the digital papers on vellum. As a tip, I always use the "glossy paper" option when I print on vellum. I die-cut planes and hearts out of the papers.

Phew! That was a lot of pictures. If you're still with me, I wanted to mention again if you like the Happy Travels papers and elements, they're on sale $1 and $1.50 today only. Score! You can find them HERE.

You can see my project and other samples from the team on the Glitz blog. :)

Have a great day! Thank you so much for stopping by!


Supplies
Cardstock: (Rustic White) PTI
Other paper: (Premium Matte Photo Paper) OfficeMax
Digital elements: (all papers and travel posters from Happy Travels Paper Kit and Element Kit) Glitz Designs
Rubber stamps: (Tweed Background) Hero Arts
Clear stamps: (card sentiment from Up and Away) Mama Elephant
Ink: (Real Red) Stampin' Up; (White) WPlus9
Dies: (large heart from Large Holiday Shapes; small hearts from Mini Hearts Set; planes from Small Planes; clouds from Flat Bottom Clouds) Simon Says Stamp 
Tool: (Envelope Punch Board) We R Memory Keepers

Blog Design by Caked Designs