Showing posts with label My Favorite Things. Show all posts

Friday, December 18, 2015

Getting Embellish-y with Maya Road

Hi everyone! Are you ready for the holidays? I wish I had one more month. :)

Merry Tree

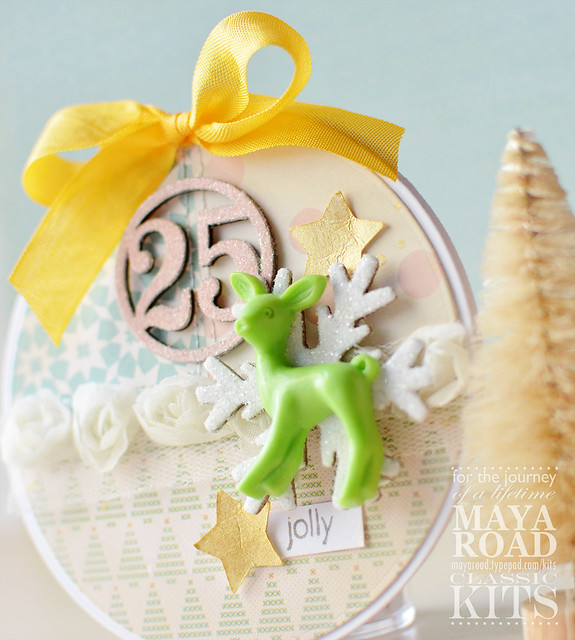
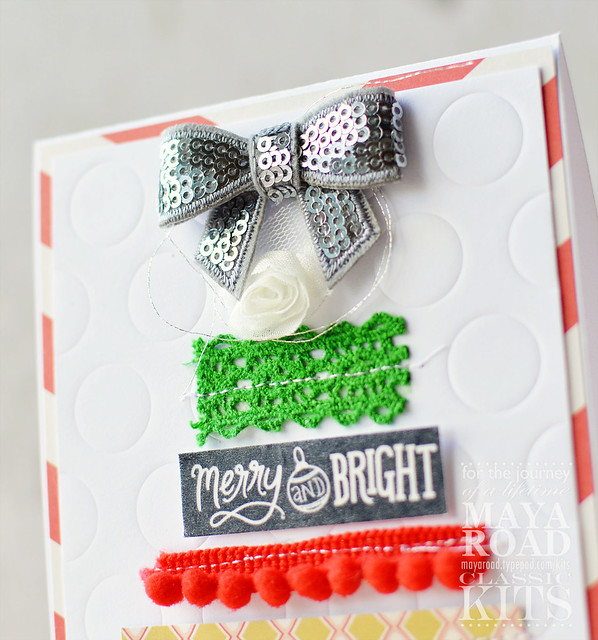
I'm on the Maya Road blog sharing three last-minute holiday cards. It's no secret I like to use embellishments, and I wanted to mix embellishments and the October Afternoon papers from the gorgeous Maya Road Holiday Treasures kit. In addition to the embellishments and papers, the kit has a beautiful stamp set. :)

I hope you'll check out the post (here)!

Jolly

Thanks so much for stopping by. Have a happy holidays!


Tuesday, December 1, 2015

Advent Calendar Extravaganza with Taheerah Atchia

Hi everyone! If you're in the U.S., I hope you had a great Thanksgiving! Today, I'm participating in a special Advent blog hop. :)


Here's a little about the hop:
Advent Calendar Extravaganza is -the- festive event of the season! This 'hop with a twist' was dreamed up by Taheerah Atchia and features surprise destinations each day! Joining in the fun with Taheerah are over 60 special guests - each serving up some fantastic Christmas inspiration! Just like an Advent Calendar, you'll never know where you're going to be visiting next until you 'open the door'!

And that's not all! With 25 *amazing* sponsors taking part as well, your crafty wish list is bound to get a boost with a chance to win a prize EVERY SINGLE DAY!! Join in the fun every day at taheerah-atchia.com to see what special surprises wait behind the door!

Fun, right? Here's what I made:

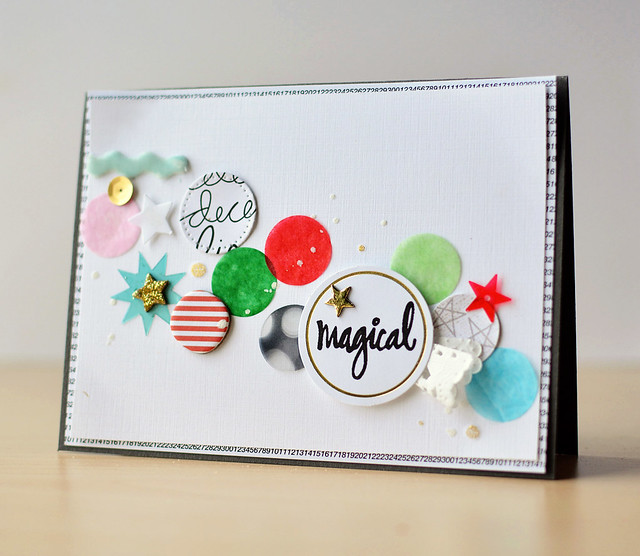
Magical


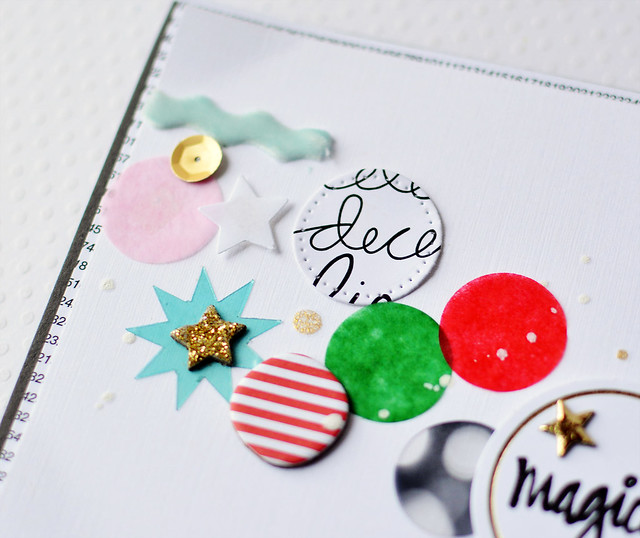
I had leftover supplies from the 2014 Ali Edwards December Daily kit, and I thought they would work for a card. When I saw the tissue paper, I decided to CASE one of my cards from a couple of years ago. 


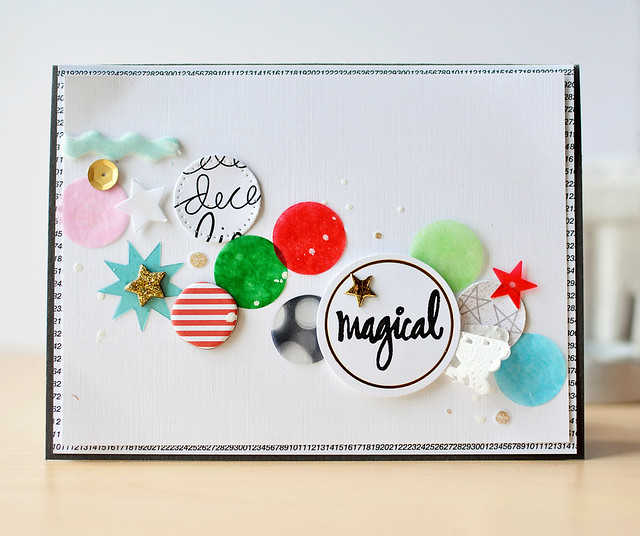
Magical


I started by stamping the "magical" sentiment from the Hero Arts Fa La La La La set on a gold foil tag. The sentiments in this set are beautiful!

After stamping the tag, I tucked a bit of a doily underneath to add texture. I added the tissue circles, part of an acetate die-cut, chipboard pieces, and die-cut papers from the kit using the My Favorite Things Pierced Circles.


Magical

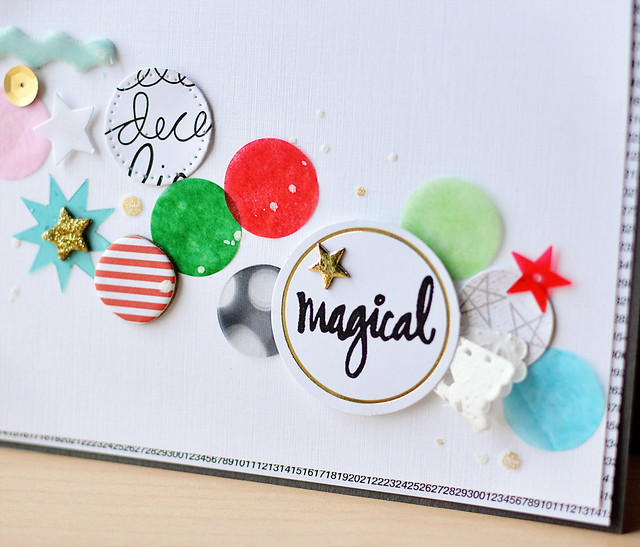
I finished the card with a few more embellishments. The velvet ric-rac ribbon was a last-minute addition...I love the fuzzy texture. :)


Magical

Here are the details about the giveaway:

It's not a party without a prize - and with prizes every day there are several chances to win! Today's prize is generously supplied by Hero Arts (hello, awesome!)! Simply leave a comment on this post to enter - then head back to taheerah-atchia.com and leave a comment there too to double your chances! Don't forget to grab the other surprise destinations from Taheerah's blog and head over to them to leave comments to improve your odds even more! You have until 7am EST on Thursday, December 31st to leave your comments (winner's will be announced on Taheerah's blog). 

Don't forget the Advent Calendar Extravaganza runs from the 1st-25th, so be sure to visit taheerah-atchia.com every day for fabulous inspiration and amazing prizes throughout the month! 

Thanks so much for stopping by! Have a great day! :)

Wednesday, October 28, 2015

Holiday Flamingo

Hi everyone!

It's my last week guesting with the My Favorite Things Challenge and Inspiration team. What an awesome month! (A big thank you, Susan!) The new sketch is up, which you can see HERE.

I've been wanting to use my flamingos for a winter card:

Winter Flamingo

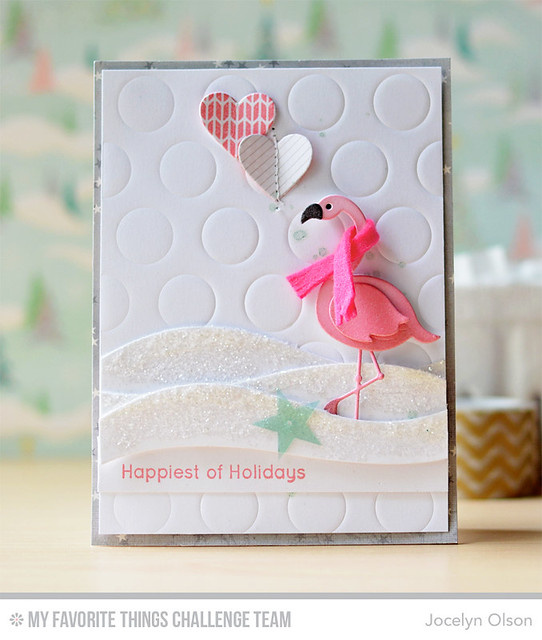
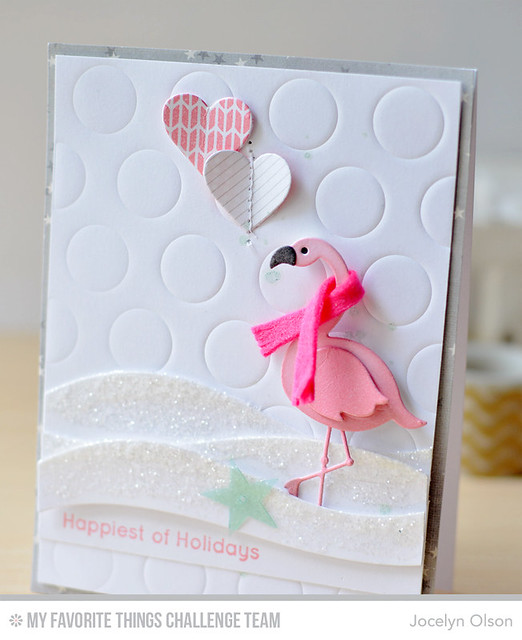
I die-cut the Flamingo die in white cardstock and blended a couple of shades of pink. I love the versatility of these dies....they look good in cardstock. watercolors, Copics, inks, etc. Next, I made a teeny scarf from a scrap of felt. After I had her scarf on, I laughed every time I looked at her. :)

In the sketch, there are several circle elements. I used the Jumbo Dot Cover-Up die to emboss the background panel. The hearts are also from the Flamingo die set:

Winter Flamingo

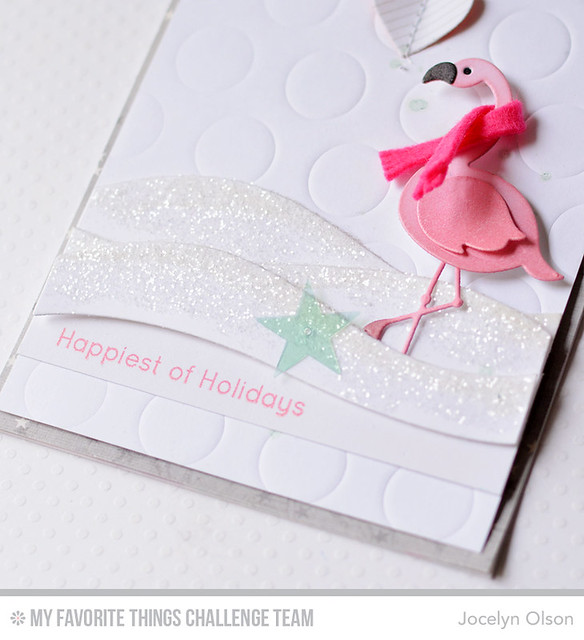
The sentiment is from the Santa's Elves set--I had to go with pink ink. ;) For the snow, I used the negatives out of the Snowdrifts die and added coarse glitter. Isn't it pretty?  Here's a close-up:


Winter Flamingo

I love flamingos. :)

Well, that's it for me. I hope you'll swing by the Challenge and Inspiration blog to see what the fab team has made!

Thanks so much for stopping by! Have a great day!

Wednesday, October 21, 2015

Stay Cool

Hi everyone! Yeah for hump day. :) I'm still traveling (for work), and I'll be in my fifth hotel room tomorrow-gah! I'm looking forward to being home at the end of the week.

It's time for another My Favorite Things Challenge! You can see this week's sketch HERE. Lots of cool ways to use this sketch...

Here's what I made:

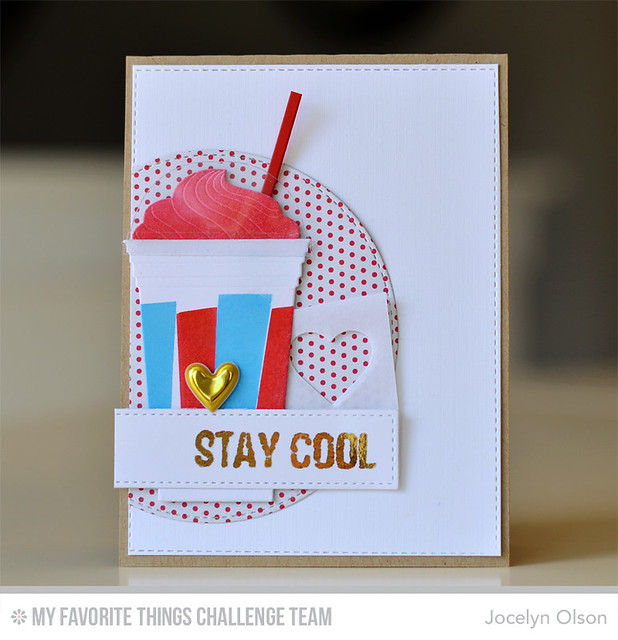
Stay Cool

I can't take credit for the awesome ICEE (Slurpee) idea. My friend Miriam said the Cool Cup die from My Favorite Things was like a Slurpee. I technically went with an ICEE since it was easier to mask. ;)  I die-cut the Cool Cup parts and blended them with inks. For the lid, I used acetate.

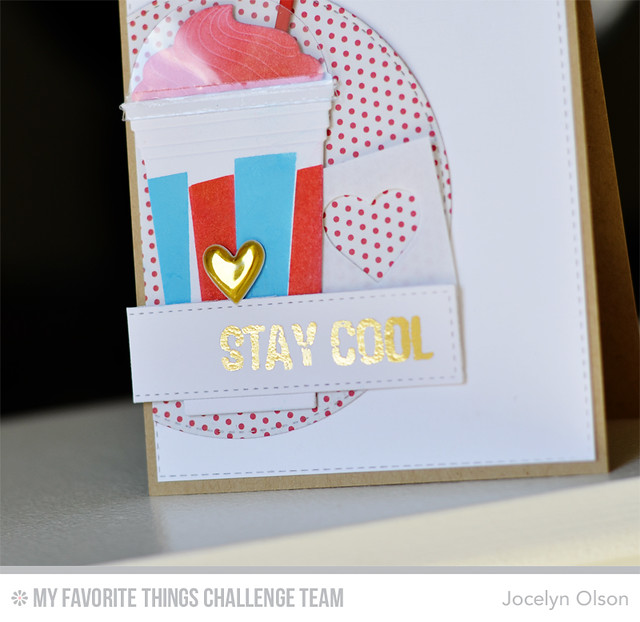
The sentiment was made by stamping and clear embossing the "Stay Cool" sentiment from the Stay Cool set. Next, I foiled over the clear embossing using a technique I saw on one of Jennifer McGuire's videos (brilliant!). The sentiment was distressed, so the imperfect foiling worked. ;) Here's a close-up:

Stay Cool

For the rest of the sketch, I die-cut the new Stitched Arch STAX out of patterned paper. I was going to add a vellum heart, but I thought the negative scrap was cooler.

I hope you'll get a chance to play along with this week's MFT challenge! You can link up your projects HERE.

Have a great day! Thanks so much for stopping by!

Supplies
Stamps: Stay Cool
Cardstock: Wild Cherry, Kraft
Other: Gold Deco Foil; gold heart from Freckled Fawn October Kit

Wednesday, October 14, 2015

Happiest of Holidays

Hi everyone! I hope you're having a great week. I'm in D.C. for work, and I'm really looking forward to seeing some local crafty friends at the end of the week. :)

I'm guesting with the My Favorite Things Challenge and Inspiration team again. Yeah! It's a sketch challenge this week, and you can see the sketch HERE.

Here's my take on the sketch:

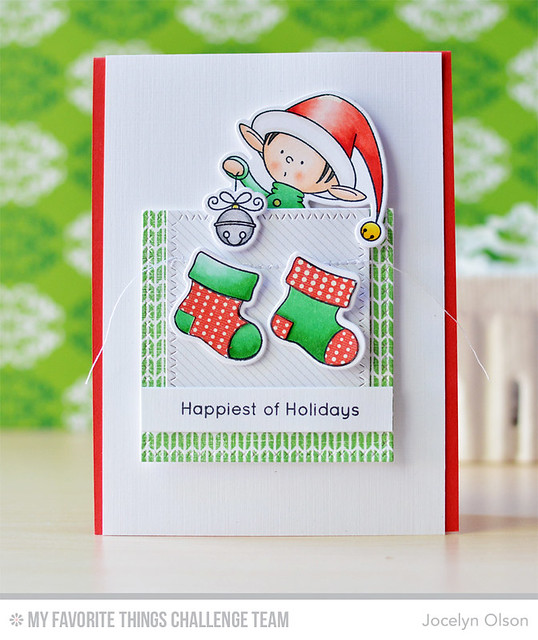
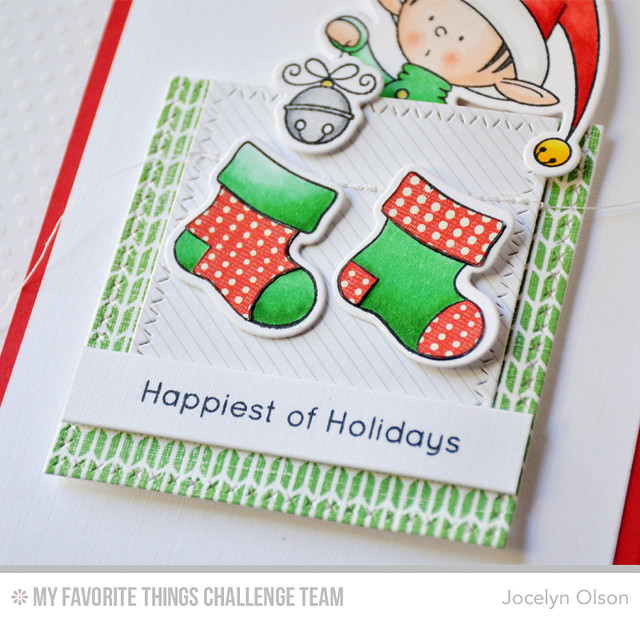
Happiest of Holidays

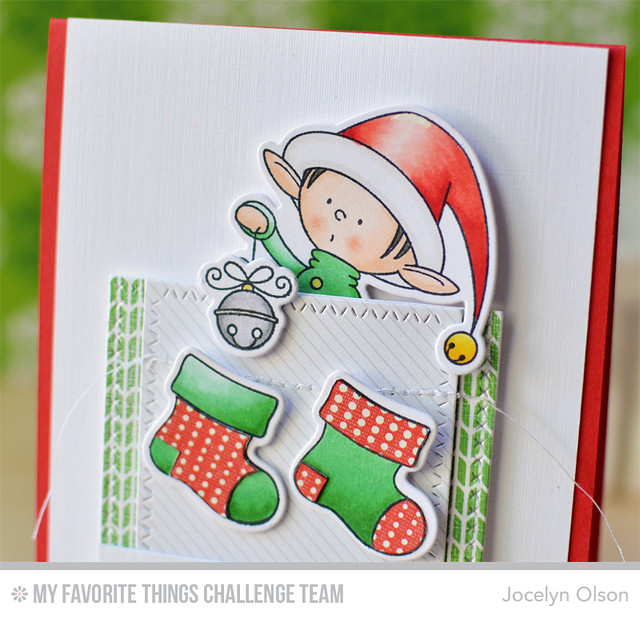
Isn't the elf adorable?? I love him and had to use him. I colored the little guy from the My Favorite Things Santa's Elves set with Copics. For the bell, I added a little Wink of Stella over the coloring (yes, I know; it's hard to see).


Happiest of Holidays

The elf was tucked behind the two die-cut panels. On the bottom layer, I stamped the awesome Sweater Stitched Background stamp and then die-cut the panel with Cross-Stitch Square STAX. On top, I die-cut patterned paper using the Zig Zag Stitch Square STAX.

Below the elf, I wanted to make it look like the elf was dropping the jingle bell into the stocking. I stamped the stockings using the same Santa's Elves set, and then colored and paper pieced them.

Happiest of Holidays

Be sure to stop by the MFT Challenge and Inspiration blog. I hope you have a chance to play along!

Thanks for stopping by! Have a great day!

Supplies
Stamps: (Santa’s Elves, Sweater Stitch Background) My Favorite Things
Ink: (Field Day Hybrid Ink) My Favorite Things; (Tuxedo Black) Tsukineko

Paper: (Wild Cherry Cardstock) My Favorite Things; (Ellen's Essential Linen) Ellen Hutson; (stripe polka dot papers) Studio Calico kits
Other: Clear Wink of Stella pen; Copic markers

Wednesday, October 7, 2015

Be Jolly

Hi everyone! Happy Wednesday! I hope your week is going well.

I'm positively thrilled to be guesting with the My Favorite Things' Card Challenges team this month. Woo hoo! This week's challenge is a sketch, which you can find on the Challenge Team blog.

I flipped the sketch to make this card:


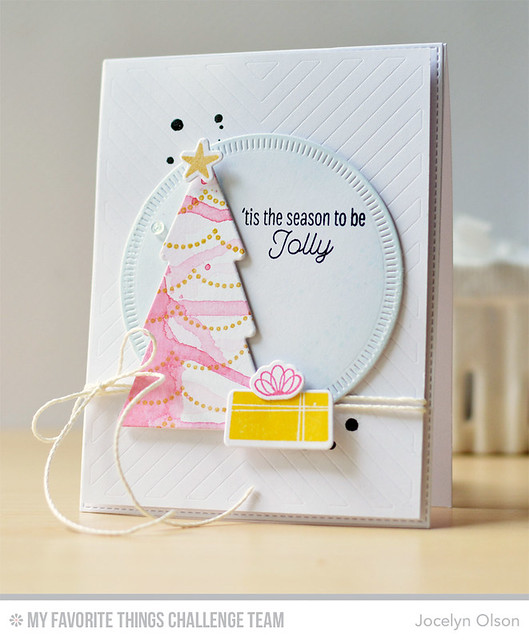
Be Jolly

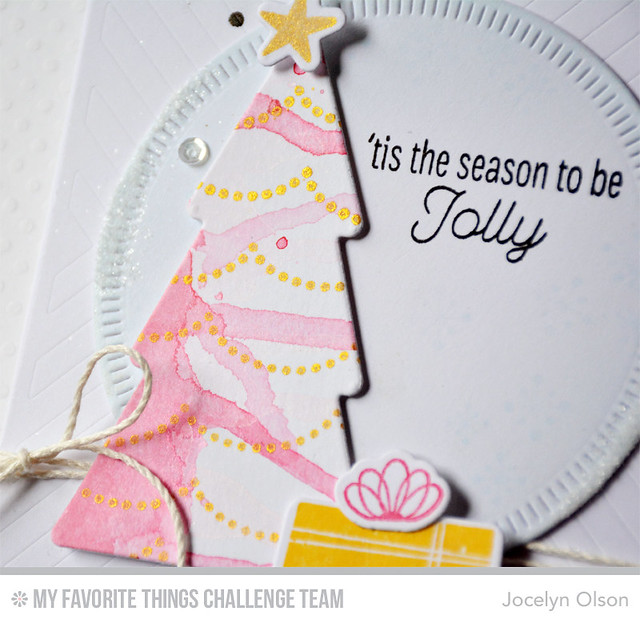
I used the new Trim the Tree die to die-cut the tree from an "oops" watercoloring project. :) On the die-cut, I stamped the garland from the Trim the Tree stamp set in Gold and added a die-cut star from the same stamp and die set.

Next to the tree, I added one of the presents from the Trim the Tree set. The yellow really pops!


Be Jolly

I used the new Radial Stitched Circle STAX and blended Sno Cone ink to add some blue. It's hard to see, but I stamped (and stamped off) snowflakes from the Trim the Tree set in the same light blue. I added a little glitter to the edge of the circle die-cut.

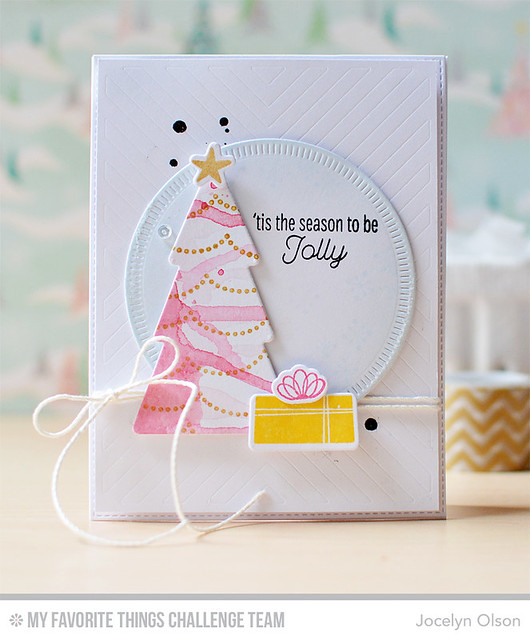
In the background, I embossed the Four Way Chevron die--love that die!

Be Jolly

I hope you have a chance to play along with this week's challenge. You can see the sketch and details HERE. :)

Thanks so much for stopping by!

Supplies
Stamps: (Trim the Tree) My Favorite Things
Dies: (Radial Stitched Circle STAX, Trim the Tree, Blueprints 13, Four-Way Chevron Cover-up) My Favorite Things
Ink: (Black Licorice Hybrid Ink, Lemon Drop Hybrid Ink, Sno Cone Premium Dye Ink) My Favorite Things; Delicata Gold Ink; (Black Velvet Color Shine) Heidi Swapp
Cord: (white) Hemptique
Sequin: (4mm Clear) Pretty Pink Posh


Saturday, October 3, 2015

WCMD with My Favorite Things

Hi everyone! Happy World Card Making Day! I love this day. If you're a card maker, I hope you're getting a chance to make some cards today! :)

This month, I'm guesting with the My Favorite Things Challenge Team!! I'm so excited! This month's release is so wicked cool--I had a few squeals when I opened my package. ha ha

To celebrate WCMD, the MFT Challenge blog inspiration all day long, and I'm joining the fun. Yeah!! The theme is Christmas, old and new, and here's what I made:


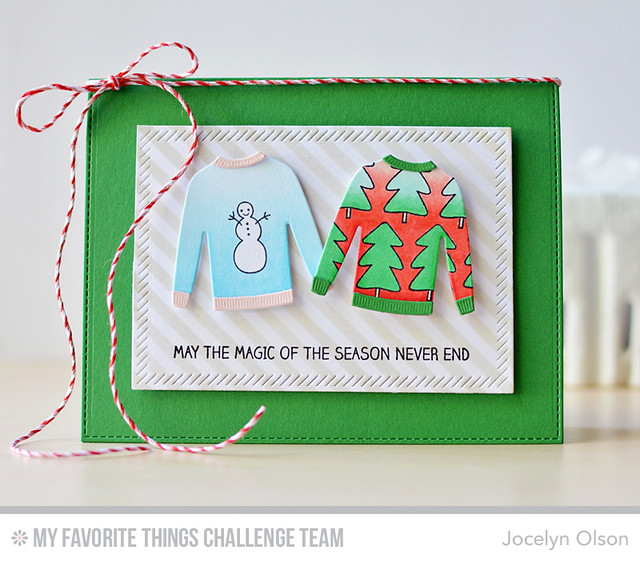
Magic of the Season

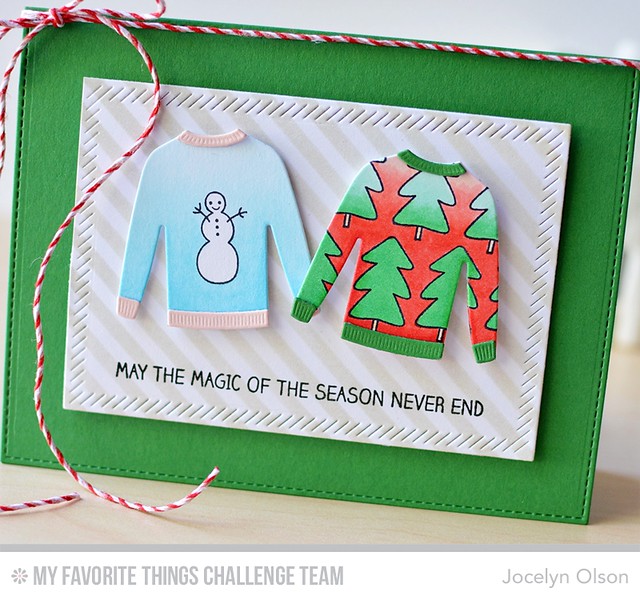
Do you see the new stamps? The stamped images on the sweaters and the sentiment are from the new Winter Wonderland set. This set is adorable with fab scene-building winter images and awesome sentiments. I love this sentiment in particular and had to use it! This set will be released October 6th. 

For my "old," I cut the Comfy Sweaters out of white cardstock and stamped the Winter Wonderland images. I Copic-colored the sweaters. Here's a close-up:


Magic of the Season

For the background, I made my own stripe by inking Grout Grey through the All Lined Up stencil. After creating the panel, I die-cut it with the Inside Out Diagonal Stitched Rectangles. These dies are cool (and addictive!). I finished off the card with a Field Day card base die-cut using the Blueprints 13

Be sure to check out the MFT Challenge Blog--lots of awesome stuff!

Have a great day. Thanks for stopping by!


Monday, July 20, 2015

Summer (Non-Traditional) Mini Album

Hi everyone! We got back from our trip to the Black Hills. For years, I've wanted to see Devils Tower (I blame Close Encounters of the Third Kind), and I finally got to see it. My family and some of our friends met up to hike around it, and I *loved* it. If you have a chance to visit, it's worth the trip!

Anyhoo, I'm up on the Maya Road blog sharing a non-traditional mini album:

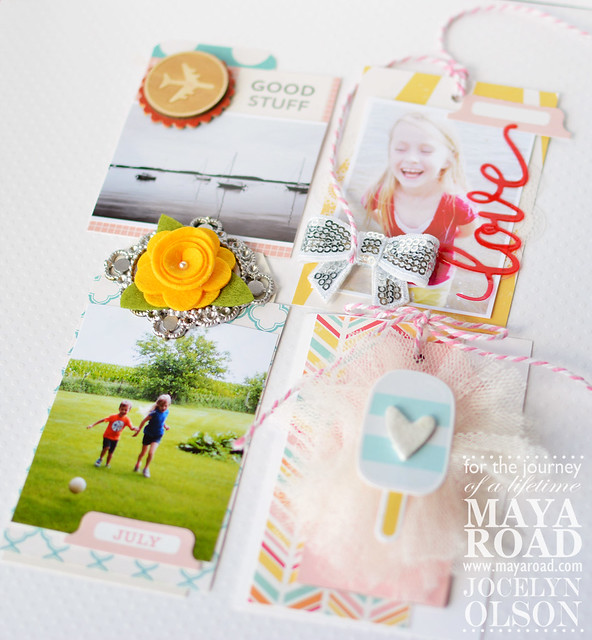
Summer Mini

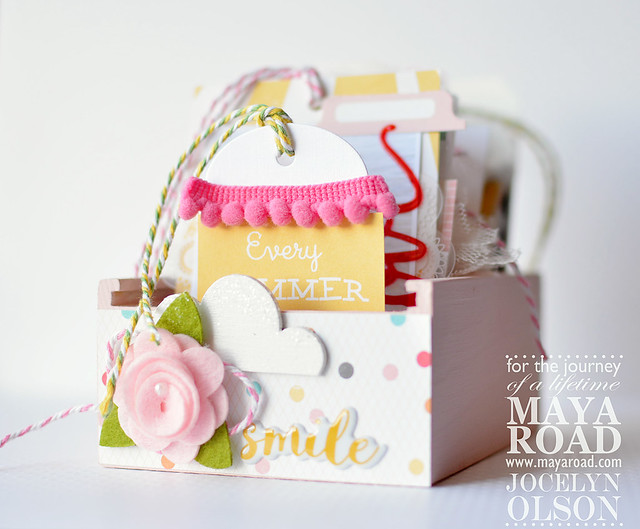
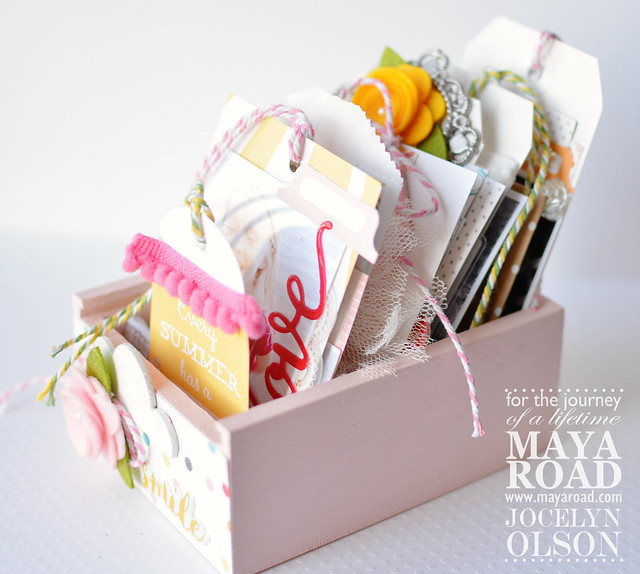
I started with the Wood ATC Box and altered it to make a tag/card/bag drawer as the album.

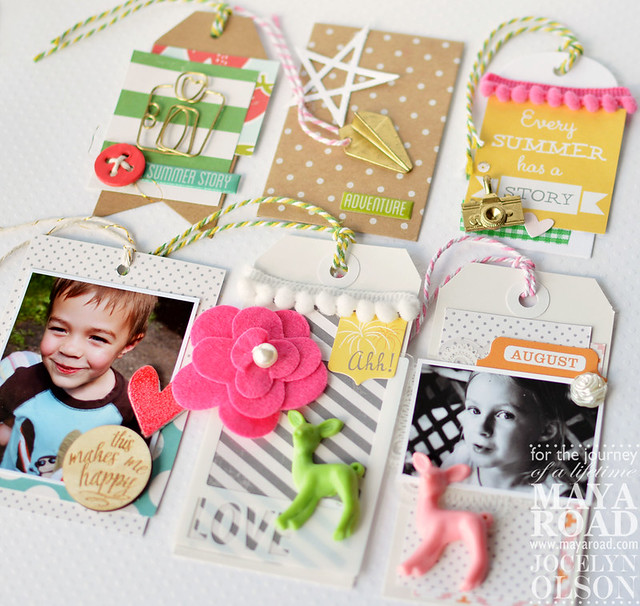
Here are most of the tags and cards:

Summer Mini


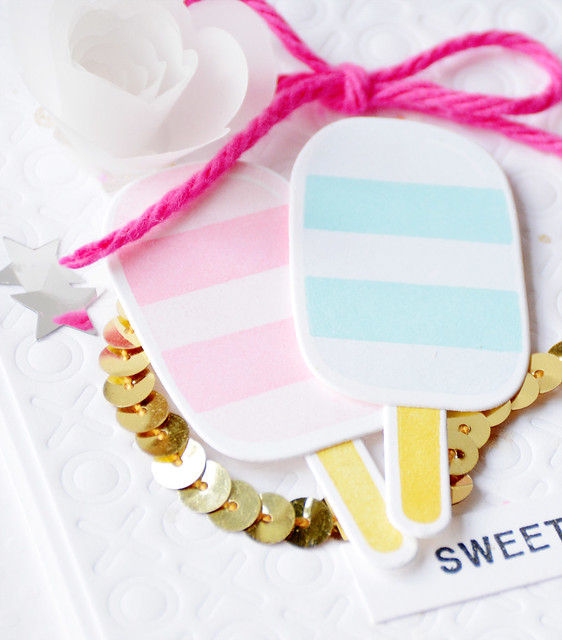
For the tags and cards, I mixed lots of Maya Road products with October Afternoon Summertime patterned papers and stickers. The cute popsicle is from My Favorite Things' You're the Sweetest stamps and dies, and the star is a MFT Lucky Stars die.

Summer Mini


I have to say, it was one of the most fun projects I've ever made--all of the scrappy layering and altering was a blast. I love these products!! :)

Here is a picture of the whole box:

Summer Mini

I have several other pictures on the Maya Road blog. I hope you'll swing by and check it out! :)

Thanks for stopping by!


Friday, May 8, 2015

Puppy Love

Hi everyone! It's Friday--yeah! My daughter is in a play tonight, and she's having a party tomorrow...it's going to be a busy weekend here.

Today, I'm up on the Maya Road blog sharing a card, ways to alter metal clips, and a tutorial for embossing metal clips. I've developed quite an addiction to the Maya Road clips. They are so cute!

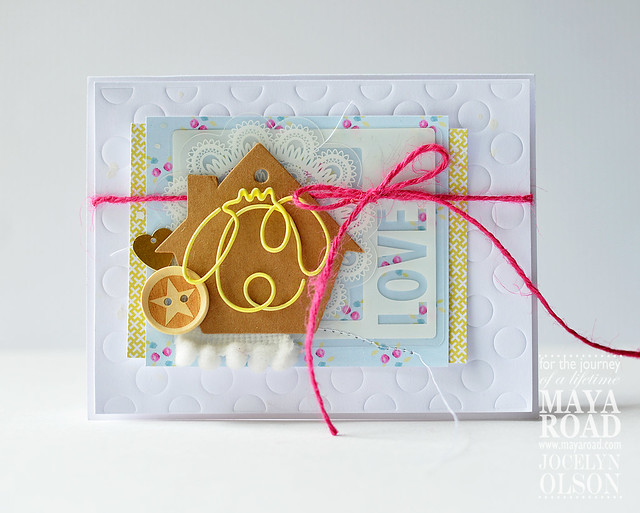
The clip I altered is on this new puppy hybrid card:

Puppy Love

I started by embossing the background with the MFT Polka Dots Cover-up. Next, I layered digital patterned papers from the From Where I Stand collection by Paislee Press.

There are more photos and a tutorial showing how to alter the clips on the Maya Road blog. I hope you check it out!

Thanks so much for stopping by! Have a great weekend!


Supplies
Cardstock: (white) Papertrey Ink
Patterned paper: (From Where I Stand digital collection) Paislee Press at The Lilypad
Ink: (Opaque White Mr. Huey's) Studio Calico; VersaMark
Embellishments: (Framed Sayings TransparencyVintage Doily TransparencyGold Heart Tag CharmLucky Star Wood ButtonMini Pom Pom Trim; Man's Best Friend Clip; Our Home Kraft Tag; Princess Jute Cording) Maya Road
Embossing powder: (Sunshine) Sparkle 'n Sprinkle

Tuesday, April 28, 2015

Guesting at My Favorite Things

Hi everyone! Happy Wednesday!

I have a sneak....

Gnome Hello


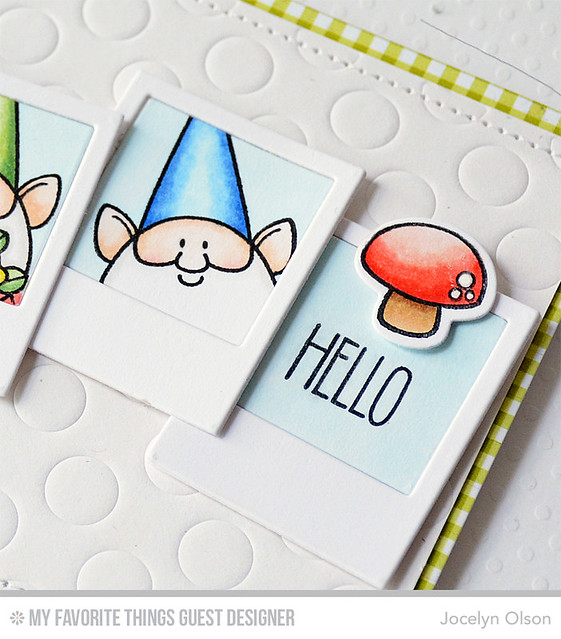
It's my second guest post over at My Favorite Things. I'm still squealing! :) I made a card with the new Birdie Brown You Gnome Me set and also a gnome hat. If you have a chance, please check it out HERE. Thank you!!

Thank you so much to MFT for asking me to guest!

Have a great day! Thanks for stopping by!


Wednesday, April 22, 2015

Guesting at My Favorite Things

Hi everyone! Happy Thursday! I have a sneak....

Sweet Friend

I am absolutely thrilled to be guesting over on the My Favorite Things blog today! :) I made a trio of gift wraps and a card using the new Lisa Johnson Designs stamps and dies. If you have a chance, please check it out HERE. Thank you!!

Have a great day! Thanks for stopping by!

Wednesday, April 1, 2015

Bejeweled Card Set

Hi everyone!

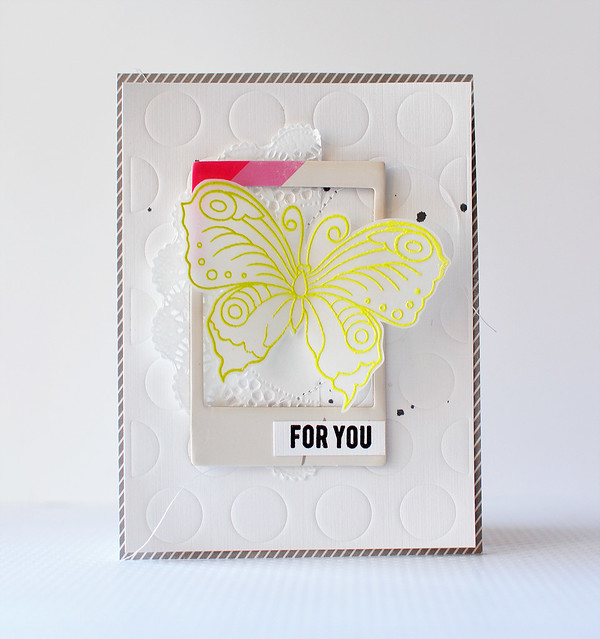
Butterfly Card Set

I'm on the Altenew blog today with a card set using the Bejeweled stamp set. I did some simple layering (using items that were within reach of my desk) and kept the same design to coordinate the set. I used some older Notes & Things chipboard frames from Crate Paper.

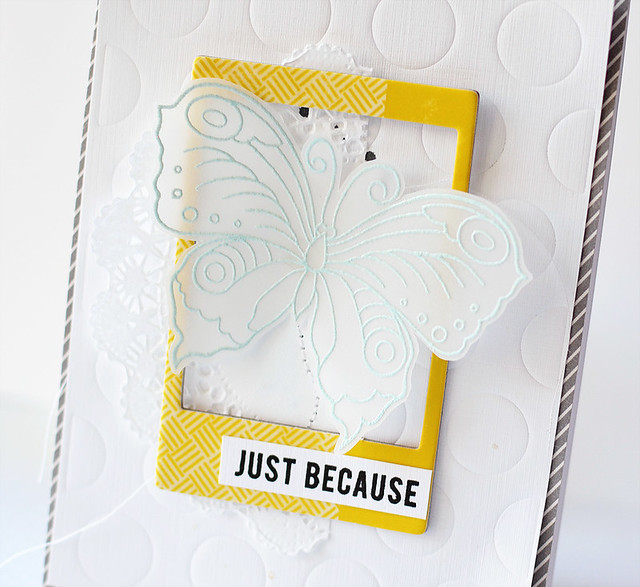
Here's a close-up of one of the cards:

Butterfly Card Set

To see the rest of the set (in different colors and frames), swing by the Altenew blog. Thanks!!

Have a great day! Thanks for stopping by!

Wednesday, September 3, 2014

Trio of Scrappy Cards

Hi everyone! I hope you had a great (long) weekend. Where on earth did summer go?? I always love fall, though. :)

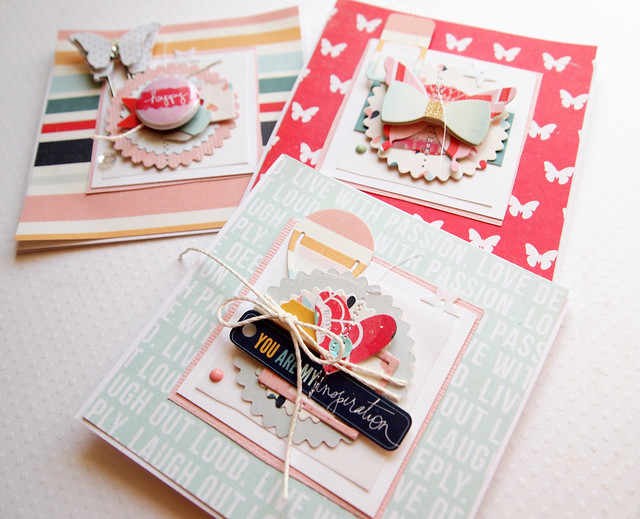
I'm up on the Scraptastic Club blog today, and I'm sharing a card set with layered embellishments using one of the September kits:

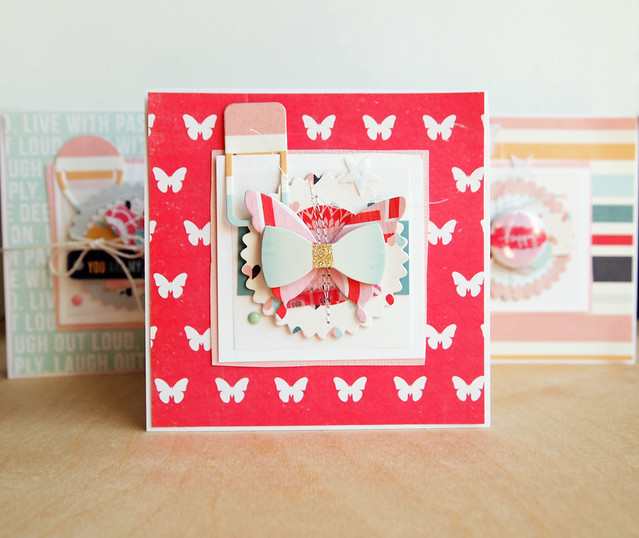
Scrappy Card Trio

I started by picking the Teresa Collins and Pink Paislee background papers and then die-cutting various papers from the kit with several different dies (scalloped circles, hearts, butterflies, Polaroids, envelopes, tabs). I die-cut enough for about 10 cards. Ha!

The Girl kit and Add-on have some fabulous embellishments, and I was able to layer those with the papers. Their kits have a ton of product--I'm always amazed!

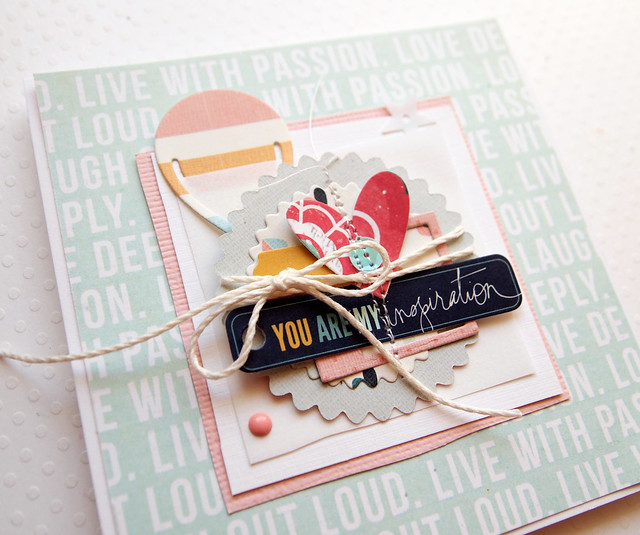
Scrappy Card Trio


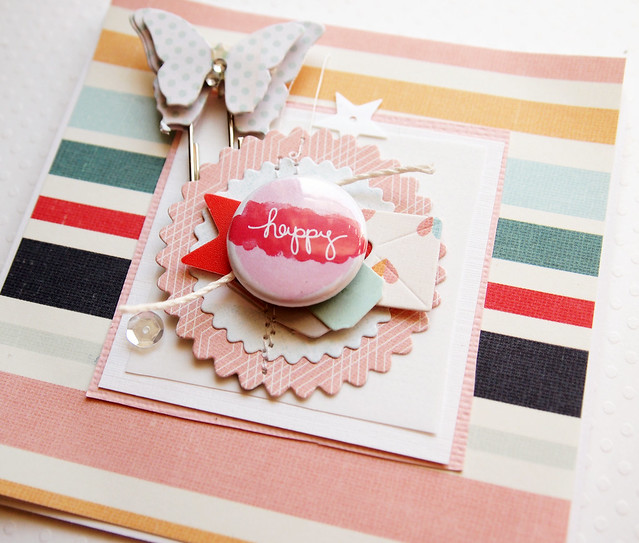
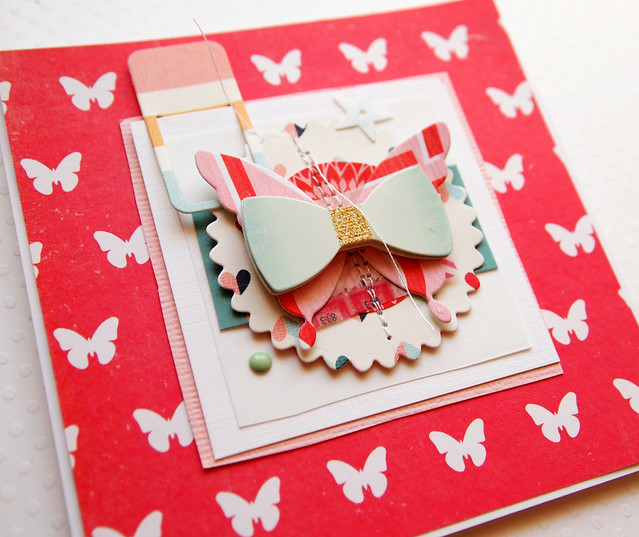
To simplify the cards, I kept the layouts almost identical for all three cards. Here are some close-ups:

Scrappy Card Trio


Scrappy Card Trio


Scrappy Card Trio

If you get a chance, please check out the Scraptastic blog and kits. The September kits went live yesterday, and you can check them out HERE.

Thanks for stopping by! Have a great day! :)


Tuesday, May 27, 2014

Great Love

Hi everyone!

It's the end of May and the end of my guest spot at i {heart} papers. :(  I wanted to share one last card using supplies from the store.

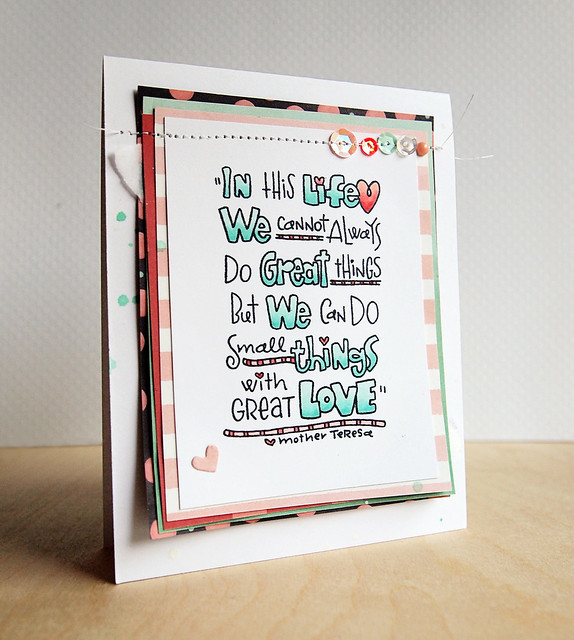
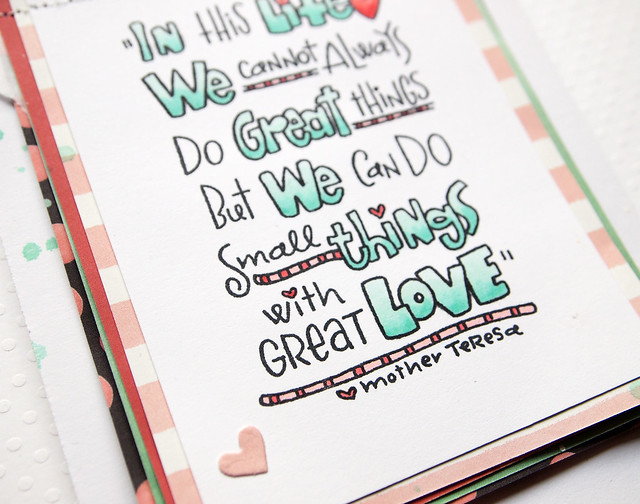
I wanted to use this awesome sentiment from My Favorite Things:

Great Love


I stamped the Be Your Best Self sentiment and colored it with Copics. It took a steady hand for some of those tiny areas. ;) The color inspiration came from the new My Mind's Eye Asbury Heights papers.

Here's a close-up of the sentiment:

Great Love


The tiny heart comes from the Red and Goldie dies. I layered some of the Asbury Heights papers and a layer of tissue, and I added some mist on top.

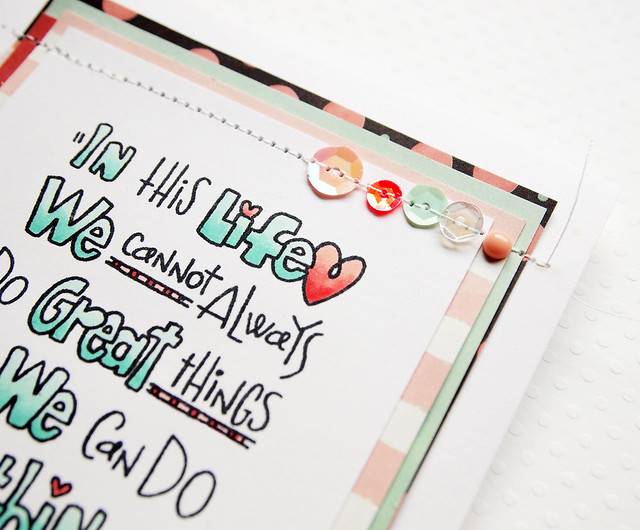
In the other corner, I stitched a mix of sequins at the top. I messed up on the stitching, which was pretty frustrating. But, rather than remaking the card, I added an enamel dot and just decided to go with the wonky sequins. ;)

Here's a close-up:

Great Love


I wanted to give a big thanks to Kate and Tracy at IHP for having me as a guest these past two months!

Thanks for stopping by. Have a great day!


Supplies
Cardstock: (white) PTI
Patterned paper: (Asbury Heights) My Mind's Eye
Stamps: (Be Your Best Self) My Favorite Things
Ink: (Tuxedo Black) Tsukineko; (Dewey, Opaque White Mr. Huey's) Studio Calico
Copics
Embellishments: (blush, mint sequins) Studio Calico; (coral sequin) craft supply; (clear sequin) Neat and Tangled
Die: (heart from Red and Goldie) Avery Elle

Tuesday, May 20, 2014

Hello Card Set

Hi everyone! I hope you're having a great week! :)


Stephanie and I are on the Glitz blog today. We're using projects with the Bits and Pieces (journaling cards).

I went round-and-round about what to make, but I settled on a card set.


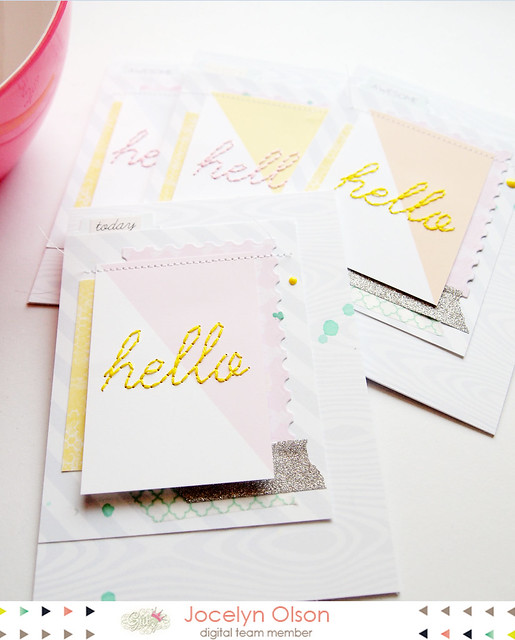
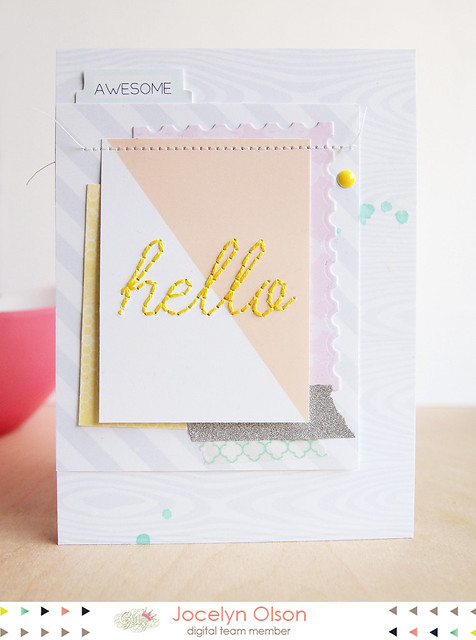
Stitched Hello


I used the "hello" digital journaling cards from the Carpe Diem collection. In the original journaling card, the "hello" is in black and the triangle is a slightly lighter shade of pink. I adjusted the colors and lightened the "hello" so it wouldn't appear through the stitching. I'll be giving a tutorial on this process soon for something coming up. :)

Once I printed the cards, I used the word as a stitching template. Here's one of the cards:


Stitched Hello


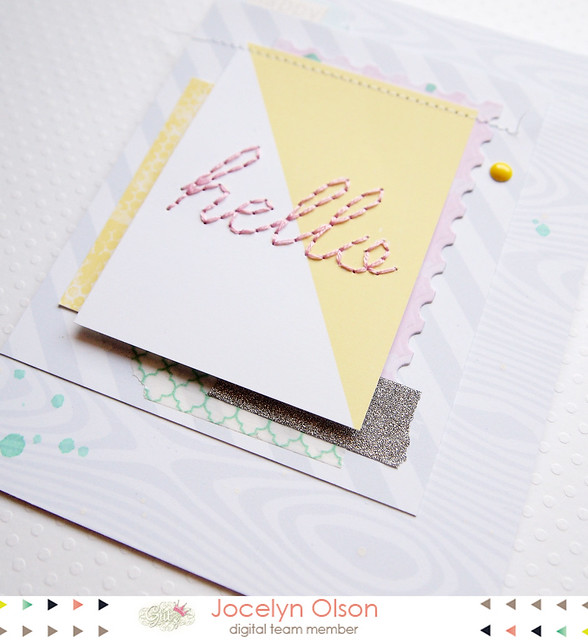
For the layered papers, I enlarged another one of the Bits and Pieces from the Raven collection for the woodgrain background. I layered other papers from the Cashmere Dame and All Dolled Up. I love how they all coordinate nicely. The "awesome" and the tab are both from the Carpe Diem element packs.

Here's a close-up:gli

Stitched Hello


At the bottom of each panel, I added some of the new Silver Glitter and Mint Chain washi tapes from Glitz.

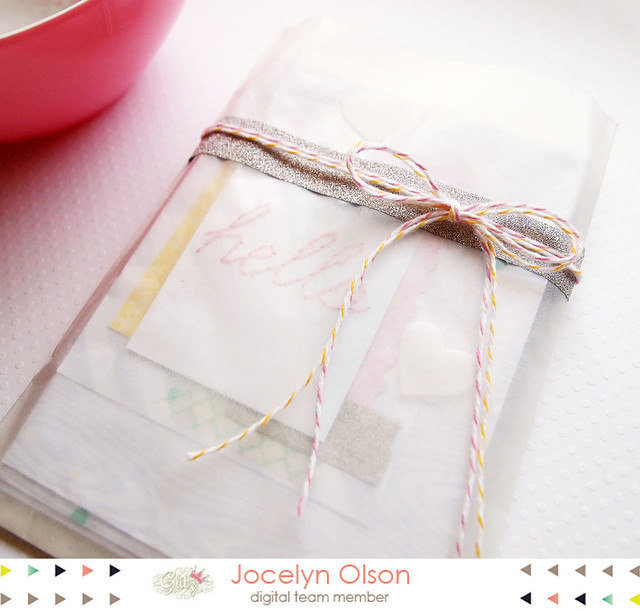
To wrap up the card set, I simply put them in a glassine bag. I added a couple of vellum hearts, Baker's twine, and more of the Silver Glitter washi tape. The cards are pretty busy, so I thought it worked to keep the packaging simple. Yep, that's my story, and I'm sticking to it. ;)


Stitched Hello


Thanks for looking! Have a great day!


Supplies
Cardstock: (white) Avery Elle
Digital elements: (woodgrain, stripe from Raven Element Pack 2; pink bow from All Dolled Up Paper Pack; yellow from Cashmere Dame Paper Pack; hello journaling card from Carpe Diem Element Pack 2; "awesome" from Carpe Diem Element Pack 1; file tab from Carpe Diem Element Pack 3)
Dies: (Postage Stamp) My Favorite Things
Fibers: (twine) May Arts
Embellishments: (Mint Chain, Silver Glitter washi tape) Glitz Design; (enamel dots) My Mind's Eye

Tuesday, April 1, 2014

Hi From Me to You

Hi everyone! Are you having crazy weather like we are? It was 70 degrees today and tonight is a low of 18 with snow. Forget spring--I'm ready for summer. :)

I'm excited to share a guest post today. For April and May, I'll be guesting with i {heart} papers! The online store has tons of stamps, dies, and other supplies. I love how they have so many brands of stamps, and really current supplies. Plus, there is free shipping over $70--woo hoo!

I made a card using supplies from the store:

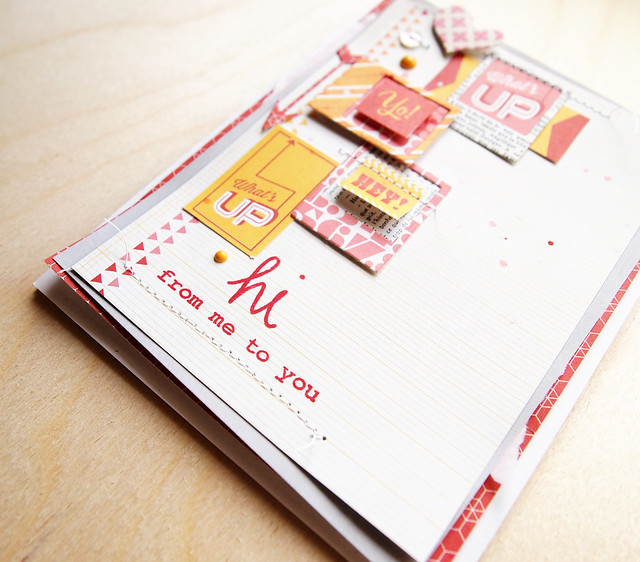
Hi From Me to You

I was flipping through the fab BasicGrey Capture paper and saw the different "hey" sentiments on one of the papers. I loved it and had to use it! I cut up the papers and die-cut some frames out of the Capture papers using one of the My Favorite Things Polaroids die. I also die-cut a Paper Smooches arrow and heart--the heart was cut from a Spice Market paper. The Cardbooking die set is one of my faves!

I layered some of the Capture papers and added splatter and stitching. The cool sentiment is from Technique Tuesday's Rah Rah Sentiments set. Here's a close-up of the sentiment:

Hi From Me to You


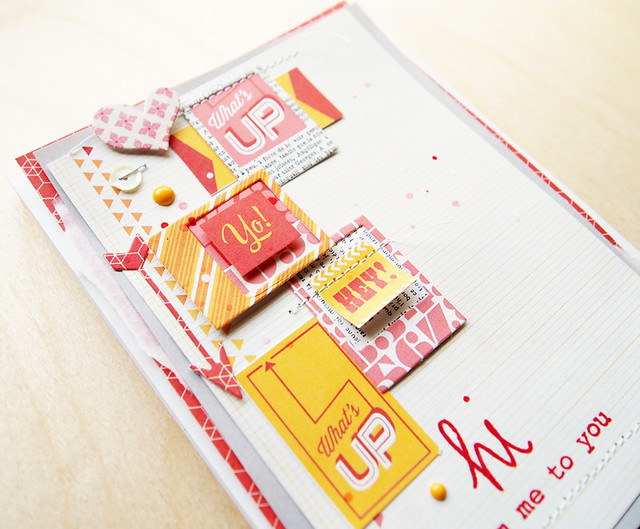
I finished the card with a couple of embellishments--a Lawn Fawn sequin, and some Studio Calico enamel dots.

Here's a close-up of the top:


Hi Frames


You can see the guest post over on the i {heart} papers blog. :)

Thanks so much for stopping by!


Supplies
Cardstock: (white) PTI
Patterned paper: (Capture, Spice Market 6x6s) BasicGrey
Stamps: (Rah Rah Sentiments) Technique Tuesday
Ink: (Real Red) Stampin' Up; (Mary, Mary; Opaque White; Letterman's Jacket Mister Huey's) Studio Calico
Dies: (heart, arrow from Cardbooking) Paper Smooches; (Polaroids) My Favorite Things
Embellishments: (sequin from Hello Sunshine Mixed Sequins) Lawn Fawn; (enamel dots from Yellow/Orange Essentials) Studio Calico


Saturday, February 22, 2014

Spring Love

Hi everyone! I hope your weekend is off to a great start! I'm getting over some type of flu and a bad case of pink eye--ugh. Fortunately, my eye is starting to clear up, and hopefully it won't move to my other eye. :)
A couple of weeks ago, I had some tags posted on the Glitz Design blog, but I never shared them here. The tags were for Valentine's Day for my kids' teacher treats. They're so springy, I think they could work after Valentine's Day, too.

Here's one:

Spring Love Tags


I used digital papers from the Finnley (green), Wild and Free (yellow), and Hello Friend (pink) digital collections from Glitz on the tags. I increased the saturation of the papers to make them brighter. I die-cut the postage stamps on my Cameo, the hearts with Paper Smooches dies, and the mini Polaroid with a My Favorite Things die.

I made six tags--one for each teacher:


Spring Love Tags


For each tag, I layered some Glitz Design washi tape, tissue paper (there it is again--I'm addicted!), part of a doily, and my papers. I topped off each one with the "xoxo" from the brand new Glitz Black & White collection. I added a little white splatter on top....I was holding my breath that I wouldn't have a huge glob of ink in the center. ha ha

Each tag is a little different:

Spring Love Tags


They were so much fun to create!

Thanks for stopping by! Have a great day.


Supplies
Cardstock: (White Linen) Ellen Hutson
Digital elements: (green papers from the Finnley element pack 2; yellow papers fro Wild and Free paper pack; pink papers from the Hello Friend paper pack; sentiment from the Black and White element pack 2) Glitz Design at Jessica Sprague
Washi: (Hello Friend) Glitz Design
Dies: (tag, postage stamps) Silhouette America; (Hearts Dies) Paper Smooches; (Precious Polaroids) My Favorite Things

Wednesday, January 29, 2014

You Make Me Smile

Hi everyone! I hope you're having a great week.

It's "All That Glitters Is Gold" week on the Glitz Design blog, but today, the digital team is showcasing the Love You Madly collection. The Paper Pack 2 and Element Pack 2 from this collection are on sale today only at Jessica Sprague (for $1 and $2!).

Want to see how I used this collection?

You Make Me Smile


As soon as I saw this sentiment from the Love You Madly Element Pack 1, I had to use it! The sentiment is on a doily, but I removed the doily and moved the sentiment onto the pink journaling card from the Element Pack 2. It fit perfectly in the frame. Woo hoo!

I printed some papers from both paper packs. I die-cut a long banner from My Favorite Things and little Simon Says Stamp hearts to balance the banner. Here's a close-up:

You Make Me Smile


To finish the card, I added a glittery bow tie. I die-cut the My Favorite Things bow tie out of white linen, silver glitterstock, and pink paper from the Love You Madly Paper Pack 2

I squealed when I saw the little bow assembled. :) Here's a close-up:

You Make Me Smile


If you like the papers, they're on sale HERE. Score! You can see the other projects using this collection on the Glitz blog

Thanks for stopping by! Have a super day!


Supplies
Cardstock: (White Linen) Ellen Hutson; (silver glitterstock) Best Creations
Digital elements: (all papers and elements from the Love You Madly collection) Glitz Design at Jessica Sprague
Dies: (Fishtail Flags; Beautiful Bows) My Favorite Things; (hearts from Large Holiday Shapes) Simon Says Stamp
Mists: (Silver, Opaque White Mister Huey's) Studio Calico
Sequins: Neat & Tangled

Blog Design by Caked Designs