Showing posts with label I {heart} papers. Show all posts

Tuesday, May 27, 2014

Great Love

Hi everyone!

It's the end of May and the end of my guest spot at i {heart} papers. :(  I wanted to share one last card using supplies from the store.

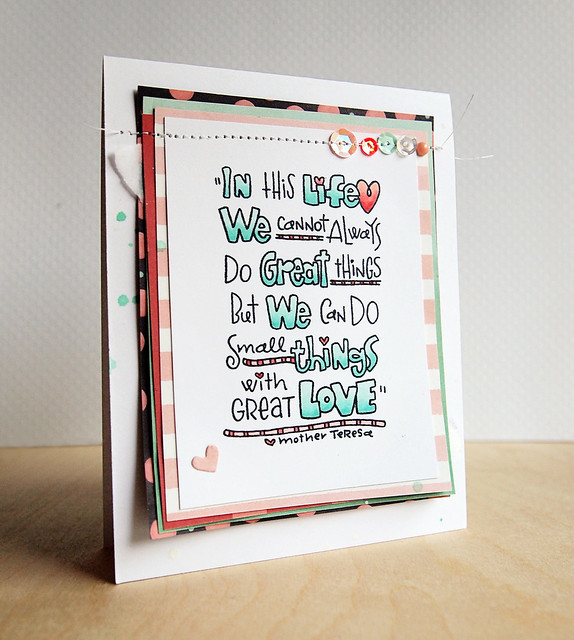
I wanted to use this awesome sentiment from My Favorite Things:
Great Love


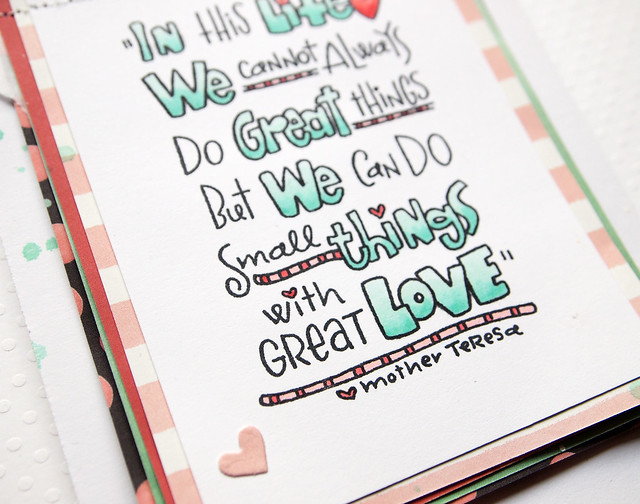
I stamped the Be Your Best Self sentiment and colored it with Copics. It took a steady hand for some of those tiny areas. ;) The color inspiration came from the new My Mind's Eye Asbury Heights papers.

Here's a close-up of the sentiment:
Great Love


The tiny heart comes from the Red and Goldie dies. I layered some of the Asbury Heights papers and a layer of tissue, and I added some mist on top.

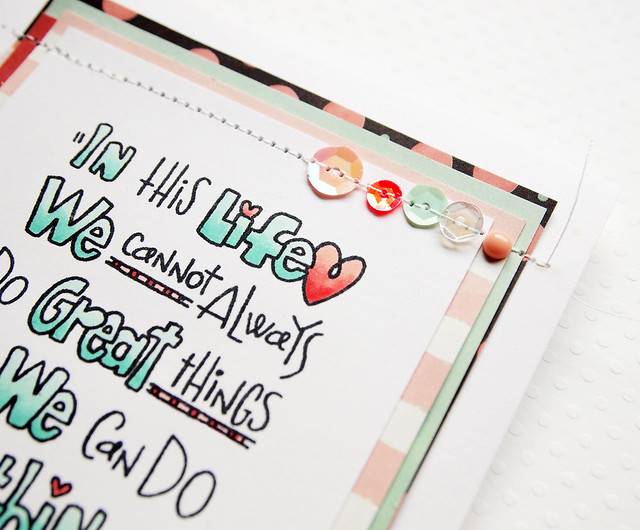
In the other corner, I stitched a mix of sequins at the top. I messed up on the stitching, which was pretty frustrating. But, rather than remaking the card, I added an enamel dot and just decided to go with the wonky sequins. ;)

Here's a close-up:
Great Love


I wanted to give a big thanks to Kate and Tracy at IHP for having me as a guest these past two months!

Thanks for stopping by. Have a great day!


Supplies
Cardstock: (white) PTI
Patterned paper: (Asbury Heights) My Mind's Eye
Stamps: (Be Your Best Self) My Favorite Things
Ink: (Tuxedo Black) Tsukineko; (Dewey, Opaque White Mr. Huey's) Studio Calico
Copics
Embellishments: (blush, mint sequins) Studio Calico; (coral sequin) craft supply; (clear sequin) Neat and Tangled
Die: (heart from Red and Goldie) Avery Elle
Saturday, May 24, 2014

I Dig You + a Tutorial

Hi everyone! I hope you're having a great weekend (and long weekend if you have one).

I'm sharing my Paper Smooches card that Kim shared on the Paper Smooches blog. I used the new Desert Icons dies. Since I went to Saguaro High School, I really like the Saguaro icon. :)

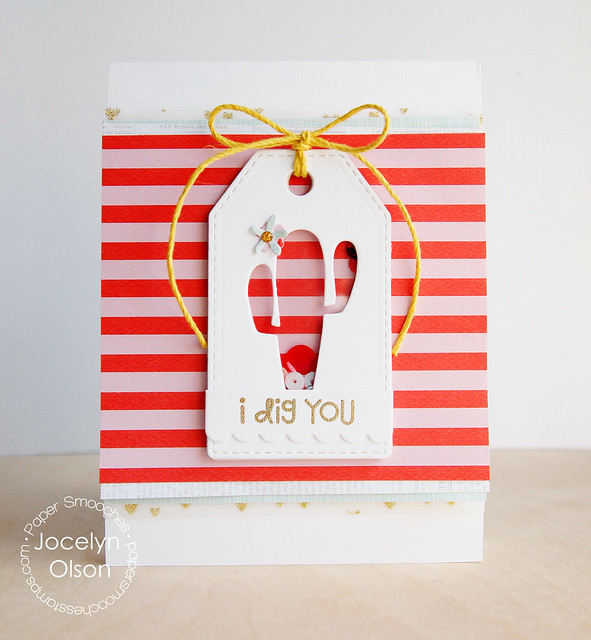
Here's my card:

I Dig You


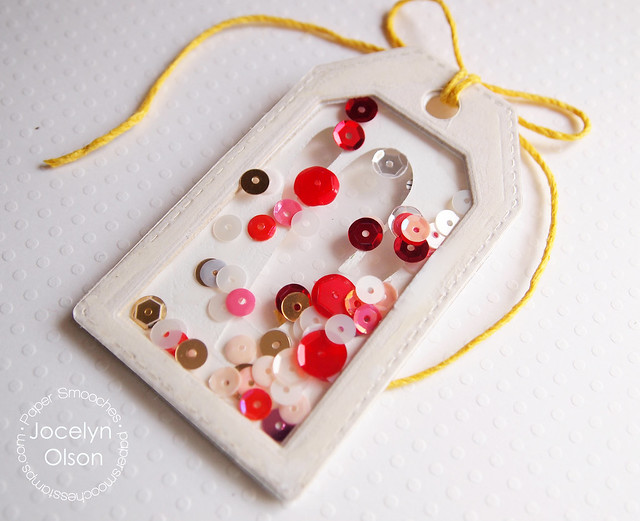
I was originally going to make a clear shaker tag, and ended up attaching it to the card. To make the tag, I wanted to be able to see all the way through and still have extra room for the sequins to shake.

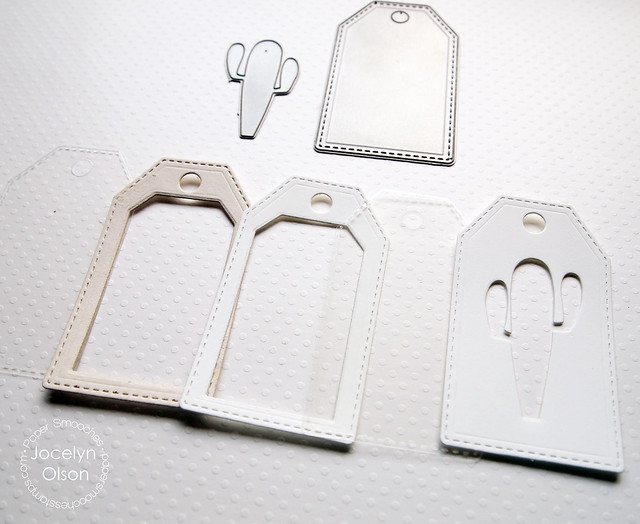
Here's how I made the see-through shaker tag:

I Dig You

1. Die-cut the Paper Smooches Stitched Tag. Die-cut the Desert Icons cactus in the tag.
2. Die-cut the tag out of acetate twice.
3. Die-cut two tags out of Craft-a-Board (or a coaster). Die-cut a rectangle or larger-than-the-cactus shape out of the center of the craft board tags. This area will allow the sequins to move.
4. Optional: Die-cut the tag out of cardstock or patterned paper. I used the Craft-a-Board and a coaster, but it's nice to have a finished layer under the acetate. 
5. Glue the layers--cactus tag, acetate, Craft-a-Board (two layers), cardstock/patterned paper, and acetate. 

Here's what the finished tag looks like from underneath:

I Dig You Tag Close-Up


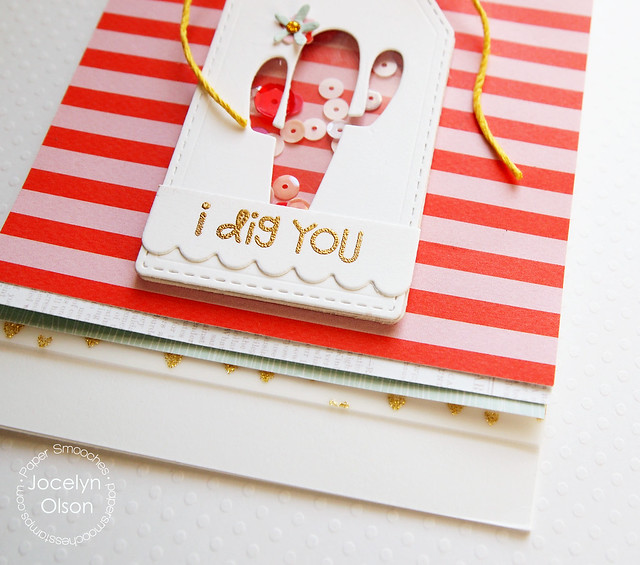
I attached the tag to the card, but I like how the tag would work well alone on a gift. I layered some Teresa Collins papers. The papers just arrived at i {heart} papers (along with the Paper Smooches dies). 

Here's a close-up:

I Dig You


Since I used a layer of Cosmo Cricket gold vellum and some gold sequins, I embossed the sentiment from Woofers and Tweeters in gold. I die-cut a Scallop Tag for the sentiment and cut off the top of the tag. 

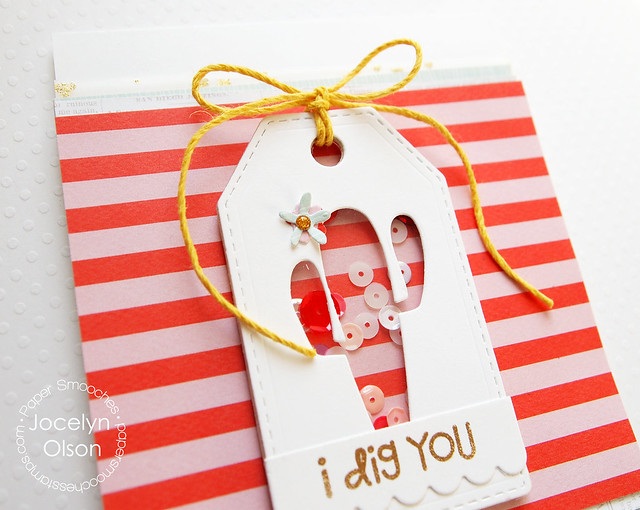
Here's the top:

I Dig You


I finished off the card with a couple of tiny Flowers die-cuts, a Studio Calico gold enamel dot, and some yellow twine. 

You can find these products at IHP. :)

Thanks for stopping by! Have a fantastic day!


Supplies
Cardstock: (white, acetate) PTI
Patterned paper: (Something Wonderful) Teresa Collins; (gold glitter vellum from Vellumptuous) Cosmo Cricket
Stamps: (sentiment from Woofers and Tweeters) Paper Smooches
Ink: (Versamark)
Embossing powder: (Extra Fine Gold) Ranger
Dies: (Desert Icons, Stitched Tag, Scallop Tag, Flowers) Paper Smooches
Fibers: (yellow twine) Hemptique
Sequins: (craft supply)

Monday, May 12, 2014

Yes, Awesome!

Hi everyone! I hope you're having a good Monday. It's our last week of school--it's hard to believe the school year is over (especially since it's only about 40 degrees right now).


I'm guesting with i {heart} papers for the month of May! Woo hoo!

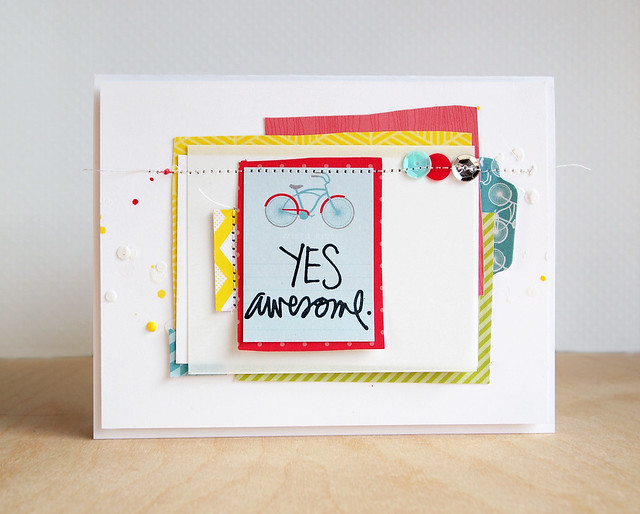
I made a card with supplies from IHP:

Yes Awesome


I started with stenciling White Embossing Paste on the background of the card. I wanted the circles to look like bubbles…I’m not sure that they do. LOL! They do add cool texture, though. J I hand-cut and layered papers from the awesome #Summer paper pack. I've really been into cutting papers by hand lately...it gives them such a scrappy look. I added a layer of linen vellum over the papers to lighten the papers.

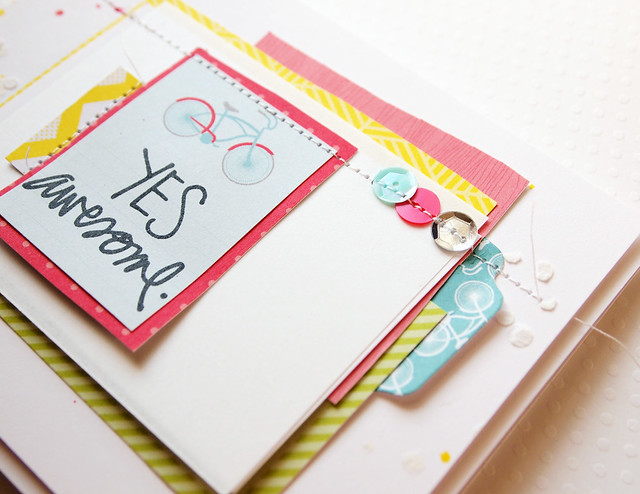
On the bike journaling card in the #Summer paper pack, I stamped the Technique Tuesday Classic Ali Edwards sentiment. Here’s a close-up:


Yes Awesome


I added a few details to the card, like the Essentials Enamel Dots, the Hello Sunshine Mixed Sequins, and some stitching and misting. The stitching through the sequins was definitely inspired by Maggie Holmes--I love how she does that! I also added a little file tab from Paper Smooches.

Thanks so much for stopping by!


Supplies
Cardstock: (white) Avery Elle
Patterned papers: (papers and journaling card from #Summer) American Crafts
Stamps: (sentiment from Classic Ali Edwards) Technique Tuesday
Ink: (Tuxedo Black) Tsukineko; (Taxi, Opaque White Mister Huey's) Studio Calico
Dies: (file tab from Toppers) Paper Smooches
Embossing paste: Wendy Vecchi
Stencil: (Confetti) Heidi Swapp
Embellishments: (sequins from Hello Sunshine Mixed Sequins) Lawn Fawn; (Essential Enamel Dots) Studio Calico

Friday, May 9, 2014

Retro Arrow Shaker

Hi everyone! Are you ready for the weekend? We have the Cinco de Mayo festival in town this weekend--I'm hoping for warm weather.

Kim is sharing my card on the Paper Smooches blog today (that still feels weird to say). Ashley and I are sharing projects today, and I'm using the Retro Arrow Die.

I'm guesting with i {heart} papers this month, and they just got in the new Paper Smooches!

My husband's cousin's wife just had twins (a boy and a girl), and I wanted to send them a baby card:

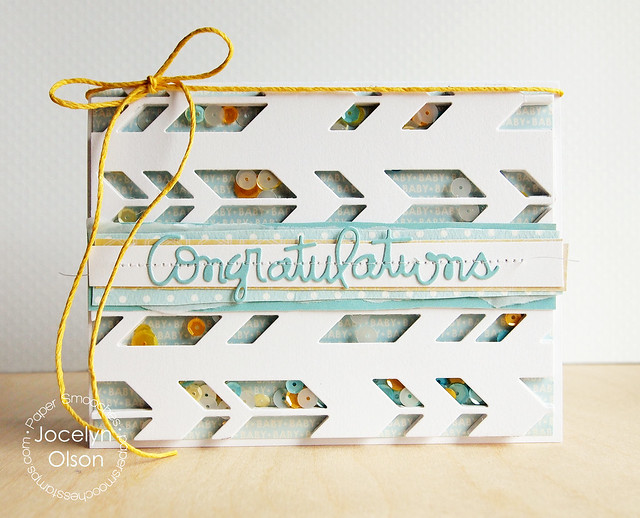
Shaker Congratulations


I was making a different type of card with this die, but I watched Emily Leiphart's awesome shaker card video. It inspired me to try and make a traditional shaker card again. :) If you haven't watched the video, she has some very helpful tips!

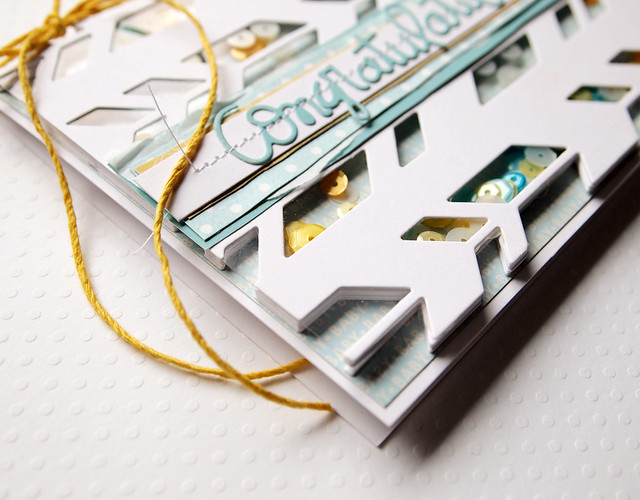
To make this shaker, I die-cut the Retro Arrow die six times. I used a craft knife to cut out the centers of five of the arrow panels. I glued each layer together, trimmed an acetate sheet down, and adhered the full panel on top. Once I added the sequins, I sealed the panel against a paper from Carta Bella's Baby Mine collection. 

Here's the side view to see the layers:

Shaker Congratulations


On top, I wanted to use the new Paper Smooches Congratulations die. I trimmed down papers from Baby Mine and Hello Sunshine and then and then hand-cut them to keep the look a little "looser." 

I think I overshook the card when showing my son, because there was some serious static cling for these photos. LOL!

Congrats Shaker Card


Even though the sentiment is a die, it's handwritten. I'm entering the card into the Moxie Fab World Hip on Handwriting Challenge. The challenge ends on the 15th, so you have a few more days to play along. :)

Be sure to check out the Paper Smooches blog to see more inspiration. :) 

Thanks for stopping by! Have a great weekend!


Supplies
Cardstock: (white, acetate) PTI
Patterned papers: (polka dot, "baby," solid blue from Baby Mine) Carta Bella; (yellow from Hello Sunshine) Pink Paislee
Dies: (Retro Arrow Die, Congratulations) Paper Smooches
Sequins: (Flat Marshmallow) Neat & Tangled; (yellow, blue) Avery Elle
Twine: (yellow cord) Hemptique

Friday, May 2, 2014

National Scrapbooking Day Sale

To see my Paper Smooches DT May Blog Hop post, please click HERE. 

Hi everyone!

Just a quick post to let you know about a sale going on at i {heart} papers this weekend:


The sale at IHP starts today and lasts until 5/4. There are many new items in the shop!

Do you have any plans for National Scrapbooking Day? Have a great weekend. :)


Wednesday, April 30, 2014

Make a Wish

Hi everyone! I hope you're having a dandy week. :)


Today, I have another GDT card for i {heart} papers. I've been dying to use my new Storybook stamps, which are available at IHP. The stamps were designed by my friend Heather Campbell, and I think she knocked it out of the park! They are such sweet designs. :)

Here's my card:

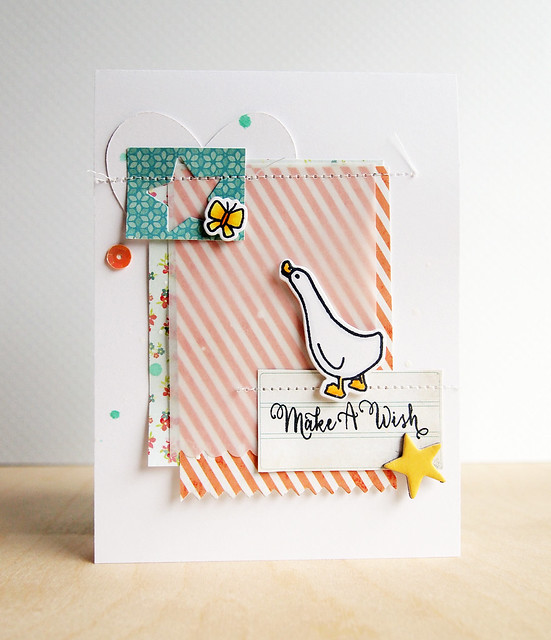
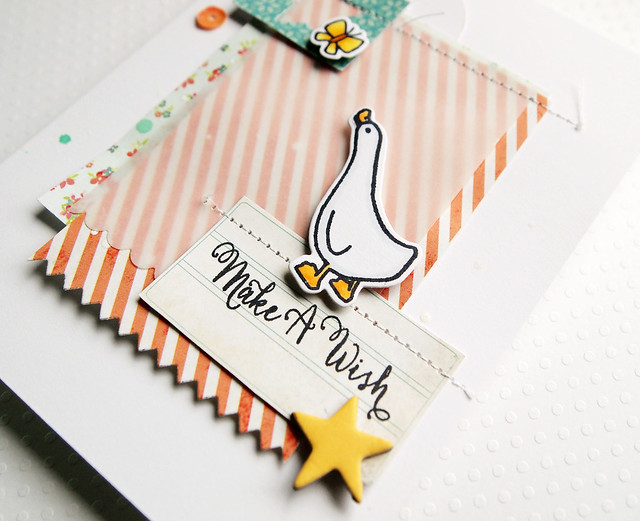
Make a Wish

I stamped, colored, and die-cut the duck and butterfly using the Storybook stamps and dies (thanks Heather!). It took me pretty much forever to come up with the design...I must have nudged those papers 100 times. ;)

I used the WPlus9 Pinking Squares Die on the bottom of the My Mind's Eye striped paper. The pretty floral is from BasicGrey's Fresh Cut collection. On the vellum, I used the Paper Smooches Borders 2 die for a scallop. Here's a close-up:

Make a Wish


The sentiment is from the Storybook set. I stamped it on a label from the MME Izzy paper and fussy cut the label from a larger sheet.

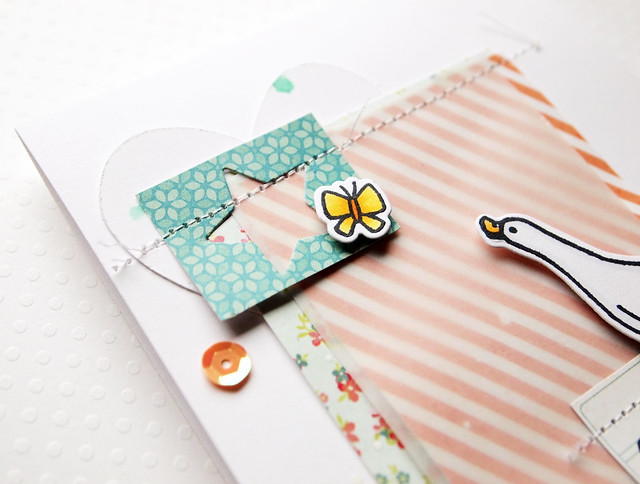
For the clustering at the top, I dripped too much mist on the heart. Oops! Usually I'm pretty haphazard with my misting and am okay with the randomness, but these splotches looked bad. :( To cover them up, I die-cut a Paper Smooches Stars heart and put the negative on the top. Yeah for saving the project! Wa hoo!

Here's a close-up:

Make a Wish


I'm linking the card up to the Simon Says Stamp Anything Goes Challenge!

Thanks for stopping by! Have a great day!


Supplies
Cardstock: (white, vellum) PTI
Patterned paper: (floral from Fresh Cut) BasicGrey, (stripe and label from Izzy collection) My Mind's Eye; (turquoise from Oh Darling) Crate Paper
Stamps: (duck, sentiment, butterfly from Storybook) Avery Elle
Dies: (duck, butterfly from Storybook dies) Avery Elle; (scallop from Borders 2; star from Stars) Paper Smooches; (pinking from Pinking Squares Dies) WPlus9; (heart) Silhouette America
Ink: (Tuxedo Black) Tsukineko; (Opaque White, Dewey Mister Huey's) Studio Calico
Embellishments: (sequin) Webster's Pages; (chipboard star from Daily Flash) October Afternoon

Saturday, April 26, 2014

Shake Your Love

Hi everyone! Is anyone else singing the Debbie Gibson song in the title? hee hee


I wanted to join in the Sequin Shaker Blog Hop and share a project I made for i {heart} papers. I pretty much stink at shaker cards, but I figured it's all for fun, right? :)

Here's what I made:

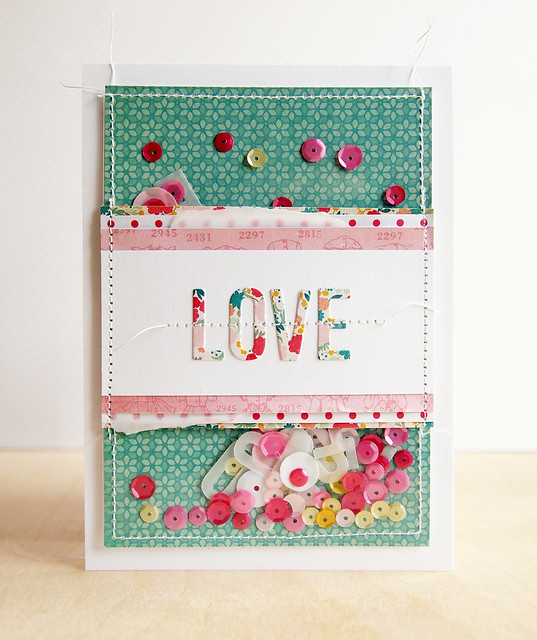
Shaker Love

I've only made shakers that pop up, but I was inspired by how Julie Ebersole sewed around the border of her shaker card HERE. I sewed around three sides of the Crate paper and acetate. I filled the pocket with a mix of Theresa Collins, Lawn Fawn, and sequins from my stash as well as vellum "LOVE" die-cuts.

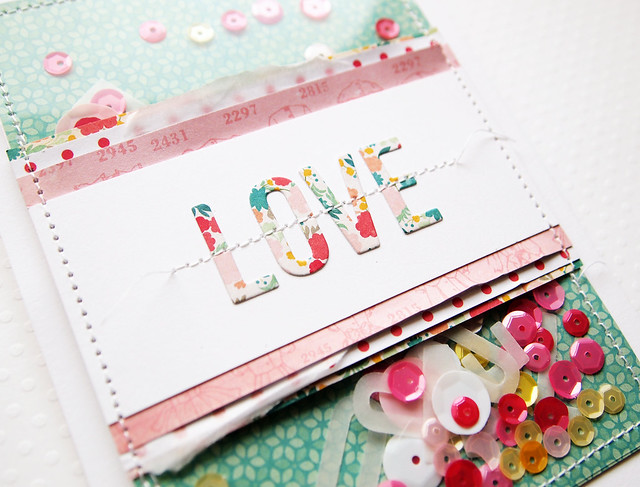
For the top, I layered more papers and used the negative portion of the LOVE from Avery Elle's Words Fill in the Blank Dies. For adhering the letters before I stitched, I used a glue pen--I like that it does't muck up my sewing machine needle. :) Here's a close-up:


Shaker Love


If you'd like to join in the Sequin Shaker Hop, you can check it out HERE.

I hope your weekend is off to a good start. :) My husband and I are going out on a date night tonight for our 14th anniversary (this past week). Yeah!

Thanks for stopping by! Have a great weekend!


Supplies
Cardstock: (White, Vellum, Acetate) PTI
Patterned paper: (Oh Darling) Crate Paper
Dies: (Word Fill in the Blank) Avery Elle
Sequins: (Lawn Ornaments Hello Sunshine) Lawn Fawn; (pink, yellow) Avery Elle; (Daily Stories sequins) Theresa Collins

Tuesday, April 1, 2014

Hi From Me to You

Hi everyone! Are you having crazy weather like we are? It was 70 degrees today and tonight is a low of 18 with snow. Forget spring--I'm ready for summer. :)

I'm excited to share a guest post today. For April and May, I'll be guesting with i {heart} papers! The online store has tons of stamps, dies, and other supplies. I love how they have so many brands of stamps, and really current supplies. Plus, there is free shipping over $70--woo hoo!

I made a card using supplies from the store:

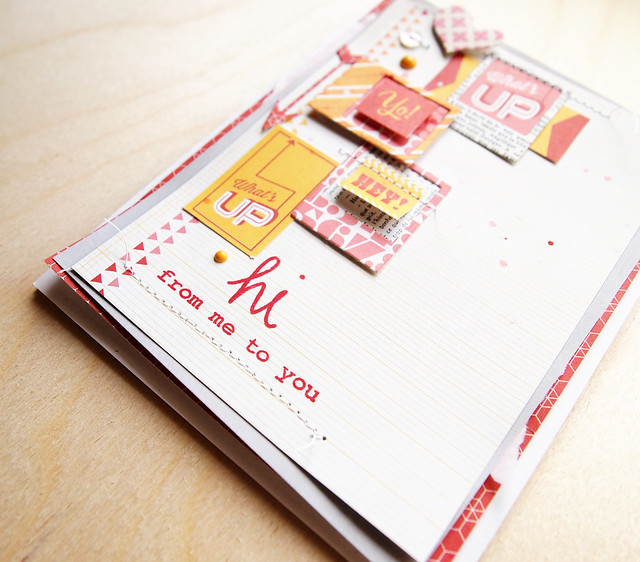
Hi From Me to You

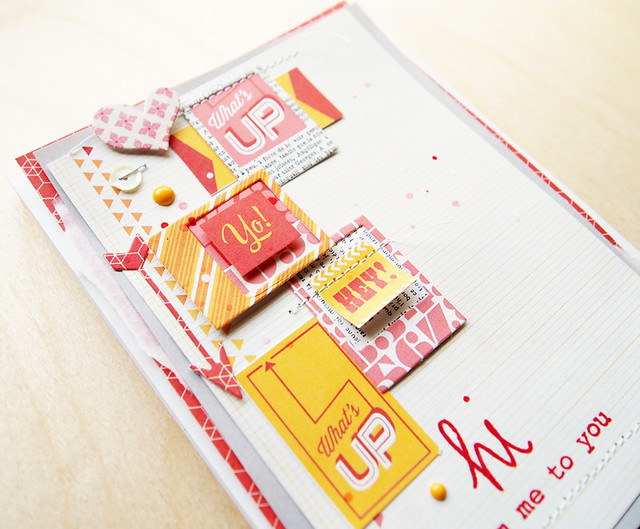
I was flipping through the fab BasicGrey Capture paper and saw the different "hey" sentiments on one of the papers. I loved it and had to use it! I cut up the papers and die-cut some frames out of the Capture papers using one of the My Favorite Things Polaroids die. I also die-cut a Paper Smooches arrow and heart--the heart was cut from a Spice Market paper. The Cardbooking die set is one of my faves!

I layered some of the Capture papers and added splatter and stitching. The cool sentiment is from Technique Tuesday's Rah Rah Sentiments set. Here's a close-up of the sentiment:

Hi From Me to You


I finished the card with a couple of embellishments--a Lawn Fawn sequin, and some Studio Calico enamel dots.

Here's a close-up of the top:


Hi Frames


You can see the guest post over on the i {heart} papers blog. :)

Thanks so much for stopping by!


Supplies
Cardstock: (white) PTI
Patterned paper: (Capture, Spice Market 6x6s) BasicGrey
Stamps: (Rah Rah Sentiments) Technique Tuesday
Ink: (Real Red) Stampin' Up; (Mary, Mary; Opaque White; Letterman's Jacket Mister Huey's) Studio Calico
Dies: (heart, arrow from Cardbooking) Paper Smooches; (Polaroids) My Favorite Things
Embellishments: (sequin from Hello Sunshine Mixed Sequins) Lawn Fawn; (enamel dots from Yellow/Orange Essentials) Studio Calico


Blog Design by Caked Designs