Showing posts with label video. Show all posts

Wednesday, February 4, 2015

100 Videos and 2500 Subscribers Video Hop

Hi everyone! Today I'm taking part in a special hop!


Emily is such an awesome and supportive friend. I'm excited for her to be celebrating 100 videos and 2,500 subscribers! She has some great sponsors, too (with prizes--woot!).

To start at the beginning of the hop, start at Emily's post. The link to my video is HERE.

Here's the card I made:
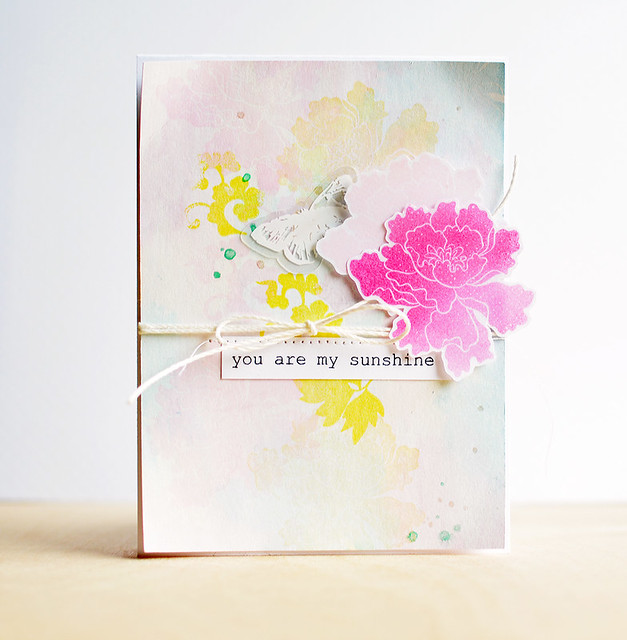
You Are My Sunshine

I used a technique of whitewashing the background [Check out the video below!]. For the background and the flowers, I used Altenew's Lacy Scrolls set.

Here's a close-up of the background:
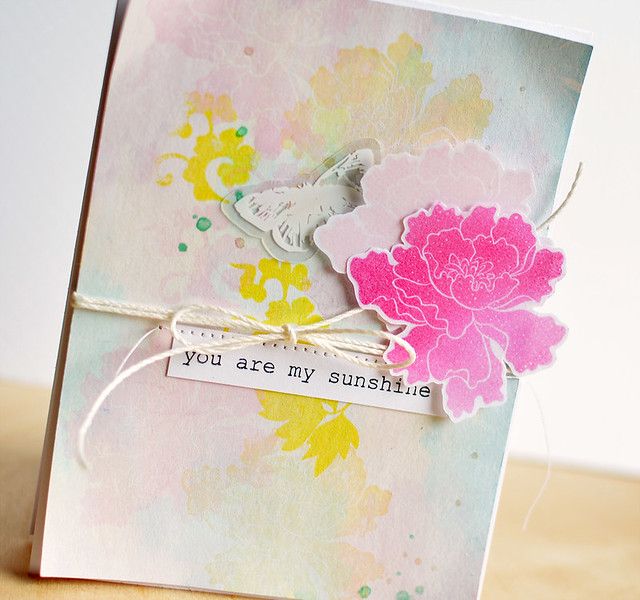
You Are My Sunshine


I used a sentiment from Altenew's Figure Effects set. The awesome transparency butterfly is from Maya Road.

Here's another close-up:
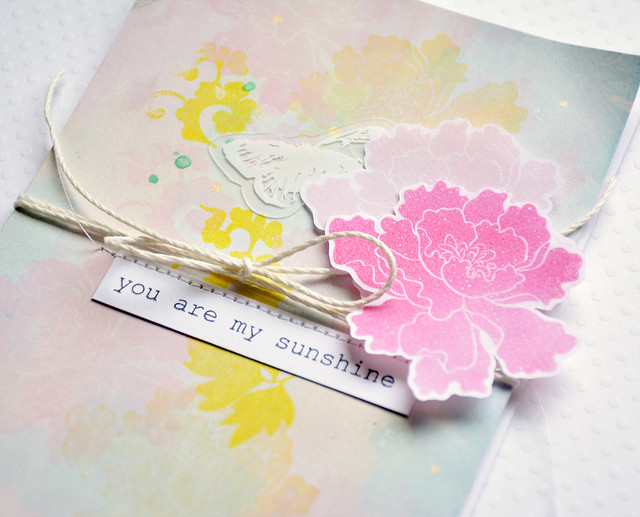
You Are My Sunshine


We're having a video hop, and I have a video. :) To leave a comment on the video, please click on the YouTube icon in the corner of the video. Thanks!


As part of the hop, there are prizes from these fab sponsors:


For a chance to win, you must hop along and comment on the videos. Comments below will not be entered. I hope you'll check out the videos of all of the hoppers!

Next up is the super sweet Heather Campbell!


Tuesday, January 21, 2014

Just for You + A Video

Hi everyone!

I wanted to share a card that was published in Paper Crafts & Scrapbooking Magazine's January issue (yeah!). You can find the issue HERE.

This card was in the triangles section of the issue:

Just for You


I started by making my own paper digitally (the diamonds) using a 4x6 Photo Template no. 2. I added the cake die-cut from Ruby Rock-It and stamped the Hero Arts sentiment.

I thought the Lucky Charm tiny triangles didn't quite match the diamonds, so I added vellum to soften it. Here's a close-up:

Just for You Close-Up


I made a video that shows how to use digital templates. It wasn't the same process I used on this card (there were a few more steps), but I used the same template. As a forewarning, the patterned paper I made in the end was pretty ugly. LOL!


(Please click on the YouTube icon to watch the video in HD.)


Thanks for stopping by! Have a great day!


Supplies
Cardstock: (Rustic White) Papertrey Ink
Patterned paper: (pink and cream triangles from Lucky Charm 6x6 pad) American Crafts
Clear stamps: (sentiment from All Occasion Messages CL272) Hero Arts
Ink: (Wet Cement Mid-Tone ink) Hero Arts; (White) WPlus9
Accent: (coral pearl) Doodlebug designs; (cake ephemera from Cook It collection) Ruby Rock-It
Digital element:  (triangle template from 4x6 Photo Templates no. 2) Designs by Lili at The Lilypad; (digital overlay from Textured #20) Mommyish at SugarHill Co
Fibers: (white lace; pink/yellow ribbon) May Arts


Monday, October 21, 2013

Put You In My Pocket (and a Video)

Hi everyone! I wanted to share a card that was on the Glitz blog last week. We had a theme of pink and green, and I was flipping through my Glitz files. Even though it's not pink (and doesn't have much green), I ran across a journaling card in the Hello December Elements with a sentiment I *loved.*

Has anyone else read the children's book Mommy In My Pocket? It's one of my favorites, but such a tear-jerker (like Old Yeller territory). If you haven't read it, the story is about a child who is starting school, and wishes she could shrink her mom and put her in her pocket during school. The book ends with the mom saying no matter what happens, her love and hugs will last.

Anyway, the sentiment reminded me of the book, and I wanted to make a card with it:


I recolored the sentiment on the Hello December journaling card and layered it over the pink Unchartered Waters digital paper. I loaded the paper into my Silhouette Studio, printed it, and then die-cut it. I also die-cut the ombre chartreuse arrow paper from the Finnley collection.

Here's a close-up:


One thing I want to point out is the centering of the sentiment. If I had put the printed paper on my Cameo mat and die-cut the circle, there's a good chance the sentiment wouldn't have been centered (or straight for that matter). ;)

I figured out a way to cut the circle and center the image, and I made a video of the process. I started in Photoshop Elements and then used the Silhouette Designer Studio program. You can click on the YouTube link to see it in HD.


Thanks for stopping by! Have a great day!


Supplies
Cardstock: (white) PTI; (Premium Matte Photo Paper) OfficeMax
Digital elements: (pink from Unchartered Waters; journaling card from Hello December; ombre arrows from Finnley collection) Glitz Design
Twine: (green cord) Hemptique

Blog Design by Caked Designs