Monday, August 18, 2014

Paper Smooches August Releases

Hi everyone! Ready for the week? We did a quick, final getaway to Minneapolis before school starts. We stopped at Ikea (yeah!) and I finally bought a Raskog cart (yeah!).

I wanted to share a couple of cards from the Paper Smooches August release. Kim released one new stamp set and five new dies. :)

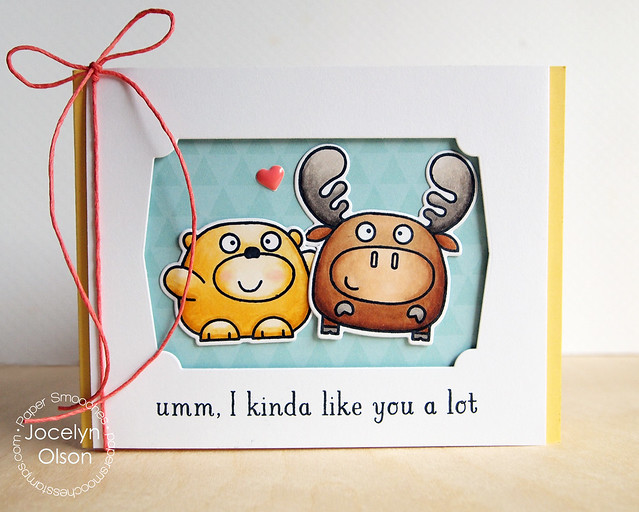
First up, I used the Chum Pals dies and Bosom Buddy stamp set:

I Kinda Like You a Lot

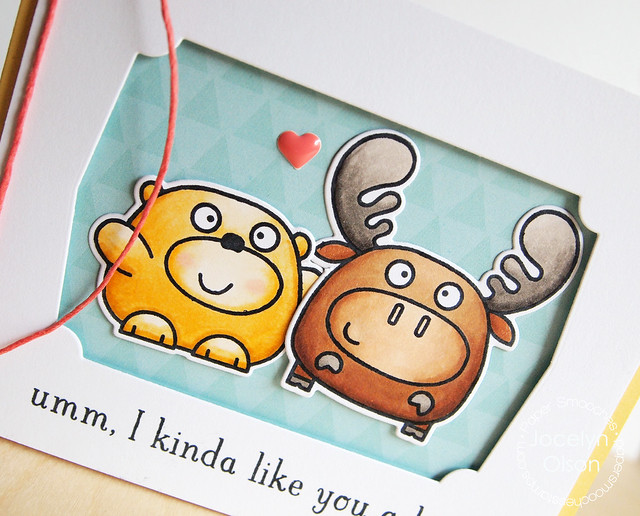
The bear and moose are from the Chubby Chum Pals set, and I used the Chum Pals to die-cut them. Am I the only one who doesn't know what a moose nose looks like? I had to Google it (the things we do for crafting), but I ended up going with lighter colors. Anyhoo, I played around the positioning, and I finally liked how the bear has his arm around the moose--like friends. :)

 I die-cut a window using the Duo Die 4 and added the sentiment from the new Bosom Buddy set:

I Kinda Like You a Lot


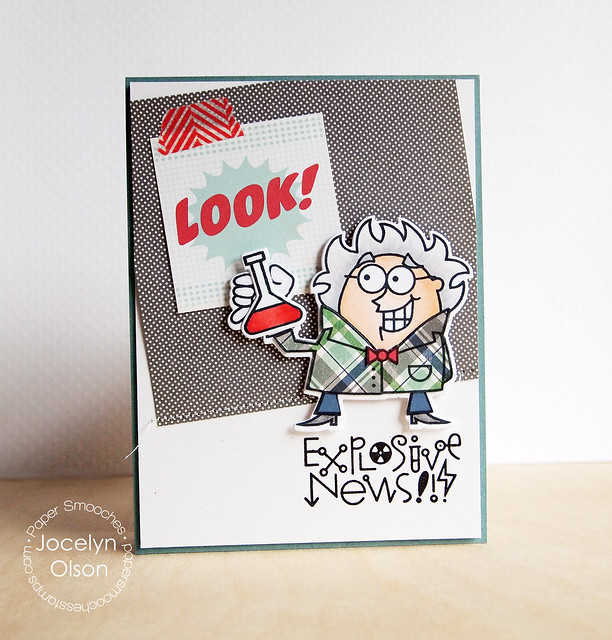
Next up, I used the new Great Chemistry dies:

Explosive News

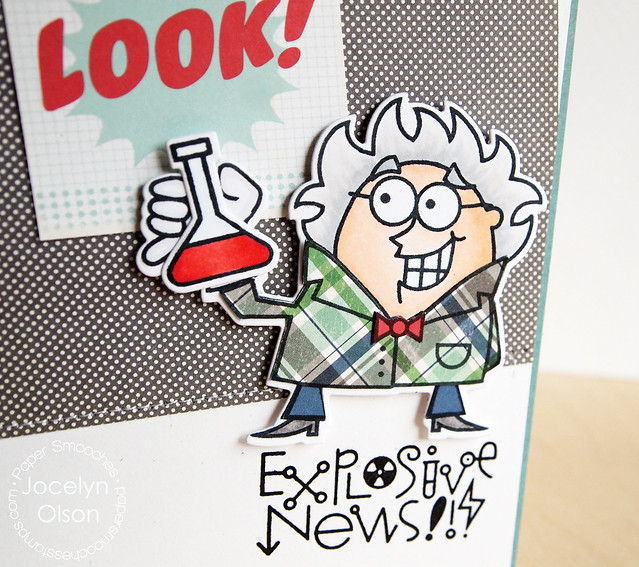
The professor, beaker, and sentiment are from the Great Chemistry set, and I used the Great Chemistry dies for the beaker and professor. Instead of a lab coat, I paper pieced him with a plaid shirt--pretty snazzy for a professor.

I mixed in some October Afternoon All Boy papers and a journaling card:

Explosive News


Thanks for stopping by! Have a great day!


Friday, August 15, 2014

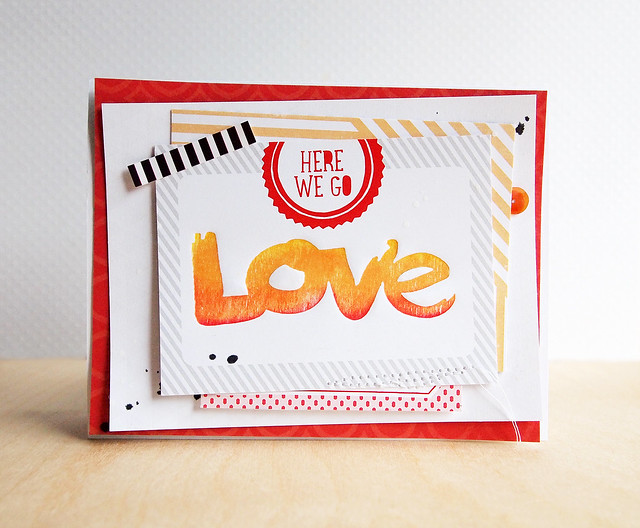
Here We Go, Love

Hi everyone! Ready for the weekend? We start school on Monday--ack! I'm sad!

Nancy and I are on the Scraptastic blog today. We're both sharing projects using Scraptastic Club's August This Life Noted kit. Not long ago, I watched THIS awesome video by Jennifer McGuire. In it, she showed how to use wood veneer for faux letterpress, and I've been wanting to try that technique.

Here's the card I made using the LOVE wood veneer in the This Life Noted kit:

Woodgrain Love


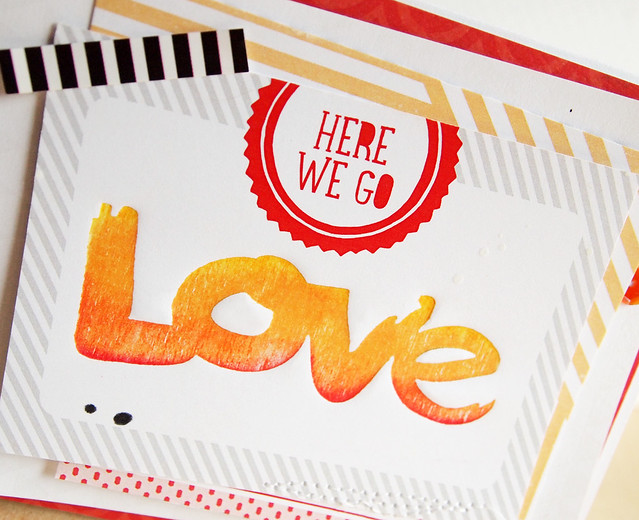
You'll want to check out Jennifer's video to see the tutorial. I shared a few pictures on the Scraptastic blog, too. I did some gradient inking on the back of the wood veneer and ran it through my Big Shot. Usually when I try new techniques, they look pretty rough compared to the demo. This time, the technique worked easily. Yeah!

Here's a close-up:


Woodgrain Love

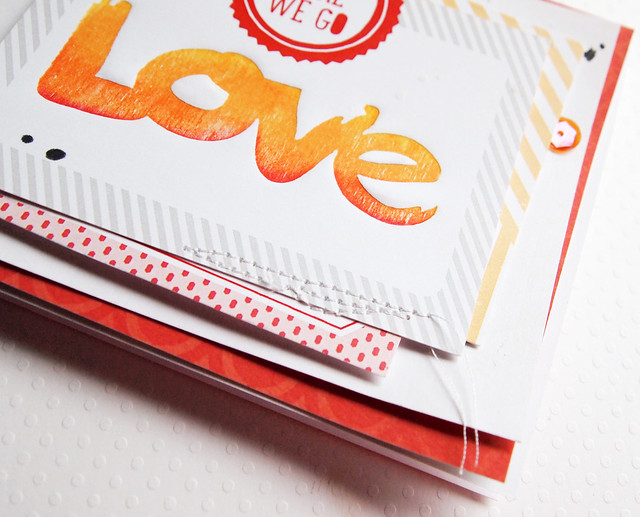
I layered two of the journaling cards and added one of the Cut-Aparts and the black-and-white sticker from the kit. The red patterned paper layered underneath is from the Boys of Summer kit.

Here's a close-up of the layers:


Here We Go

The August This Life Noted kit is sold out, but you can still get the August Wood Veneers to try this technique. Be sure to check out Nancy's take on the kit (it's cool!) on the Scraptastic blog.

Thanks so much for stopping by. Have a great weekend!


Supplies
Cardstock: (white) PTI
Kit: (August This Life Noted kit) Scraptastic Kit Club
Ink: (Mango) Fresh Ink; (Fizz) Avery Elle; (Apple) Mama Elephant; (Black, Opaque White Mister Huey's) Studio Calico

Monday, August 11, 2014

Scribbles and Doodles

Hi everyone! I hope you had a great weekend. We went to the county fair this weekend, and the kids had fun on the rides and playing the games. I even got to pet a 4-day-old pig, who was pretty darn cute. :)

I'm up on the Glitz blog today sharing projects related to a trend. I've got to tell you, I thought a lot about different trends (I'm so geeky, I even made a spreadsheet). Finally, I settled on scribbles and doodles, which I am suddenly seeing everywhere.

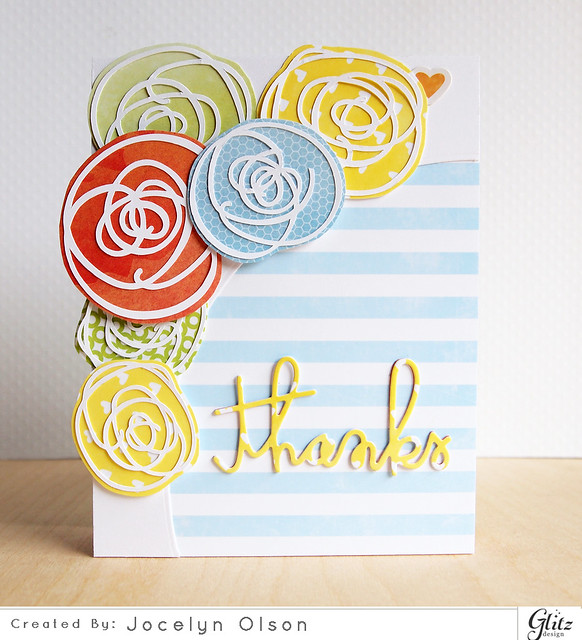
I made a trio of cards with a mix of Glitz lines incorporating the scribble trend. Here's the first card:

Thanks

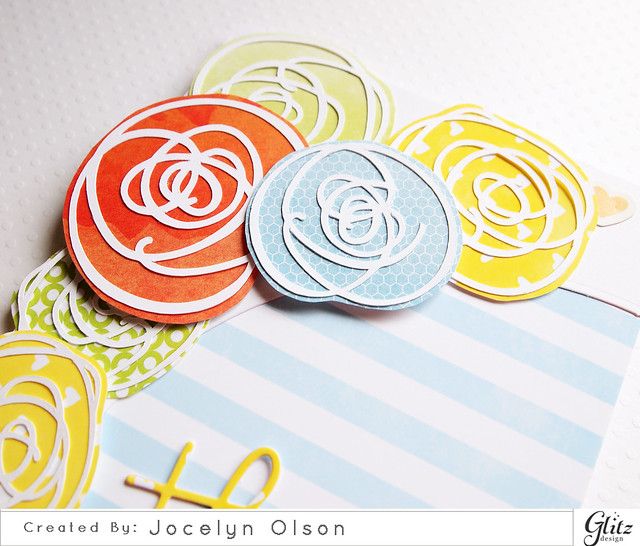
Using my Silhouette, I die-cut the scribbles in white. I fussy-cut around the die-cuts with papers from Glitz's Brightside, Felicity, and 77 collections. I finished the card with the Thanks Word die from Paper Smooches.

I used the Avery Elle Custom Panels die to cut the arc and then popped up some of the scribble flowers for a little dimension:

Thanks


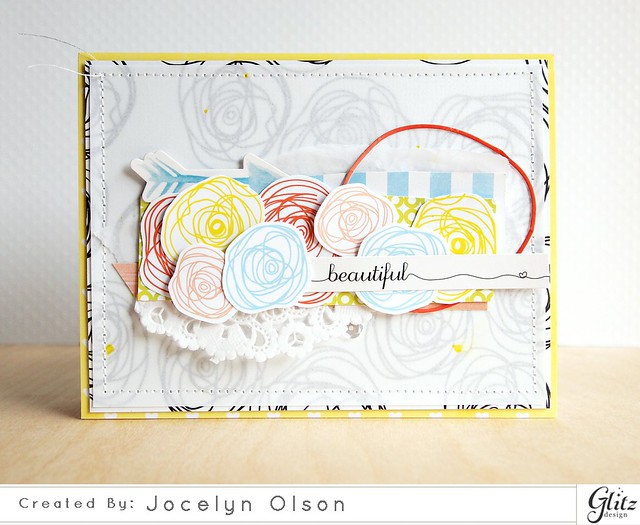
The next card is a little softer, and I used some hybrid elements:

Beautiful

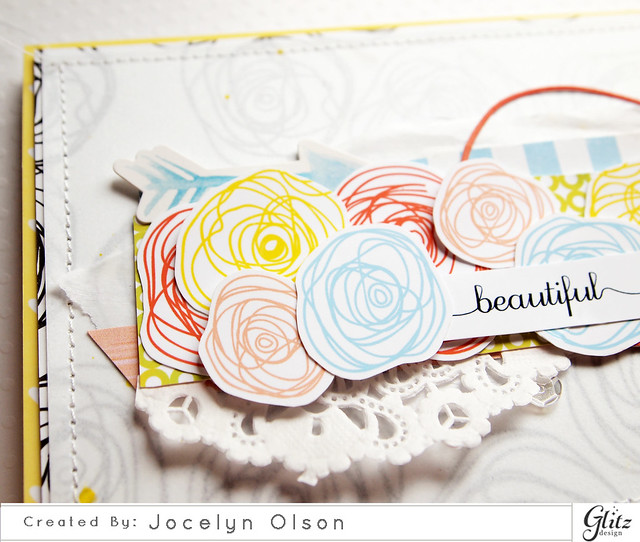
The Glitz Black and White collection has an awesome scribble Floral paper. Using the digital version of the paper, I recolored a few of the scribbles, resized them, and fussy-cut them. The black and white paper competed with the colored flowers, so I added some vellum.

The sentiment sticker from the Felicity collection has a cute little heart doodle. Love it!

Beautiful


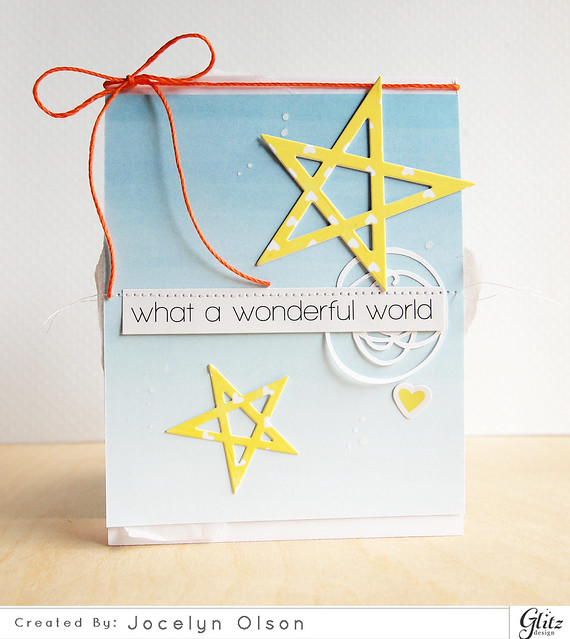
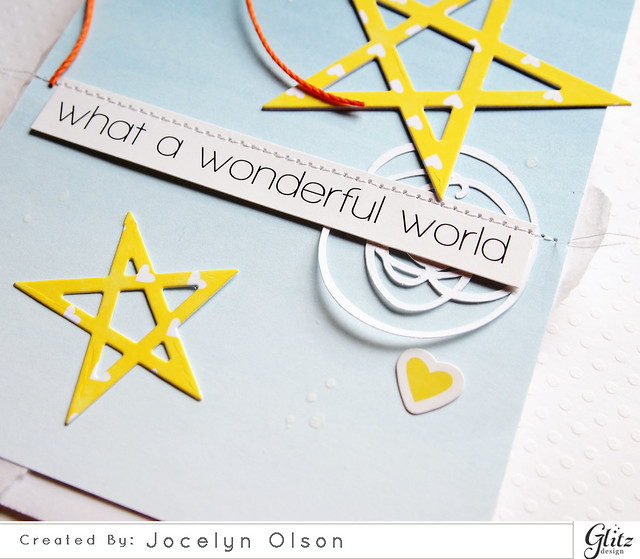
I went CAS for the last card:

What a Wonderful World


I die-cut the Sketched Stars from Brightside papers and layered it over Felicity paper. I had a left-over die-cut scribble and added it under the sentiment sticker from Carpe Diem.

What a Wonderful World


You can see the project (and others!) on the Glitz blog.

Thanks for stopping by! Have a great day. :)

Supplies
Cardstock: (white, linen vellum) PTI
Patterned paper: (Floral 12x12 from Black and White collection; 6x6 Brightside papers; 6x6 Felicity papers; 6x6 77 papers) Glitz Design
Stickers: (Felicity Stickers Titles and Accents; Carpe Diem Stickers Titles and Accents; Brightside Stickers Titles and Accents) Glitz Design
Digital elements: (Black and White paper pack 2Brightside paper pack 1) Glitz Design
Dies: (Thanks Word die) Paper Smooches; (Sketched Stars) Papertrey Ink; (Custom Panel die) Avery Elle
Embellishments: (doily) Freckled Fawn; (Crystal Clear sequins)  Neat & Tangled; (Neon Orange twin) Hemptique twine
Ink: (Opaque White Mr. Huey's) Studio Calico

Saturday, August 9, 2014

Beach Girl Card Set

Hi everyone! Happy weekend!

My friend Elena designed the cutest stamp as a giveaway on her blog, and today, a few of us are sharing cards using the stamp. The beach girl stamp is just too cute! You can get it from Elena's blog.

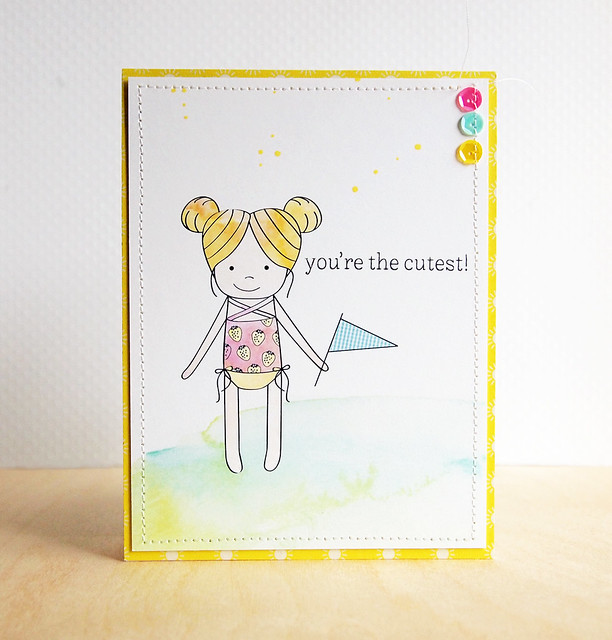
It's been a while since I've done all-digi--it was great to do a full digi card again. :) I decided to make a card set. Here's one of the cards:


Beach Girl Card Set

For the beach girl, I resized her and then digitally paper-pieced her. Yep, all of the coloring on the girl (including her skin), are different digital papers from The Lilypad. The girl is the same for each card, but I changed the papers for the flags. This technique is great for making multiple cards or for paper piecing small areas. If you want a tutorial, let me know, and I'll make a video. :)

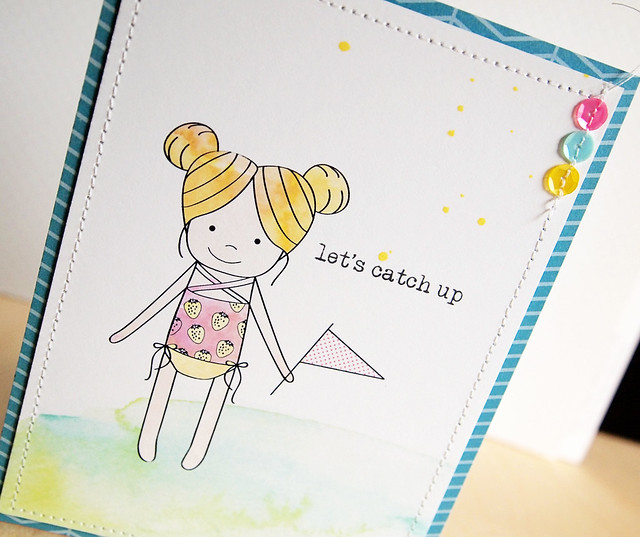
I layered her over a Lili Niclass (digital) watercolor journaling card. After I printed each panel, I stamped the sentiments--the one above is from Mama Elephant and the one below is from Paper Smooches:


Beach Girl Card Set

See? Paper piecing but no layers. I also added the smile digitally using the Paper Smooches digital sun stamp. I added a few sequins on each and layered the panels on papers from the American Crafts #Summer line.

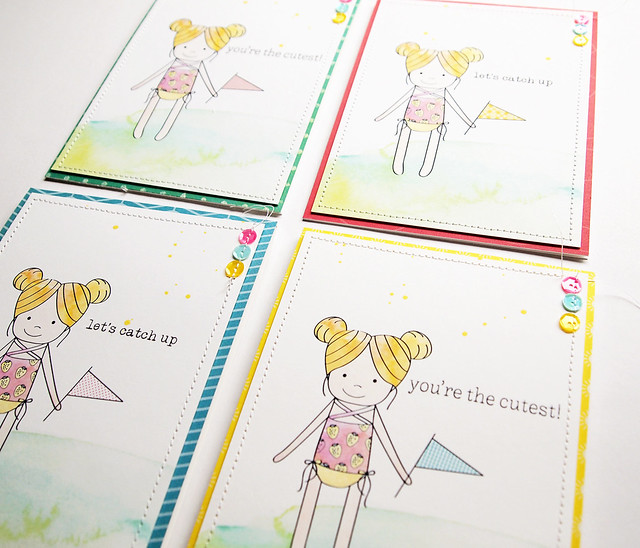
Here's a picture of the whole set:

Beach Girl Card Set

If you want to see other cards using the same stamp, here are the other folks participating:

Jocelyn <--That's me!


Thanks for stopping by! Have a great weekend!

Wednesday, August 6, 2014

Cupcakes Are Healthy

Hi everyone! I hope you're having a good week. We're getting geared up for school to start--where did the summer go? *sigh*

I'm up on the Scraptastic Kit Club blog today sharing a couple of birthday cards. I used the August Boys of Summer and This Life Noted kits for these cards....they are fab kits!

First up is the masculine birthday card:

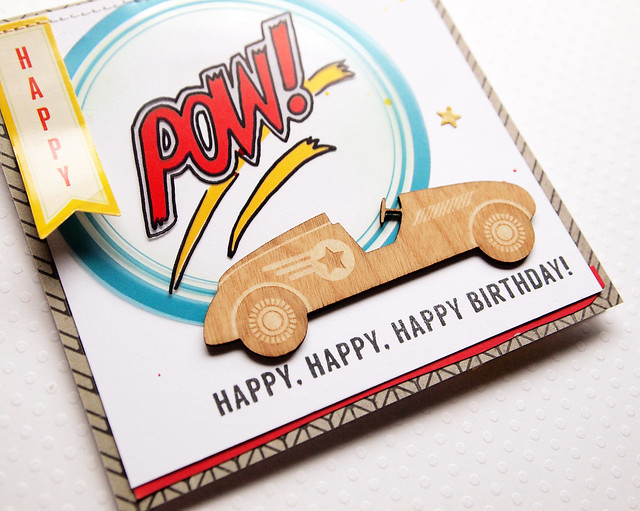
Pow!

I stamped the sentiment from the Celebrations stamp set and added a bit of mists. Then, I layered the Crate Paper Boys Rule transparency, stickers, and papers in the Scraptastic Boys of Summer kit and Add-on kit.

I am in love with the Scraptastic wood veneers, and I had to use the little car. I wish I had a car like that. :)


Pow!


Next up is the more feminine card:

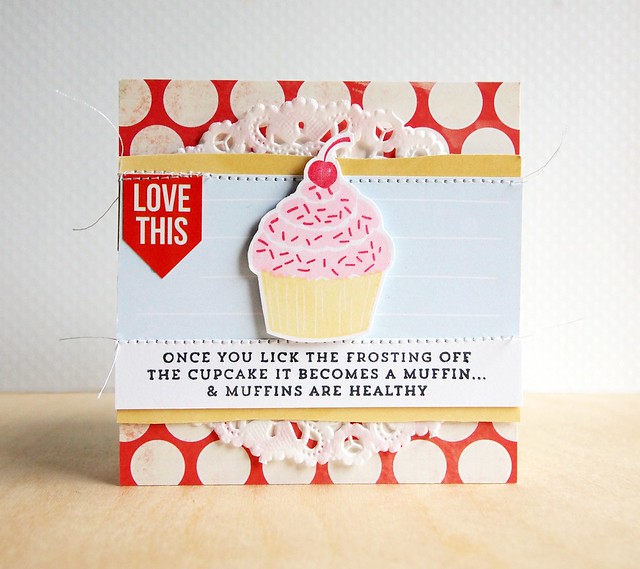
Cupcake

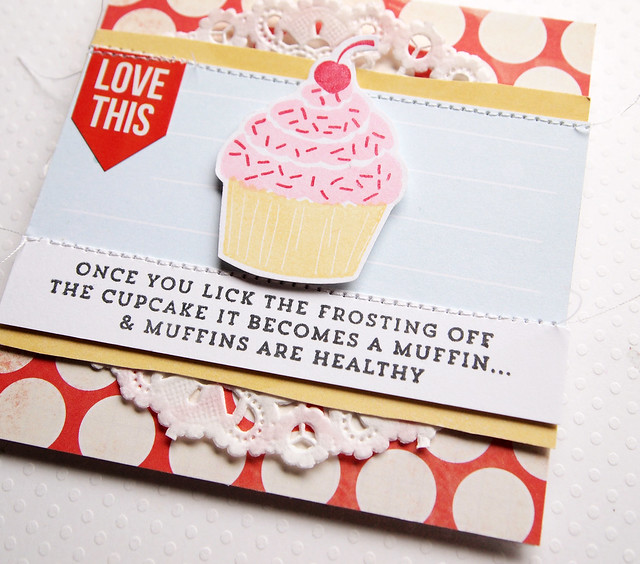
The cupcake and sentiment come from the Celebrations stamp set. Isn't the sentiment hilarious? And so true, too. ;)

The cupcake is layered over two trimmed-down journaling cards from the August This Life Noted kit, and the panel is layered over more Boys Rule paper.


Cupcake

Hmmmm...now I'm thinking about cupcakes. Ha! What's your favorite kind of cupcake?

Thanks for stopping by. Have a great day!

Sunday, August 3, 2014

Smooth Sailing

Hi everyone! I hope you're having a great weekend. :) I finally got my computer back (my computer was down for six days). Yeah!

I wanted to share a card that was on the Neat & Tangled blog earlier this week:

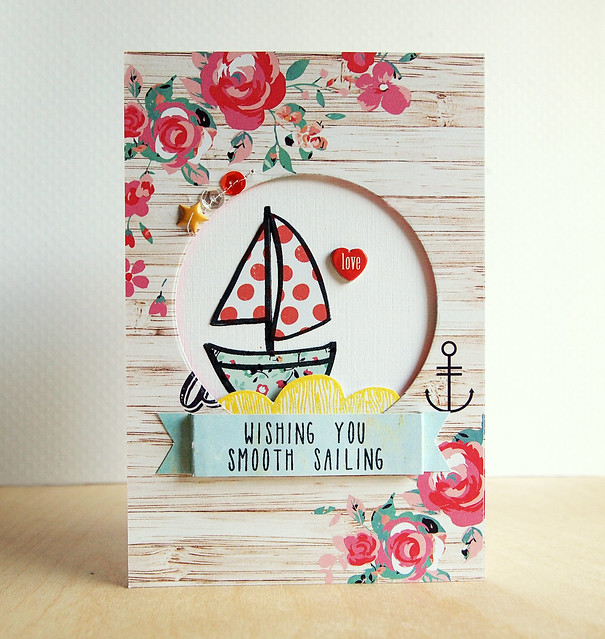
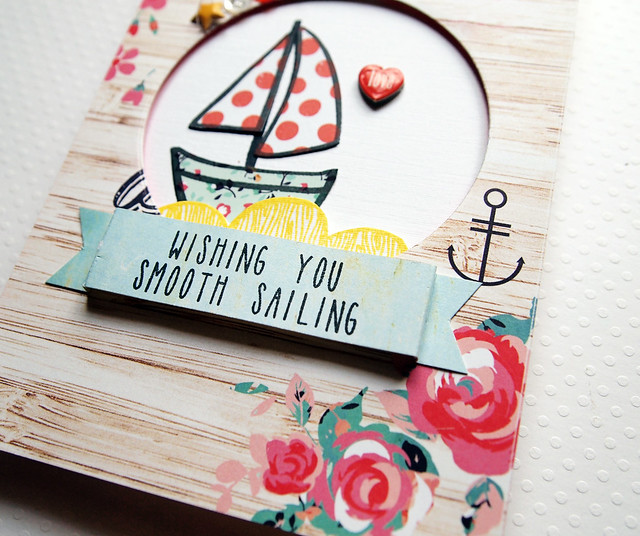
  Smooth Sailing

Pardon the greenish photo--like I said, I was without my regular computer and editing software. 

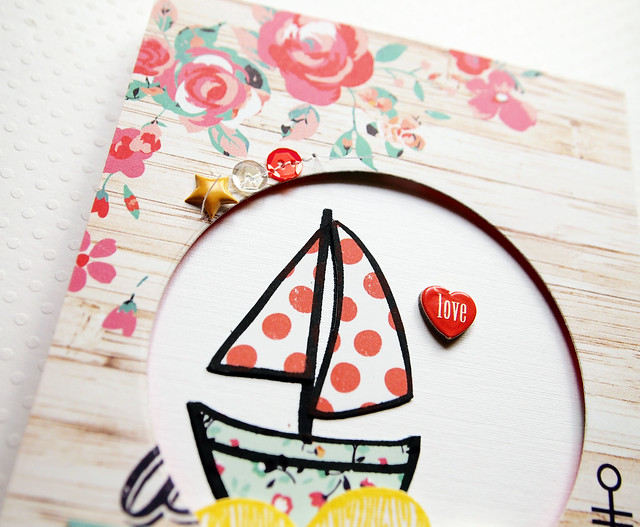
I die-cut a hole in a Webster's Pages Ocean Melody journaling card--isn't it pretty? Then, I stamped and paper pieced the boat from the Neat & Tangled Sailmates set. Love those polka dots!

I was going to hide the bottom of the boat under the banner, but when I was playing around with the Clouds set, I realized the woodgrain looked a little like ocean swells. I have no idea why I stamped the ocean in yellow--ha ha. Creative license I suppose. ;)

Smooth Sailing


I added Crystal Clear and Pumpkin Satin sequins at the top and stitched through them. I added a Twine + Ink puffy star....love those little puffy stickers.

Smooth Sailing

Thanks for stopping by! I hope you have a great day!


Supplies
Cardstock: (linen white) Ellen Hutson; (white) PTI
Stamps: (boat, sentiment from Sailmates; waves from Clouds) Neat & Tangled
Ink: (Black hybrid) My Favorite Things; (Yellow Brilliance) Tsukineko
Patterned paper: (Ocean Melody) Webster's Pages
Die: (circle) My Favorite Thigns
Embellishments: (sequins) Neat & Tangled; (puffy star) Twine + Ink; (chipboard love) Webster's Pages

Blog Design by Caked Designs